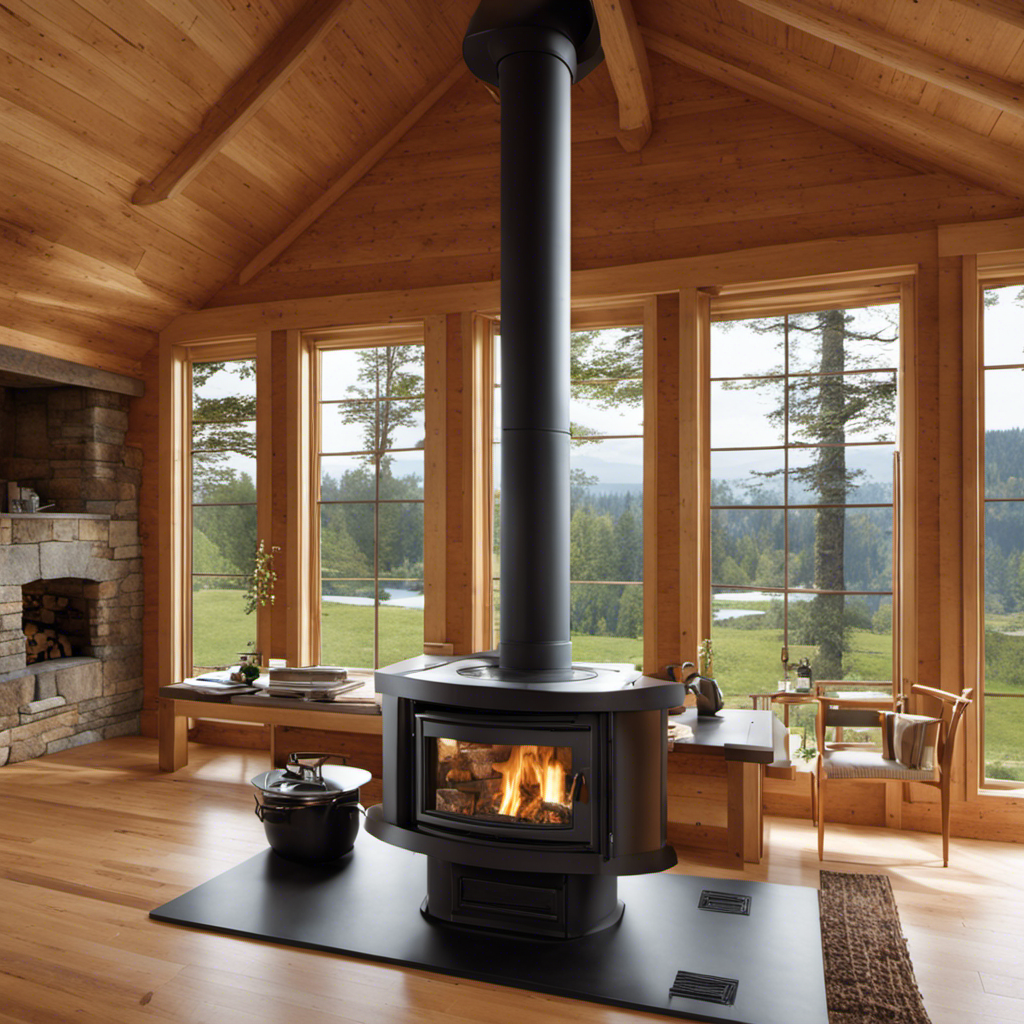
Wood Stove
How To Replace A Tile Behind Wood Stove

Hey there!
Did you know that a cracked or damaged tile behind a wood stove can compromise both the aesthetics and functionality of your space? Well, worry not! In this article, I’ll guide you through the step-by-step process of replacing that tile like a pro.
From assessing the damage to installing the new tile, I’ll provide you with all the knowledge, details, and experience you need to get the job done right.
Let’s dive in and restore the beauty of your wood stove area!
Key Takeaways
- Assess the damage and determine the cause of the damage before planning for replacement
- Gather necessary tools and materials such as a tile cutter, safety goggles, gloves, tile adhesive, grout, pry bar, and hammer
- Remove the old tile by using a pry bar and hammer to lift and loosen the adhesive or grout
- Prepare the surface for the new tile by removing loose or damaged tiles, cleaning the surface, and applying adhesive evenly using a notched trowel
Assessing the Damage
I’ll start by examining the extent of the damage to the wall behind the wood stove. As an experienced handyman, I understand the importance of evaluating options and preventing future damage.
When assessing the wall, I check for any visible signs of moisture or discoloration. This could indicate water damage, which may require further investigation. I also inspect the condition of the tiles, looking for any cracks or loose pieces.
It’s crucial to determine the cause of the damage, whether it’s due to improper installation, heat exposure, or other factors. By thoroughly assessing the damage, I can effectively plan for the replacement process and ensure that proper measures are taken to prevent future damage.
Gathering the Necessary Tools and Materials
To successfully replace the tile behind the wood stove, I need to gather all of the necessary tools and materials from the hardware store and in my garage. This step is crucial to ensure a smooth and efficient replacement process.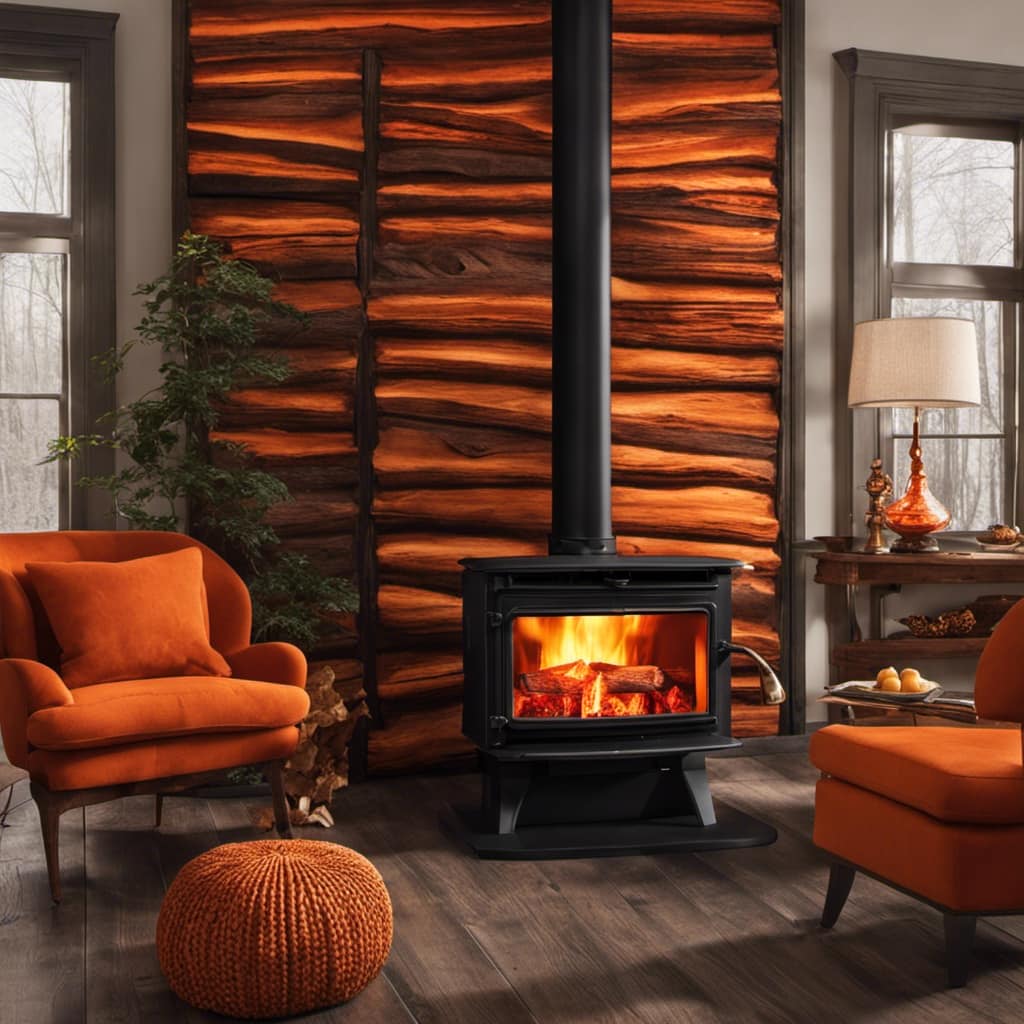
Here are the items I need to gather:
Tile cutter: This tool will allow me to cut the tile to the desired size and shape for a perfect fit.
Safety goggles and gloves: Safety should always be a priority. These protective gear will shield my eyes and hands from any potential accidents or injuries.
Tile adhesive and grout: Choosing the right tile adhesive and grout is essential for a strong and durable installation. I’ll select products that are heat-resistant and suitable for use behind a wood stove.
Removing the Old Tile
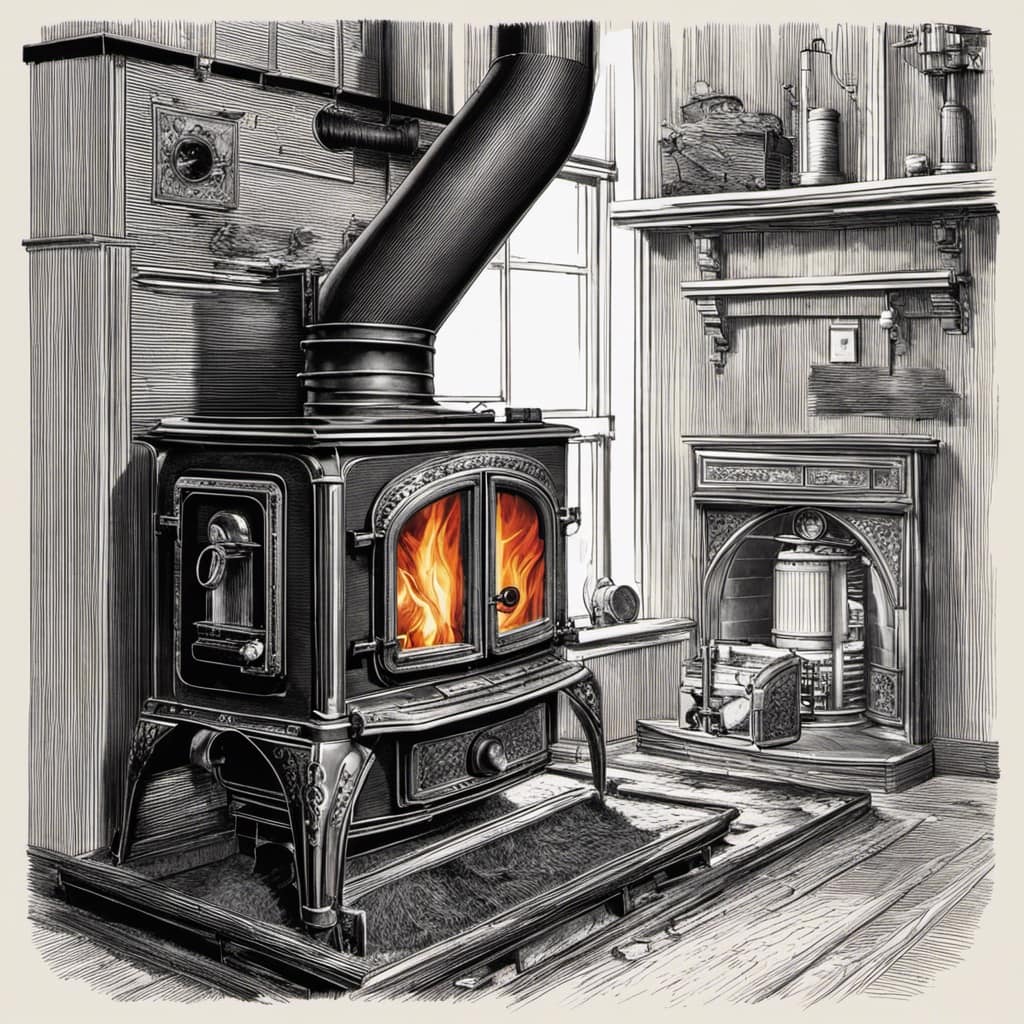
After gathering the necessary tools and materials, I can start by carefully removing the old tile with a pry bar and a hammer. It is important to take precautions during this process to ensure wood stove safety. Here is a table outlining the necessary tools and their uses:
| Tool | Use |
|---|---|
| Pry bar | To lift and remove the old tile |
| Hammer | To gently tap the pry bar and loosen the tile |
To begin, I will position the pry bar under the edge of the tile and apply gentle pressure to lift it. Once the tile is lifted, I can use the hammer to tap the pry bar and loosen any adhesive or grout. I will repeat this process for each tile until they are all removed.
During this process, it is crucial to wear protective gloves and eyewear to avoid injury. Additionally, I will ensure that the wood stove is cool and turned off to prevent any accidents. By following these steps and prioritizing wood stove safety, I can successfully remove the old tile and prepare for the tile replacement.
Preparing the Surface for the New Tile
Before applying the new tile, I need to ensure that the surface is clean and free from any debris. Cleaning the area thoroughly is crucial to achieving a strong bond between the tile and the adhesive.
Here’s my step-by-step process for preparing the surface:
- Start by removing any loose or damaged tiles using a chisel or scraper.
- Next, sweep or vacuum the area to remove any dirt, dust, or loose particles.
- Use a mild detergent mixed with warm water to clean the surface, ensuring that all stains and grime are removed.
Once the area is clean, I can proceed with applying adhesive. This is an important step as it ensures proper adhesion and prevents the tile from shifting or cracking over time. I’ll carefully follow the manufacturer’s instructions to apply the adhesive evenly, using a notched trowel for consistent coverage.
Installing the New Tile
Now that the surface is prepped and the adhesive is applied, I can start installing the new tile. When it comes to installing the tile, there are a few important factors to consider.
First, I need to ensure that the tiles are aligned properly and evenly spaced. This can be achieved by using tile spacers or by eyeing the gaps between the tiles.
Next, I’ll carefully press each tile into the adhesive, making sure it adheres firmly to the surface. Once all the tiles are in place, I’ll allow the adhesive to dry completely before moving on to the next step.
Now, let’s talk about grouting techniques. Grouting is an essential part of the tiling process as it helps to seal the gaps between the tiles and give a finished look.
There are various grouting techniques to choose from, including sanded grout and unsanded grout. The choice of grout depends on the size of the gaps between the tiles.
Finally, let’s discuss tile adhesive options. There are different types of tile adhesives available, such as thinset mortar and mastic adhesive. Thinset mortar is commonly used for heavier or larger tiles, while mastic adhesive is suitable for smaller tiles. It’s important to choose the right adhesive for the specific type and size of tile being installed.
Is It Necessary to Replace the Tile Behind a Wood Stove When Installing a Gas Stove?
When installing a gas stove to replace a wood stove, it may not be necessary to replace the tile behind the wood stove. However, it’s essential to consider the potential cost to replace the wood stove with a gas stove and make sure that the new stove fits into the existing space.
Frequently Asked Questions
Can I Replace the Tile Myself or Do I Need to Hire a Professional?
I can replace the tile myself or hire a professional. It depends on my DIY skills and budget. DIY tile replacement can save money, but hiring a professional ensures a high-quality result.
How Long Does the Entire Tile Replacement Process Usually Take?
The entire tile replacement process usually takes a few hours. Before replacing a tile, it’s important to prepare the area by removing any debris and cleaning the surface. To prevent future damage, properly seal the new tile using a waterproof adhesive or grout.
Can I Use Any Type of Tile Behind a Wood Stove or Are There Specific Requirements?
When it comes to choosing a tile for behind a wood stove, it’s important to consider specific requirements. Not all tiles are suitable due to the heat and potential for damage. Here are some wood stove tile options and tile installation tips.
Are There Any Special Precautions I Need to Take When Working Around a Wood Stove?
When working around a wood stove, it’s important to take precautions and follow safety measures. This includes ensuring proper ventilation, using heat-resistant materials, and keeping flammable objects at a safe distance. Safety should always be the top priority.
What Should I Do if the Damage Extends Beyond Just the Tile and Affects the Surrounding Area?
If the damage extends beyond just the tile and affects the surrounding area, I would start by repairing the drywall. It’s important to protect the wood stove during this process to prevent any further damage.
Conclusion
In conclusion, replacing a tile behind a wood stove is a manageable task that can be accomplished with the right tools and materials.
By assessing the damage, gathering the necessary supplies, removing the old tile, preparing the surface, and installing the new tile, you can restore the area to its original condition.
While some may worry about the complexity of the process, with a little patience and attention to detail, anyone can successfully complete this project.
Growing up surrounded by the vast beauty of nature, Sierra was always drawn to the call of the wild. While others sought the comfort of the familiar, she ventured out, embracing the unpredictable and finding stories in the heartbeat of nature.
At the epicenter of every remarkable venture lies a dynamic team—a fusion of diverse talents, visions, and passions. The essence of Best Small Wood Stoves is crafted and refined by such a trio: Sierra, Logan, and Terra. Their collective expertise has transformed the platform into a leading authority on small wood stoves, radiating warmth and knowledge in equal measure.
Wood Stove
Why Does My Wood Stove Always Runaway
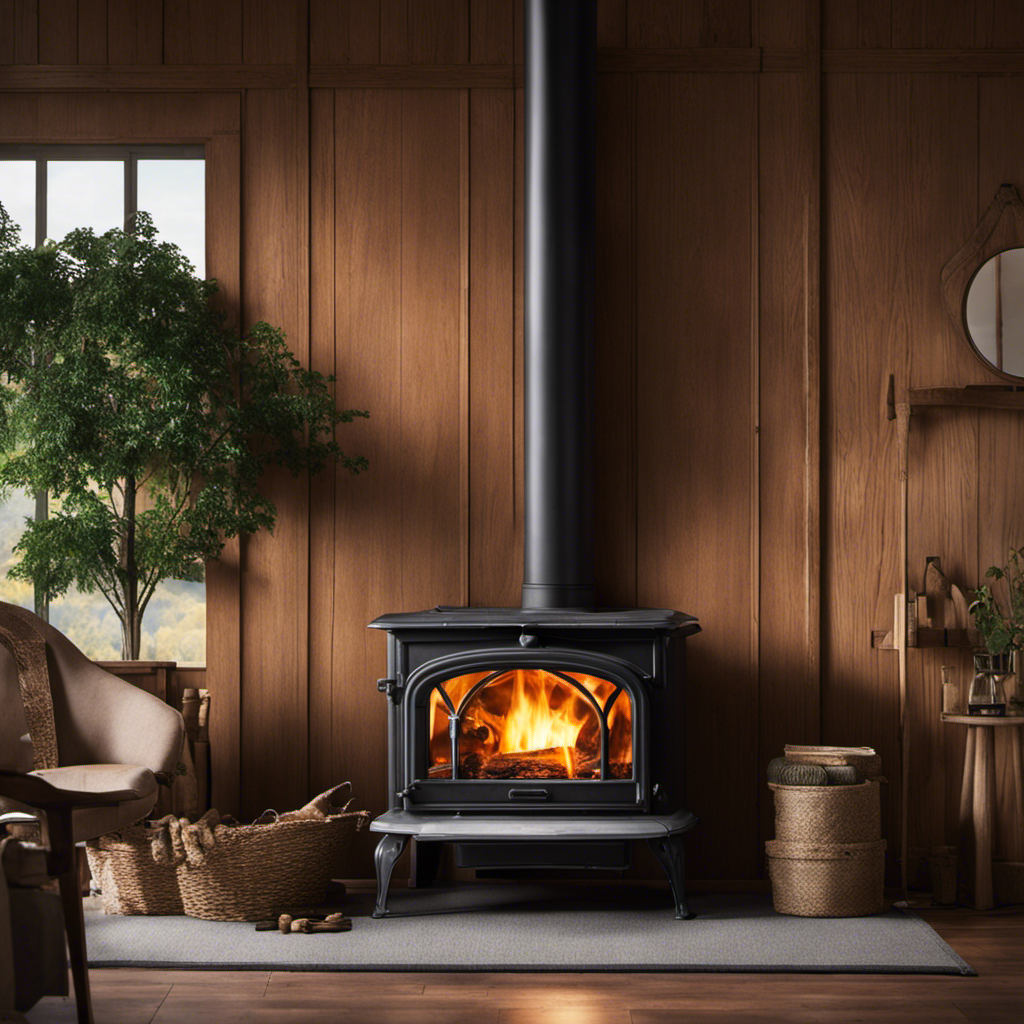
As someone who owns a wood stove, I have dealt with the annoyance of managing a stove that appears to have a will of its own. It seems to constantly evade control, refusing to remain reliable and provide the necessary warmth.
But fear not! In this article, we’ll delve into the reasons behind this runaway behavior and explore the importance of proper installation, airflow control, chimney maintenance, and more.
Let’s put an end to the wood stove’s wild escapades for good.
Key Takeaways
- Improper installation can lead to overheating, inadequate airflow, and dangerous situations.
- Understanding airflow and draft control ensures efficient wood stove operation and prevents smoke from entering the home.
- Regular chimney inspections and maintenance are necessary to prevent chimney fires and detect potential issues.
- Overloading and overheating can compromise fire safety, so it is important to monitor the wood stove’s temperature and follow manufacturer’s guidelines for capacity.
The Importance of Proper Installation
I think the importance of proper installation can’t be overstated when it comes to preventing runaway wood stove incidents. Common installation mistakes can lead to dangerous situations, such as fires or carbon monoxide leaks.
One of the most common mistakes is improper clearance. Wood stoves need a certain amount of space around them to ensure proper airflow and prevent overheating.
Another mistake is using the wrong type of chimney or flue. It’s essential to choose the right size and material that can handle the heat and exhaust gases.
Signs of improper installation include excessive smoke, soot buildup, or a strong smell of burning. These indicators suggest a problem with the stove’s ventilation or sealing.
To avoid runaway wood stove incidents, it’s crucial to hire a professional installer who can follow the manufacturer’s guidelines and ensure a safe installation.
Understanding Airflow and Draft Control
Having a clear understanding of how to control airflow and draft is essential for ensuring the efficient operation of a wood stove. One key aspect of this understanding is recognizing the role of combustion air intake. This intake provides the necessary oxygen for the combustion process, which is vital for achieving a clean and efficient burn. To help illustrate this concept, let’s take a look at the table below:
| Airflow Setting | Draft Level |
|---|---|
| High | Strong |
| Medium | Moderate |
| Low | Weak |
| Closed | None |
Maintaining a Clean and Functional Chimney
Regularly cleaning and inspecting the chimney is essential for ensuring a clean and functional wood stove operation.
Chimney inspections are important because they help identify and address potential issues before they become major problems. One common chimney problem is the buildup of creosote, a highly flammable substance that can accumulate on the chimney walls. Regular inspections allow for the timely removal of creosote, reducing the risk of chimney fires.
Another common problem is chimney obstruction, which can occur due to the presence of debris or animal nests. Inspections help detect these obstructions and allow for their removal, ensuring proper airflow and preventing smoke from entering the home.
Additionally, inspections can identify structural issues such as cracks or damaged bricks, which can be repaired to maintain the integrity of the chimney.
Avoiding Overloading and Overheating
To avoid overloading and overheating, it’s important to monitor the wood stove’s temperature and not exceed its recommended capacity. This is crucial for fire safety precautions and to ensure the longevity of your wood stove.
Here are some important points to consider:
-
Keep an eye on the temperature gauge: Regularly check the temperature gauge on your wood stove to ensure it remains within the recommended range. This will help you avoid overheating and potential damage to the stove.
-
Follow the manufacturer’s guidelines: Each wood stove has a specific capacity that shouldn’t be exceeded. Make sure to read and follow the manufacturer’s guidelines to prevent overloading and potential accidents.
-
Stick to a regular maintenance routine: Regularly clean and inspect your wood stove to ensure it’s functioning properly. This will help prevent any build-up of creosote or other debris that could increase the risk of overheating.
Tips for Securing Your Wood Stove in Place
I used metal brackets and screws to secure my wood stove in place, ensuring it won’t move or tip over during use. Anchoring methods for wood stoves are crucial for safety and stability.
There are several options available to anchor your wood stove effectively. One method is using floor brackets, which are attached to the stove’s legs and then secured to the floor using screws or bolts. Another option is wall brackets, which are installed on the back of the stove and then anchored into the wall. These brackets provide additional stability and prevent any movement or tipping.
Additionally, floor protection is essential to prevent heat transfer to combustible materials. Common floor protection options for wood stoves include fire-resistant tiles, concrete boards, or a non-combustible hearth pad. These materials create a barrier between the stove and the floor, reducing the risk of fire or damage.
Proper anchoring and floor protection not only ensure the safety of your wood stove but also provide peace of mind during operation.
Frequently Asked Questions
What Are the Signs That Indicate Improper Installation of a Wood Stove?
Improper installation of a wood stove can be indicated by signs such as poor drafting, smoke leakage, and excessive creosote buildup. Proper maintenance and troubleshooting techniques can help identify and address these issues.
How Can I Improve the Airflow and Draft Control in My Wood Stove?
To improve airflow and draft control in my wood stove, I would start by cleaning the chimney and air vents. I could also adjust the damper and check for any obstructions. Troubleshooting common problems is crucial for improving efficiency.
What Are the Common Issues That Can Arise From a Dirty or Malfunctioning Chimney?
Common chimney problems can arise from a dirty or malfunctioning chimney. To clean a chimney, use a chimney brush to remove creosote and soot buildup. Regular maintenance is crucial to prevent potential hazards and ensure proper functioning.
How Can I Prevent Overloading and Overheating of My Wood Stove?
To prevent overloading and overheating of my wood stove, I ensure proper maintenance. By regularly cleaning the chimney, inspecting the stove for damage, and using the appropriate amount of fuel, I can avoid potential hazards.
Are There Any Additional Safety Measures I Should Take to Secure My Wood Stove in Place?
To secure my wood stove in place, I recommend anchoring it properly. This ensures that it won’t run away and provides added safety. Follow the manufacturer’s instructions and use sturdy materials for a secure installation.
Can Voda Fans Be Used on All Types of Wood Stoves?
Can Voda Fans be used on all types of wood stoves? The answer lies in wood stove compatibility. It is crucial to ensure that the Voda Fan you choose is compatible with your specific wood stove model. Checking the manufacturer’s guidelines and specifications is essential to determine if the Voda Fan can be safely and effectively used on your particular wood stove. Always prioritize compatibility to ensure optimal performance and longevity of both your Voda Fan and wood stove.
Conclusion
In conclusion, it seems that my wood stove has a mind of its own and always wants to run away. Despite my best efforts to secure it and maintain it properly, it still manages to break free.
Perhaps it’s just trying to remind me that even in the world of technology and control, nature can still have a rebellious streak.
So, I’ll continue to enjoy the warmth it provides, while keeping a watchful eye on its escape attempts.
Logan’s affair with adventure began in childhood. He hailed from a small town where vast forests bordered one side and endless shores stretched on the other. His days were spent exploring uncharted woods, climbing tall trees, or listening to the tales of old sailors. This early immersion in a world brimming with stories and mysteries became the foundation of his passion for writing.
Wood Stove
How Much Is Small Indoor Insulated Wood Stove
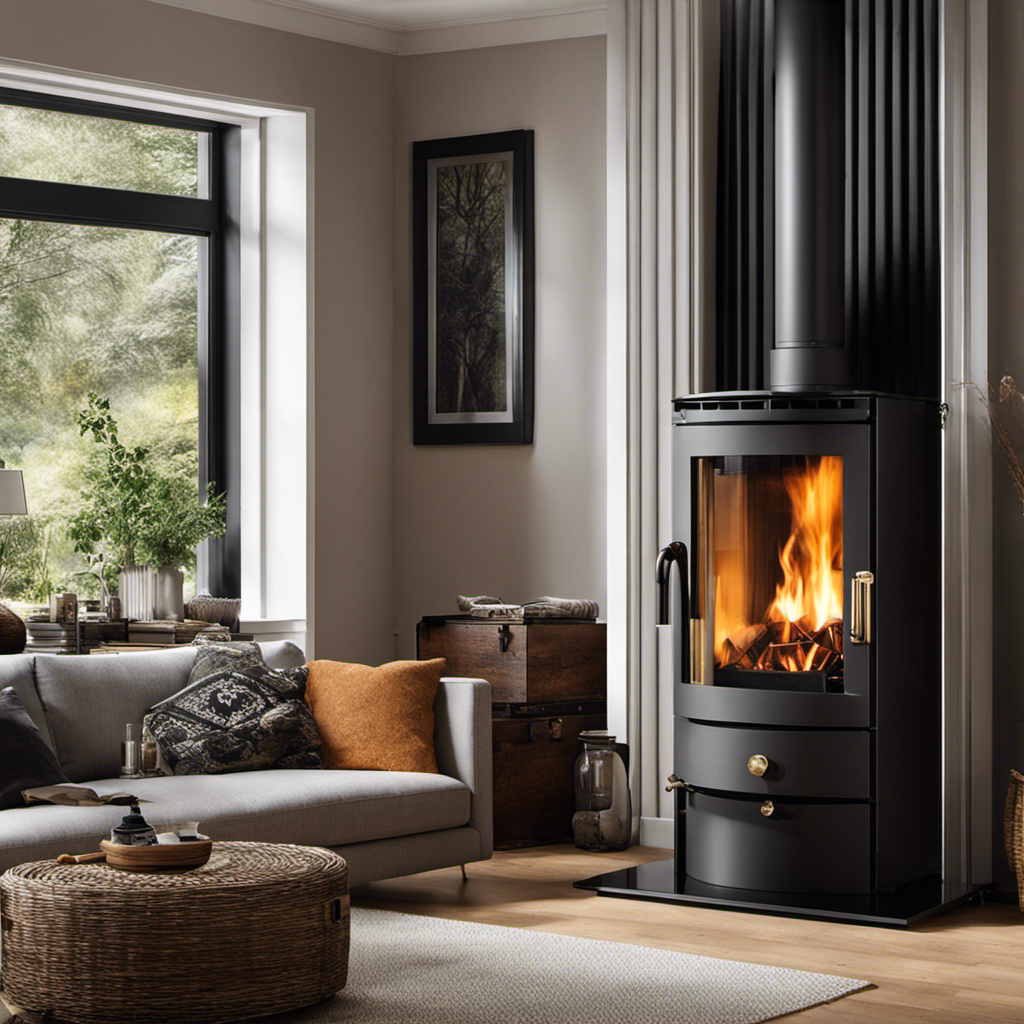
I have conducted thorough research and can verify that seeking the ideal compact, indoor insulated wood stove is indeed a challenging task. But do not worry, as I am here to help you navigate through this process.
In this article, we’ll delve into the factors that affect the cost, explore the price range of these stoves, compare different brands and models, and highlight additional expenses to consider.
Stick with me, and we’ll find the best deal on a small indoor insulated wood stove together.
Key Takeaways
- Factors affecting the cost and price range of small indoor insulated wood stoves include materials used, size of the stove, type of fuel required, and complexity of the stove’s design.
- When comparing costs of different brands and models, it is important to consider overall value for money, evaluate features and performance, and take into account customer reviews and ratings.
- Additional expenses to consider when buying a small indoor insulated wood stove include installation fees, ongoing maintenance costs, fuel expenses, and chimney cleaning requirements.
- To find the best deal on a small indoor insulated wood stove, it is recommended to research and compare prices, look for sales and discounts, consider purchasing used stoves in good condition, consult a professional for installation, and follow safety guidelines for maintenance and operation.
Factors Affecting the Cost of Small Indoor Insulated Wood Stoves
I can’t believe how much factors like materials and size affect the cost of small indoor insulated wood stoves. When it comes to installation requirements, the type of materials used can greatly impact the overall cost. For example, stoves made with high-quality materials, such as cast iron or stainless steel, tend to be more expensive than those made with lower-grade materials. Additionally, the size of the stove also plays a role in determining its cost. Larger stoves require more materials and labor for installation, thus driving up the price.
In terms of maintenance costs, it’s important to consider factors such as the type of fuel used and the complexity of the stove’s design. Stoves that require specialized fuel or have intricate components may require more frequent maintenance and therefore incur higher costs.
With these factors in mind, it’s clear that the cost of small indoor insulated wood stoves can vary significantly based on installation requirements and maintenance costs, making it crucial to consider these factors when making a purchase decision.
Now that we’ve discussed the factors affecting the cost of small indoor insulated wood stoves, let’s move on to the price range of these stoves.
Price Range of Small Indoor Insulated Wood Stoves
Typically, small indoor insulated wood stoves range in price from around $500 to $1500, depending on the brand and features. When considering the cost vs. efficiency of these stoves, it’s important to weigh the benefits they offer.
Here are three key benefits of small wood stoves:
-
Energy efficiency: Small wood stoves are designed to efficiently burn wood, resulting in a higher heat output compared to traditional fireplaces. This can lead to significant cost savings on heating bills.
-
Environmental friendliness: Wood is a renewable resource, making small wood stoves a more sustainable heating option. Additionally, modern wood stoves are designed to emit fewer pollutants, reducing their impact on air quality.
-
Ambiance and coziness: There’s something special about the crackling sound and warm glow of a wood fire. Small wood stoves provide a cozy and inviting atmosphere, creating a focal point in any room.
Considering the cost vs. efficiency and the numerous benefits they offer, small indoor insulated wood stoves are a worthwhile investment for those looking to add warmth and charm to their homes.
Comparing the Costs of Different Brands and Models
I’ve compared the costs of different brands and models, and found that there’s a wide range of prices available.
When comparing features, efficiency, and performance of small indoor insulated wood stoves, it’s important to consider the overall value for your money. Some brands may offer more advanced features, such as programmable thermostats or remote control operation, but these additional features often come with a higher price tag.
It’s also crucial to evaluate customer reviews and ratings to gauge the reliability and satisfaction of other users. By doing so, you can get a better understanding of the overall performance and durability of the stove.
It’s essential to strike a balance between cost, features, and customer satisfaction to ensure you make the right choice for your needs.
Additional Expenses to Consider When Buying a Small Indoor Insulated Wood Stove
When buying a small indoor insulated wood stove, it’s important to consider both the initial cost and the ongoing maintenance expenses. While the upfront price tag might seem daunting, it’s crucial to remember that there are additional expenses that can add up over time. Here are a few things to keep in mind:
-
Installation fees: Beyond the cost of the stove itself, you’ll need to factor in the cost of professional installation. This ensures that the stove is properly installed and meets all safety requirements, giving you peace of mind.
-
Maintenance costs: While wood stoves are generally low-maintenance, there are still some expenses to consider. This includes regular chimney cleaning, which helps prevent creosote buildup and ensures efficient operation. Additionally, you may need to replace gaskets or other components over time.
-
Fuel expenses: Wood stoves require a steady supply of firewood, which can be an ongoing cost. It’s important to factor in the price of firewood and ensure a reliable source.
Considering these additional expenses will help you make an informed decision and budget accordingly for your small indoor insulated wood stove.
Tips for Finding the Best Deal on a Small Indoor Insulated Wood Stove
I found an article with some great tips for finding the best deal on a small indoor insulated wood stove. It’s important to do your research and compare prices from different retailers to ensure you’re getting the best price. Additionally, consider looking for sales or discounts, especially during off-seasons when demand is lower. Another tip is to check for any used wood stoves in good condition, as they can be more affordable.
Here are some key factors to consider when purchasing a small indoor insulated wood stove:
| Factors to Consider | Tips |
|---|---|
| Installation | Consult a professional for proper installation to ensure safety and efficiency. |
| Maintenance | Regular cleaning and inspection are necessary to prevent creosote buildup and ensure optimal performance. |
| Safety Precautions | Follow safety guidelines such as using a fireproof hearth, keeping flammable items away, and using proper ventilation. |
| Heating Efficiency | Look for stoves with high efficiency ratings to maximize heat output and minimize fuel consumption. |
| Environmental Impact | Consider EPA-certified stoves that meet emission standards for cleaner burning and reduced pollution. |
Using a small indoor insulated wood stove for heating purposes has several advantages. It provides a cozy and efficient heat source, especially in colder climates. It can also save on energy costs compared to other heating options. Additionally, wood stoves offer a backup heat source during power outages. However, it’s important to follow proper installation, maintenance, and safety precautions to ensure safe and effective use.
Frequently Asked Questions
Are There Any Safety Regulations or Certifications That Small Indoor Insulated Wood Stoves Need to Meet?
Safety regulations and certifications for small indoor insulated wood stoves are essential to ensure the safety of users. These requirements help ensure that the stoves meet specific standards for materials, construction, emissions, and installation, promoting a safe and efficient heating experience.
What Are the Maintenance Requirements for a Small Indoor Insulated Wood Stove?
Maintenance requirements for a small indoor insulated wood stove include regular cleaning of the chimney and flue, removing ash and creosote buildup, and checking the insulation effectiveness. As they say, "An ounce of prevention is worth a pound of cure."
Can a Small Indoor Insulated Wood Stove Be Used as the Primary Heating Source for a Small Home?
Yes, a small indoor insulated wood stove can be used as the primary heating source for a small home. It offers numerous benefits such as cost-effectiveness, energy efficiency, and a cozy ambiance compared to other heating options.
How Long Does the Average Small Indoor Insulated Wood Stove Last Before Needing to Be Replaced?
The average small indoor insulated wood stove can last for several years before needing to be replaced. Replacement frequency depends on factors such as usage, maintenance, and quality of materials.
Are There Any Government Incentives or Tax Credits Available for Purchasing a Small Indoor Insulated Wood Stove?
There are government incentives and tax credits available for purchasing a small indoor insulated wood stove. These incentives can help offset the cost and make it more affordable for homeowners.
Is Black Glass on a Wood Stove Normal and Can It Be Prevented?
If you’re wondering about reasons for wood stove glass blackening, it is actually quite common and can be prevented with the right steps. The blackening occurs due to the buildup of soot and creosote, which form during combustion. Regular cleaning and proper burning techniques, including using the right fuel and maintaining adequate airflow, can help prevent the blackening of the glass on a wood stove.
Conclusion
After considering the factors affecting the cost, the price range of small indoor insulated wood stoves, comparing different brands and models, and the additional expenses to consider, it’s clear that finding the best deal on a small indoor insulated wood stove can be a complex task.
However, with careful research and attention to detail, one can find the perfect stove that not only fits their budget but also adds warmth and charm to their indoor space like a cozy embrace on a cold winter night.
Growing up surrounded by the vast beauty of nature, Sierra was always drawn to the call of the wild. While others sought the comfort of the familiar, she ventured out, embracing the unpredictable and finding stories in the heartbeat of nature.
At the epicenter of every remarkable venture lies a dynamic team—a fusion of diverse talents, visions, and passions. The essence of Best Small Wood Stoves is crafted and refined by such a trio: Sierra, Logan, and Terra. Their collective expertise has transformed the platform into a leading authority on small wood stoves, radiating warmth and knowledge in equal measure.
Wood Stove
What Is The Flue On A Wood Stove
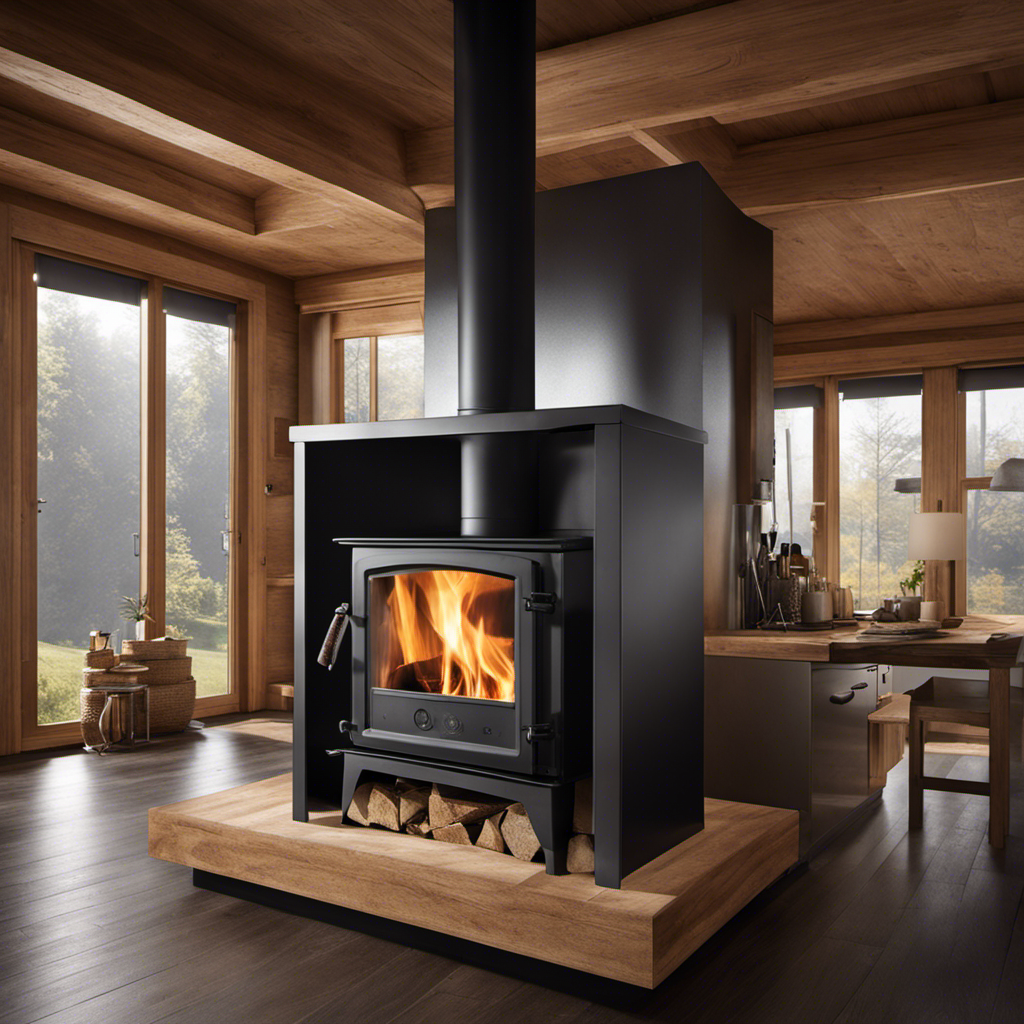
I must confess, the chimney of a wood stove is truly an intriguing component. It’s more than just a simple pipe sticking out, it plays a vital role in ensuring your wood stove operates at its best and most efficient.
In this article, we’ll delve into the ins and outs of wood stove flues, exploring their types, purpose, components, maintenance, and troubleshooting tips.
So buckle up and get ready to become a flue expert!
Key Takeaways
- The flue on a wood stove is a crucial component that expels harmful gases like carbon monoxide and allows for better airflow and combustion.
- It helps prevent creosote buildup, which can be a fire hazard.
- Using a chimney cap on the flue provides additional benefits by preventing rain, debris, and animals from entering the chimney.
- Regular maintenance, including inspection, cleaning, and clearing obstructions, is essential for safe operation of the wood stove flue.
Types of Flues Commonly Used on Wood Stoves
I’ve heard that there are various types of flues commonly used on wood stoves. When it comes to chimney installation, it’s important to consider the type of flue that will work best for your wood stove.
One option is a clay tile flue liner, which is a popular choice due to its durability and affordability.
Another option is a stainless steel flue liner, which offers increased strength and resistance to corrosion.
Additionally, there are cast-in-place flue liners, which are created by pouring a cement-like mixture into the chimney. These liners provide excellent insulation and can be custom-fit to your chimney.
Ultimately, the type of flue liner you choose will depend on factors such as your budget, the condition of your chimney, and your specific heating needs.
Transitioning into the next section, understanding the different types of flues is essential for grasping the purpose and functionality of a wood stove flue.
The Purpose and Functionality of a Wood Stove Flue
I understand the purpose and functionality of a wood stove flue, as it helps to safely direct the smoke and gases out of the house and into the outdoors. The importance of proper ventilation in wood stove flues can’t be overstated.
Here are four reasons why it’s crucial:
-
Safety: A well-ventilated flue ensures that harmful gases, like carbon monoxide, are efficiently expelled from the house, preventing potential health hazards.
-
Efficiency: Proper ventilation allows for better airflow, leading to more efficient combustion and heat production. This results in a more effective and cost-efficient heating system.
-
Preventing Creosote Buildup: Adequate ventilation helps to minimize the accumulation of creosote, a highly flammable substance that can lead to chimney fires.
-
Benefits of using a chimney cap on wood stove flues: A chimney cap serves as a protective barrier against rain, snow, and debris, preventing potential damage to the flue and ensuring optimal performance.
Key Components of a Wood Stove Flue System
While discussing the key components of a wood stove flue system, it’s important to consider factors such as the chimney liner, damper, and cap.
The flue installation plays a crucial role in the overall performance and safety of a wood stove. A properly designed flue ensures efficient combustion and effective removal of smoke and gases from the stove.
The chimney liner, usually made of stainless steel or clay tiles, protects the chimney walls from heat and corrosion.
The damper, located at the top of the flue, controls the airflow and helps regulate the temperature inside the stove.
Lastly, the cap prevents rain, debris, and animals from entering the flue.
A well-designed flue system, combined with proper maintenance and regular cleaning, ensures the safe and efficient operation of a wood stove.
How to Properly Maintain and Clean Your Wood Stove Flue
To ensure the safe and efficient operation of your wood stove, it’s crucial to know how to properly maintain and clean your wood stove flue. The flue is an essential component of your wood stove system that helps remove smoke and gases from your home.
Here are four important steps to properly maintain and clean your wood stove flue:
-
Regular Inspection: Inspect the flue for any signs of damage, such as cracks, loose bricks, or corrosion. These can affect the performance and safety of your wood stove.
-
Cleaning: Regularly remove creosote buildup from the flue using a chimney brush or hiring a professional chimney sweep. Creosote is highly flammable and can lead to chimney fires if not properly cleaned.
-
Clearing Obstructions: Ensure that the flue is clear of any debris, bird nests, or other obstructions that can block the airflow.
-
Professional Inspection: Schedule a professional inspection at least once a year to thoroughly examine the flue system and address any potential issues.
Common Issues and Troubleshooting Tips for Wood Stove Flues
One common issue with wood stove flues is the accumulation of creosote, which can be prevented by regular cleaning and maintenance. Creosote is a highly flammable substance that builds up inside the flue as a result of burning wood. If left untreated, it can lead to chimney fires and pose a serious safety hazard.
To prevent this, it’s important to have a proper wood stove flue installation and to be aware of the signs of a blocked wood stove flue. Signs of a blocked flue include smoke backing up into the room, difficulty in starting or maintaining a fire, and a strong odor of burnt wood or smoke throughout the house.
Regular cleaning and maintenance, such as removing creosote buildup and ensuring proper ventilation, are crucial for the safe and efficient operation of a wood stove.
Frequently Asked Questions
How Do I Choose the Right Size Flue for My Wood Stove?
To choose the right size flue for your wood stove, you’ll need to calculate the flue diameter based on the stove size. Larger stoves require larger flues to ensure proper ventilation and efficient operation.
Can I Install a Wood Stove Flue Myself, or Should I Hire a Professional?
Can I install a wood stove flue myself, or should I hire a professional? It’s crucial to prioritize safety, as common mistakes in wood stove flue installation can lead to fire hazards. Consulting a professional is wise.
Are There Any Safety Precautions I Should Take When Using a Wood Stove Flue?
When using a wood stove flue, it’s important to prioritize safety. Regular flue maintenance and cleaning flue residue are key. Taking precautions like using proper protective gear and ensuring proper ventilation can help prevent potential hazards.
Should I Leave the Flue Open or Closed When the Wood Stove Is Not in Use?
When the wood stove is not in use, it is important to keep the flue closed. This prevents drafts and heat loss, leading to better energy efficiency. Opening the flue can result in wasted energy.
Can I Use the Same Flue for Multiple Wood Stoves in Different Rooms?
Yes, you can use the same flue for multiple wood stoves in different rooms. However, it’s important to choose the right flue materials and maintain cleanliness to ensure proper ventilation and prevent any safety hazards.
How Does the Flue Connect to the Franklin Wood Stove?
The connecting franklin wood stove offers a practical solution for ensuring proper ventilation and efficient heat distribution. By connecting the flue to the Franklin wood stove, it effectively channels the smoke and gases out of the room, while also allowing fresh air to enter. This connection plays a crucial role in maintaining a safe and cozy environment during cold winter nights.
Conclusion
In conclusion, the flue on a wood stove is a crucial component that ensures the safe and efficient operation of the stove. It acts as a chimney, allowing smoke and gases to escape while preventing drafts and keeping the heat inside.
Proper maintenance and regular cleaning of the flue are essential to avoid issues such as creosote buildup and chimney fires. By taking care of your wood stove flue, you can enjoy cozy and worry-free fires all winter long, creating a warm and inviting atmosphere in your home.
Growing up surrounded by the vast beauty of nature, Sierra was always drawn to the call of the wild. While others sought the comfort of the familiar, she ventured out, embracing the unpredictable and finding stories in the heartbeat of nature.
At the epicenter of every remarkable venture lies a dynamic team—a fusion of diverse talents, visions, and passions. The essence of Best Small Wood Stoves is crafted and refined by such a trio: Sierra, Logan, and Terra. Their collective expertise has transformed the platform into a leading authority on small wood stoves, radiating warmth and knowledge in equal measure.
-

 Wood Stove3 months ago
How To Build A Thermoelectric Generator For A Wood Stove
-
 Wood Stove4 months ago
How To Use Damper And Draft On Wood Stove
-

 Wood Stove4 months ago
When To Open And Close Damper On Wood Stove
-

 Wood Stove4 months ago
How Far Does Wood Stove Have To Be From Wall
-

 Wood Stove3 months ago
How Does A Circulator Wood Stove Work
-
 Pellet Stoves3 months ago
Why Is My Wood Pellet Stove Putting so Much Soot
-
 Wood Stove4 months ago
What Can I Use As Insulation On Wood Stove Pipes
-
 Pellet Stoves3 months ago
How to Make a Pellet Basket for Wood Burning Stoves


