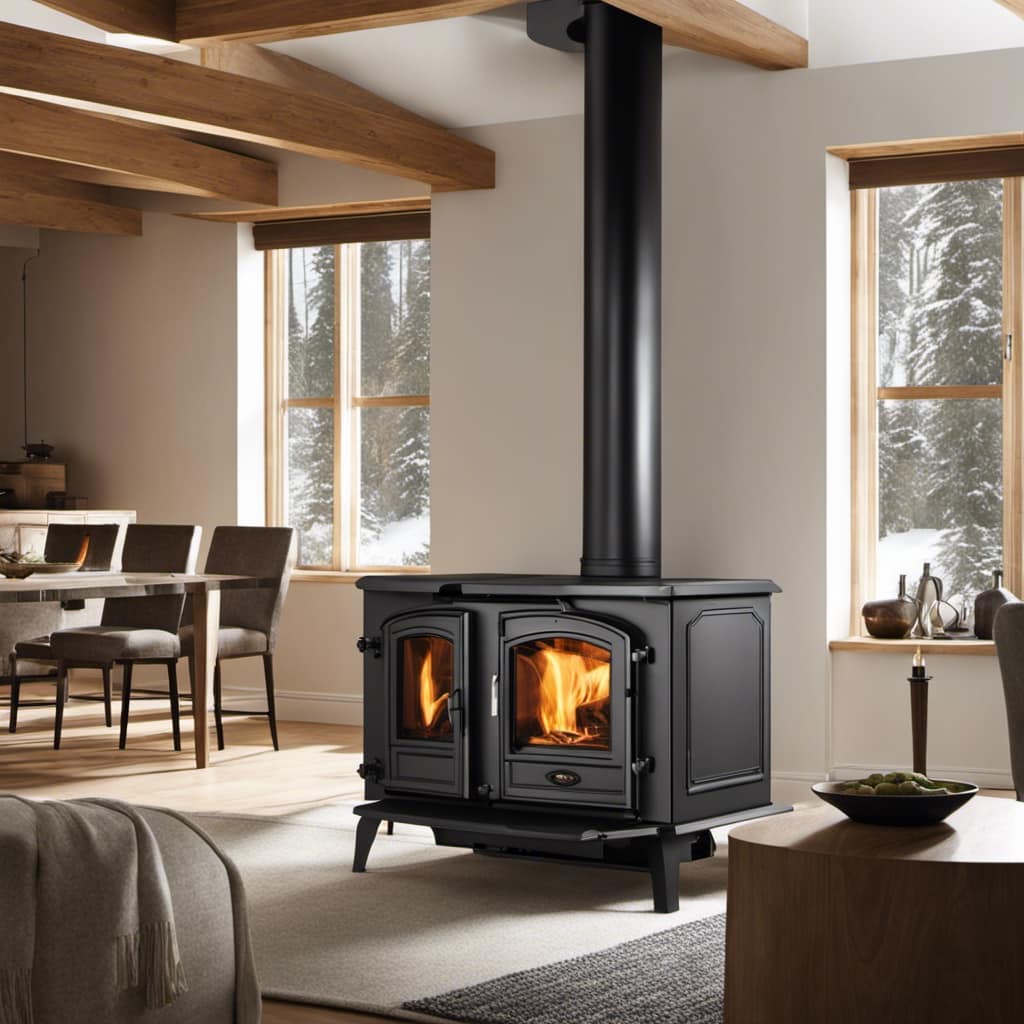
Hello!
So, you’ve got a cracked wood stove glass, huh? No worries, I’ve got you covered. In this article, I’m going to walk you through the step-by-step process of fixing that pesky crack.
From assessing the damage to applying the replacement glass, I’ll provide you with all the know-how and tips you need to get your wood stove looking as good as new.
So, let’s dive in and get that crack fixed, shall we?
Key Takeaways
- Thoroughly assess the damage to determine the extent of the cracks and look for signs of weakness or spreading.
- Gather the necessary tools and materials, including the right adhesive for high temperatures, and follow safety precautions during glass replacement.
- Remove the cracked glass by unscrewing bolts and lifting it out of the frame, prioritizing safety and assessing the damage for repair or replacement.
- Apply the replacement glass by measuring the frame, using a quality glass cutter with consistent pressure, and handling the glass with care to prevent breakages.

High-Temperature Pyroceram Ceramic Glass 6.5” x 9”, 1380°F Rated, 3/16" Thick Wood Stove Replacement Panel for Fireplace Inserts, Pellet Stoves, and Wood Burning Stove Doors
High-Temp Rated Up to 1380°F Crafted from premium Pyroceram ceramic glass designed to handle extreme heat. Ideal for…
As an affiliate, we earn on qualifying purchases.
As an affiliate, we earn on qualifying purchases.
Assessing the Damage
I’m carefully examining the wood stove glass, trying to assess the damage caused by the cracks. As an expert in repairing methods for wood stove glass, I understand the importance of a thorough assessment. The first step is to determine the extent of the cracks.
I closely inspect the glass, looking for any signs of weakness or spreading. Safety precautions are paramount during this process, as broken glass can be sharp and cause injury. I ensure I’ve protective gloves and eyewear on before proceeding.
Once the damage is assessed, I can then determine the appropriate repairing method. Whether it requires a simple glass replacement or a more complex repair, I’m well-equipped to handle the task, keeping safety at the forefront of my mind.

Stnkeno High Temp Silicone Sealant, High Temperature Adhesive, Heat Resistant Glue, Insulation and Waterproof Quick Drying Silicone Adhesive for Ovens Fireplace Microwave, Transparent, 2 Pack, 3.53 OZ
Exceptional Heat Resistance: Our high temperature silicone adhesive features an advanced heat-resistant formula that maintains exceptional strength and…
As an affiliate, we earn on qualifying purchases.
As an affiliate, we earn on qualifying purchases.
Gathering the Necessary Tools and Materials
I’ve gathered all the required tools and materials, and now I’m ready to begin fixing the cracked wood stove glass.
The first step in this process is choosing the right adhesive for the job. It’s crucial to select an adhesive that can withstand high temperatures, as the wood stove can reach extreme heat levels. Silicone adhesive is a popular choice for this type of repair, as it’s heat-resistant and creates a strong bond. However, it’s important to carefully read the product instructions to ensure it’s suitable for use on glass.
Safety precautions during glass replacement are of utmost importance. Wearing gloves and safety goggles is essential to protect against any potential injuries. Additionally, make sure the wood stove is completely cooled down before starting the repair to avoid any accidents.

Acellegic 7 x 9 Inch High Temperature Ceramic Glass Replacement Kit, 3/16 Inch Thick Stove Glass Panel with Cutter, Goggles, Gloves and Tape for Fireplace Insert Pellet Stove
High-Temperature Stove Use: This ceramic glass panel is designed for high-temperature stove and fireplace applications, 1380°F rated; suitable…
As an affiliate, we earn on qualifying purchases.
As an affiliate, we earn on qualifying purchases.
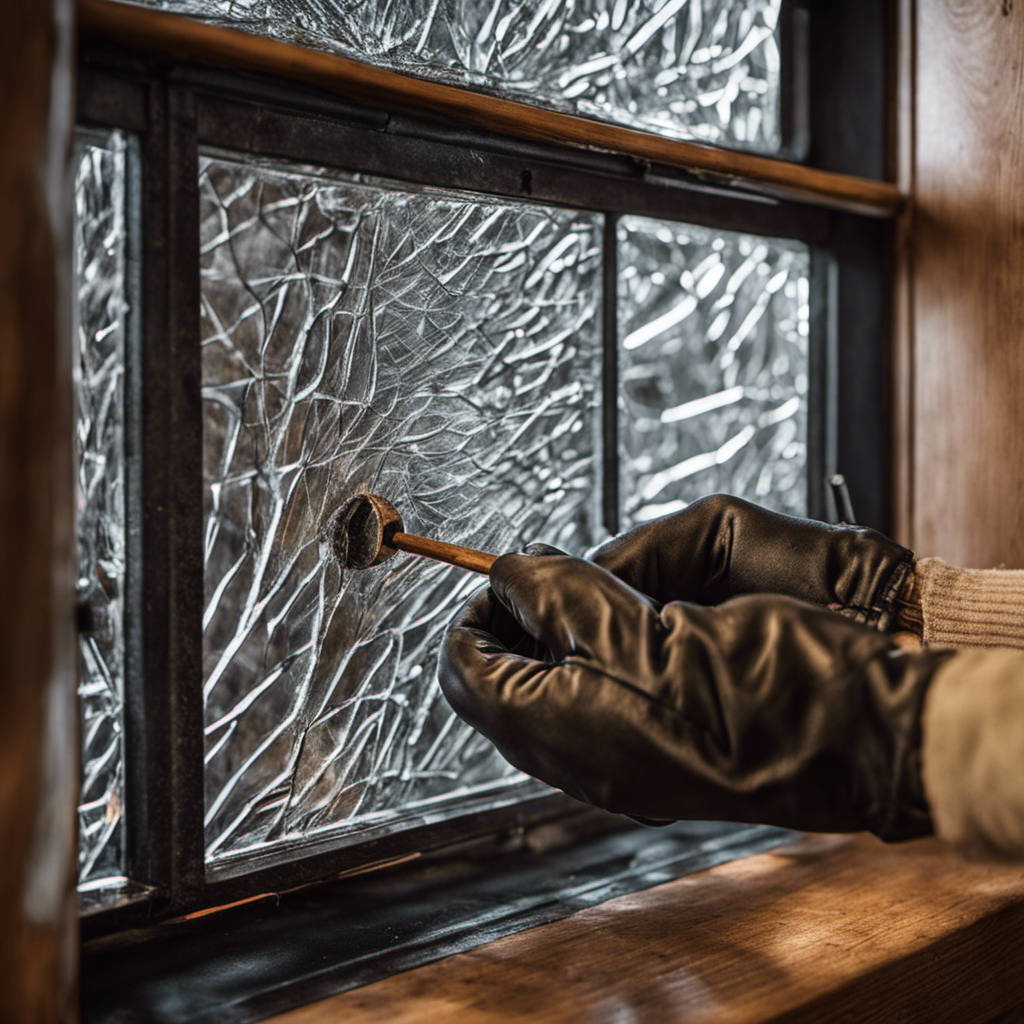
Removing the Cracked Glass
To remove the cracked glass, carefully unscrew the bolts holding it in place and gently lift it out of the frame. It’s important to follow safety precautions to avoid any injuries during this process. Here are four key points to consider:
-
Safety first: Prioritize your well-being by wearing protective gloves and goggles to shield yourself from any potential glass fragments or sharp edges.
-
Assess the damage: Inspect the cracked glass to determine if it can be repaired or if a replacement is necessary. Factors such as the size and severity of the crack will help you make an informed decision.
-
Repair options: If the crack is minor, you may opt to repair it using a high-temperature adhesive specifically designed for stove glass. However, keep in mind that repairs may not be as durable as a replacement.
-
Replacement considerations: If the crack is extensive or compromises the integrity of the glass, it’s recommended to replace the entire glass panel. This ensures the safety and efficiency of your wood stove.
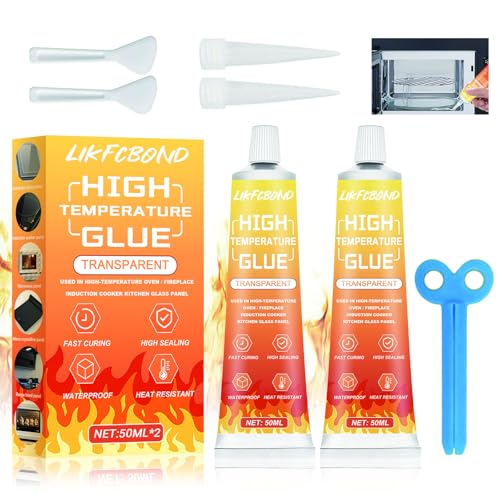
LIKFCBOND High Temperature Glue Clear Set, 3.38floz Heat Resistant RTV Silicone Sealant Waterproof, High-Temp Sealing Adhesive for Fireplace, Oven Glass, Cooktop, Stove (50ml*2)
Discreet & Invisible Repair for Appliances: This transparent high-temperature silicone adhesive blends seamlessly with white or light-colored surfaces,…
As an affiliate, we earn on qualifying purchases.
As an affiliate, we earn on qualifying purchases.
Applying the Replacement Glass
I carefully measured the dimensions of the frame to ensure a proper fit when applying the replacement glass.
Proper glass cutting techniques are crucial to achieving a precise fit and avoiding any mishaps during installation. When cutting the glass, it’s important to use a quality glass cutter and apply consistent pressure along the cutting line. This will help create a clean and accurate cut. Additionally, using a straight edge as a guide can help maintain straight lines and prevent any uneven cuts.
Common mistakes to avoid during glass installation include rushing the process, as this can lead to inaccurate measurements and improper fitting. It’s also important to handle the glass with care to avoid any accidental breakages.
Following these techniques and avoiding common mistakes will ensure a successful replacement glass installation.
Finishing Touches and Maintenance Tips
After installing the replacement glass, I used a soft cloth to gently wipe away any fingerprints or smudges for a polished finish. It’s crucial to properly maintain your wood stove glass to ensure its longevity and optimal performance. Here are some essential cleaning techniques and preventive measures to keep in mind:
-
Regular cleaning: Regularly clean the glass using a non-abrasive cleaner specifically designed for wood stove glass. This will help remove any built-up soot or residue.
-
Avoid harsh chemicals: Avoid using harsh chemicals or abrasive materials that can damage the glass. Stick to gentle cleaners and soft cloths to preserve its clarity.
-
Preventive measures: To prevent the glass from cracking or shattering, always use dry, well-seasoned wood and avoid slamming the door shut. Additionally, ensure proper ventilation to regulate heat and pressure.
-
Inspections: Regularly inspect the glass for any cracks or damage. If you notice any issues, address them promptly to prevent further damage and ensure the safety of your wood stove.
Frequently Asked Questions
How Long Does It Typically Take to Replace Cracked Wood Stove Glass?
It typically takes about 1-2 hours to replace cracked wood stove glass. The cost can range between $100-$300, depending on the size and type of glass. You’ll need a screwdriver, gloves, and a replacement glass panel.
Can I Use Regular Glass Instead of Specially Made Stove Glass?
Can I use regular glass instead of specially made stove glass? While it may seem like a cost-effective solution, using regular glass in a wood stove can pose safety risks due to temperature fluctuations. It’s crucial to prioritize safety over convenience.
Is It Necessary to Remove the Entire Wood Stove to Replace the Cracked Glass?
No, it is not necessary to remove the entire wood stove to replace the cracked glass. The glass can usually be accessed and replaced by removing a few screws or clips.
Can I Repair a Small Crack in the Glass Instead of Replacing It?
Repairing a crack in wood stove glass is possible but not recommended. It’s best to replace the glass to ensure safety and efficiency. Alternative solutions may compromise the integrity of the glass.
Are There Any Safety Precautions I Need to Take While Removing the Cracked Glass From the Wood Stove?
When removing cracked glass safely from a wood stove, it is important to take proper safety precautions. Wear protective gloves and eyewear, and handle the glass carefully to avoid injury. Dispose of the cracked glass properly.
Conclusion
In conclusion, fixing cracked wood stove glass can be a daunting task, requiring careful assessment, the right tools and materials, and precise application. While it may seem like a simple DIY project, it’s crucial to approach it with technical knowledge and precision.
By following these steps and maintaining the replacement glass, you can ensure the longevity and efficiency of your wood stove.
So, roll up your sleeves, grab your tools, and let’s get that cracked glass fixed!