As a homeowner using a wood stove to heat a room, I started thinking about adding vents to spread the warmth into additional rooms. The task of deciding the optimal locations for these vents contributed to my hesitation.
In this article, I will delve into the benefits, considerations, safety concerns, and factors to keep in mind when deciding whether to install vents.
I will also provide best practices for placing vents in a home with a wood stove.
Key Takeaways
- Installing vents between rooms improves air circulation and heat distribution.
- Proper placement of vents ensures consistent temperature in each room and eliminates stuffiness and odors in closed-off rooms.
- When placing vents with a wood stove, factors to consider include distance from combustible materials, proper clearance from ceiling, floor, and nearby objects, and placement for maximum efficiency.
- Safety concerns when installing vents for heat distribution include prioritizing safety during installation, preventing hazards through proper vent placement, considering ventilation requirements for wood stoves, and being aware of carbon monoxide buildup and overheating risks.

Duravent 6" DuraPlus Through the Wall Kit
- Installation Kit for 6" DuraPlus: Through-the-wall vertical chimney setup
- Secure Twist-Lock Design: Ensures stable assembly
- Supports Up to 40 Feet: Chimney pipe length capacity
As an affiliate, we earn on qualifying purchases.
As an affiliate, we earn on qualifying purchases.
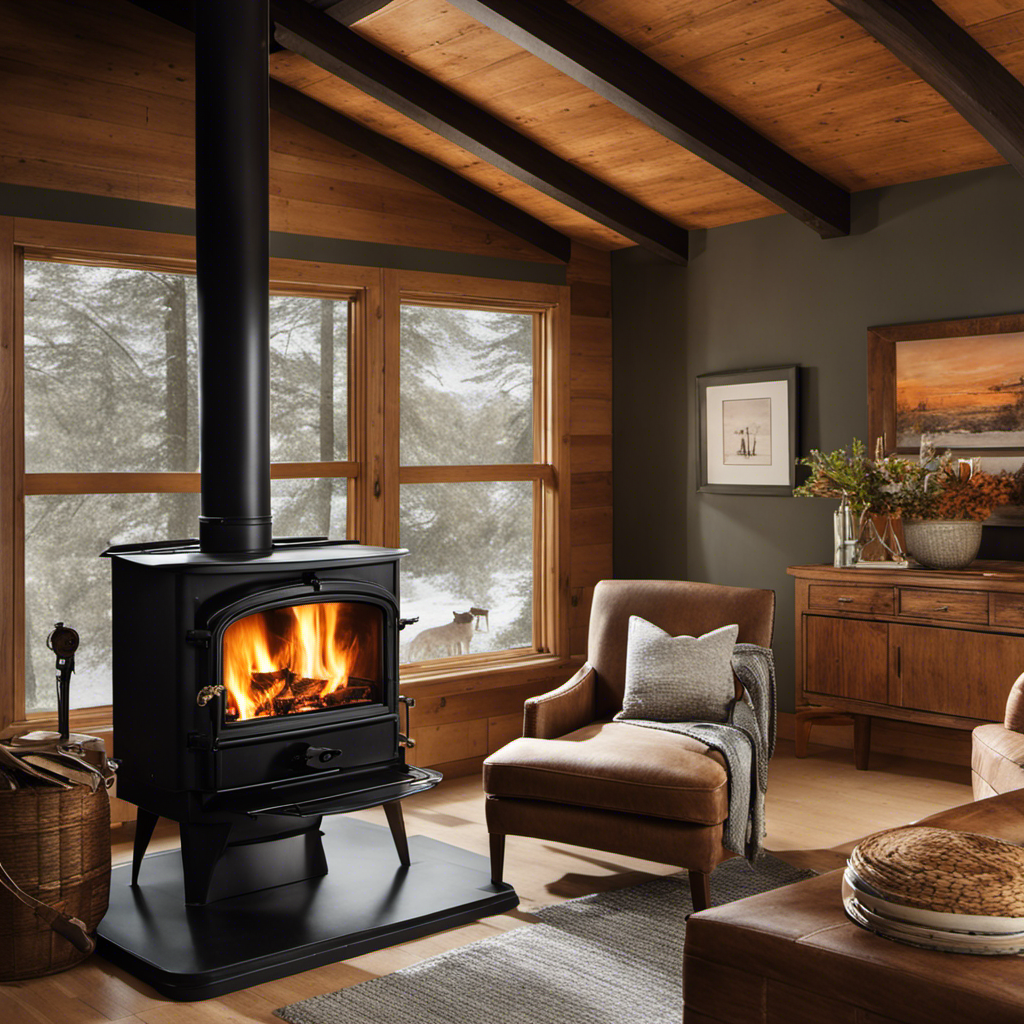
Benefits of Installing Vents Between Rooms
I should definitely consider installing vents between rooms as it would greatly improve air circulation and heat distribution. There are several pros to installing vents in this manner.
Firstly, it allows for better airflow throughout the entire house, ensuring that each room receives a consistent temperature. This is especially beneficial during the winter months when heat tends to gather in one area.
Secondly, it helps to eliminate stuffiness and odors that can accumulate in closed-off rooms.
On the other hand, there are a few cons to consider. One is the cost associated with installing vents, as it may require professional help and materials. Additionally, there’s the potential for noise transfer between rooms.
Overall, a cost analysis should be conducted to determine if the benefits outweigh the drawbacks.
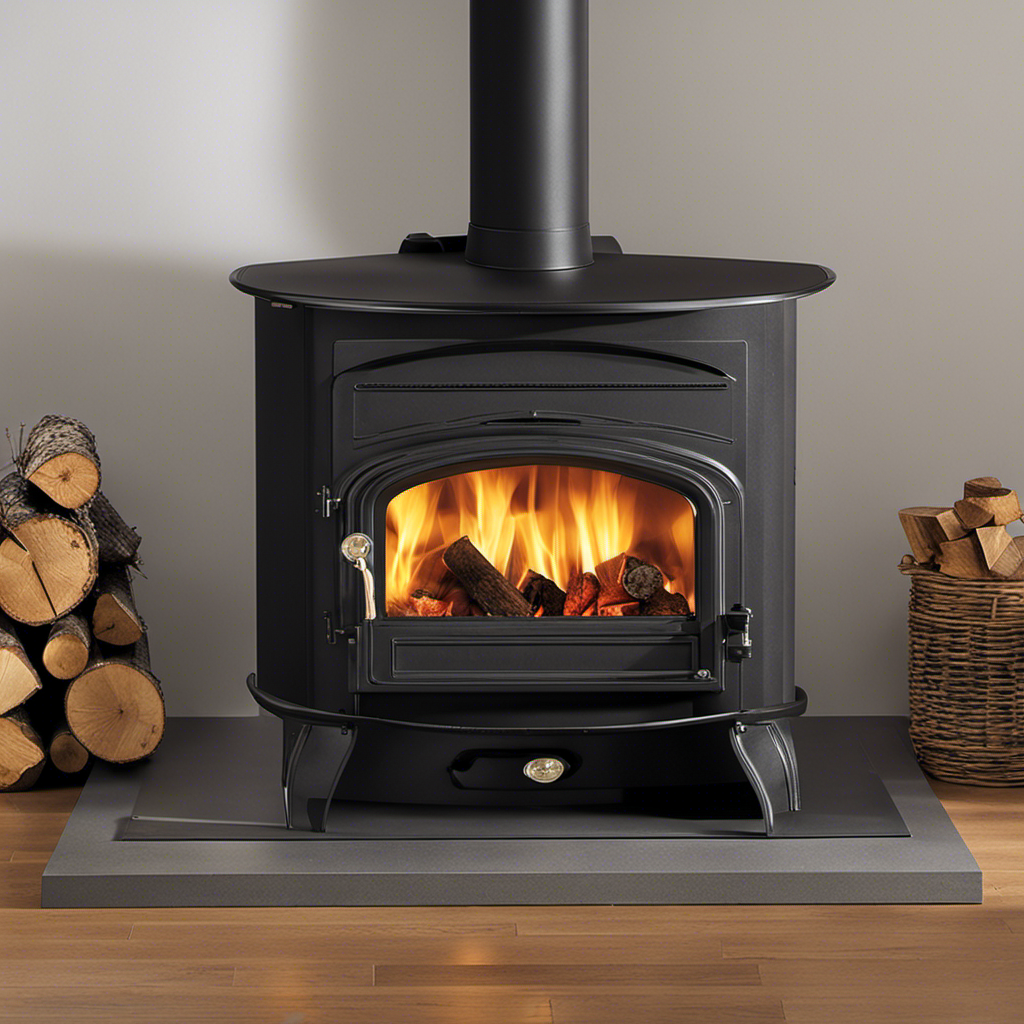
Considerations for Vent Placement With a Wood Stove
When considering vent placement with a wood stove, it’s important to take into account the proximity to combustible materials and ensure proper clearance. Here are three key considerations for vent placement to ensure optimal heat distribution:
-
Distance from combustible materials: The vent should be placed at a safe distance from any combustible materials such as walls, furniture, or curtains. This will minimize the risk of fire and ensure the safety of your home.
-
Proper clearance: The vent should have adequate clearance from the ceiling, floor, and other nearby objects. This will allow for proper airflow and prevent the accumulation of heat in one area, ensuring even heat distribution throughout the room.
-
Placement for maximum efficiency: The vent should be strategically placed to maximize heat distribution. Consider the layout of the room and position the vent in a location that allows the heat to flow freely and efficiently to all areas of the room.
Safety Concerns When Installing Vents for Heat Distribution
During installation, it is crucial to prioritize safety and ensure proper vent placement to prevent any potential hazards. When it comes to wood stoves, ventilation requirements are of utmost importance. Proper vent placement ensures efficient heat distribution while minimizing potential risks such as carbon monoxide buildup or overheating. To guide you in making informed decisions, I have provided a table below outlining key considerations for vent placement in a room with a wood stove.
| Vent Placement Considerations | Potential Risks |
|---|---|
| Near the stove for optimal heat distribution | Overheating the nearby area |
| Away from combustible materials | Fire hazards |
| At a height that allows for proper air circulation | Inadequate heat distribution |
| Avoiding corners or areas with limited airflow | Uneven heat distribution and potential carbon monoxide buildup |
Factors to Consider When Deciding Whether to Install Vents
To ensure proper ventilation, it’s important to carefully consider the potential risks and benefits before deciding whether to install vents in your wood stove room. Here are three key factors to consider:
-
Cost implications:
Installing vents can be expensive, as it involves both the cost of the vents themselves and the installation process. Additionally, there may be ongoing maintenance costs associated with keeping the vents clean and functioning properly. It’s important to weigh these costs against the potential benefits of improved air circulation and heat distribution. -
Energy efficiency:
Vents can help improve the energy efficiency of your wood stove room by allowing the warm air to circulate throughout the space. This can result in more even heating and potentially reduce the need for supplemental heating sources. However, it’s important to consider the insulation of your space and whether the installation of vents will lead to energy loss through air leaks. -
Proper placement:
The placement of vents is crucial for effective heat distribution. Consider the layout of your wood stove room and where the vents should be positioned to ensure maximum airflow. It’s important to consult with a professional to determine the optimal location for vents based on the specific characteristics of your space.
Best Practices for Placing Vents in a Home With a Wood Stove
I have found that using multiple vents, such as two or three, and strategically placing them in different areas of the home with a wood stove, can greatly improve the overall heat distribution.
When it comes to vent placement options for efficient heat distribution, there are a few key factors to consider. First, it’s important to place the vents in areas where heat tends to collect, such as near windows, corners, or high ceilings. This will help ensure that the warm air is evenly distributed throughout the space.
Additionally, it’s crucial to avoid common mistakes when installing vents for a wood stove. One common mistake is placing the vents too close to the stove, which can cause the air to become too hot and potentially damage the vent system. Another mistake is installing vents in areas where they may be obstructed, such as behind furniture or curtains, which can prevent proper airflow.
Frequently Asked Questions
What Are the Benefits of Installing Vents Between Rooms With a Wood Stove?
Installing vents between rooms with a wood stove has several benefits. It helps distribute heat more evenly, ensuring that both rooms stay warm. Proper vent placement is crucial for efficient heat transfer and maximizing the benefits of heat distribution.
What Factors Should I Consider When Deciding Where to Place Vents for Heat Distribution With a Wood Stove?
When considering factors for vent placement, it’s important to think about the layout of your rooms and the flow of heat. Placing vents strategically can help distribute heat effectively throughout your space.
What Safety Concerns Should I Be Aware of When Installing Vents for Heat Distribution With a Wood Stove?
When considering heat distribution from a wood stove, safety concerns are paramount. Properly installed vents can help distribute heat, but be cautious of fire hazards and ensure sufficient ventilation to prevent carbon monoxide buildup.
What Factors Should I Consider When Deciding Whether or Not to Install Vents Between Rooms With a Wood Stove?
When considering whether or not to install vents between rooms with a wood stove, factors to consider include heat distribution, airflow, and safety concerns. Vent placement considerations depend on the layout and size of the rooms.
What Are the Best Practices for Placing Vents in a Home With a Wood Stove?
When considering placing vents in a home with a wood stove, it’s important to prioritize heating efficiency and explore various ventilation options. Finding the optimal placement for vents is crucial for effective heat distribution.
Conclusion
In conclusion, installing vents between rooms can greatly benefit the distribution of heat from a wood stove. However, it’s important to carefully consider the placement of these vents to ensure optimal heat flow and to address safety concerns.
One interesting statistic to note is that properly placed vents can increase the efficiency of heat distribution by up to 50%, resulting in a more comfortable and energy-efficient home environment.