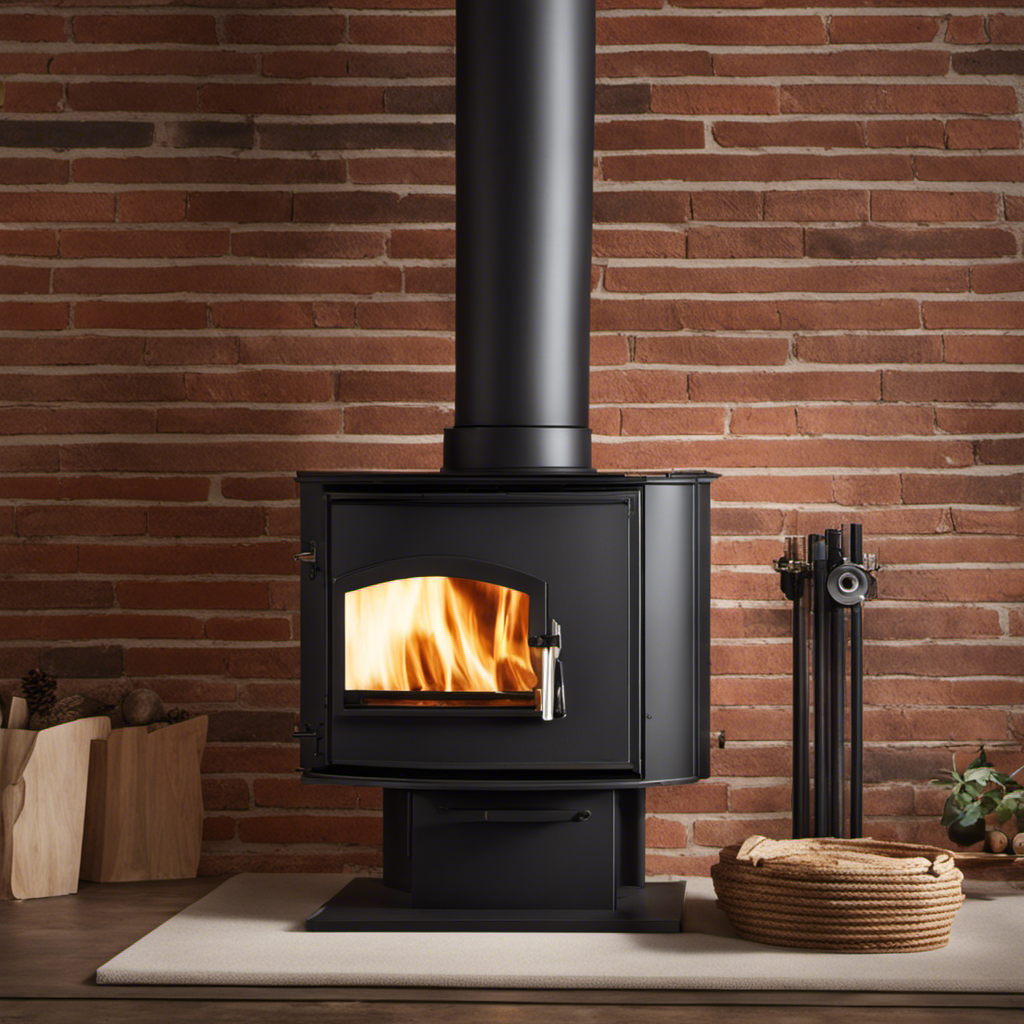
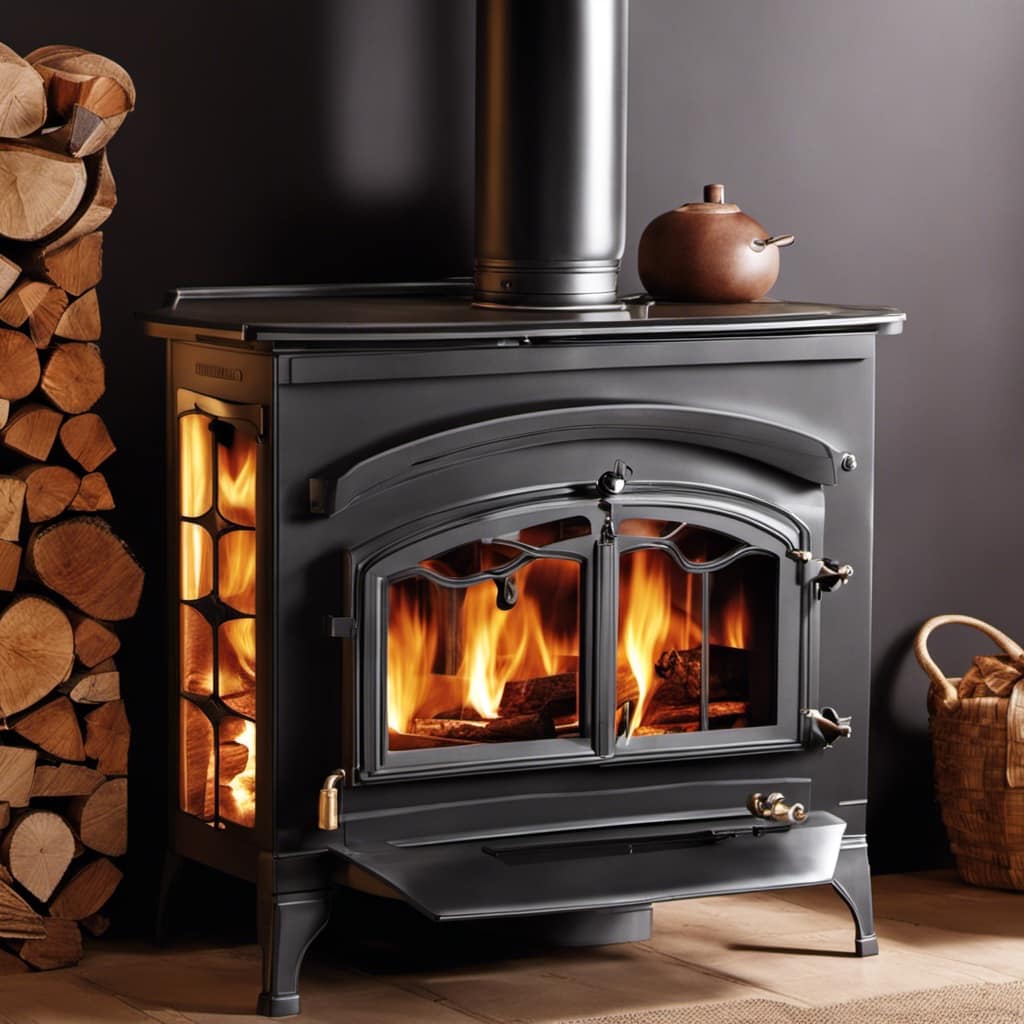
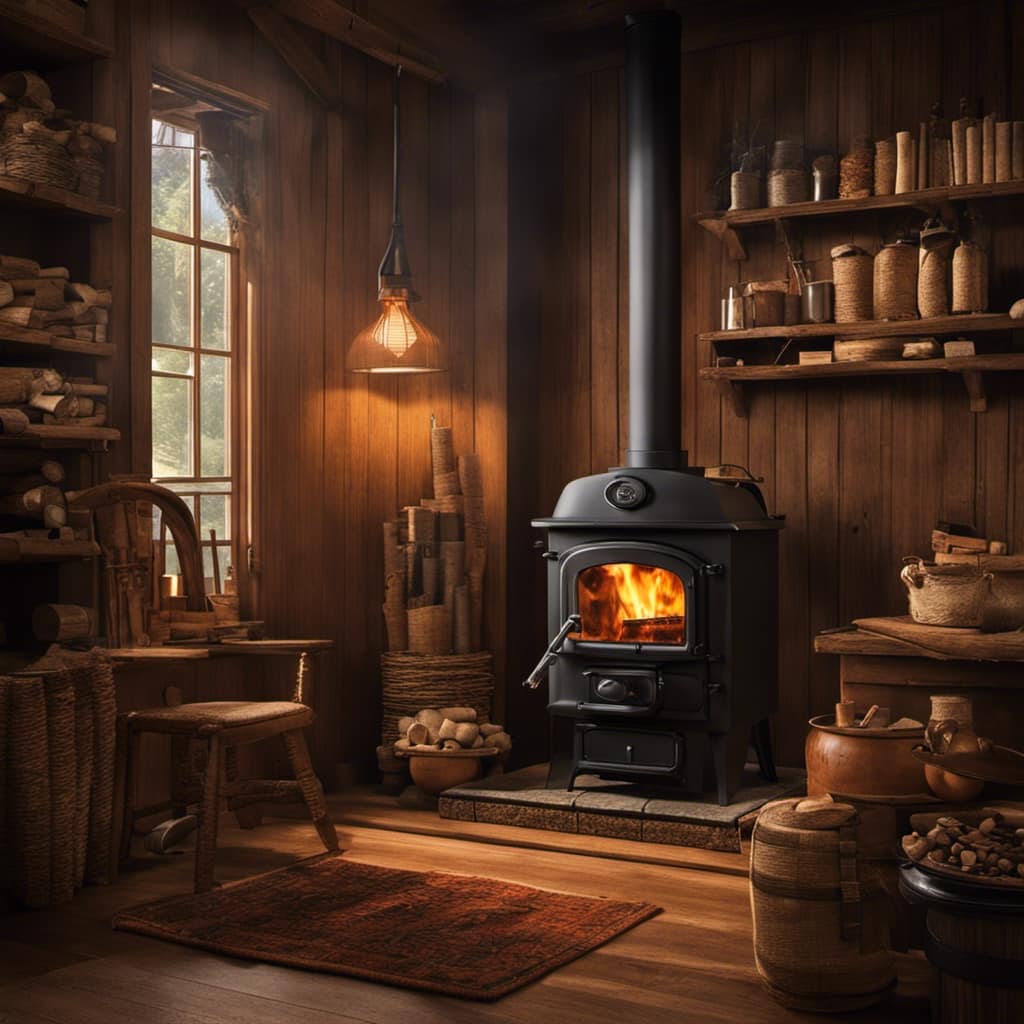
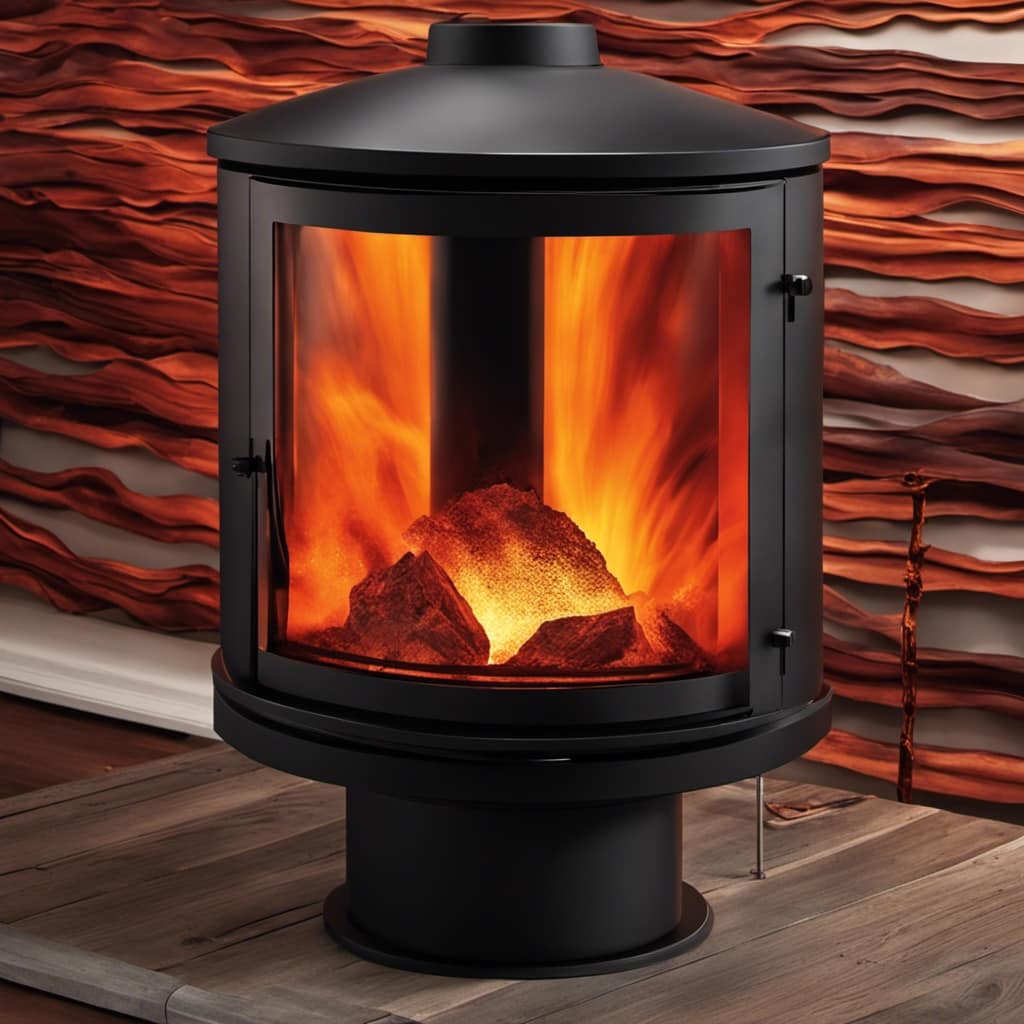
Connect with us

Wood Stove

How To Clean Creosote From Wood Stove

Published

on

As someone deeply familiar with wood stoves, I’ve come to know the difficult and dangerous enemy known as creosote—a sticky, tar-like substance that builds up in our beloved stoves, posing a serious fire hazard.

But fear not, my friends! In this article, I’ll guide you through the ins and outs of cleaning creosote from your wood stove, equipping you with the knowledge and tools you need to keep your stove safe and efficient.

Let’s banish that creosote and enjoy a worry-free winter!

Key Takeaways

  • Creosote buildup in a wood stove can lead to chimney fires, so regular cleaning is essential.
  • Using the right tools, such as a wire brush, shop vacuum, scraper, and dustpan, can make the cleaning process easier and more efficient.
  • It is important to wear proper protective gear, including gloves, goggles, and a respirator, to minimize the risk of accidents and injuries.
  • Choosing eco-friendly and non-toxic cleaning products, such as chimney cleaning logs, is recommended to ensure a clean and efficient wood stove while protecting the environment and health.
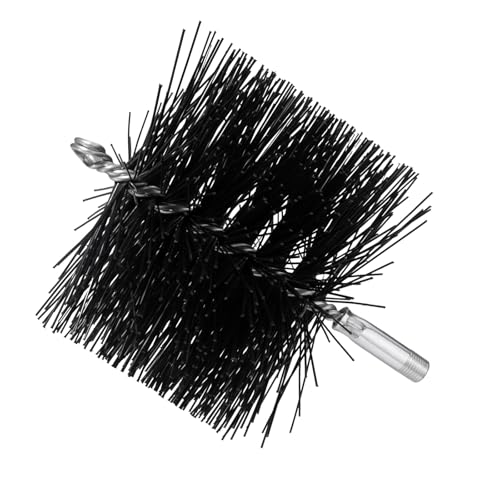
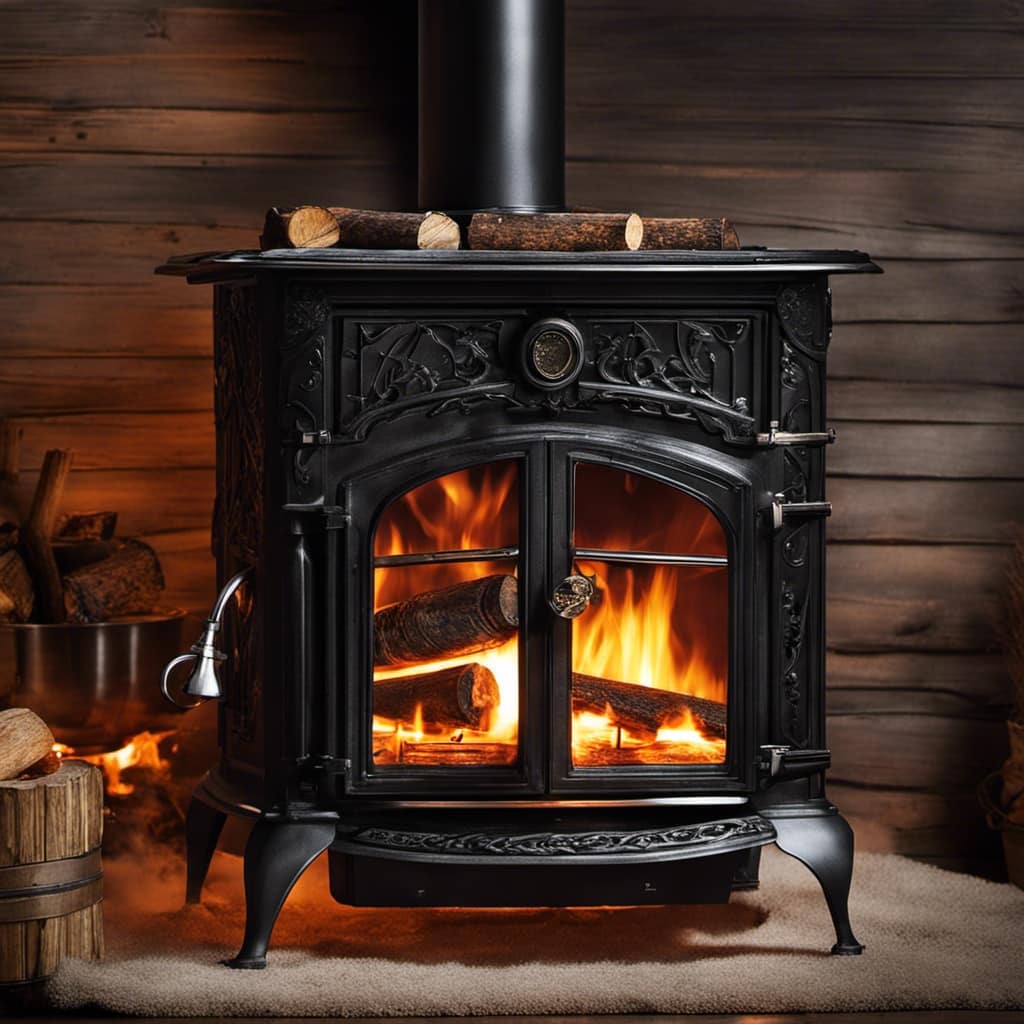
Understanding Creosote Buildup

I’ve noticed that creosote buildup can be a major issue when it comes to wood stoves. As someone with years of experience in using wood stoves, I understand the dangers that creosote can pose if not properly managed.

wood stove inserts for fireplaces

Creosote is a highly combustible substance that forms when wood is burned, and it can accumulate inside the chimney and stovepipe over time. This buildup can restrict airflow and lead to chimney fires, which can be extremely dangerous and cause significant damage to your home.

Advertisement

To prevent creosote buildup and ensure the safety of your wood stove, there are a few tips that I can share. Firstly, it’s important to burn only dry and seasoned wood. Wet or unseasoned wood produces more smoke, which increases the amount of creosote that forms.

Secondly, maintaining a hot fire can help minimize creosote buildup. A hot fire burns more efficiently and produces less smoke, reducing the amount of creosote that’s deposited. Additionally, regular chimney inspections and cleanings are essential. A professional chimney sweep can remove any existing creosote and ensure that your chimney is clear and safe.

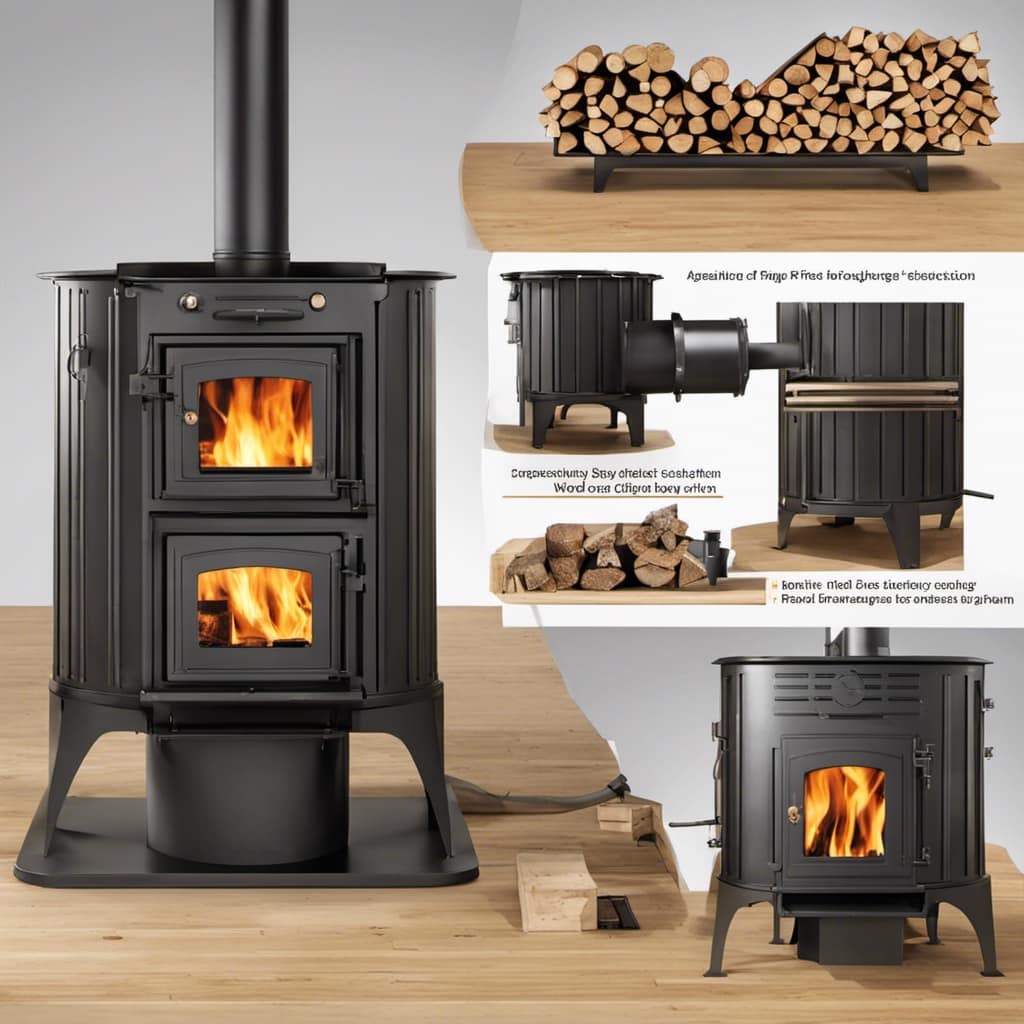
Gathering the Necessary Tools and Supplies

Before beginning the task of cleaning creosote from a wood stove, it’s crucial to gather all the necessary tools and supplies.

wood stove pipe cleaning kit

As an experienced cleaner, I know that having the right equipment is essential for a successful cleaning session.

From chimney brushes and rods to ash vacuums and scrapers, ensuring that you’ve everything you need will make the process smoother and more efficient.

Advertisement

Essential Cleaning Equipment

To effectively clean creosote from a wood stove, I need a wire brush and a shop vacuum. These are the essential cleaning supplies that I rely on to remove stubborn stains and buildup from the stove’s interior. The wire brush is perfect for scrubbing away the hardened creosote, while the shop vacuum efficiently sucks up the loosened debris. Additionally, I find it helpful to have a few other tools on hand, such as a scraper and a dustpan, to aid in the cleaning process. These tools allow me to scrape off any remaining residue and collect the debris for easy disposal. With the right equipment and a little elbow grease, I can ensure that my wood stove remains clean and efficient.

Essential Cleaning Supplies Removing Stubborn Stains
Wire brush Scrubs away creosote
Shop vacuum Sucks up debris
Scraper Removes residue
Dustpan Collects debris

Proper Protective Gear

Wearing the proper protective gear, like gloves and goggles, is essential when working with a wood stove. As someone who’s cleaned many wood stoves, I know the importance of safety precautions. Here are some key items to consider when it comes to proper protective gear:

wood stove inserts for fireplaces

  • Gloves: Thick, heat-resistant gloves will protect your hands from burns and splinters while handling hot stove components.

  • Goggles: Safety goggles shield your eyes from flying debris, sparks, and dust, ensuring clear vision and preventing eye injuries.

  • Respirator or Mask: A respirator or mask will filter out harmful particles and fumes, providing clean air to breathe and protecting your respiratory system.

By wearing these items, you can minimize the risk of accidents and injuries while cleaning your wood stove.

wood stove fan repair

Safety should always be a top priority when working with any heating appliance.

As someone who’s maintained many wood stoves, I highly recommend using a chimney cleaning log to keep your flue clear of buildup. These logs are a safe and effective way to remove creosote and other residues from the chimney walls. They work by releasing special chemicals that break down the creosote, making it easier to remove.

Advertisement

It’s important to use eco-friendly cleaning products when caring for your wood stove and chimney. Look for products that are biodegradable and non-toxic, as they’re better for the environment and your health.

By choosing safe cleaning methods and eco-friendly products, you can ensure a clean and efficient wood stove that will provide warmth and comfort throughout the winter.

lopi wood stove prices

Now, let’s move on to preparing your wood stove for cleaning.

Preparing Your Wood Stove for Cleaning

I’m getting ready to clean my wood stove, so the first step is to make sure it’s properly prepared. Wood stove maintenance is crucial for its efficient and safe operation, and regular cleaning plays a vital role in this process. Here are a few important steps to prepare your wood stove for cleaning:

  • Gather the necessary tools: Before starting the cleaning process, gather the necessary tools such as a wire brush, ash vacuum, scraper, and a dustpan. Having these tools handy will make the cleaning process much smoother and efficient.

  • Ensure proper ventilation: Open the windows or doors in the room where the wood stove is located to ensure proper ventilation. This will help in minimizing the amount of dust and soot particles that may circulate in the air during the cleaning process.

    cubic mini wood stove

  • Protect the surrounding area: Cover the surrounding area around the wood stove with a drop cloth or old newspapers to prevent any mess. Cleaning a wood stove can be a messy task, and by taking this precaution, you can save yourself from the hassle of cleaning up afterwards.

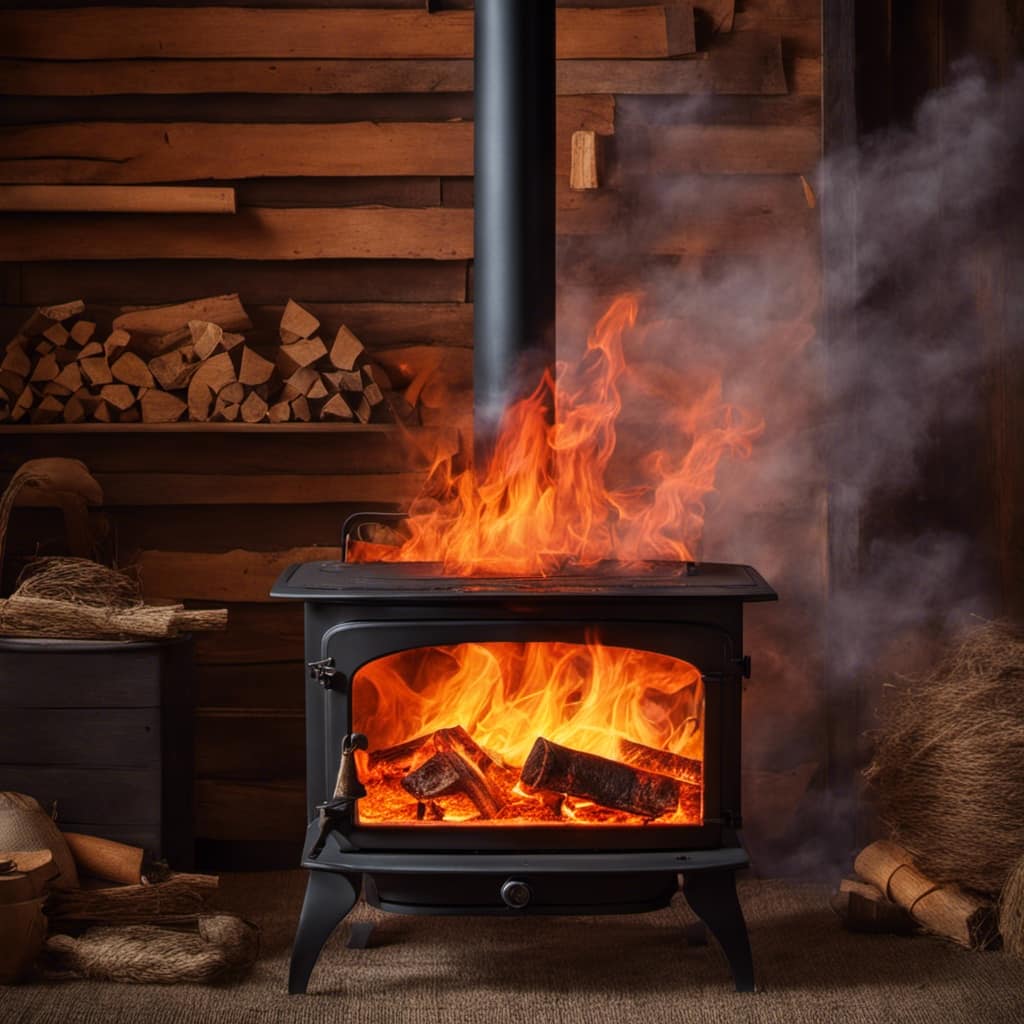
Removing Surface Creosote

Now that we’ve prepared our wood stove for cleaning, it’s time to tackle the task of removing surface creosote.

Advertisement

Surface creosote refers to the layer of creosote that has built up on the interior surfaces of the stove, including the walls, baffles, and grates. It’s important to remove this creosote regularly to ensure the efficient and safe operation of your wood stove.

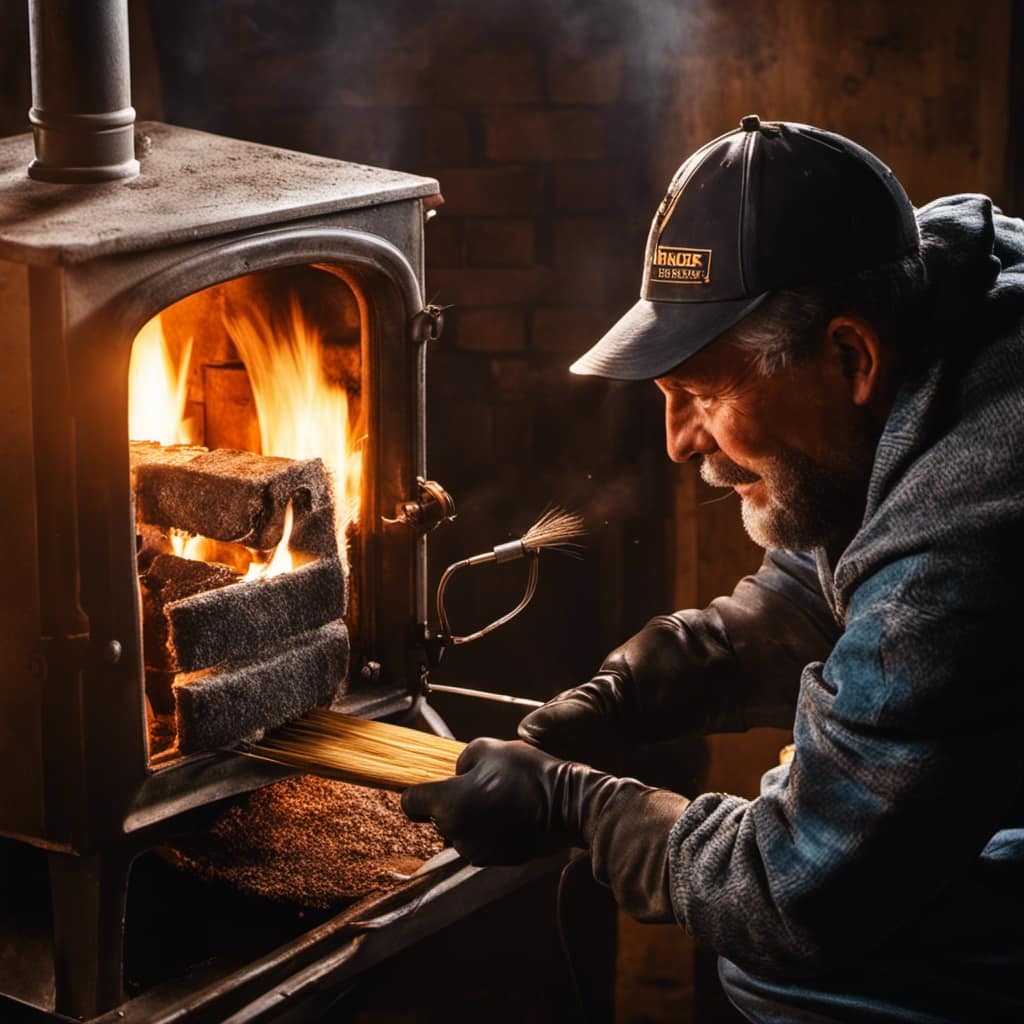
There are various creosote cleaning techniques that can be used for removing surface creosote. One effective method is to use a stiff-bristle brush or a creosote removal tool to scrape off the creosote from the surfaces. Start by removing the baffles and grates, if possible, to access all areas of the stove. Then, carefully scrub the interior surfaces with the brush or tool, making sure to reach into all the nooks and crannies where creosote may have accumulated.

wood burning stove lowes

After removing the surface creosote, it’s important to dispose of it properly. Creosote is highly flammable, so it should never be left inside the house or thrown into the regular trash. Instead, seal it in a bag and dispose of it in accordance with local regulations for hazardous materials.

With the surface creosote removed, we can now move on to cleaning the stove pipes and chimney, which is the next step in maintaining a clean and safe wood stove.

Cleaning the Stove Pipes and Chimney

Cleaning the stove pipes and chimney is an essential task to ensure the safe and efficient operation of your wood stove.

Advertisement

As an experienced chimney sweep, I know that proper maintenance involves removing any creosote buildup that can lead to chimney fires.

mini wood burning stove

Regularly cleaning the stove pipes and chimney also improves the draft and prevents smoke from entering your home.

Proper Chimney Maintenance

To maintain a proper chimney, it’s important to regularly remove creosote from the wood stove. Creosote is a highly flammable substance that can accumulate in the chimney over time, increasing the risk of a chimney fire. By scheduling regular chimney inspections and utilizing chimney sweep services, you can ensure that your chimney stays clean and safe.

Here are three key benefits of proper chimney maintenance:

  • Increased Safety: Regular chimney inspections can identify any potential issues, such as blockages or cracks, that could pose a safety hazard.

    wood stove pipe installers near me

  • Improved Efficiency: A clean chimney allows for better airflow, which improves the efficiency of your wood stove and reduces the amount of smoke and pollutants released into the environment.

  • Longevity of the Chimney: Proper maintenance helps prolong the lifespan of your chimney, saving you money in the long run by preventing costly repairs or replacements.

With regular chimney inspections and chimney sweep services, you can enjoy a safe and efficient wood stove experience.

Advertisement

Removing Creosote Buildup

I need to schedule a chimney inspection and sweep to ensure the safety and efficiency of my fireplace. It’s important to take proactive steps in preventing creosote buildup, as it can pose serious risks such as chimney fires. Regular maintenance is key in keeping your chimney free from this hazardous substance. There are various creosote removal methods available, each with its own advantages and disadvantages. Here is a table that provides an overview of some common creosote removal methods:

wood stove pipes and fittings

Method Description Effectiveness
Mechanical Removal Using brushes or scrapers to physically remove creosote Highly effective
Chemical Treatment Applying chemicals to break down creosote for easier removal Moderately effective
Heat Treatment Using high heat to burn off creosote Highly effective, but risky

Cleaning Stove Pipe

Having a clear and well-maintained stove pipe is crucial for the proper functioning of my fireplace. Regularly cleaning the stove pipe not only prevents creosote buildup but also ensures efficient heat transfer and reduces the risk of chimney fires. Here are some essential tips for cleaning your stove pipe:

  • Use a chimney brush: Invest in a high-quality chimney brush that matches the size and shape of your pipe. Start from the top and work your way down, scrubbing vigorously to remove any soot or creosote deposits.

  • Inspect for damage: While cleaning, carefully inspect the stove pipe for any signs of damage, such as cracks or corrosion. Addressing these issues promptly will help maintain the integrity of the pipe and prevent future problems.

  • Clear obstructions: During the cleaning process, check for any obstructions like bird nests, leaves, or debris. Remove them to ensure proper airflow and prevent dangerous blockages.

    wood stove inserts near me

Dealing With Stubborn Creosote Deposits

I’ve found that using a wire brush can effectively remove stubborn creosote deposits from my wood stove. Dealing with stubborn creosote deposits can be a challenging task, but with the right techniques, it can be done effectively. Creosote is a highly flammable substance that forms when wood is burned incompletely. Over time, it can accumulate on the walls of the stove and stove pipe, posing a serious fire hazard.

To tackle this issue, it’s important to have effective creosote removal techniques in place.

One of the most effective techniques I’ve found is using a wire brush. This tool is specifically designed to scrape away the hardened creosote deposits from the stove walls and pipe. It’s important to use a brush with stiff bristles to ensure thorough cleaning. Start by removing any loose debris from the stove and pipe, then scrub the affected areas using the wire brush. Be sure to wear protective gloves and goggles to prevent any injuries. After scrubbing, use a vacuum cleaner or a brush to remove the loosened creosote from the stove. Repeat this process as necessary until all the deposits are removed.

In addition to using a wire brush, it’s also important to have regular maintenance and cleaning of the wood stove. This includes removing ashes and cleaning the stove pipe at least once a year.

Advertisement

wood stoked oven food truck

Preventing Future Creosote Buildup

Now that we’ve covered how to deal with stubborn creosote deposits, let’s talk about preventing future buildup. As someone who’s been using wood stoves for years, I understand the importance of keeping creosote at bay to avoid potential fires.

Here are some effective techniques to prevent future creosote buildup:

  • Regular chimney inspections: Schedule annual inspections to identify any potential creosote buildup or other issues. A professional chimney sweep can thoroughly clean and inspect your chimney, ensuring it’s in good working condition.

  • Proper wood selection and seasoning: Burning dry, well-seasoned hardwoods significantly reduces creosote formation. Moisture in unseasoned wood promotes creosote buildup, so it’s crucial to properly season your firewood before using it.

    cast iron wood stove

  • Efficient burning practices: To minimize creosote formation, maintain a hot and efficient fire. Avoid smoldering fires and instead build a well-ventilated fire that burns at a high temperature. This helps to burn off any potential creosote buildup.

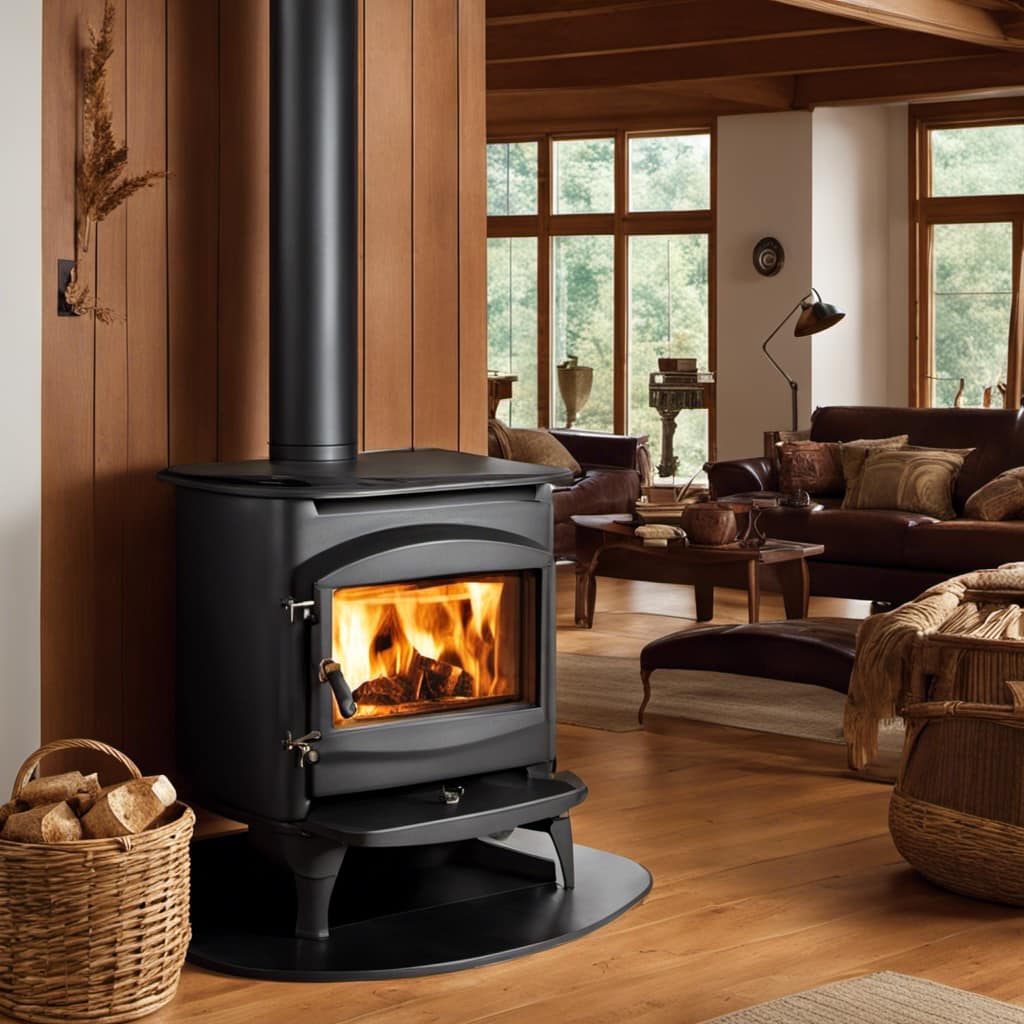
Tips and Tricks for Maintaining a Clean Wood Stove

As an experienced user of wood stoves, I’ve found that regular maintenance is crucial for keeping my heating source efficient and safe. Understanding the dangers of creosote buildup and avoiding common wood stove cleaning mistakes are key to maintaining a clean wood stove.

Creosote is a byproduct of burning wood and can accumulate in the chimney and stovepipe over time. If not properly cleaned, it can lead to chimney fires, poor draft, and reduced efficiency. That’s why it’s important to regularly inspect and clean your wood stove.

One common mistake to avoid is neglecting to clean the stovepipe. Creosote can build up in the stovepipe, restricting airflow and increasing the risk of a chimney fire. Make sure to clean the stovepipe at least once a year using a chimney brush.

Advertisement

wood stove pipe home depot

Another mistake to avoid is using improper cleaning techniques. Avoid using water or household cleaners to clean your wood stove, as they can damage the stove’s interior. Instead, use a wire brush or scraper to remove any built-up creosote. Be sure to wear protective gloves and goggles to protect yourself from any debris.

Maintaining a clean wood stove is essential for its longevity and safety. By understanding the dangers of creosote buildup and avoiding common cleaning mistakes, you can ensure that your wood stove operates efficiently and safely for years to come.

Frequently Asked Questions

How Often Should I Clean My Wood Stove to Prevent Creosote Buildup?

I clean my wood stove regularly to prevent creosote buildup. It’s important to maintain a clean stove to ensure efficient and safe operation.

Creosote can accumulate quickly, especially if you use your stove frequently. Cleaning frequency depends on usage, but a general rule of thumb is to clean it at least once every season. Regular cleaning helps remove creosote and reduces the risk of chimney fires.

defiant 1910 wood stove

Don’t forget to inspect and clean the chimney as well for optimal performance.

Advertisement

Can I Use Household Cleaning Products to Remove Creosote From My Wood Stove?

Can I just say, using household cleaning products to remove creosote from your wood stove is like trying to put out a forest fire with a water pistol. It’s just not gonna cut it.

Trust me, I’ve been there. But fear not, my friend, for there are effective alternatives. So let’s dive into the wonderful world of creosote removal and explore some tried and true methods that will leave your wood stove sparkling clean.

Is It Safe to Clean the Stove Pipes and Chimney by Myself, or Should I Hire a Professional?

When it comes to cleaning the stove pipes and chimney, there are safety considerations to take into account. While some DIY enthusiasts may feel confident in tackling the job themselves, it’s important to prioritize safety.

stove for food truck

Hiring a professional chimney cleaner ensures that the task is done correctly and minimizes the risk of accidents or damage to your home. Remember, the safety of your home and family should always be the top priority.

What Are Some Signs That Indicate I Have Stubborn Creosote Deposits in My Wood Stove?

Signs of stubborn creosote deposits in my wood stove can include a strong, smoky odor, a buildup of thick, black, tar-like substance on the stove walls, and difficulty in getting a good fire going.

Advertisement

Removing these deposits requires thorough cleaning and regular maintenance. I’ve found that using a stiff brush, chimney sweep rods, and a creosote removal product can effectively break down and remove the creosote.

Regular inspections and cleanings are essential to ensure the safety and efficiency of my wood stove.

wood stove fan amazon

Are There Any Alternative Methods or Products That Can Help Prevent Creosote Buildup in the Future?

Well, when it comes to preventing creosote buildup in the future, there are indeed some alternative methods and natural cleaners that can help.

It’s important to stay proactive in maintaining your wood stove to avoid the hassle of cleaning stubborn creosote deposits later on.

Conclusion

In conclusion, keeping your wood stove clean and free from creosote buildup is essential for safety and efficiency.

Advertisement

By regularly removing surface creosote, cleaning the stove pipes and chimney, and taking preventative measures, you can ensure that your wood stove functions optimally and reduces the risk of chimney fires.

wood stove pipe installation

So, take the necessary steps to maintain a clean wood stove and enjoy the warmth and comfort it brings to your home.

Remember, a clean wood stove is a happy wood stove!

Growing up surrounded by the vast beauty of nature, Sierra was always drawn to the call of the wild. While others sought the comfort of the familiar, she ventured out, embracing the unpredictable and finding stories in the heartbeat of nature.   At the epicenter of every remarkable venture lies a dynamic team—a fusion of diverse talents, visions, and passions. The essence of Best Small Wood Stoves is crafted and refined by such a trio: Sierra, Logan, and Terra. Their collective expertise has transformed the platform into a leading authority on small wood stoves, radiating warmth and knowledge in equal measure.

Continue Reading
Advertisement

Wood Stove

How Long Does It Take Wood To Ignite Aftee Being Put In A Wood Stove

Published

on

By

An image capturing the mesmerizing scene of a wood stove, with a bed of glowing embers beneath carefully stacked logs, as tendrils of thin smoke gracefully curl upwards, depicting the anticipation of wood slowly igniting

I must admit, the wait for wood to catch fire in a wood stove can seem never-ending. However, do not worry, as in this article, I will share some strategies and tips to speed up the process.

From understanding the temperature and moisture content of the wood to choosing the right type and preparing it efficiently, we’ll explore all the factors that affect wood ignition time.

So let’s dive in and get that fire blazing in no time!

Key Takeaways

  • Weather conditions and moisture content of the wood can affect the ignition time.
  • Properly seasoned wood with around 20% moisture content ignites more easily.
  • Smaller wood logs and softer woods tend to ignite faster than larger and harder woods.
  • Proper wood storage and preparation, such as keeping it off the ground, using fire starters, and maintaining airflow, can help ensure faster ignition in a wood stove.

Factors Affecting Wood Ignition Time

I’m curious about the factors that can affect the time it takes for wood to ignite in a wood stove.

One of the key factors is the weather conditions. Cold and damp weather can make it harder for the wood to catch fire, as moisture content in the wood can be high. It’s important to ensure that the wood is properly seasoned and has a moisture content of around 20% for optimal ignition.

Another factor to consider is the size of the wood logs. Smaller logs tend to ignite more quickly as they’ve a larger surface area exposed to the heat source.

Advertisement

Additionally, the type of wood being used can also affect ignition time, with softer woods igniting faster than harder woods.

Temperature and Moisture Content of Wood

The optimal moisture content for wood is around 20%, which ensures efficient ignition in a wood stove. The wood ignition process is influenced by various factors, and the moisture content plays a critical role in determining how quickly the wood will ignite.

When wood is too wet, it requires more energy to burn off the excess moisture before it can reach its ignition point. On the other hand, if the wood is too dry, it may ignite too quickly and burn too rapidly, leading to inefficient combustion and wasted energy.

Therefore, it’s essential to properly store wood to maintain its moisture content within the optimal range. Proper wood storage involves keeping the wood off the ground, covering it to protect it from rain or snow, and allowing for proper airflow to prevent excessive moisture buildup.

Type of Wood and Its Density

I prefer using hardwoods like oak or maple due to their density and their ability to burn longer and provide more heat. When it comes to wood species selection, it’s important to consider the impact of wood moisture content. Here are three key points to keep in mind:

Advertisement
  1. Moisture content affects combustion efficiency: Wet wood contains a higher moisture content, which leads to incomplete combustion and the production of more smoke and pollutants. Dry hardwoods, on the other hand, burn more efficiently and produce less smoke.

  2. Heat output is influenced by wood density: Hardwoods have a higher density compared to softwoods, resulting in a higher heat output. This means that hardwoods like oak and maple can provide more warmth and keep your space cozy for a longer period of time.

  3. Longer burn time with hardwoods: Due to their density, hardwoods burn at a slower rate, allowing for a longer burn time per log. This means less frequent refueling and a more consistent heat source.

Preparing Wood for Efficient Ignition

To ensure efficient ignition, I always make sure to properly split and dry my firewood. Proper wood storage is essential for achieving this. It’s important to store the firewood in a well-ventilated area, off the ground and protected from moisture. This allows the wood to dry properly and reduces the risk of it being damp or rotting.

When it comes to igniting the wood in a wood stove, using fire starters or kindling can greatly speed up the process. These small pieces of flammable material help create a hot and sustained flame, which in turn ignites the larger pieces of wood.

By incorporating these techniques, you can ensure a faster and more efficient ignition in your wood stove.

Now, let’s move on to some tips for faster wood ignition in a wood stove.

Tips for Faster Wood Ignition in a Wood Stove

Using kindling and ensuring proper airflow are key to achieving faster wood ignition in a wood stove. When it comes to stubborn wood that’s difficult to ignite, there are several ignition techniques that can be employed:

Advertisement
  1. Preparation: Properly seasoned wood with a moisture content below 20% is essential for efficient ignition. This ensures that the wood is dry enough to catch fire quickly.

  2. Kindling: Creating a bed of small, dry kindling underneath the larger logs helps to ignite the fire faster. Kindling acts as a fuel source that ignites easily and produces enough heat to catch the larger logs on fire.

  3. Airflow: Adequate airflow is crucial for wood ignition. By opening the damper or adjusting the air vents, you can ensure that enough oxygen is getting to the fire, promoting faster ignition.

While some may consider using accelerants to speed up wood ignition, it’s important to note that this can be dangerous and may result in uncontrollable fires or the release of harmful chemicals. It’s recommended to rely on proper ignition techniques and patience for a safe and efficient wood ignition process.

Frequently Asked Questions

Can I Use Treated Wood in My Wood Stove?

Using pressure treated wood in a wood stove is not recommended due to the chemicals it releases when burned. It is safer to use untreated wood or other alternatives for faster ignition.

What Is the Best Type of Wood to Use for Faster Ignition in a Wood Stove?

Fast burning woods like pine or fir can ignite in a wood stove within minutes. To ensure efficient wood stove usage, it’s important to choose dry, seasoned firewood and properly maintain the stove.

Are There Any Safety Precautions I Should Take When Igniting Wood in a Wood Stove?

When igniting wood in a wood stove, it is important to take safety precautions. Keep a fire extinguisher nearby and ensure proper ventilation. Additionally, the moisture content of the wood can affect its ignition time.

Can I Use Wood Chips or Sawdust for Ignition in a Wood Stove?

I can use wood chips or sawdust for ignition in a wood stove. They are effective fire starters for faster ignition. The small size and high surface area make them ignite quickly, reducing the time needed for the wood to catch fire.

Advertisement

How Does the Size of the Wood Affect Its Ignition Time in a Wood Stove?

Moisture content significantly affects wood ignition in a wood stove. Smaller pieces of wood ignite faster due to increased surface area. However, larger pieces provide longer burn times. Consider the advantages and disadvantages of each for efficient use in a wood stove.

Conclusion

After careful analysis of the factors affecting wood ignition time, it’s safe to say that wood doesn’t ignite instantly in a wood stove. Contrary to popular belief, wood requires time to reach its ignition point, which is influenced by factors such as temperature, moisture content, and wood density.

To expedite the process, it’s crucial to choose the right type of wood and ensure it’s properly prepared. So, if you were expecting an immediate burst of flames, you might’ve to wait a little longer.

Continue Reading

Wood Stove

Why Does Your Wood Stove Smoke

Published

on

By

An image capturing a rustic, cozy living room

Dealing with the smoke from your wood stove can be a real nuisance. But don’t worry, I’m here to provide some tips on how to manage it.

Understanding the root causes of this predicament is crucial. Insufficient airflow, improper wood selection, damaged chimney, inadequate maintenance, and incorrect installation are the major culprits.

Let’s delve into each of these factors to uncover the secrets behind why your wood stove may be producing that bothersome smoke.

Key Takeaways

  • Blocked vents disrupt combustion process and lead to incomplete burning and smoke generation.
  • Burning wet or high-moisture wood results in inefficient burning and increased creosote buildup.
  • Cracked or deteriorating chimney can cause leaks and smoke entry.
  • Inadequate stove maintenance, including dirty burners and clogged flue, can lead to smoke issues.

Insufficient Airflow

I’m having trouble with my wood stove smoking because there’s not enough airflow. A common cause of insufficient airflow is blocked vents. When the vents are blocked, the combustion process is disrupted, leading to incomplete burning of the wood and the generation of smoke.

To ensure efficient combustion and minimize smoke, it’s crucial to maintain clear and unobstructed vents. Blocked vents can result from a buildup of creosote or debris, so regular cleaning is essential.

Additionally, proper placement of the stove is crucial to ensure adequate airflow. Make sure that the stove is positioned away from any obstructions, such as furniture or curtains, that might impede the flow of air.

Advertisement

Improper Wood Selection

To prevent excessive smoke and poor combustion, it’s important to avoid burning wet wood or wood with high moisture content, as it can result in inefficient burning and increased creosote buildup. When burning seasoned firewood, which has a moisture content of around 20% or less, the wood burns more efficiently, producing less smoke and providing more heat output. Seasoned firewood has been properly dried for at least six months, allowing the moisture content to decrease significantly. This ensures that the wood burns cleanly and effectively in your wood stove. However, if you burn wood with high moisture content, it will create more smoke and reduce the overall efficiency of your stove. This can also lead to a higher risk of creosote buildup in your chimney, which can be dangerous and increase the chance of a chimney fire. Therefore, it’s crucial to always use dry, seasoned firewood to prevent excessive smoke and maintain proper combustion in your wood stove.

Now, let’s discuss another potential reason for excessive smoke: a damaged or leaky chimney.

Damaged or Leaky Chimney

A damaged or leaky chimney can cause smoke to enter your home, which can be hazardous to your health and safety. It’s important to address any issues with your chimney promptly to ensure the proper functioning of your wood stove.

Here are three signs of a damaged chimney that you should be aware of:

  1. Cracked or crumbling mortar: If you notice any cracks or crumbling in the mortar joints of your chimney, it could indicate water damage or structural issues. This can lead to leaks and smoke entering your home.

  2. Rusty or deteriorating chimney cap: The chimney cap plays a crucial role in keeping out rain, snow, debris, and animals. If it’s rusty or deteriorating, it may not be able to perform its function effectively, allowing smoke to escape into your living space.

  3. Smoke stains or odors: If you notice smoke stains on the walls or ceilings near your chimney or detect a persistent smoky odor in your home, it could be a sign of a leaky chimney. This should be addressed promptly to prevent further damage and potential health risks.

When faced with a damaged chimney, there are various repair options available, such as chimney relining, chimney crown repair, and chimney flashing repair. It’s important to consult with a professional chimney technician to determine the best course of action for your specific situation.

Advertisement

Inadequate Stove Maintenance

One of the main causes of smoke in your home can be the result of inadequate stove maintenance. A dirty stove and a clogged flue are two common culprits that can lead to smoke issues. When the stove isn’t properly cleaned, a buildup of soot and debris can occur on the burners, causing incomplete combustion and the production of smoke.

Additionally, a clogged flue prevents the proper ventilation of smoke, leading to its accumulation inside your home. Regular cleaning and maintenance of your stove, including cleaning the burners and ensuring the flue is clear, is crucial in preventing smoke issues.

It’s recommended to schedule annual professional maintenance to ensure your stove is in optimal condition and to avoid the inconvenience and potential health hazards associated with smoke in your home.

Incorrect Stove Installation

I regret not hiring a professional for my stove installation, as it has caused numerous issues and potential hazards. When it comes to installing a wood stove, proper positioning and sizing are crucial factors that shouldn’t be taken lightly.

Here are three key reasons why improper stove positioning and incorrect flue size can lead to problems:

Advertisement
  1. Inadequate clearance: Placing the stove too close to combustible materials can increase the risk of fire. It’s essential to follow the manufacturer’s guidelines for proper clearances to ensure the safe operation of the stove.

  2. Inefficient heating: Incorrect positioning can hinder the stove’s ability to distribute heat effectively throughout the room. This can result in uneven temperatures and wasted energy, leading to discomfort and higher heating costs.

  3. Insufficient draft: Using an incorrect flue size can impede the stove’s ability to expel smoke and gases properly. This can lead to backdrafting, where smoke enters the room instead of being directed outside. Aside from the health hazards, backdrafting can damage the stove and cause indoor air quality issues.

To avoid these problems, it’s essential to consult a professional for the proper installation of your wood stove. They’ll ensure that the stove is positioned correctly and the flue size is appropriate for efficient and safe operation.

Frequently Asked Questions

Can Smoking Occur if There Is Sufficient Airflow in the Wood Stove?

Yes, smoking can still occur in a wood stove even with sufficient airflow. Factors like improper wood placement, damp or unseasoned wood, or a clogged chimney can all contribute to smoking issues. Proper troubleshooting can resolve these problems and improve wood stove performance.

What Are Some Common Wood Types That Should Be Avoided to Prevent Smoking in a Wood Stove?

To prevent smoking in a wood stove, it is important to avoid using wood types like pine, as they contain high levels of resin. Additionally, properly seasoning firewood is crucial to reduce smoke production.

How Can I Identify if My Chimney Is Damaged or Leaking?

To identify chimney damage or leaks, conduct a thorough chimney inspection. Look for cracks, loose bricks, or crumbling mortar. Additionally, consider installing a smoke detector near the stove to quickly detect any smoke issues.

Besides Regular Cleaning, What Other Maintenance Practices Can Help Prevent Smoking in a Wood Stove?

Other maintenance practices, such as ensuring proper airflow and avoiding certain wood types, can help prevent smoking in a wood stove. Identifying chimney damage or leaks and checking for correct stove installation are also crucial.

Advertisement

What Are Some Signs of Incorrect Stove Installation That May Lead to Smoking?

Installing a wood stove improperly can lead to frustrating smoke issues. One key sign is if the chimney height is too short. Another is using unseasoned wood, which can cause excessive smoke.

What Are Some Wood Stove Brands That Have Smoke-Reducing Features?

Looking for the best wood stove brands with smoke-reducing features? Look no further. With increasing concerns about air pollution, several brands are innovating their wood stoves to minimize smoke emissions. Some notable options include Vermont Castings, Jøtul, and Blaze King. These brands prioritize efficiency and clean burning, ensuring you can enjoy the warmth of a wood stove while minimizing environmental impact.

Conclusion

In conclusion, when your wood stove smokes, it’s often due to factors such as:

  • Insufficient airflow
  • Improper wood selection
  • A damaged or leaky chimney
  • Inadequate stove maintenance
  • Incorrect installation

To prevent this, you should:

  • Ensure proper ventilation
  • Use seasoned and dry wood
  • Inspect and repair your chimney regularly
  • Maintain your stove diligently
  • Ensure professional installation

By addressing these issues, you can enjoy a smoke-free and efficient wood stove experience, creating a cozy and inviting atmosphere in your home.

Continue Reading

Wood Stove

How To Build A Wood Stove From A Jerry Can

Published

on

By

An image showcasing the step-by-step process of transforming a jerry can into a wood stove

I have always been fascinated by the concept of transforming ordinary objects into useful tools.

So when I came across an old jerry can in my garage, I knew I had the perfect opportunity to create my own wood stove.

In this article, I’ll guide you through the process of transforming a jerry can into a functional and efficient wood stove, complete with ventilation, legs, and a base.

Get ready to unleash your inner DIY enthusiast and start enjoying the warmth of your homemade wood stove.

Key Takeaways

  • Consider the capacity and dimensions of the jerry can
  • Compare different materials for jerry cans
  • Prepare and clean the jerry can properly
  • Take safety precautions and use the right tools when modifying the jerry can

Selecting the Right Jerry Can for Your Wood Stove

I’m trying to figure out which jerry can is the best option for my wood stove.

When it comes to choosing the right size jerry can for your wood stove, it’s important to consider the capacity and dimensions. A larger can will hold more fuel, but it may be too bulky for your space. On the other hand, a smaller can may require more frequent refills.

Advertisement

Additionally, it’s crucial to compare different materials for jerry cans to ensure optimal wood stove performance. Metal cans are durable and resistant to heat, but they can also be heavy. Plastic cans, on the other hand, are lightweight and easier to handle, but may not withstand high temperatures as well.

Ultimately, finding the perfect jerry can for your wood stove is about balancing capacity, dimensions, and material for efficient and safe operation.

Preparing and Cleaning the Jerry Can

Before starting to use the jerry can, it’s crucial to properly clean and prepare it by removing any dirt or residue, and then ensuring it’s completely dry. Here is the cleaning process and safety precautions to follow:

  1. Rinse the jerry can with warm water and a mild detergent to remove any dirt or debris. Use a sponge or brush to scrub the inside and outside of the can thoroughly.

  2. Rinse the can again with clean water to remove any soap residue. Make sure to rinse it multiple times to ensure all the soap is gone.

  3. After rinsing, allow the jerry can to air dry completely. This is important to prevent any moisture from causing rust or corrosion.

By following these cleaning steps, you can ensure that your jerry can is ready for modification.

Now, let’s discuss cutting open and modifying the jerry can for ventilation.

Advertisement

Cutting Open and Modifying the Jerry Can for Ventilation

I’ll explain how to use a few small holes in the jerry can to provide adequate ventilation for the wood stove. When modifying the jerry can for ventilation, it is important to take safety precautions and use the right tools. Here is a table outlining the necessary steps:

Step Safety Precautions Tools Needed
1 Wear protective gloves and goggles Drill
2 Work in a well-ventilated area Marker
3 Ensure the jerry can is empty and clean Metal file
4 Mark the desired ventilation holes on the can Safety glasses
5 Use the drill to create the holes Protective gloves
6 Smooth the edges of the holes with the metal file Goggles
7 Clean any metal shavings from the can Clean cloth

Adding Legs and a Base to the Wood Stove

I can attach some sturdy legs and a stable base to the wood stove to ensure it stands securely on any surface. Achieving stove stability is crucial to prevent accidents and maintain proper functioning.

When choosing materials for the legs and base, it’s important to consider their strength, durability, and heat resistance. Here are three essential elements to consider:

  1. Material Selection: Opt for materials that can withstand high temperatures, such as stainless steel or cast iron. These materials are known for their strength and ability to withstand the intense heat generated by the wood stove.

  2. Design and Construction: The design of the legs should provide sufficient support and stability. Consider a tripod or four-leg design for optimal balance. Additionally, ensure the legs are securely attached to the stove body to prevent any wobbling or instability.

  3. Base Size and Shape: The base of the wood stove should be wide and flat enough to distribute the weight evenly, ensuring stability on various surfaces. A larger base will provide better stability, especially when using the stove on uneven or soft ground.

Testing and Using Your DIY Wood Stove

I’ve successfully tested and now use my DIY wood stove to cook meals while camping. It’s a simple yet effective solution for outdoor cooking. However, before using it, I took several testing techniques and safety precautions to ensure its efficiency and my own well-being.

Firstly, I conducted a leak test to ensure there were no air or gas leaks that could potentially cause a fire hazard. This involved pressurizing the stove and checking for any signs of leakage. I also tested its heat distribution by placing a pot of water on the stove and monitoring how evenly the heat was dispersed.

Advertisement

To further ensure safety, I implemented safety precautions such as maintaining a safe distance between the stove and any flammable objects, using heat-resistant gloves when handling the stove, and having a fire extinguisher nearby.

Using my DIY wood stove has been a game-changer for my camping trips. Not only does it provide a reliable cooking source, but it also allows me to enjoy the natural surroundings without relying on traditional campfire cooking methods. By following proper testing techniques and safety precautions, I can confidently cook my meals and enjoy the great outdoors.

Frequently Asked Questions

How Long Does It Take to Build a Wood Stove From a Jerry Can?

It takes about 2 hours to build a wood stove from a jerry can. The benefits of using a wood stove include cost-effective heating and a sustainable fuel source. Regular cleaning and maintenance ensure optimal performance.

Can I Use Any Type of Wood for the Base of the Wood Stove?

I can use different types of wood for the base of the wood stove, but it’s important to consider safety precautions when using it indoors. Proper ventilation and non-flammable materials are crucial.

Is It Safe to Use the Wood Stove Indoors?

Oh, using a wood stove indoors, what a brilliant idea! Let me enlighten you on the potential health hazards and share some precise tips for safely using one. Shall we begin?

Advertisement

Can I Paint the Jerry Can After Modifying It?

Yes, you can paint the modified jerry can using various painting techniques. It is important to choose a paint that can withstand high temperatures and adhere well to metal surfaces. Make sure to consider alternative fuel sources when painting for safety.

What Tools Do I Need to Build a Wood Stove From a Jerry Can?

To build a wood stove from a jerry can, I need a few tools like a jigsaw, drill, and metal file. Safety precautions are crucial, and alternative materials can be used if necessary.

Can I Use a Wood Stove Insert in a DIY Jerry Can Wood Stove?

When considering building a wood stove fireplace, it’s crucial to factor in the cost of materials and construction. However, if you’re planning to use a wood stove insert in a DIY Jerry Can Wood Stove, the cost of building a wood stove fireplace may decrease significantly. This alternative method combines affordability and practicality, making it an excellent choice for those seeking an alternative heating solution.

Can Duraflame Logs Be Used in a Wood Stove Made from a Jerry Can?

Can Duraflame logs be used in a wood stove made from a jerry can? Many DIY enthusiasts wonder about using Duraflame logs in a wood stove. While Duraflame logs are commonly used in traditional fireplaces, their use in a jerry can wood stove may not be ideal. It’s important to consider the safety and compatibility aspects of using duraflame logs in wood stoves specifically designed for them.

Conclusion

After carefully selecting the right jerry can, preparing and modifying it for ventilation, and adding sturdy legs and a stable base, your DIY wood stove is ready for testing and use.

Advertisement

With its compact design and efficient functionality, this wood stove provides a practical and cost-effective heating solution for outdoor activities or emergency situations.

Embrace the warmth and convenience of this homemade creation, bringing comfort and coziness wherever you go.

Continue Reading

Trending