
As a homeowner, I recognize the significance of maintaining the safety and effectiveness of a wood stove. This is why I am extending my assistance to walk you through the steps of installing a metal chimney flue.
With the right tools and materials, you can ensure proper ventilation and enjoy the warmth of your wood stove worry-free.
So let’s dive in and discover the step-by-step process of installing a metal chimney flue for your wood stove.
Key Takeaways
- Consider the dimensions of your wood stove and chimney when choosing the size of the flue.
- Stainless steel is a durable and corrosion-resistant material for chimney flues.
- Regular inspection and cleaning are necessary for chimney flue maintenance.
- Proper ventilation reduces the risk of harmful gases like carbon monoxide.

DuraVent DuraPlus Triple-Wall Chimney Stove Pipe, 6" x 36" – Galvanized Steel Vent and Exhaust Connector for Wood, Oil, Coal or Gas Stoves, Twist-Lock Installation, High-Temperature Venting System
- Safety and Efficiency: Triple-wall pipe for safe, efficient heating
- Easy Installation: Includes die-formed fittings and twist-lock system
- Versatile Venting: Channels smoke from wood, oil, coal, gas
As an affiliate, we earn on qualifying purchases.
As an affiliate, we earn on qualifying purchases.
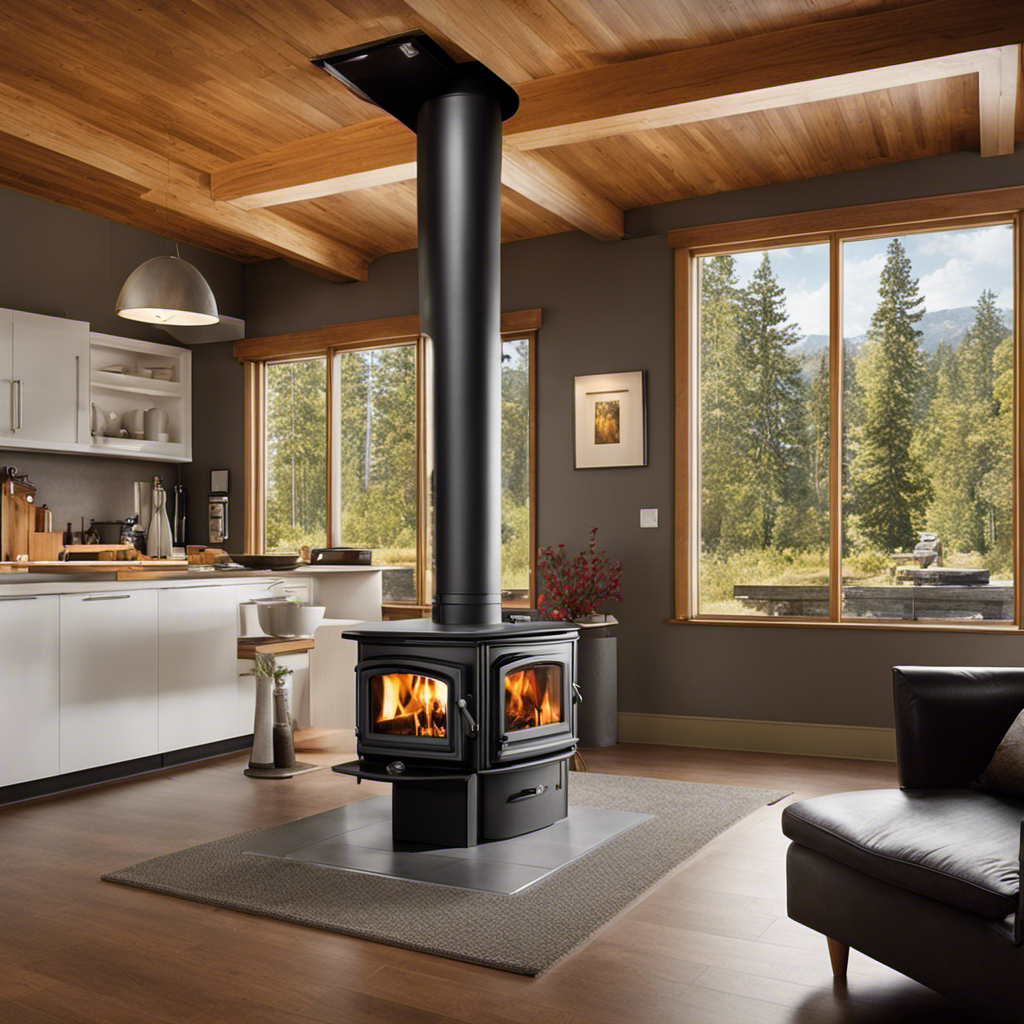
Choosing the Right Metal Chimney Flue for Your Wood Stove
I’m considering purchasing a stainless steel chimney flue for my wood stove because it’s durable and corrosion-resistant.
When choosing the right size for a chimney flue, it’s essential to consider the dimensions of your wood stove and the height of your chimney. The flue should be large enough to allow proper airflow and prevent smoke from backing up into your home. It’s crucial to measure the diameter of your wood stove’s flue collar to ensure a proper fit.
Additionally, considering the material quality is essential for the longevity of your chimney flue. Stainless steel is an excellent choice due to its resistance to corrosion and high temperatures. It’s also easy to clean and maintain, making it a durable and reliable option for your wood stove.
Gathering the Necessary Tools and Materials
To properly install a metal chimney flue for a wood stove, I’ll need to gather the necessary tools and materials, such as a ladder for accessing the roof and a screwdriver for securing the flue components.
But before diving into the installation process, it’s important to discuss the importance of measuring accuracy and chimney flue maintenance.
When it comes to measuring accuracy, it’s crucial to ensure precise measurements of the chimney opening and the flue components. This will help in selecting the correct size of the metal chimney flue, ensuring a proper fit and optimal performance.
Additionally, regular chimney flue maintenance is essential to ensure the efficient operation of the wood stove. This includes regular inspection, cleaning, and removal of any debris or creosote buildup.
Proper maintenance won’t only prolong the lifespan of the flue but also prevent potential hazards such as chimney fires.
Preparing the Installation Area and Clearing Obstructions
Before starting the installation, I’ll need to clear out any debris and obstacles from the area, as well as secure the necessary tools and materials.
To ensure a successful installation of the metal chimney flue for a wood stove, there are a few key steps to follow.
-
Cleaning Debris: It’s essential to remove any debris, such as leaves, twigs, or dirt, from the installation area. This will prevent any blockages or potential fire hazards.
-
Measuring Dimensions: Accurate measurements are crucial for a proper fit. Measure the diameter of the wood stove’s flue collar and the height from the stove to the ceiling. These measurements will determine the appropriate size of the metal chimney flue needed.
-
Clearing Obstacles: Ensure that there are no obstructions in the installation area that could interfere with the chimney flue. Remove any furniture, curtains, or other objects that may be in the way.
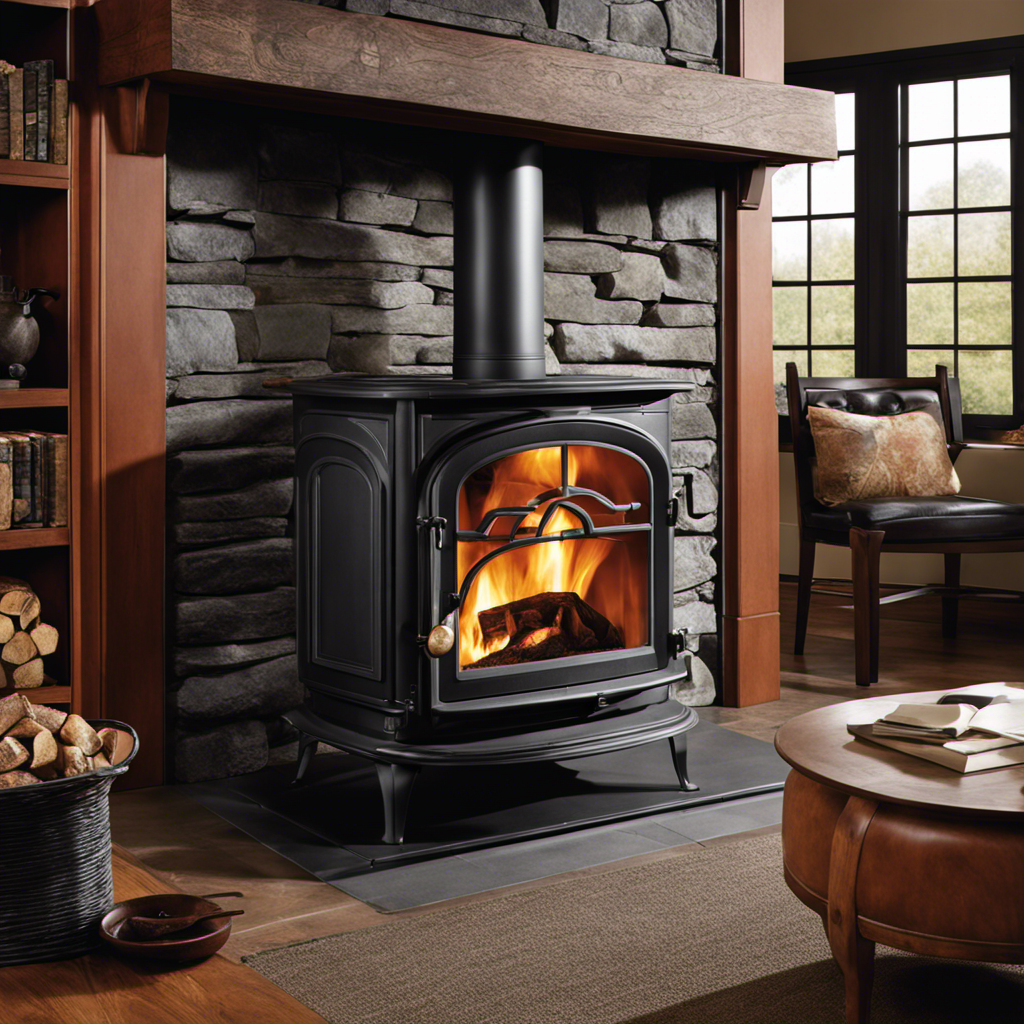
Installing the Metal Chimney Flue Step-by-Step
I’ll begin by carefully positioning the metal chimney flue above the wood stove and securing it with brackets for stability and safety.
To install the flue liner, I’ll start by attaching the first section of the liner to the bottom of the flue. I’ll ensure a tight fit by using clamps or screws, making sure there are no gaps.
Next, I’ll slide the next section of the liner into the first one, overlapping them by at least 2 inches. I’ll repeat this process until the liner reaches the top of the chimney.
Once all the sections are in place, I’ll seal the flue joints using a high-temperature silicone sealant. This will prevent any smoke or gases from escaping. It’s crucial to ensure a proper seal to maintain the efficiency and safety of the wood stove.
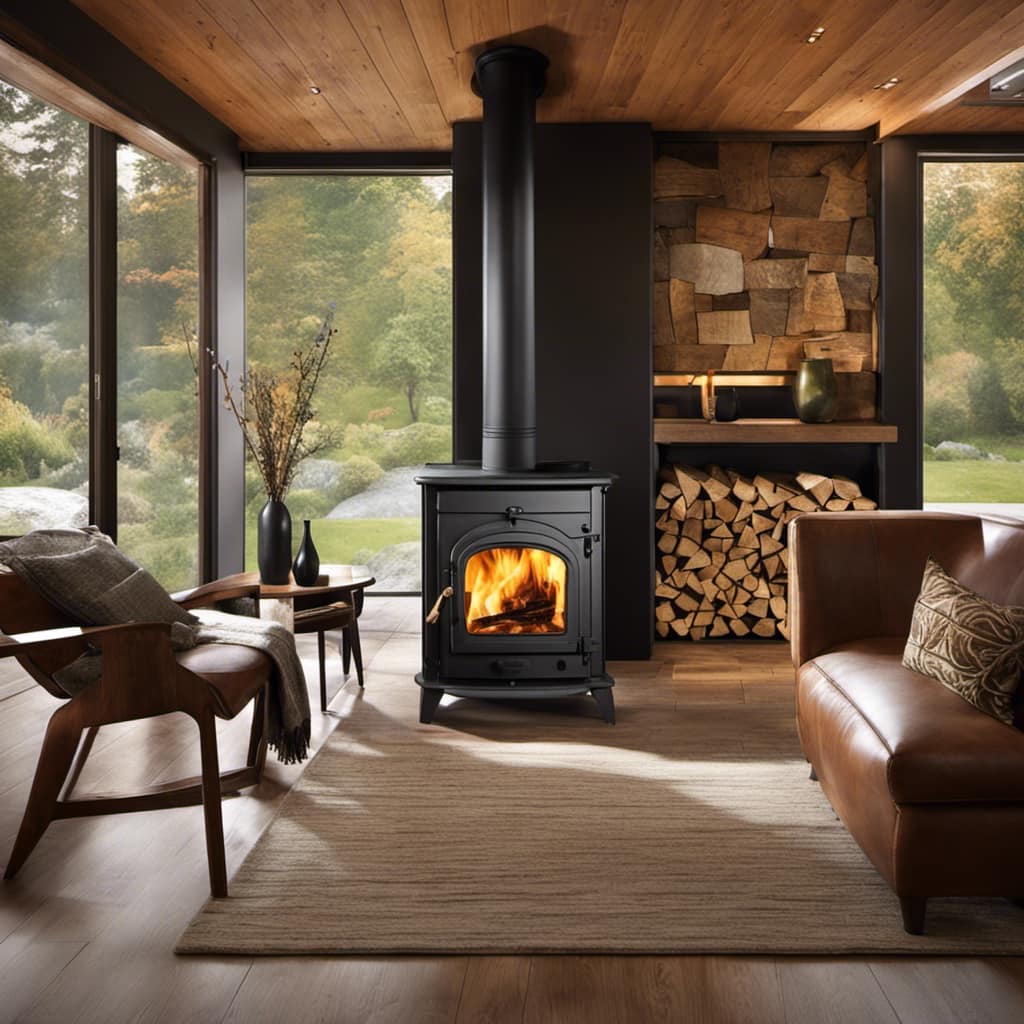
Ensuring Proper Ventilation and Safety Measures
During the installation process, I made sure to follow proper ventilation and safety measures to guarantee a well-functioning and secure wood stove system.
To ensure the ventilation requirements were met, I installed a chimney flue with the appropriate diameter and height. This allows for proper airflow and prevents the buildup of harmful gases like carbon monoxide.
Additionally, I made sure to install the flue at the correct distance from combustible materials, as specified by safety regulations. This reduces the risk of fire and ensures the safety of the surrounding area.
Lastly, I installed a chimney cap to prevent debris and animals from entering the flue, which can obstruct airflow and cause potential hazards.
Frequently Asked Questions
How Often Should the Metal Chimney Flue Be Inspected and Cleaned?
Inspect and clean the metal chimney flue regularly to ensure proper maintenance. It is important to determine how often the inspection and cleaning should be done based on factors such as usage and the type of wood being burned.
What Are the Signs of a Damaged or Deteriorating Metal Chimney Flue?
I’ve noticed some concerning signs of a damaged or deteriorating metal chimney flue. It’s crucial to address these issues promptly to avoid potential hazards. Let me explain how to repair a damaged metal chimney flue.
Can a Metal Chimney Flue Be Installed Through a Roof With a Steep Pitch?
Yes, a metal chimney flue can be installed through a roof with a steep pitch. It requires careful planning and proper installation techniques to ensure a secure and efficient chimney system.
Is It Necessary to Have a Professional Install the Metal Chimney Flue, or Can It Be a DIY Project?
I have found that installing a metal chimney flue for a wood stove can be a DIY project, but it is important to consider the cost comparison and potential risks involved.
How Long Does the Installation Process Usually Take for a Metal Chimney Flue?
The installation time for a metal chimney flue can vary depending on factors such as the complexity of the installation and any common issues that may arise. It is important to consider these factors when planning the installation process.
Conclusion
In conclusion, installing a metal chimney flue for a wood stove is an important step in ensuring proper ventilation and safety. By following the step-by-step instructions outlined in this article, you can successfully install a metal chimney flue and enjoy the benefits of a well-functioning wood stove.
Did you know that according to the National Fire Protection Association, heating equipment, including wood stoves, accounted for 15% of home fires in 2018? Taking the time to properly install a metal chimney flue can help reduce the risk of fire and keep your home safe.