Connect with us

Wood Stove

How To Install A Buck Wood Stove Using Blck Flue Pipe

Published

on

An image showcasing a step-by-step installation guide for a buck wood stove using black flue pipe

I’ll guide you through the straightforward process of installing a Buck wood stove along with a black exhaust pipe. Believe me, it’s simpler than it appears!

In this step-by-step guide, we’ll cover everything from choosing the perfect location to testing for proper ventilation.

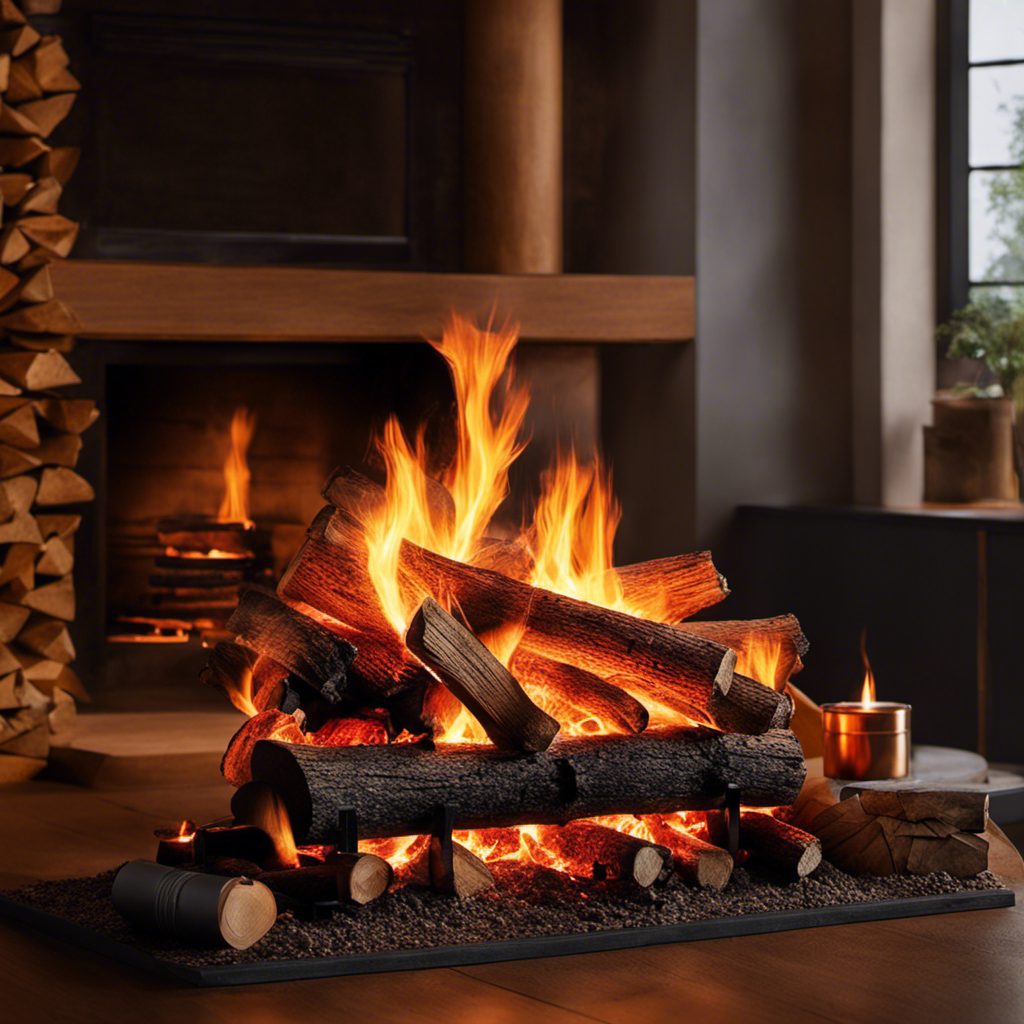
Prepare to transform your space with the warmth and efficiency of a Buck wood stove. Let’s get started!

Key Takeaways

  • Choosing the right location and preparing the area is crucial for a smooth installation process.
  • Proper ventilation and regular maintenance are essential for safe operation of the wood stove.
  • Installing and maintaining the black flue pipe correctly prevents chimney fires and ensures proper airflow.
  • Securing and sealing the flue pipe using high-quality materials is important to prevent rust, cracks, and loose connections.

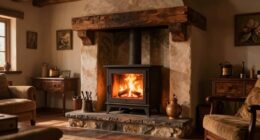
Choosing the Right Location for Your Buck Wood Stove

I’m considering the best location for installing my Buck wood stove.

When it comes to wood stove installations, proper ventilation requirements are crucial for safety and efficiency.

One key factor to consider is the proximity to combustible materials. The National Fire Protection Association recommends a minimum clearance of 36 inches from walls and any combustible materials.

Advertisement

It’s also important to ensure that the stove is placed on a non-combustible surface, such as a hearth pad or a fire-resistant floor.

Another important consideration is the availability of a suitable chimney or flue system. The stove should be positioned near an existing chimney or have a properly installed flue pipe that meets the necessary standards.

Additionally, the location should allow for easy access to the stove for maintenance and cleaning.

Preparing the Area and Clearing the Space for Installation

I’ll start by removing any furniture or objects that are in the way to clear the space for installation. It’s important to have a clean and clutter-free area when installing a buck wood stove.

Next, I’ll clear debris such as dust, dirt, and any loose materials that may interfere with the installation process. This will ensure a smooth and secure installation.

Advertisement

Once the area is cleared, I’ll proceed to measure the space to determine the appropriate location for the buck wood stove. Measuring the space accurately is crucial to ensure that the stove fits properly and allows for proper ventilation.

Taking precise measurements will also help in determining the correct size of the black flue pipe that will be needed for the installation.

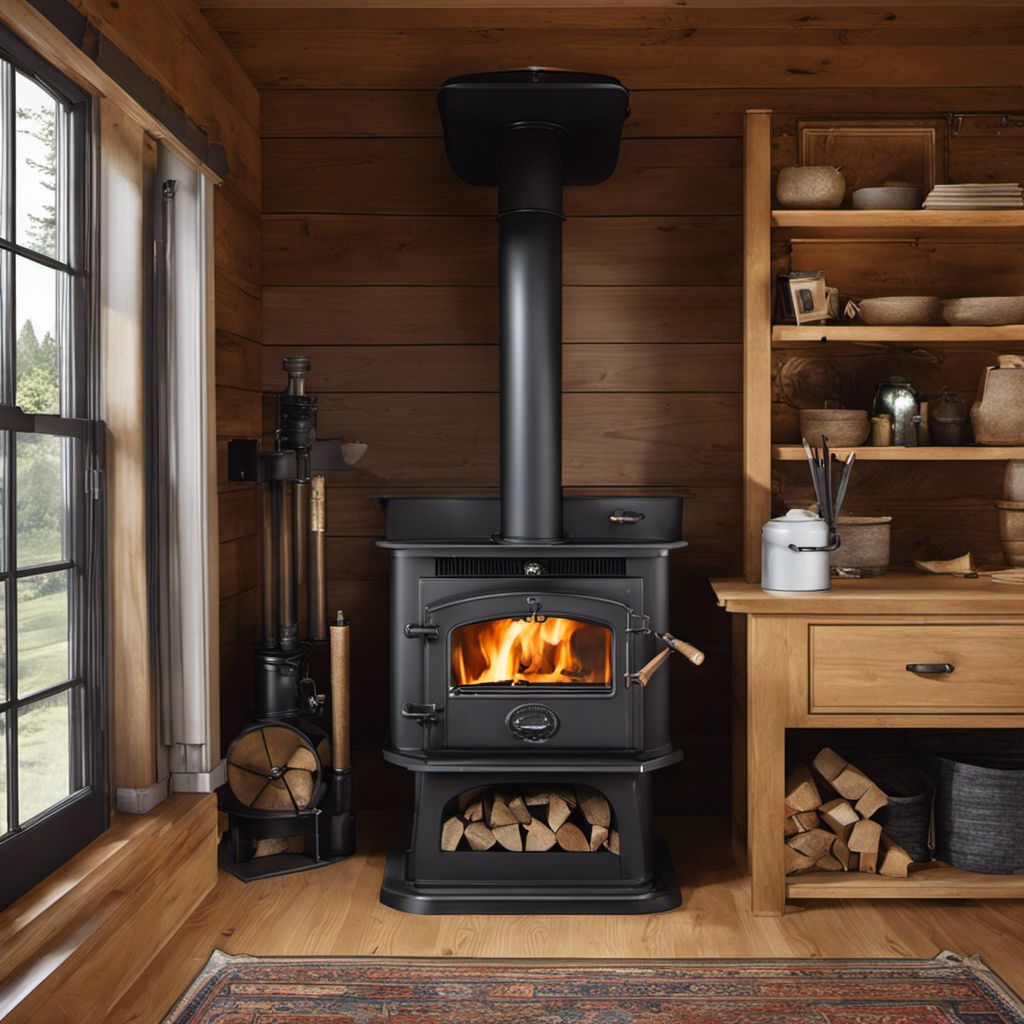
Installing the Black Flue Pipe and Connecting It to the Stove

After measuring the space, I’ll secure the black flue pipe and connect it to the stove using a sturdy and reliable method. To ensure a successful installation, here are some maintenance tips for connecting the flue pipe:

  • Use high-quality metal screws to secure the flue pipe to the stove and chimney. This will prevent any leaks or disconnections.

  • Apply a high-temperature silicone sealant to the joints of the flue pipe. This will create an airtight seal and prevent any smoke or gases from escaping.

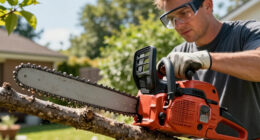
  • Inspect the flue pipe regularly for any signs of corrosion or damage. If any issues are found, repair or replace the affected parts immediately.

  • Clean the flue pipe regularly to remove any creosote buildup. This will help maintain proper airflow and prevent chimney fires.

Securing and Sealing the Flue Pipe for Safety and Efficiency

To ensure maximum safety and efficiency, it’s important to securely fasten and tightly seal the flue pipe using high-quality materials. Proper securing methods and regular flue pipe maintenance are crucial for the safe operation of a wood stove.

When installing the flue pipe, it’s essential to use stainless steel screws or clamps to secure the pipe joints. These securing methods prevent any potential leaks or disconnections that could result in harmful gases entering the living space.

Advertisement

Additionally, it’s necessary to inspect the flue pipe regularly for any signs of damage or deterioration. This includes checking for rust, cracks, or loose connections. Any issues should be addressed promptly to maintain optimal performance and ensure the safety of the wood stove system.

Testing Your Buck Wood Stove and Ensuring Proper Ventilation

While testing my Buck Wood Stove, I made sure to check for proper ventilation to ensure the safety and efficiency of the system. Ventilation plays a crucial role in preventing the buildup of carbon monoxide and other harmful gases.

To test the ventilation of my wood stove, I utilized the following methods:

  • Conducted a smoke test: I lit a small piece of paper and held it near the stove’s flue. If the smoke drew up the flue, it indicated proper ventilation.

  • Checked for air leaks: I inspected the seals and gaskets around the stove and flue pipe to ensure there were no leaks that could compromise ventilation.

  • Monitored carbon monoxide levels: I used a carbon monoxide detector to ensure that the levels remained within safe limits.

  • Troubleshooted airflow issues: If I noticed weak or inconsistent airflow, I checked for obstructions in the flue pipe or chimney.

Frequently Asked Questions

What Are the Benefits of Installing a Buck Wood Stove?

The benefits of installing a Buck wood stove include efficient heating, cost savings on energy bills, and a cozy ambiance. Choosing a Buck wood stove ensures reliable performance and durability, making it a great option for heating your home.

How Often Should the Flue Pipe Be Cleaned and Maintained?

Flue pipe maintenance for a Buck wood stove is crucial to ensure proper functioning. Regular cleaning is recommended to remove creosote buildup, which can cause chimney fires. Cleaning frequency varies based on usage, but annual inspections are essential.

Advertisement

Can I Install a Buck Wood Stove in a Mobile Home or Rv?

Yes, you can install a Buck wood stove in a mobile home or RV. However, there are important safety precautions to consider. It is crucial to follow the manufacturer’s guidelines and consult with a professional to ensure proper installation.

Are There Any Specific Safety Precautions to Take When Installing a Buck Wood Stove?

When it comes to installing a Buck wood stove, safety should be the top priority. Make sure to use the proper safety equipment and ensure proper ventilation to prevent any potential hazards.

Can I Use the Buck Wood Stove for Cooking or Only for Heating Purposes?

Yes, you can use the Buck wood stove for cooking as well as heating purposes. It is designed to be versatile and efficient, allowing you to enjoy the warmth of a fire and prepare meals at the same time.
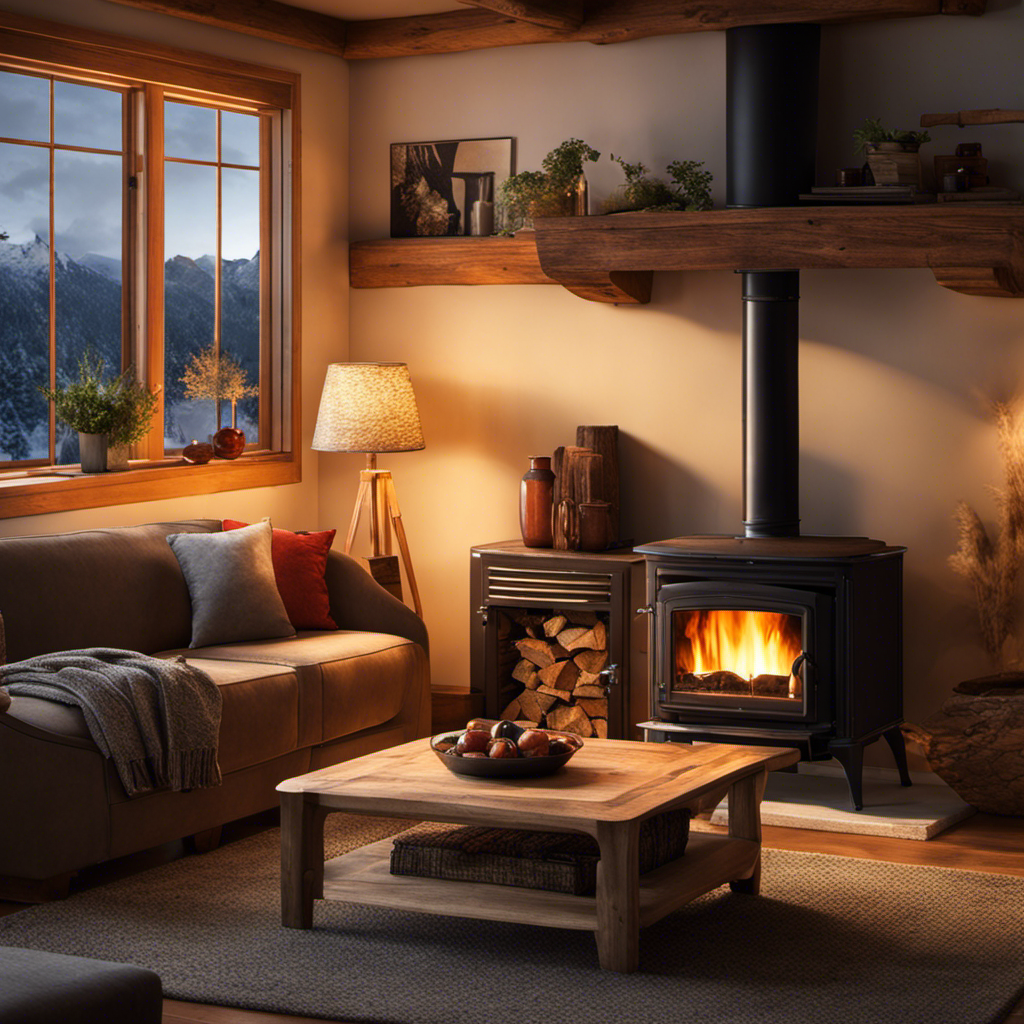
Conclusion

After carefully choosing the right location, preparing the area, and installing the black flue pipe, you can now enjoy the warmth and efficiency of your Buck wood stove.

Remember, ‘Where there’s smoke, there’s fire.’ Ensure proper ventilation and test your stove to guarantee safety and functionality.

Advertisement

With the right installation and maintenance, your Buck wood stove will provide cozy comfort for many years to come.

Terra grew up with a soul deeply connected to nature. Her earliest memories are of sun-drenched meadows, whispering woods, and the rhythmic dance of waves on a moonlit night. Every gust of wind, rustling leaf, and distant horizon beckoned her with tales waiting to be told.

Continue Reading
Advertisement

Wood Stove

What Is The Flue On A Wood Stove

Published

on

By

An image depicting a close-up view of a wood stove, showcasing its flue—a narrow, vertical pipe with a metal cap—rising from the stove's top, releasing a faint trail of smoke into the air

I must confess, the chimney of a wood stove is truly an intriguing component. It’s more than just a simple pipe sticking out, it plays a vital role in ensuring your wood stove operates at its best and most efficient.

In this article, we’ll delve into the ins and outs of wood stove flues, exploring their types, purpose, components, maintenance, and troubleshooting tips.

So buckle up and get ready to become a flue expert!

Key Takeaways

  • The flue on a wood stove is a crucial component that expels harmful gases like carbon monoxide and allows for better airflow and combustion.
  • It helps prevent creosote buildup, which can be a fire hazard.
  • Using a chimney cap on the flue provides additional benefits by preventing rain, debris, and animals from entering the chimney.
  • Regular maintenance, including inspection, cleaning, and clearing obstructions, is essential for safe operation of the wood stove flue.

Types of Flues Commonly Used on Wood Stoves

I’ve heard that there are various types of flues commonly used on wood stoves. When it comes to chimney installation, it’s important to consider the type of flue that will work best for your wood stove.

One option is a clay tile flue liner, which is a popular choice due to its durability and affordability.

Another option is a stainless steel flue liner, which offers increased strength and resistance to corrosion.

Advertisement

Additionally, there are cast-in-place flue liners, which are created by pouring a cement-like mixture into the chimney. These liners provide excellent insulation and can be custom-fit to your chimney.

Ultimately, the type of flue liner you choose will depend on factors such as your budget, the condition of your chimney, and your specific heating needs.

Transitioning into the next section, understanding the different types of flues is essential for grasping the purpose and functionality of a wood stove flue.

The Purpose and Functionality of a Wood Stove Flue

I understand the purpose and functionality of a wood stove flue, as it helps to safely direct the smoke and gases out of the house and into the outdoors. The importance of proper ventilation in wood stove flues can’t be overstated.

Here are four reasons why it’s crucial:

Advertisement
  1. Safety: A well-ventilated flue ensures that harmful gases, like carbon monoxide, are efficiently expelled from the house, preventing potential health hazards.

  2. Efficiency: Proper ventilation allows for better airflow, leading to more efficient combustion and heat production. This results in a more effective and cost-efficient heating system.

  3. Preventing Creosote Buildup: Adequate ventilation helps to minimize the accumulation of creosote, a highly flammable substance that can lead to chimney fires.

  4. Benefits of using a chimney cap on wood stove flues: A chimney cap serves as a protective barrier against rain, snow, and debris, preventing potential damage to the flue and ensuring optimal performance.

Key Components of a Wood Stove Flue System

While discussing the key components of a wood stove flue system, it’s important to consider factors such as the chimney liner, damper, and cap.

The flue installation plays a crucial role in the overall performance and safety of a wood stove. A properly designed flue ensures efficient combustion and effective removal of smoke and gases from the stove.

The chimney liner, usually made of stainless steel or clay tiles, protects the chimney walls from heat and corrosion.

The damper, located at the top of the flue, controls the airflow and helps regulate the temperature inside the stove.

Lastly, the cap prevents rain, debris, and animals from entering the flue.

Advertisement

A well-designed flue system, combined with proper maintenance and regular cleaning, ensures the safe and efficient operation of a wood stove.

How to Properly Maintain and Clean Your Wood Stove Flue

To ensure the safe and efficient operation of your wood stove, it’s crucial to know how to properly maintain and clean your wood stove flue. The flue is an essential component of your wood stove system that helps remove smoke and gases from your home.

Here are four important steps to properly maintain and clean your wood stove flue:

  1. Regular Inspection: Inspect the flue for any signs of damage, such as cracks, loose bricks, or corrosion. These can affect the performance and safety of your wood stove.

  2. Cleaning: Regularly remove creosote buildup from the flue using a chimney brush or hiring a professional chimney sweep. Creosote is highly flammable and can lead to chimney fires if not properly cleaned.

  3. Clearing Obstructions: Ensure that the flue is clear of any debris, bird nests, or other obstructions that can block the airflow.

  4. Professional Inspection: Schedule a professional inspection at least once a year to thoroughly examine the flue system and address any potential issues.

Common Issues and Troubleshooting Tips for Wood Stove Flues

One common issue with wood stove flues is the accumulation of creosote, which can be prevented by regular cleaning and maintenance. Creosote is a highly flammable substance that builds up inside the flue as a result of burning wood. If left untreated, it can lead to chimney fires and pose a serious safety hazard.

To prevent this, it’s important to have a proper wood stove flue installation and to be aware of the signs of a blocked wood stove flue. Signs of a blocked flue include smoke backing up into the room, difficulty in starting or maintaining a fire, and a strong odor of burnt wood or smoke throughout the house.

Advertisement

Regular cleaning and maintenance, such as removing creosote buildup and ensuring proper ventilation, are crucial for the safe and efficient operation of a wood stove.

Frequently Asked Questions

How Do I Choose the Right Size Flue for My Wood Stove?

To choose the right size flue for your wood stove, you’ll need to calculate the flue diameter based on the stove size. Larger stoves require larger flues to ensure proper ventilation and efficient operation.

Can I Install a Wood Stove Flue Myself, or Should I Hire a Professional?

Can I install a wood stove flue myself, or should I hire a professional? It’s crucial to prioritize safety, as common mistakes in wood stove flue installation can lead to fire hazards. Consulting a professional is wise.

Are There Any Safety Precautions I Should Take When Using a Wood Stove Flue?

When using a wood stove flue, it’s important to prioritize safety. Regular flue maintenance and cleaning flue residue are key. Taking precautions like using proper protective gear and ensuring proper ventilation can help prevent potential hazards.

Should I Leave the Flue Open or Closed When the Wood Stove Is Not in Use?

When the wood stove is not in use, it is important to keep the flue closed. This prevents drafts and heat loss, leading to better energy efficiency. Opening the flue can result in wasted energy.

Advertisement

Can I Use the Same Flue for Multiple Wood Stoves in Different Rooms?

Yes, you can use the same flue for multiple wood stoves in different rooms. However, it’s important to choose the right flue materials and maintain cleanliness to ensure proper ventilation and prevent any safety hazards.

How Does the Flue Connect to the Franklin Wood Stove?

The connecting franklin wood stove offers a practical solution for ensuring proper ventilation and efficient heat distribution. By connecting the flue to the Franklin wood stove, it effectively channels the smoke and gases out of the room, while also allowing fresh air to enter. This connection plays a crucial role in maintaining a safe and cozy environment during cold winter nights.

Conclusion

In conclusion, the flue on a wood stove is a crucial component that ensures the safe and efficient operation of the stove. It acts as a chimney, allowing smoke and gases to escape while preventing drafts and keeping the heat inside.

Proper maintenance and regular cleaning of the flue are essential to avoid issues such as creosote buildup and chimney fires. By taking care of your wood stove flue, you can enjoy cozy and worry-free fires all winter long, creating a warm and inviting atmosphere in your home.

Advertisement

Continue Reading

Wood Stove

How To Put Together The Exhaust Pipe Of A Wood Stove

Published

on

By

An image capturing the step-by-step process of assembling the exhaust pipe of a wood stove

I’ve always treasured the cozy hug of a wood-burning stove on a cold winter evening.

But when it came time to put together the exhaust pipe, I felt a bit overwhelmed. How do all these components fit together?

Well, fear not! In this article, I’ll walk you through the step-by-step process of assembling the exhaust pipe for your wood stove.

With a few tools and some patience, you’ll be enjoying that toasty fire in no time.

Key Takeaways

  • Properly attach the flange, position the muffler, and align the tailpipe for correct installation of the exhaust pipe
  • Gather the right size and length of stainless steel pipes, elbows, and adapters for durability and resistance to high temperatures
  • Follow manufacturer’s guidelines and local building codes for preparing the wood stove and avoiding improper sizing or obstructions in the exhaust pipe
  • Connect and secure the exhaust pipe sections using high-temperature silicone sealant, twist-lock or slip-fit joints, and install a chimney cap for proper ventilation and maintenance of airflow

Understanding the Exhaust Pipe Components

I have learned about the three main components of an exhaust pipe: the flange, the muffler, and the tailpipe.

The flange is a flat, circular metal piece that connects the exhaust pipe to the wood stove. It provides a secure attachment point and ensures a proper seal.

Advertisement

The muffler is a cylindrical chamber that’s designed to reduce noise produced by the wood stove. It contains sound-absorbing materials and is attached to the flange.

The tailpipe is the section of the exhaust pipe that extends outside the wood stove. It allows the combustion gases to vent out of the room.

Proper installation techniques for the exhaust pipe involve securely attaching the flange, positioning the muffler correctly, and ensuring that the tailpipe is properly aligned.

Regular maintenance of the wood stove exhaust pipe includes cleaning out any debris or soot buildup and checking for any signs of damage or leaks.

Gathering the Necessary Tools and Materials

After carefully reviewing the instructions, I’m ready to start gathering the necessary tools and materials for assembling the exhaust pipe.

Advertisement

The first step is to choose the right size and length of the pipe. It’s crucial to ensure that the diameter of the exhaust pipe matches the outlet of the wood stove. This ensures proper airflow and efficiency. Additionally, the length of the pipe should be determined based on the distance between the stove and the exterior wall or chimney. It’s important to maintain proper ventilation and clearance for the wood stove.

Next, I’ll gather the necessary materials, such as stainless steel pipes, elbows, and adapters. These materials are durable and resistant to high temperatures.

With the right tools and materials in hand, I can now proceed with the assembly process.

Preparing the Wood Stove for Installation

Before starting the installation process, I need to ensure that the wood stove is properly prepared and ready for installation. The importance of proper ventilation for wood stoves can’t be overstated. Without proper ventilation, the wood stove can produce harmful gases, such as carbon monoxide, which can be extremely dangerous.

To ensure proper ventilation, it’s crucial to follow the manufacturer’s guidelines and local building codes. One common mistake to avoid when installing a wood stove exhaust pipe is improper sizing. The exhaust pipe should be the correct diameter and length to provide adequate airflow and prevent backdraft. Additionally, it’s important to avoid sharp bends or obstructions in the exhaust pipe, as this can restrict airflow and reduce the stove’s efficiency.

Advertisement

Connecting and Securing the Exhaust Pipe Sections

To properly install the wood stove, it’s essential to connect and secure the exhaust pipe sections using the manufacturer’s recommended methods. This ensures a safe and efficient operation of the stove.

Begin by attaching the first section of the exhaust pipe to the flue collar on the stove. Use high-temperature silicone sealant to create an airtight connection.

Then, connect additional sections of the pipe using twist-lock or slip-fit joints, making sure to align the seams properly. Once the pipe is assembled, install the chimney cap to prevent debris and animals from entering.

It’s crucial to maintain proper airflow throughout the exhaust system to avoid backdrafts and ensure optimal performance. Regularly inspect and clean the pipe for any obstructions or creosote buildup.

By following these steps, you can successfully connect and secure the exhaust pipe sections for your wood stove.

Advertisement

Now, let’s move on to testing and troubleshooting the exhaust pipe assembly.

Testing and Troubleshooting the Exhaust Pipe Assembly

I need to test the exhaust pipe assembly for any leaks, so I’ll check all the connections and use a smoke test to ensure everything is sealed properly.

Here are some troubleshooting techniques and common installation mistakes to be aware of:

  1. Improper connection: One of the most common mistakes isn’t properly connecting the exhaust pipe sections. This can lead to leaks and inefficient operation of the wood stove.

  2. Loose fittings: Another issue is having loose fittings. It’s crucial to ensure that all the connections are tight and secure to prevent any air or smoke leakage.

  3. Faulty gaskets: Faulty gaskets can also cause leaks. It’s important to inspect the gaskets and replace them if necessary.

Frequently Asked Questions

How Often Should the Exhaust Pipe of a Wood Stove Be Cleaned?

Cleaning the exhaust pipe of a wood stove is important for proper functioning and safety. It should be done regularly to prevent creosote buildup and reduce the risk of chimney fires.

Can I Use a Different Type of Pipe for the Wood Stove Exhaust?

Yes, you can use a different type of pipe for the wood stove exhaust. It is important to choose alternative pipe materials that are compatible with your specific stove model for proper ventilation and safety.

Advertisement

What Are the Potential Hazards of a Poorly Installed or Damaged Exhaust Pipe?

The potential dangers of a poorly installed or damaged exhaust pipe for a wood stove cannot be underestimated. Proper installation is of utmost importance to prevent hazards such as carbon monoxide poisoning and potential fire outbreaks.

Is It Necessary to Use High-Temperature Sealant When Connecting the Exhaust Pipe Sections?

Using high-temperature sealant when connecting wood stove exhaust pipe sections provides a secure and airtight connection, preventing leaks and improving efficiency. Alternatives like gaskets or tape may not provide the same level of durability and reliability.

How Can I Determine if There Is an Obstruction or Blockage in the Exhaust Pipe?

To troubleshoot exhaust pipe blockages, I check for signs of a blocked exhaust pipe. These signs include reduced airflow, smoke or fumes backing up into the room, and excessive soot or creosote buildup.

Conclusion

In conclusion, assembling the exhaust pipe of a wood stove is like connecting the limbs of a sturdy tree, ensuring a seamless flow of warmth and comfort.

Following the precise steps and using the necessary tools and materials, you can create a secure and efficient exhaust pipe assembly for your wood stove.

Advertisement

Remember to test and troubleshoot the system to ensure optimal performance and a cozy, crackling fire for many winters to come.

Continue Reading

Wood Stove

How To Install A Wood Stove Pipe Through A Metal Roof

Published

on

By

An image showcasing a step-by-step installation guide for a wood stove pipe through a metal roof

Were you aware that over two million homes in the United States depend on wood stoves for heating?

If you’re considering installing a wood stove pipe through your metal roof, you’ve come to the right place.

In this article, I will guide you through the precise steps and materials needed to ensure a safe and efficient installation.

With the right knowledge and tools, you’ll be able to enjoy the warmth and comfort of your wood stove without any worries.

Key Takeaways

  • Measure the opening of the wood stove to determine the appropriate size of the stove pipe.
  • Consider insulation options such as ceramic fiber insulation to minimize heat loss.
  • Prepare the metal roof by inspecting for damage, reinforcing weak areas, and applying a watertight sealant or flashing.
  • Ensure proper sealing and safety measures by inspecting the sealant application, checking the flashing, verifying insulation and clearance requirements, and removing flammable objects.

Choosing the Right Stove Pipe for Your Metal Roof

I’m considering the different options for choosing the right stove pipe for my metal roof. When selecting the correct diameter, it’s important to measure the opening of your wood stove to determine the appropriate size. This will ensure a proper fit and optimal performance.

Additionally, considering insulation options is crucial for maintaining the efficiency of your stove. Insulated stove pipes help to minimize heat loss and improve overall heating efficiency. There are various insulation materials available, such as ceramic fiber insulation, that can be wrapped around the stove pipe to provide extra protection.

Advertisement

Once the appropriate diameter and insulation options have been determined, it’s time to move on to gathering the necessary tools and materials for the installation process.

Gathering the Necessary Tools and Materials

I frequently gather all the tools and materials needed for the wood stove pipe installation process. It’s essential to have the right equipment and supplies to ensure a successful installation. Here are the four items I always make sure to have on hand:

  1. Tape Measure: Accurate measurements are crucial when installing a wood stove pipe. A tape measure allows me to determine the correct length needed for the pipe and ensure a proper fit.

  2. Tin Snips: Cutting the stove pipe to the correct size is necessary for a secure and efficient installation. Tin snips are the perfect tool for this task, allowing me to make precise cuts with ease.

  3. Screwdriver: A screwdriver is essential for securing the stove pipe connections. It ensures a tight fit and prevents any leaks or gaps that could compromise the efficiency of the wood stove.

  4. Chimney Brush: Before installing the stove pipe, it’s crucial to clean the chimney thoroughly. A chimney brush helps remove any built-up creosote and debris, ensuring optimal airflow and preventing potential hazards.

Preparing Your Metal Roof for Installation

Before beginning the installation process, I gather all the necessary tools and materials to prepare my metal roof for the wood stove pipe installation.

First and foremost, I make sure to inspect the roof for any damage or weak areas. If I find any, I reinforce them using roof reinforcement techniques such as adding additional supports or strengthening the structure.

Next, I carefully measure and mark the exact location where the stove pipe will penetrate the roof. Once the location is marked, I use sealing techniques to ensure a watertight seal around the pipe. This typically involves applying a high-quality sealant or flashing around the pipe and securing it tightly to the roof.

Advertisement

Taking these steps not only ensures a secure installation but also protects my home from potential leaks or damage.

Installing the Wood Stove Pipe Through the Metal Roof

To ensure a secure installation, I use a combination of sealant and flashing to tightly secure the wood stove pipe through the metal roof. Here are the steps I follow:

  1. Insulating the wood stove pipe: Before installing it through the metal roof, I make sure to insulate the pipe with high-temperature insulation. This helps prevent heat loss and protects the surrounding materials from excessive heat.

  2. Proper chimney cap installation: I attach a chimney cap on top of the wood stove pipe to prevent rain, debris, and animals from entering the chimney. This ensures the longevity and efficiency of the wood stove.

  3. Sealing the connection points: I carefully seal all the connection points between the wood stove pipe and the metal roof using a high-temperature sealant. This creates a tight and secure seal, preventing any leaks or drafts.

  4. Ensuring proper sealing and safety measures: Once the installation is complete, I thoroughly inspect the sealant and flashing, ensuring that there are no gaps or loose fittings. This ensures proper sealing and safety measures, allowing for safe and efficient operation of the wood stove.

Ensuring Proper Sealing and Safety Measures

After completing the installation, I carefully inspect the sealant and flashing to ensure proper sealing and safety measures.

Sealing techniques are crucial in preventing any leaks and maintaining the integrity of the wood stove pipe installation. I examine the sealant application, making sure it’s evenly distributed and fully covers any gaps or joints.

Additionally, I check the flashing around the pipe to ensure it’s securely fastened and provides a watertight seal.

Advertisement

Fire safety precautions are of utmost importance when installing a wood stove pipe. I verify that the pipe is properly insulated and has the required clearance from combustible materials.

I also ensure that there are no flammable substances or objects near the pipe that could pose a fire hazard.

Frequently Asked Questions

What Are the Common Mistakes to Avoid When Installing a Wood Stove Pipe Through a Metal Roof?

When installing a wood stove pipe through a metal roof, it’s important to avoid common mistakes like improper sealing and flashing, as well as using the incorrect pipe size or placement.

How Often Should I Inspect and Clean My Wood Stove Pipe to Maintain Its Efficiency?

I inspect and clean my wood stove pipe for optimal efficiency every year. To maintain its performance, I use a chimney brush to remove creosote buildup and check for any damage or leaks. Using alternative materials for installation is not recommended.

Can I Install a Wood Stove Pipe Through a Metal Roof if I Have an Attic Space?

Can I safely install a wood stove pipe through a metal roof if I have an attic space? Yes, it is possible to install a wood stove pipe through a metal roof with proper ventilation and clearances to ensure safety and efficiency.

Advertisement

Are There Any Specific Regulations or Codes I Need to Follow When Installing a Wood Stove Pipe Through a Metal Roof?

When installing a wood stove pipe through a metal roof, it is important to follow specific regulations and codes. These ensure a safe and proper installation. I will provide detailed instructions on how to follow these guidelines.

Can I Install a Wood Stove Pipe Through a Metal Roof Myself, or Should I Hire a Professional?

I can install a wood stove pipe through a metal roof myself, but hiring professionals is recommended. They have the expertise to ensure proper installation, adherence to regulations, and minimize the risk of potential issues.

How Can I Fix the Smell Coming from My Wood Stove Pipe?

If an unpleasant wood stove pipe smell is lingering in your home, there are a few solutions to consider. First, check for any leaks or cracks in the pipe and address them promptly. Secondly, ensure proper ventilation to prevent backdrafts. Regularly cleaning the stove pipe using a chimney brush can also minimize odors. Additionally, using seasoned firewood and avoiding burning wet or treated wood can help mitigate the smell.

What is the Cost of Installing a Wood Stove Pipe Through a Metal Roof?

The wood stove installation cost for a wood stove pipe through a metal roof can vary depending on factors such as the type of wood stove, roof material, and the complexity of the installation. It typically ranges between $500 to $1500, considering the specific requirements and labor involved.

Conclusion

In conclusion, installing a wood stove pipe through a metal roof requires careful consideration and the right materials. It’s important to choose the correct stove pipe for your metal roof and gather all necessary tools and materials beforehand.

Advertisement

Taking the time to properly prepare your metal roof and ensuring a secure installation will help prevent any leaks or safety hazards. Did you know that according to a study, a properly installed wood stove can reduce heating costs by up to 30%?

Continue Reading

Trending