Connect with us

Wood Stove

How To Clean A Lopi Model 1750 Wood Stove

Published

on


I have a thrilling secret to share with you – the key to keeping your Lopi Model 1750 wood stove shining and operating at its best is regular cleaning.

In just a few simple steps, I’ll guide you through the process of removing ash, clearing the chimney, and maintaining the glass door and gaskets.

With these expert tips, you’ll be able to enjoy cozy fires and a spotless stove all winter long.

Let’s get started!wood stove fireplace for sale

Key Takeaways

  • Gather necessary cleaning products: vacuum cleaner with HEPA filter, stiff-bristle brush, non-abrasive cleaner for wood stoves.
  • Take safety precautions: wear safety goggles and gloves.
  • Regularly clean the glass door and gaskets to ensure clear view of fire and efficient heat transfer.
  • Schedule regular professional chimney cleanings to prevent blockages or hazards.

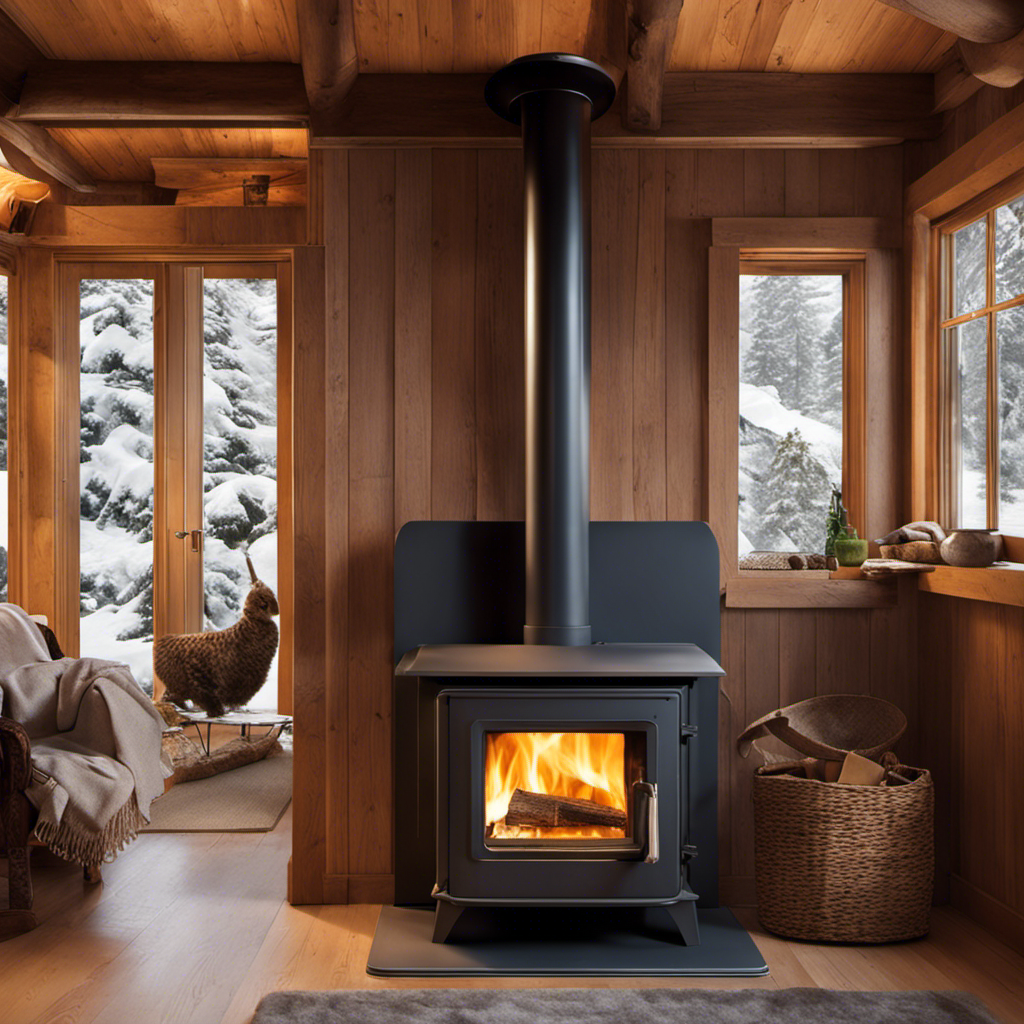
Preparing the Wood Stove for Cleaning

I’m getting ready to clear out the ashes and debris, so I can start preparing my wood stove for cleaning.

Before I begin, it’s important to gather the necessary cleaning products and take safety precautions. For this task, I’ll be using a vacuum cleaner with a HEPA filter, a stiff-bristle brush, and a non-abrasive cleaner specifically designed for wood stoves. Safety goggles and gloves are also essential to protect myself from any potential hazards.

Advertisement

Once I’ve all the necessary equipment, I’ll carefully remove the ashes and debris from the firebox, ensuring that I don’t spread any dust or particles. This step is crucial in order to have a clean and well-maintained wood stove.

Removing Ash and Debris From the Firebox

Carefully removing the ashes and debris from the firebox ensures a clean and well-maintained wood stove. When it comes to cleaning the firebox, there are two main methods to consider: using a vacuum or a brush. Both methods have their advantages and safety precautions to keep in mind.wood stoves for sale near me

A vacuum is a convenient option as it allows for quick and efficient removal of ashes and debris. However, it’s important to use a vacuum specifically designed for collecting hot ashes to prevent any potential fire hazards.

On the other hand, using a brush can be effective for removing stubborn residue and reaching tight corners. It’s crucial to wear protective gloves, goggles, and a mask to prevent any contact with harmful particles during the cleaning process.

Transitioning to the next section, once the firebox is clean, it’s time to focus on cleaning the glass door and gaskets.

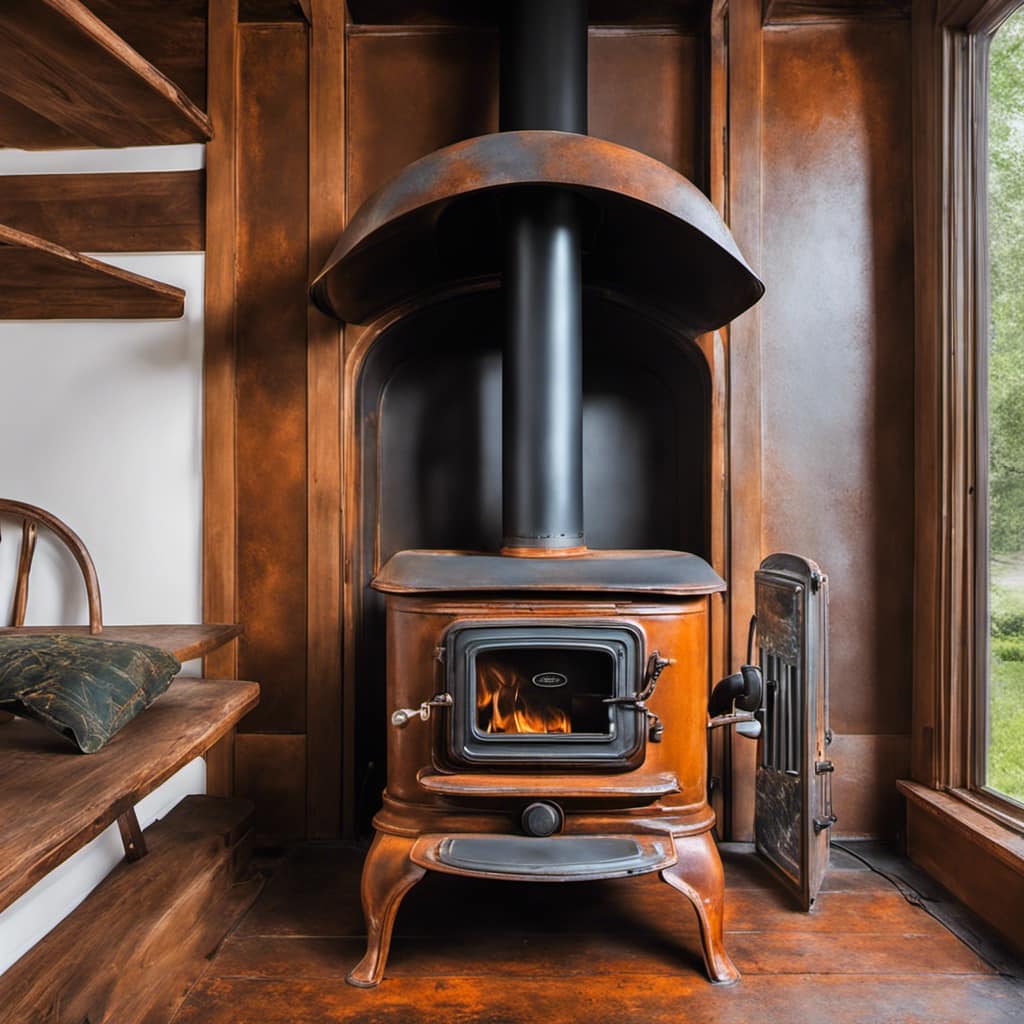
Cleaning the Glass Door and Gaskets

Using a damp cloth, wipe down the glass door and gaskets to remove any dirt or residue. This is an important step in maintaining the cleanliness and efficiency of your Lopi Model 1750 wood stove.

Advertisement
wood stoves for heating with blower

Here are some key points to consider when cleaning the glass door and gaskets:

  • Regular cleaning of the glass door ensures a clear view of the fire and allows for efficient heat transfer.
  • Cleaning the gaskets helps maintain a proper seal, preventing air leaks and ensuring optimal burning conditions.
  • Use a non-abrasive cleaner specifically designed for cleaning glass surfaces to avoid scratching or damaging the door.

In addition to cleaning the glass door and gaskets, it’s also crucial to regularly clean the stovepipe to prevent buildup and improve overall performance. Troubleshooting common issues such as excessive smoke or difficulty in starting a fire can often be resolved by ensuring a clean stovepipe and proper airflow.

Clearing the Chimney and Flue

I recommend regularly scheduling professional chimney cleanings to ensure the proper clearing of the chimney and flue, preventing any potential blockages or hazards. Maintaining a clean chimney is vital for the safe and efficient operation of your fireplace or wood stove.

Chimney maintenance involves the use of sweeping techniques to remove soot, creosote, and debris that can accumulate over time. Professional chimney sweeps have the expertise and specialized tools to thoroughly clean the chimney and flue, ensuring that they’re free from any obstructions.wood stove jotul

Regular cleanings also help to prevent the buildup of dangerous substances, such as creosote, which can lead to chimney fires. By prioritizing chimney maintenance and scheduling regular cleanings, you can enjoy a safe and efficient fireplace or wood stove throughout the year.

Maintaining and Storing Cleaning Tools

I always keep a set of three cleaning brushes and a bucket with a lid for storing my cleaning tools. Storing cleaning tools properly is essential for maintaining their effectiveness and longevity.

Here are three important tips for organizing your cleaning supplies:

  • Use a designated storage container: Having a dedicated bucket or bin for your cleaning tools will help keep them in one place and prevent them from getting lost or damaged.warnock hersey wood stove

  • Separate brushes by type: To maintain the integrity of each brush and ensure they’re used for their intended purpose, it’s important to separate them based on their specific cleaning tasks.

  • Keep tools clean and dry: Before storing your cleaning tools, make sure they’re thoroughly cleaned and dried to prevent the growth of bacteria or mold.

Frequently Asked Questions

How Often Should I Clean My Lopi Model 1750 Wood Stove?

I clean my Lopi Model 1750 wood stove regularly to ensure efficient operation. Following best practices for maintaining a wood stove is crucial. It’s important to clean the stove at least once a month for optimal performance and safety.

Advertisement

Can I Use Regular Household Cleaners to Clean the Glass Door and Gaskets?

I wouldn’t recommend using regular household cleaners on the glass door and gaskets. It’s best to use specific products designed for cleaning wood stoves to ensure they are safe and effective.wood stove pipe installation

What Are Some Common Signs That My Chimney and Flue Need to Be Cleared?

Some common signs that your chimney and flue need to be cleared include excessive smoke, strong odors, and difficulty starting or maintaining a fire. Neglecting maintenance can lead to chimney fires and carbon monoxide poisoning. Proper maintenance is crucial for safety.

How Long Does It Typically Take to Clean a Lopi Model 1750 Wood Stove?

Cleaning a Lopi Model 1750 Wood Stove takes approximately 1-2 hours. The recommended cleaning tools include a wire brush, vacuum, and ash shovel. It’s important to regularly maintain your stove for optimal performance.

Are There Any Specific Safety Precautions I Should Take While Cleaning the Wood Stove?

When cleaning a wood stove, it is important to follow specific safety precautions to ensure a safe and efficient process. These precautions include wearing protective gloves, using proper cleaning techniques, and ensuring the stove is completely cool before starting.

What is the Best Way to Clean the Glass on a Lopi Model 1750 Wood Stove?

The best way of keeping wood stove glass clean on a Lopi Model 1750 is by using a specialized glass cleaner made for removing soot, creosote, and other residues. Make sure the stove is cool, apply the cleaner, and wipe off the soot with a soft cloth for a sparkling finish.
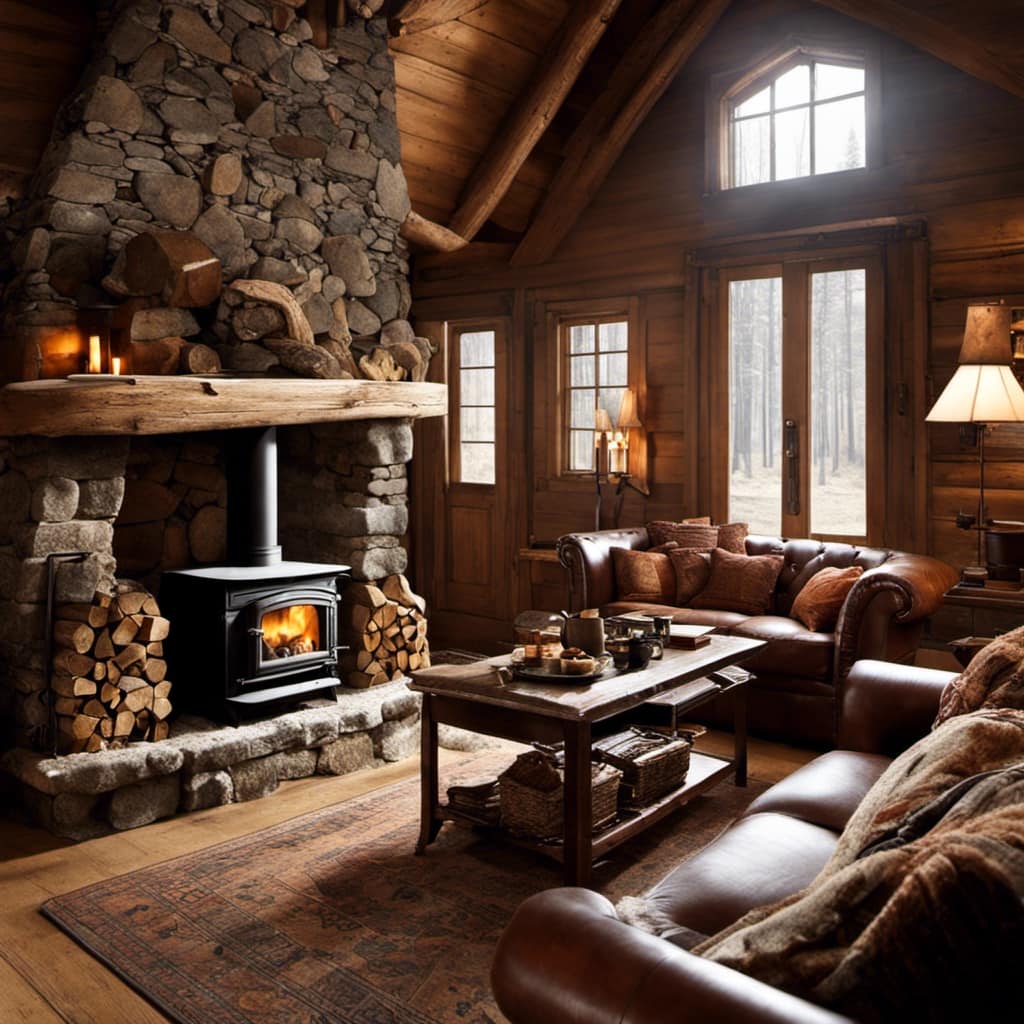
Conclusion

In conclusion, cleaning a Lopi Model 1750 wood stove is essential for its proper functioning and longevity.

Advertisement
lopi wood stove

By regularly removing ash and debris from the firebox, cleaning the glass door and gaskets, and clearing the chimney and flue, you can ensure optimal performance and reduce the risk of chimney fires.

Did you know that a dirty chimney can lead to a buildup of creosote, which is highly flammable and can cause a dangerous chimney fire?

Growing up surrounded by the vast beauty of nature, Sierra was always drawn to the call of the wild. While others sought the comfort of the familiar, she ventured out, embracing the unpredictable and finding stories in the heartbeat of nature.   At the epicenter of every remarkable venture lies a dynamic team—a fusion of diverse talents, visions, and passions. The essence of Best Small Wood Stoves is crafted and refined by such a trio: Sierra, Logan, and Terra. Their collective expertise has transformed the platform into a leading authority on small wood stoves, radiating warmth and knowledge in equal measure.

Continue Reading
Advertisement

Wood Stove

How To Remove Handle Off Lopi Wood Stove

Published

on

By

An image showcasing a step-by-step visual guide on removing the handle from a Lopi wood stove

I’ve owned my Lopi wood stove for quite some time now, and recently, I’ve observed that the handle is beginning to wear out. It has become crucial to detach the handle and perform an in-depth cleaning.

In this article, I’ll walk you through the steps on how to remove the handle from your Lopi wood stove. With a few simple tools and a little bit of patience, you’ll have that handle off and looking like new in no time.

Key Takeaways

  • Gather the necessary tools and materials, including a Phillips head screwdriver, pliers, gloves, clean cloth or towel, and a small container for screws and small parts.
  • Prepare the wood stove by letting it cool down completely, preheating it to loosen stuck parts, placing a protective covering, and examining the handle and identifying the type of screws or bolts.
  • Remove the screws or bolts securing the handle, troubleshoot any handle issues before replacing, ensure proper functioning of the new handle, and smoothly detach the handle from the wood stove.
  • Clean and maintain the removed handle by thoroughly cleaning it with a damp cloth and mild soap for metal handles, drying it thoroughly, using gentle wood cleaner and a soft cloth for wooden handles, and regularly checking for loose screws or bolts and tightening if necessary.

Gathering the Necessary Tools and Materials

I need to gather all the necessary tools and materials to safely remove the handle off my Lopi wood stove.

The first tool I’ll need is a screwdriver, preferably a Phillips head, to remove the screws holding the handle in place.

Additionally, I’ll need a pair of pliers to grip and hold any small parts that may come loose during the process.

To ensure my safety, I’ll also gather a pair of gloves to protect my hands from any potential sharp edges or hot surfaces.

Advertisement

In terms of materials, I’ll need a clean cloth or towel to place under the stove handle to catch any debris or small parts that may drop during the removal.

Lastly, I’ll have a small container to hold the screws and any other small pieces that come off during the process, ensuring that nothing gets lost or misplaced.

With these necessary tools and materials, I can confidently proceed with removing the handle from my Lopi wood stove.

Preparing the Wood Stove for Handle Removal

Positioning the clean cloth under the wood stove handle, I carefully begin preparing for its removal. To ensure a smooth process, there are a few important steps to take before attempting to remove the handle.

  • Preheating the wood stove: Before starting, it’s crucial to let the stove cool down completely. However, to facilitate the handle’s removal, preheating the wood stove for a few minutes can help loosen any stuck or tightened parts.

  • Protecting the surrounding area: As I work on removing the handle, I make sure to place a protective covering, such as a cloth or a sheet, on the floor or any nearby furniture. This will prevent any scratches or damages from occurring during the removal process.

  • Inspecting the handle and surrounding screws or bolts: Before proceeding further, I thoroughly examine the handle and identify the type of screws or bolts securing it. This knowledge will assist me in choosing the appropriate tools for removal.

Removing the Screws or Bolts Securing the Handle

To remove the handle, carefully unscrew or loosen the bolts securing it, and then detach it from the wood stove.

Advertisement

When replacing the handle with a new one, it’s important to first troubleshoot common handle issues to ensure that the problem isn’t with the wood stove itself. Common handle issues may include loose or stripped screws, a broken handle, or difficulty in operating the handle.

By addressing these issues before replacing the handle, you can ensure that the new handle will function properly and provide a safe and efficient operation of your wood stove.

Once the bolts are unscrewed or loosened, the handle can be easily detached from the wood stove, allowing for a smooth transition to the next step in the handle replacement process.

Detaching the Handle From the Wood Stove

I can simply unscrew the bolts and detach the handle from the wood stove. Removing the handle is a crucial step in installing handle replacements or troubleshooting common handle removal issues. Here’s how I do it:

  • Ensure the stove is cool: Before attempting to remove the handle, it’s important to make sure the stove has cooled down completely to avoid any burns or injuries.

  • Locate the bolts: Most wood stoves have bolts securing the handle to the stove. These bolts are typically located on the sides or the front of the stove.

  • Use the appropriate tools: To remove the bolts, I use a wrench or screwdriver, depending on the type of bolts used. It’s important to use the correct tool to avoid damaging the bolts or the handle.

Cleaning and Maintenance Tips for the Removed Handle

After removing the handle, it’s important to thoroughly clean and maintain it to ensure its longevity and functionality. Cleaning techniques for the handle may vary depending on the material it’s made of.

Advertisement

For metal handles, a simple wipe down with a damp cloth and mild soap should suffice. Be sure to dry it thoroughly to prevent any rust or corrosion.

If the handle is made of wood, avoid using harsh chemicals that can damage the finish. Instead, use a gentle wood cleaner and a soft cloth to remove any dirt or grime.

Regular maintenance is also crucial for the handle’s overall performance. Check for any loose screws or bolts and tighten them if necessary.

If the handle is beyond repair, consider exploring handle replacement options to ensure your wood stove remains in top condition.

Frequently Asked Questions

How Often Should I Remove the Handle From My Lopi Wood Stove for Cleaning?

I remove the handle from my Lopi wood stove for cleaning every few months. It’s important to disconnect the stove from its power source before removing the handle to ensure safety.

Advertisement

Can I Use Any Type of Screwdriver to Remove the Screws Securing the Handle?

I can use any screwdriver to remove the screws securing the handle on my Lopi wood stove. However, it’s important to note that different types of screwdrivers may require different techniques for proper removal.

Can I Remove the Handle Without Disconnecting the Stove From Its Power Source?

Yes, you can remove the handle without disconnecting the stove from its power source. To do so, make sure the stove is turned off and use the appropriate tools to safely remove the handle screws.

Is It Necessary to Wear Gloves While Removing the Handle?

Yes, it is necessary to wear gloves when removing the handle of a hot wood stove. Not wearing gloves can pose risks such as burns or injuries. Safety should always be a priority when handling hot objects.

How Long Does It Usually Take to Remove the Handle From a Lopi Wood Stove?

On average, it takes about 5-10 minutes to remove the handle from a wood stove, regardless of the brand. Common challenges include rusted screws and tight fittings, but with the right tools and technique, it can be done smoothly.

Conclusion

After following the steps outlined in this article, you should now be able to remove the handle from your Lopi wood stove with ease.

Advertisement

Just remember to gather the necessary tools and materials, prepare the stove properly, and carefully remove the screws or bolts securing the handle.

With a little effort and attention to maintenance, you can keep your wood stove in top condition and enjoy the warmth and comfort it provides like a well-tended fire in the hearth of your home.

Continue Reading

Wood Stove

How Do I Use My Wood Stove Chimney Flue

Published

on

By

An image showcasing a cozy living room with a roaring fire in a wood stove

As an individual who deeply appreciates the warm comfort provided by a wood stove during a cold night, I have frequently pondered, ‘How do I handle my wood stove chimney flue?’ Fear not, your questions will be answered!

In this article, I’ll guide you through the ins and outs of your wood stove chimney flue, from understanding its purpose to maximizing its efficiency.

Whether you’re a seasoned wood stove user or just starting out, you’ll find all the tips and tricks you need right here.

So let’s dive in and make the most of your wood stove chimney flue!

Key Takeaways

  • The wood stove chimney flue is essential for removing byproducts of combustion and preventing hazards like chimney fires and carbon monoxide buildup.
  • Opening and closing the wood stove chimney flue slowly and regularly cleaning it are important for efficiency and safety.
  • Proper maintenance of the wood stove chimney flue includes regular cleaning, professional inspection, and choosing appropriate cleaning techniques and tools.
  • Maximizing efficiency of the wood stove chimney flue involves installing dampers, adding insulation, using chimney caps, utilizing heat reclaimers, and ensuring steady air supply for improved combustion and heat output.

Understanding the Purpose of Your Wood Stove Chimney Flue

I just learned about the importance of understanding the purpose of my wood stove chimney flue.

The chimney flue plays a crucial role in the proper functioning of my wood stove. Its purpose is to safely remove the byproducts of combustion, such as smoke, gases, and particles, from the fireplace and out of my home.

Advertisement

It’s essential to keep the chimney flue clean to ensure that the smoke and gases can escape freely and prevent any potential hazards, such as chimney fires or carbon monoxide buildup.

Additionally, using a chimney cap offers numerous benefits. It helps to prevent debris, animals, and moisture from entering the chimney, which can lead to blockages and damage. It also helps to improve the overall efficiency of the wood stove by preventing downdrafts and increasing draft.

Understanding the purpose of the chimney flue and maintaining it properly is crucial for the safe and efficient operation of my wood stove.

Opening and Closing Your Wood Stove Chimney Flue: The Basics

Opening and closing the wood stove chimney flue is a basic task that every wood stove owner should know how to do. The wood stove flue plays a crucial role in maintaining the efficiency and safety of your wood stove.

Cleaning the flue regularly is essential to prevent the buildup of creosote, a highly flammable substance that can lead to chimney fires. To clean the flue, you can use a chimney brush or hire a professional chimney sweep.

Advertisement

When opening and closing the flue, make sure to do it slowly and smoothly to avoid any sudden drafts or backdrafts that may cause smoke to enter your home.

Always prioritize chimney flue safety by checking for any obstructions or damages before using your wood stove.

Tips for Properly Maintaining Your Wood Stove Chimney Flue

To ensure the safety and efficiency of your wood stove, regularly cleaning and inspecting the chimney flue is essential. Cleaning techniques such as using a chimney brush and vacuum can help remove creosote buildup, which is a major cause of chimney fires. Additionally, inspecting the flue for any cracks or damage is crucial to prevent any potential hazards. Here are some tips to properly maintain your wood stove chimney flue:

Cleaning Technique Description
Chimney Brush Use a chimney brush to scrub the inside of the flue and remove creosote buildup. Make sure to choose a brush that matches the size of your flue.
Vacuum A high-powered vacuum can effectively remove any loose debris from the flue. Be sure to use a vacuum specifically designed for chimney cleaning.
Professional Inspection Schedule an annual inspection by a certified chimney sweep to thoroughly assess the condition of your flue and identify any potential issues.

Maximizing Efficiency: How to Use Your Wood Stove Chimney Flue for Optimal Heat Output

My goal is to maximize efficiency by using my wood stove chimney flue for optimal heat output. To achieve this, I’ve explored various burning techniques and chimney flue accessories that can enhance the performance of my wood stove.

Here are five items that I’ve found to be useful:

Advertisement

  • Dampers: Installing a damper in the flue can help control the airflow and regulate the heat output.

  • Insulation: Adding insulation around the chimney flue can prevent heat loss and improve efficiency.

  • Chimney Caps: A chimney cap can prevent downdrafts and block debris from entering the flue, ensuring proper airflow.

  • Heat Reclaimers: These devices can capture and utilize heat that would otherwise be lost through the chimney.

  • Air Supply: Ensuring a steady supply of fresh air to the stove can improve combustion and heat output.

Troubleshooting Common Issues With Your Wood Stove Chimney Flue

Since I’ve been experiencing some issues with my wood stove chimney flue, I decided to troubleshoot common problems and find solutions to ensure efficient operation.

One of the most important aspects of maintaining a wood stove chimney flue is regular cleaning. Over time, soot and creosote can build up inside the flue, reducing its efficiency and posing a fire hazard. To clean the chimney flue, you can use a chimney brush and rod to remove the buildup.

Another common issue with chimney flues is improper installation. It’s crucial to ensure that the flue is properly sized and insulated to prevent drafts and heat loss. Additionally, a chimney cap can prevent rain, snow, and animals from entering the flue.

Frequently Asked Questions

Can I Use My Wood Stove Chimney Flue for Other Appliances, Such as a Gas Stove or Dryer?

Yes, you can use your wood stove chimney flue for other appliances like a gas stove or dryer. However, it’s important to ensure gas stove safety and proper maintenance for the dryer to prevent any potential hazards.

How Often Should I Clean My Wood Stove Chimney Flue?

To clean my wood stove chimney flue, I should do it at least once a year, or more frequently if I use my stove heavily. I can use a chimney brush and rods to remove any creosote buildup.

Advertisement

Can I Install a Damper on My Wood Stove Chimney Flue to Control the Airflow?

Installing a damper on the wood stove chimney flue can be a great way to control airflow. However, there are alternative methods like using stovepipe dampers or adjusting the stove’s air intake.

Can I Use My Wood Stove Chimney Flue Without a Chimney Cap?

I always make sure to use a chimney cap on my wood stove chimney flue. It helps to prevent debris, animals, and rain from entering, which can lead to damage and maintenance issues.

What Should I Do if I Notice a Strong Odor Coming From My Wood Stove Chimney Flue?

If I notice a strong odor coming from my wood stove chimney flue, I would first ensure proper wood stove chimney flue maintenance. Then, I would troubleshoot the issue to identify and address the cause of the odor.

Conclusion

In conclusion, the wood stove chimney flue is a vital component in ensuring the efficiency and safety of your wood stove. By understanding its purpose and properly opening and closing it, you can control the heat output and maximize its efficiency.

Regular maintenance is key to ensuring its optimal performance. So, harness the power of your wood stove chimney flue to create a cozy and warm atmosphere, while keeping any issues at bay.

Advertisement

Continue Reading

Wood Stove

How To Build A Hot Water Heat Exchanger For Top Of Wood Stove

Published

on

By

An image showcasing a step-by-step guide on building a hot water heat exchanger for a wood stove

The widespread notion that invention stems from necessity profoundly resonates with me, especially regarding the heating of my house.

That’s why I’ve set out on a mission to build a hot water heat exchanger for the top of my wood stove.

In this article, I’ll guide you through the process step by step, ensuring that you have all the necessary materials and expertly design and build the heat exchanger frame.

Let’s get started!

Key Takeaways

  • Extensive research is required to determine the appropriate size and location of the heat exchanger for optimal heat transfer and efficiency.
  • Gathering and selecting materials that meet the requirements for durability and heat resistance is crucial.
  • Building a sturdy and well-constructed heat exchanger frame is essential to withstand high temperatures and pressures.
  • Proper installation, testing, and troubleshooting are necessary to ensure the heat exchanger functions effectively and efficiently.

Gathering the Necessary Materials

I’m currently in the process of gathering all the necessary materials for this project.

When it comes to choosing the right size for the heat exchanger, I’ve done extensive research to ensure its efficiency. The size of the heat exchanger will depend on the size of the wood stove and the amount of heat it generates. It’s important to find the right balance between the size of the heat exchanger and the amount of heat it can transfer.

Advertisement

Additionally, finding the best location for the heat exchanger is crucial. It should be placed in a position where it can effectively capture the heat from the wood stove and distribute it to the water.

Now that I’ve gathered all the necessary materials, the next step is to design the heat exchanger.

Designing the Heat Exchanger

Having researched extensively, I am now ready to design the heat exchanger for optimal efficiency. To ensure maximum heat transfer and minimal energy loss, it is crucial to properly size the heat exchanger. This involves considering factors such as the heat load, fluid flow rate, and temperature difference. By accurately sizing the heat exchanger, we can achieve optimal performance and energy savings.

To assist in the design process, I have created the following table, outlining the key parameters and their corresponding values for the heat exchanger:

Parameter Value
Heat Load 10,000 BTU/h
Fluid Flow Rate 5 gallons per minute
Temperature Difference 20 degrees Fahrenheit

Using these values, I will now proceed to determine the surface area and tube length required for the heat exchanger, taking into account heat exchanger efficiency and performance. This will ensure that the heat exchanger operates at its maximum potential, providing efficient heat transfer and ultimately reducing energy consumption.

Advertisement

Building the Heat Exchanger Frame

To build the heat exchanger frame, I’ll gather the necessary materials and use screws to secure the metal panels together. The frame is an essential component of the heat exchanger, as it provides structural support and ensures the proper alignment of the heat transfer elements.

The metal panels will be cut to the required dimensions and then assembled using the screws. It’s important to ensure that the frame is sturdy and well-constructed to withstand the high temperatures and pressures associated with the heat exchanger operation.

Additionally, heat exchanger insulation can be added to the frame to minimize heat loss and improve energy efficiency.

Alternative heat exchanger designs may also be considered, such as plate heat exchangers or shell and tube heat exchangers, depending on the specific requirements and constraints of the application.

Installing the Heat Exchanger on the Wood Stove

I can easily install the heat exchanger on the wood stove using the provided instructions and a few basic tools. Here is a step-by-step guide to ensure a successful installation:

Advertisement

  1. Position the heat exchanger on top of the wood stove, making sure it’s centered and level.
  2. Secure the heat exchanger to the stove using the provided brackets or clamps. Ensure a tight and stable fit.
  3. Connect the inlet and outlet pipes of the heat exchanger to the existing plumbing system. Use appropriate fittings and sealants to prevent leaks.
  4. Test the connections by running water through the heat exchanger while the stove is in use. Check for any leaks or irregularities.

By following these steps, you can ensure a proper installation of the heat exchanger, maximizing its efficiency in transferring heat from the stove to your water system.

Now, let’s move on to testing and troubleshooting the heat exchanger to ensure optimal performance.

Testing and Troubleshooting the Heat Exchanger

How can I effectively test and troubleshoot the heat exchanger to ensure it’s functioning properly?

To begin, it’s crucial to check for any leaks in the heat exchanger system. This can be done by pressurizing the system and inspecting for any visible signs of leakage.

Additionally, measuring the temperature difference between the inlet and outlet of the heat exchanger can help identify any potential blockages or flow issues.

Another troubleshooting technique is to evaluate the performance of the heat exchanger by measuring its heat transfer efficiency. This can be achieved by comparing the temperature of the water entering and leaving the heat exchanger.

Advertisement

Frequently Asked Questions

How Long Does It Typically Take to Gather All the Necessary Materials for Building a Hot Water Heat Exchanger for a Wood Stove?

Typically, it takes me a few hours to gather all the necessary materials for building a hot water heat exchanger for a wood stove. The gathering time depends on the availability of the materials and their proximity.

Are There Any Specific Safety Precautions That Need to Be Taken When Designing the Heat Exchanger?

When designing a hot water heat exchanger for a wood stove, it is crucial to consider safety precautions. These include proper insulation, avoiding sharp edges, and ensuring secure connections to prevent leaks or potential hazards.

What Are Some Common Mistakes to Avoid When Building the Heat Exchanger Frame?

What are some common mistakes to avoid when building the heat exchanger frame? Ensuring proper alignment, using sturdy materials, and securing all joints tightly are crucial steps to prevent leaks and ensure efficient heat transfer.

Can the Heat Exchanger Be Installed on Any Type of Wood Stove, or Are There Certain Specifications to Consider?

Wood stove compatibility for heat exchanger installation involves considering factors such as stove design, size, and flue location. Proper clearance, heat transfer, and safety measures must be evaluated to ensure efficient and effective installation.

How Can I Determine if the Heat Exchanger Is Functioning Properly During the Testing Phase?

To test the heat exchanger, I follow a precise troubleshooting process. By checking for leaks, inspecting water flow, and monitoring temperature changes, I can determine if the heat exchanger is functioning properly during the testing phase.

Advertisement

Conclusion

In conclusion, building a hot water heat exchanger for the top of a wood stove is a practical way to utilize wasted heat and save on energy costs.

According to a study conducted by the U.S. Department of Energy, properly installed heat exchangers can increase the efficiency of a wood stove by up to 50%.

By following the steps outlined in this article, homeowners can harness this heat and enjoy the benefits of a more efficient heating system.

Continue Reading

Trending