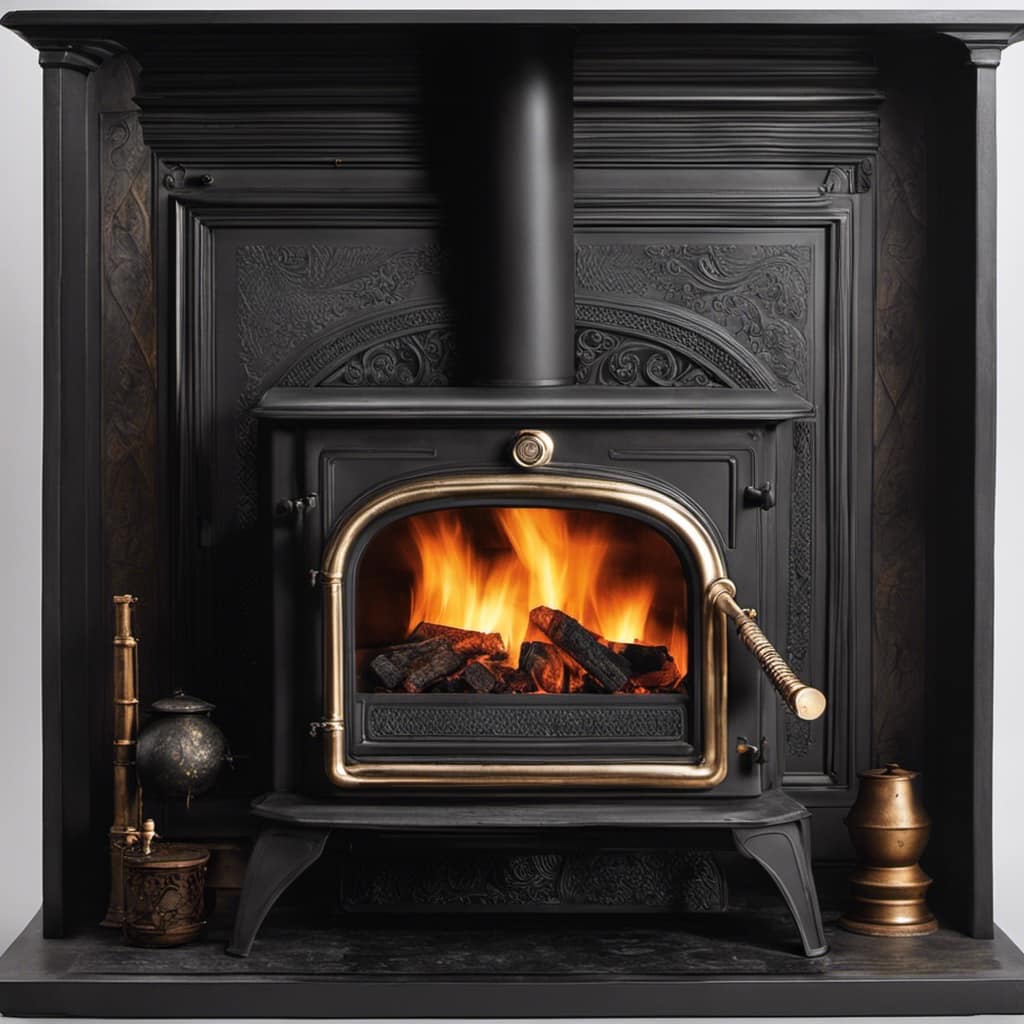
My enthusiasm soared when my Consensus 2770 wood stove was delivered.
The challenge of assembling its various parts soon became apparent. However, fear not – I’m ready to help.
This manual will guide you through each step of unpacking, setting up, and installing every piece.
I’ll cover everything from managing the firebox, the baffle, to the chimney pipe, offering precise guidance and advice to tackle any problems, guaranteeing a smooth installation process.
Let’s get started!
Key Takeaways
- Carefully unpack and organize the parts for easy assembly.
- Properly install the firebox, baffle, and firebricks for efficient and safe operation.
- Attach the door and handles securely with a tight seal to prevent air leakage.
- Connect the chimney pipe correctly, ensuring proper clearances and sealing joints to prevent leaks.

Vermont Castings Dutchwest Andiron – Stove Replacement Part – Wood Fuel – 6.5 Inches
Genuine OEM Vermont Castings Part 7001117A (700-1117)
As an affiliate, we earn on qualifying purchases.
As an affiliate, we earn on qualifying purchases.
Unpacking and Preparing the Parts
I’ve just unpacked and prepared all five parts for assembly.
The first step in unpacking the Consensus 2770 Wood Stove is to carefully remove each part from its packaging, ensuring not to damage any of the components.
The unpacking instructions provided in the manual were clear and concise, guiding me through the process effortlessly.
Once unpacked, I organized the parts according to their labeled categories for easy identification during assembly.
As for the tools needed, the manual specified a few essential items: a screwdriver, pliers, and a wrench.
These tools were necessary to securely fasten the different parts together, ensuring a safe and stable installation.
With everything unpacked and the tools at hand, I’m now ready to begin the assembly process.

Fireside Chimney Supply Basic FireSafe Flexible Chimney Liner Insert Kit | Fireplace Insert | Stainless Steel Chimney Liner Kit | Made in the USA | Heavy-Duty 7 Inch x 20 Feet
Premium 316 Stainless Steel for Maximum Durability & Safety: Engineered with high-grade 316 stainless steel, this FireSafe Chimney…
As an affiliate, we earn on qualifying purchases.
As an affiliate, we earn on qualifying purchases.
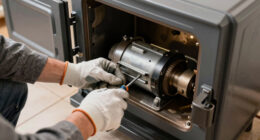
Installing the Firebox and Baffle
I just finished installing the firebox and baffle, securing them tightly to ensure optimal performance.
To begin, I positioned the firebox in the designated area, ensuring it was level and centered on the hearth pad.
I then carefully installed the baffle, making sure it was correctly aligned with the firebox. Using the provided screws and a screwdriver, I secured the baffle in place, ensuring a tight fit to prevent any air leakage.
Next, I focused on securing the firebricks within the firebox. I carefully placed the firebricks around the sides and back of the firebox, ensuring they were snugly fitted together. This not only enhances the stove’s durability but also helps to retain heat.
With the firebox and baffle now properly installed, I’m confident in the efficient and safe operation of my Consensus 2770 Wood Stove.

Protalwell Woodstove Firebricks, Upgrade Fire Bricks Replacement for US Stove FBP6, Size 9" x 4-1/2" x 1-1/4", 6-Pack
Vermiculite Material Fire Bricks – Can withstand high temperature of 2200F, has strong thermal insulation performance, help you…
As an affiliate, we earn on qualifying purchases.
As an affiliate, we earn on qualifying purchases.
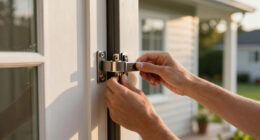
Attaching the Door and Handles
After positioning the door in place, I’ll attach the handles using two screws to ensure a secure fit. The handles are an important part of the wood stove, as they allow for easy opening and closing of the door.
Once the handles are attached, I’ll move on to installing the gasket. The gasket is essential for creating a tight seal between the door and the stove body, preventing any air leakage. I’ll carefully place the gasket around the perimeter of the door, making sure it’s evenly distributed.

Protalwell Wood Stove Gasket, 1/2" Wood Stove Door Gasket Kit, High Temperature Resistant Gasket Rope Replacement for Stove or Fireplace Doors, Grey Color Fiberglass Gasket
High Temperature Resistance Gasket Rope – Made by Graphite Impregnated Fiberglass, will not burn and withstand to temperatures…
As an affiliate, we earn on qualifying purchases.
As an affiliate, we earn on qualifying purchases.
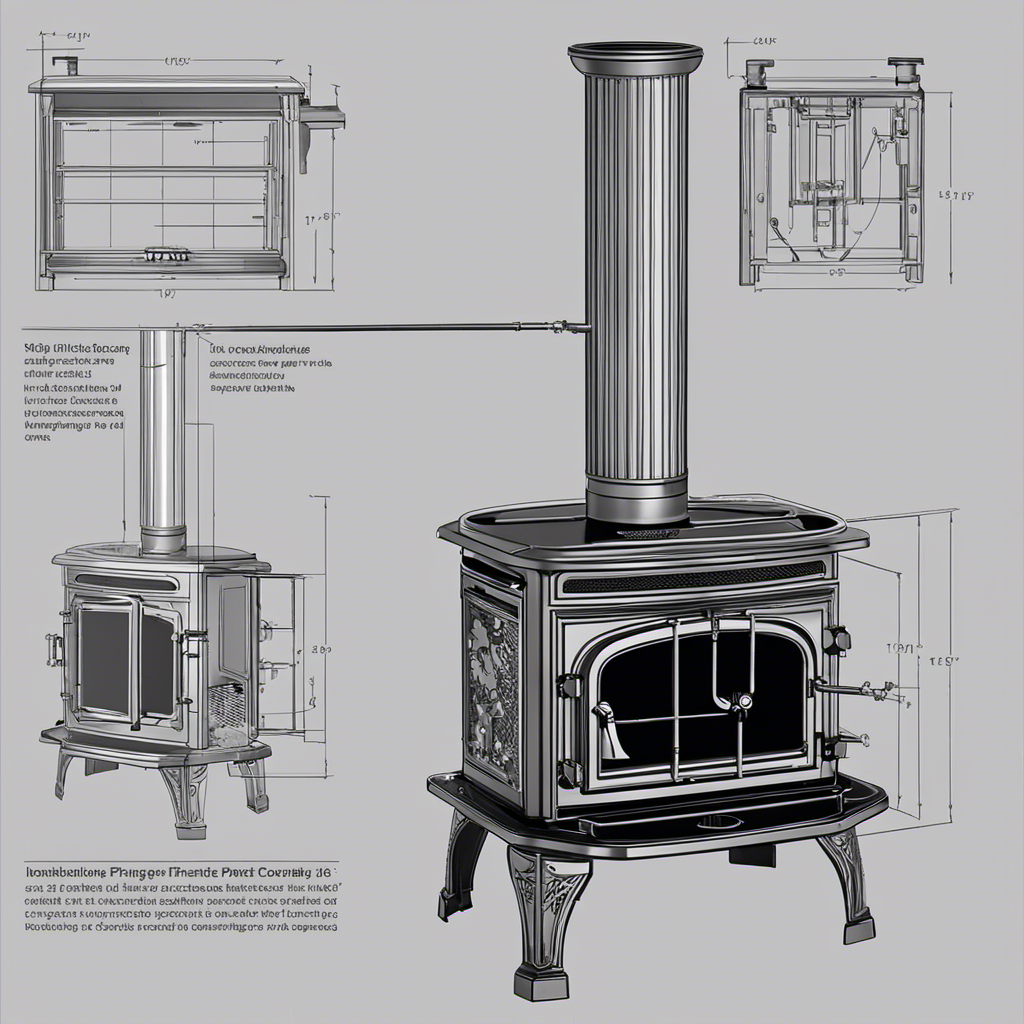
Connecting the Chimney Pipe
To properly connect the chimney pipe, it’s important to ensure a tight and secure fit between the stove and the pipe. This step is crucial for the safe and efficient operation of your wood stove. Here are some key considerations and common mistakes to avoid when choosing and installing a chimney pipe:
- Diameter: Select a chimney pipe with the correct diameter that matches the stove’s flue collar.
- Material: Choose a pipe made from high-quality stainless steel or double-wall construction for optimal durability and insulation.
- Clearances: Maintain proper clearances between the pipe and any combustible materials, following the manufacturer’s guidelines.
- Verticality: Install the pipe as vertically as possible to promote efficient draft and minimize the risk of creosote buildup.
- Sealing: Ensure all joints and connections are properly sealed with high-temperature silicone or gaskets to prevent leaks.
Properly connecting the chimney pipe lays the foundation for a well-functioning wood stove installation.
Now, let’s move on to testing and troubleshooting the installation process.
Testing and Troubleshooting the Installation
During the installation process, it’s important to test and troubleshoot any potential issues that may arise with the wood stove.
To ensure optimal performance and safety, testing the efficiency of the stove is crucial. This can be done by measuring the heat output and comparing it to the manufacturer’s specifications.
Additionally, troubleshooting smoke issues is essential to prevent any health hazards or damage to the stove. Smoke issues can occur due to improper ventilation, blockages in the chimney, or a faulty flue.
By carefully inspecting and cleaning the chimney, as well as adjusting the damper and airflow, these issues can be resolved.
Regular maintenance and testing will help maintain the efficiency and functionality of the wood stove.
Conclusion
In conclusion, by following the step-by-step instructions for installing the parts of the Consensus 2770 wood stove, you can ensure a seamless and efficient installation process. Remember to take your time and double-check each step to ensure precision and safety.
By successfully installing your wood stove, you can look forward to cozy and comforting fires that evoke a sense of warmth and nostalgia, creating a welcoming atmosphere in your home.