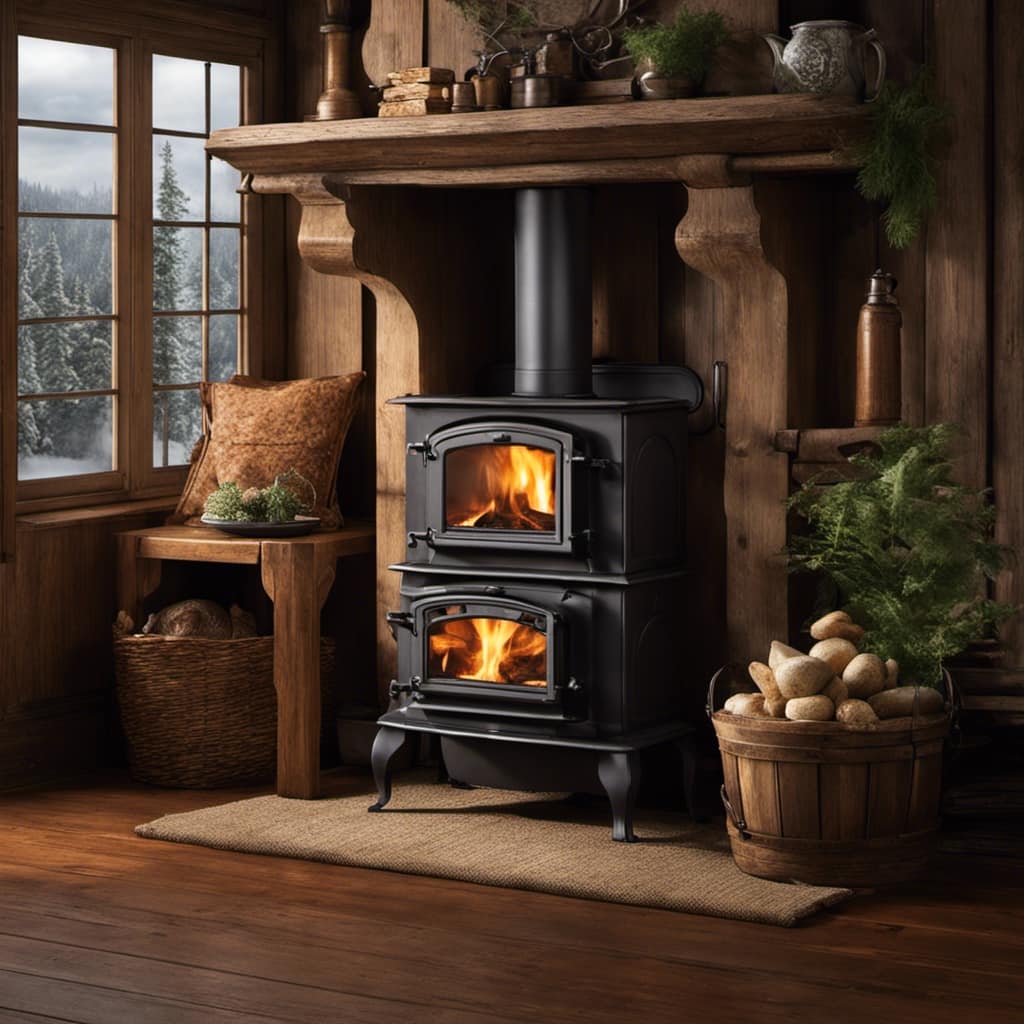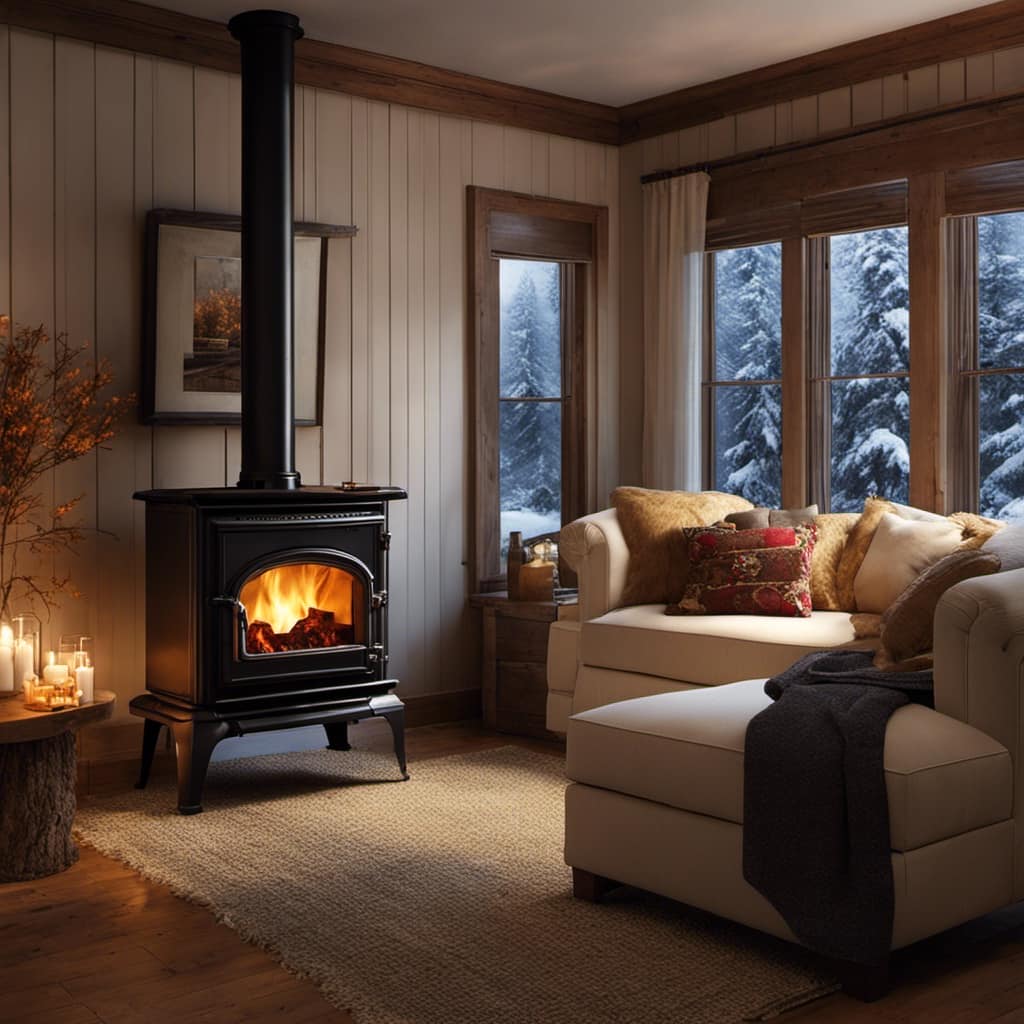

I have a wood stove next to a window, and let me tell you, it can be challenging to keep the indoor warmth.
But fear not, because I’ve discovered some handy tricks that will help you retain all that cozy warmth.
From insulating the area around the window to using heat-resistant curtains, I’ve got you covered.
So grab a cup of hot cocoa and get ready to learn how to keep that heat where it belongs – inside your home.

Key Takeaways
- Insulate the area around the window to prevent drafts and heat loss
- Use heat-resistant curtains and reflective blinds to trap heat inside the room
- Install a heat shield to protect surrounding walls and furniture from heat transfer
- Add window film or tint to insulate windows and reduce heat loss, especially if you have reflective blinds or double glazing
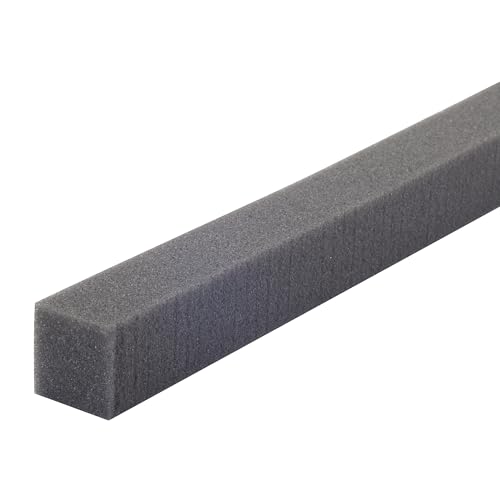
M-D Building Products 02006 1-1/4 in x 42 in Gray Foam Window Seal Strip – Air Conditioner Window Seal, Weather Stripping Foam Insulation for Window AC Units, Adhesive Foam Strip
- Snug Insulating Fit: Creates a tight barrier around window ACs
- Year-Round Climate Control: Seals out cold and hot air effectively
- Ideal for Small Gaps: Fits gaps up to 1-1/4 inches thick
As an affiliate, we earn on qualifying purchases.
As an affiliate, we earn on qualifying purchases.
Insulating the Area Around the Window
I’m going to start insulating the area around the window to prevent any heat loss.
Draft proofing the window frame is essential to keep the cold air out and the warm air in.
I’ll begin by checking for any gaps or cracks in the window frame and sealing them with weatherstripping or caulking.
This will create a tight seal and prevent drafts from entering the room.
Additionally, I’ll consider using thermal blinds or shades to further insulate the window.
These specially designed window coverings are made with insulating materials that help to trap heat inside the room and prevent it from escaping through the window.
Using Heat-Resistant Curtains
To maximize heat retention, I’ll consider using heat-resistant curtains that will provide an extra layer of insulation and prevent any heat from escaping through the window. These curtains are specifically designed to withstand high temperatures and are made from materials that can effectively trap heat inside the room.
In addition to the curtains, I’ll also consider using reflective blinds. These blinds have a reflective surface that can bounce the heat back into the room, further enhancing heat retention.
Another practical measure I can take is utilizing draft stoppers. These can be placed at the bottom of the window to prevent cold air from seeping in and warm air from escaping.
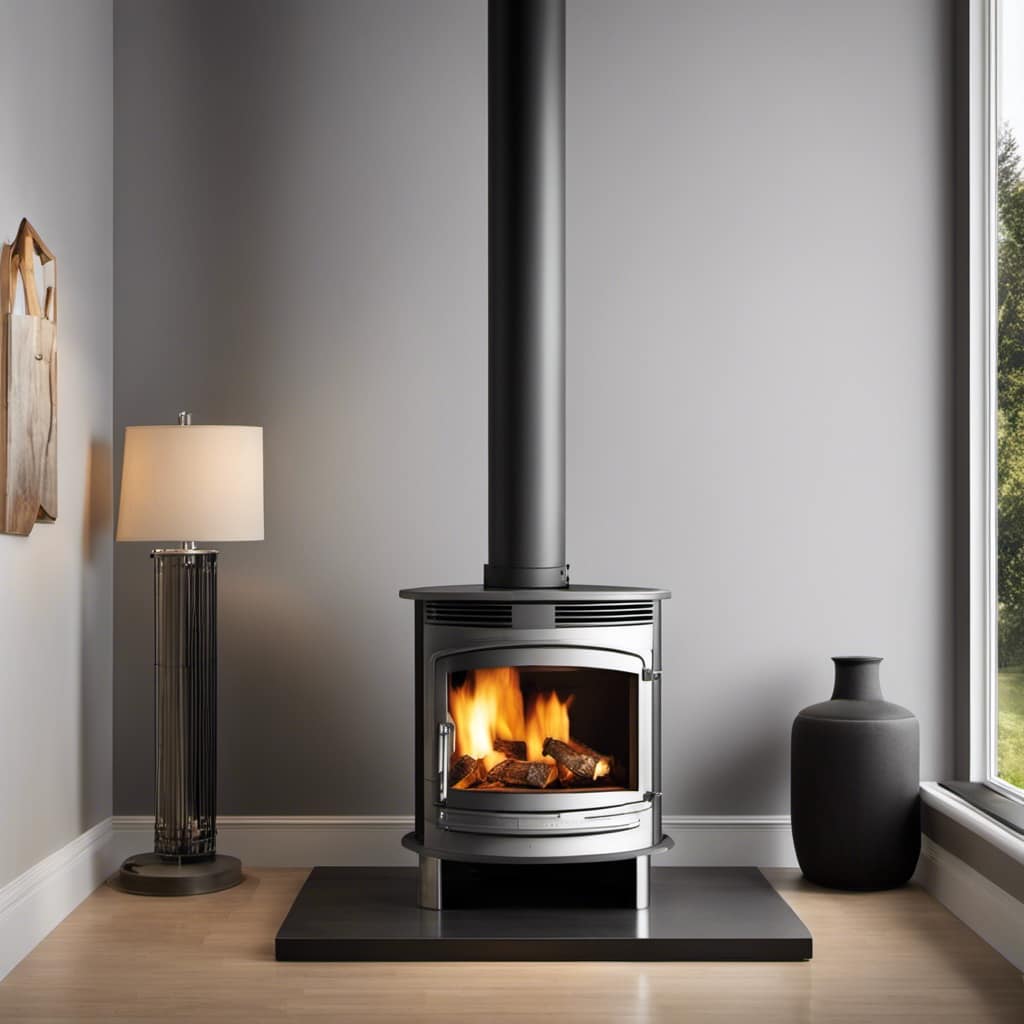
Installing a Heat Shield
I’ll use a heat shield to protect the surrounding walls and furniture from the intense heat emitted by the wood stove. A heat shield is an effective way to ensure safety while maximizing the heat generated by the stove.
It works by creating a barrier between the stove and the walls or furniture, preventing heat transfer and potential fire hazards. The effectiveness of a heat shield depends on its design and installation. A properly installed shield should have a minimum air gap of one inch between the shield and the wall, allowing for proper airflow and heat dissipation.
The cost of heat shield installation can vary depending on the size and materials used. It’s important to consult with a professional to ensure proper installation and adherence to safety regulations.
Adding Window Film or Tint
There are several benefits to adding window film or tint, such as reducing glare and protecting furniture from sun damage.
However, one additional advantage is the ability to retain heat in your home. Window film or tint can help to insulate your windows, preventing heat from escaping and cold air from entering. This is especially important if you have reflective blinds or double glazing, as these features can already help to reduce heat loss.
By adding window film or tint, you’re adding an extra layer of insulation, effectively trapping heat inside your home. This can lead to lower energy bills, as your heating system won’t have to work as hard to maintain a comfortable temperature.
Implementing a Window Insulation Kit
I’ve found that using a window insulation kit can significantly reduce drafts and improve energy efficiency in my home. Here are three reasons why I highly recommend implementing this solution:
-
Weatherstripping the window frame: By applying weatherstripping to the window frame, you can create a tight seal that prevents cold air from entering and warm air from escaping. This simple step can make a big difference in maintaining a comfortable temperature inside your home.
-
Using draft stoppers or door sweeps: Placing draft stoppers or door sweeps at the bottom of windows and doors can further prevent drafts and enhance insulation. These inexpensive tools create a barrier against chilly air, helping to keep your home cozy and energy-efficient.
-
Enhancing overall comfort and reducing energy costs: A well-insulated window can eliminate cold drafts, reducing the need for constantly adjusting the thermostat. This not only improves comfort but also helps to save on heating costs throughout the winter months.
Implementing a window insulation kit is a practical and effective way to combat drafts and improve energy efficiency in your home.
Frequently Asked Questions
How Much Would It Cost to Insulate the Area Around the Window?
To insulate the area around the window, there are both professional installation options and DIY solutions available. The cost of professional installation can vary depending on the size and complexity of the project, while DIY insulation options can be more affordable.
Can I Use Any Type of Curtains or Do I Need Specific Heat-Resistant Curtains?
I found that using heat-resistant curtains can help retain heat when a wood stove is near a window. There are different curtain color options available, and the pros of heat-resistant curtains include better insulation and energy efficiency. However, they can be more expensive than regular curtains.
Are There Any Safety Precautions to Consider When Installing a Heat Shield Near a Wood Stove?
When installing a heat shield near a wood stove, it’s important to take safety precautions. Ensure proper clearance, use fire-resistant materials, and follow manufacturer guidelines. Safeguarding against heat transfer prevents accidents and maximizes heat retention.
Can Window Film or Tint Affect the Visibility From the Window?
Window film and tint can affect visibility, but there are alternatives to consider. Window film can help retain heat by reducing drafts and blocking UV rays. However, it may reduce natural light and require regular maintenance. Tinting can also provide insulation but may darken the room.
How Long Does It Usually Take to Install a Window Insulation Kit?
Installing a window insulation kit usually takes about an hour or two. It is a practical solution to retain heat and improve energy efficiency. There are different types of window insulation options available, each with their own benefits.
Conclusion
In conclusion, if you want to retain heat when your wood stove is near a window, just throw in a few ice cubes! Not only will it keep the room cold, but it will also give you a great excuse to cuddle up with a blanket and a hot drink.
Who needs warmth anyway when you can have a winter wonderland inside your own home?
Stay chilly, my friends!