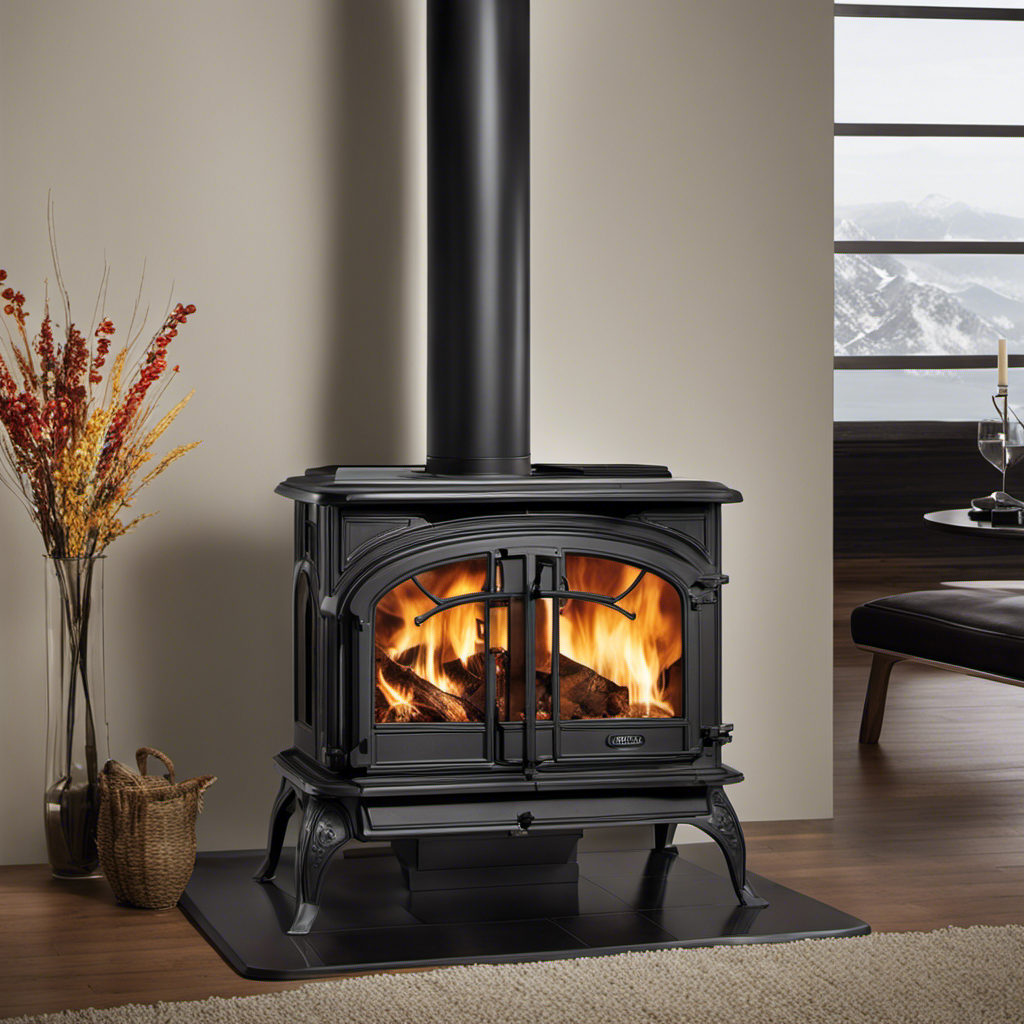
I’ve sat in front of a crackling fire on a chilly winter evening, only to discover that instead of rising up the chimney, the smoke is filling the room.
If you’re tired of dealing with this frustrating problem, then you’ve come to the right place.
In this article, I’ll walk you through the step-by-step process of running wood stove pipe through your roof, ensuring that your cozy nights by the fire remain smoke-free and enjoyable.
Key Takeaways
- Choose durable and heat-resistant materials for the stove pipe
- Properly seal and secure the pipe to prevent leaks or damage
- Regularly clean and inspect the pipe for creosote buildup and wear
- Consider insulation and sealing to maximize efficiency and prevent air leaks

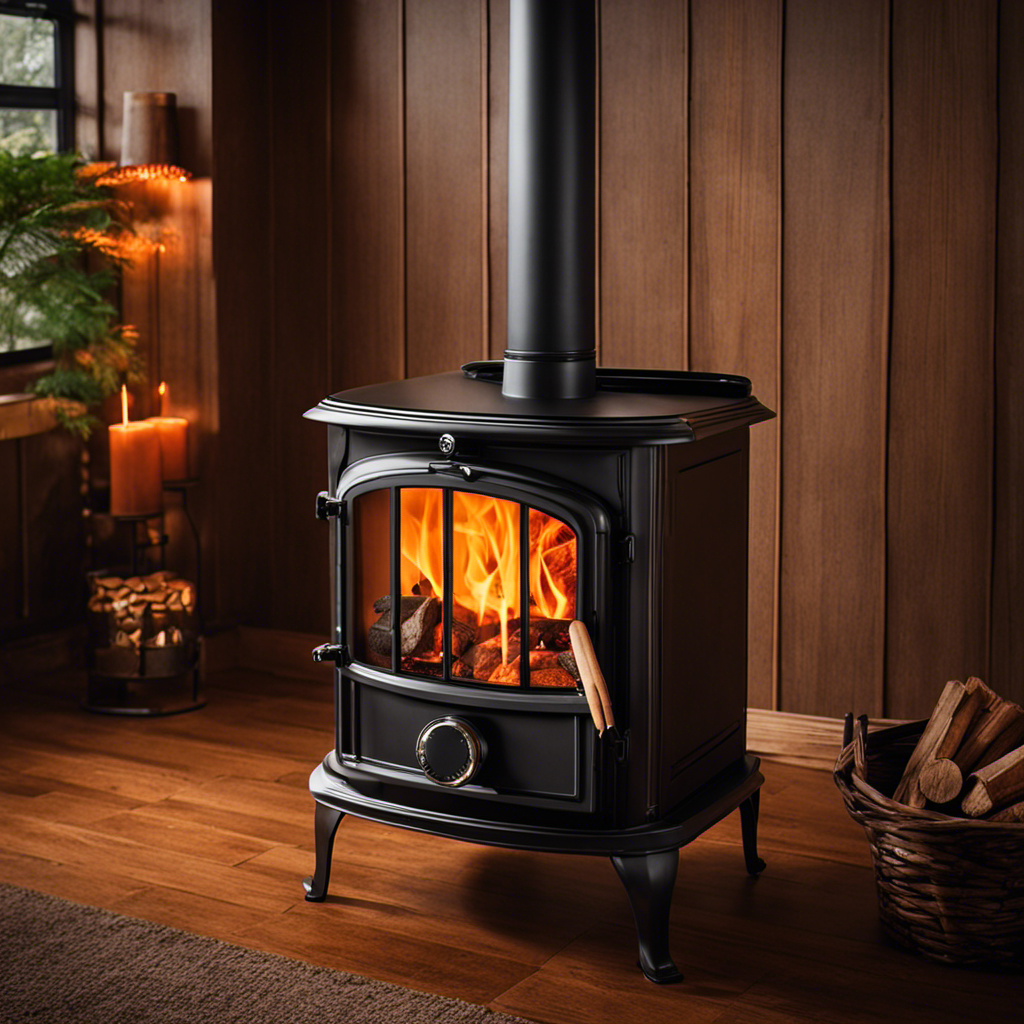
DuraVent DuraBlack 24 by 6 Inches Stainless Steel Single Wall Wood Burning Stove Pipe Connector with Adjustable Length, Silver
- Easy Installation: Simple in-and-out fit
- Safe Single-Wall Design: Keeps home smoke-free and safe
- Versatile Venting: Vents smoke and fumes outside
As an affiliate, we earn on qualifying purchases.
As an affiliate, we earn on qualifying purchases.
Choosing the Right Location for the Stove Pipe
I’m considering the best location for the stove pipe to run through the roof.
When it comes to choosing the right materials for the stove pipe, there are a few key factors to consider.
First and foremost, it’s important to select a pipe that’s made of durable and heat-resistant materials, such as stainless steel or double-wall insulated pipe. These materials can withstand the high temperatures generated by the wood stove and help maintain the safety and efficiency of your system.
Additionally, it’s crucial to ensure that the pipe is properly sealed and secured to prevent any leaks or damage. Regular maintenance is also vital for the longevity of the stove pipe.
This includes regular cleaning to remove any creosote buildup and inspecting for any signs of wear or damage.
Measuring and Cutting the Hole in the Roof
To ensure a proper fit, I’ll measure and cut the hole in the roof for the wood stove pipe. Measuring accuracy is crucial when cutting the hole, as even a slight miscalculation can lead to leaks or improper ventilation.
Before starting, I put on safety goggles and gloves to protect myself. Using a measuring tape, I carefully measure the diameter of the stove pipe. I mark the center of the hole on the roof using a pencil and then double-check my measurements.
Next, I use a reciprocating saw fitted with a metal-cutting blade to cut the hole. I make sure to follow the marked lines precisely and cut slowly and steadily. Safety precautions are essential during this step to prevent any accidents or damage to the roof.
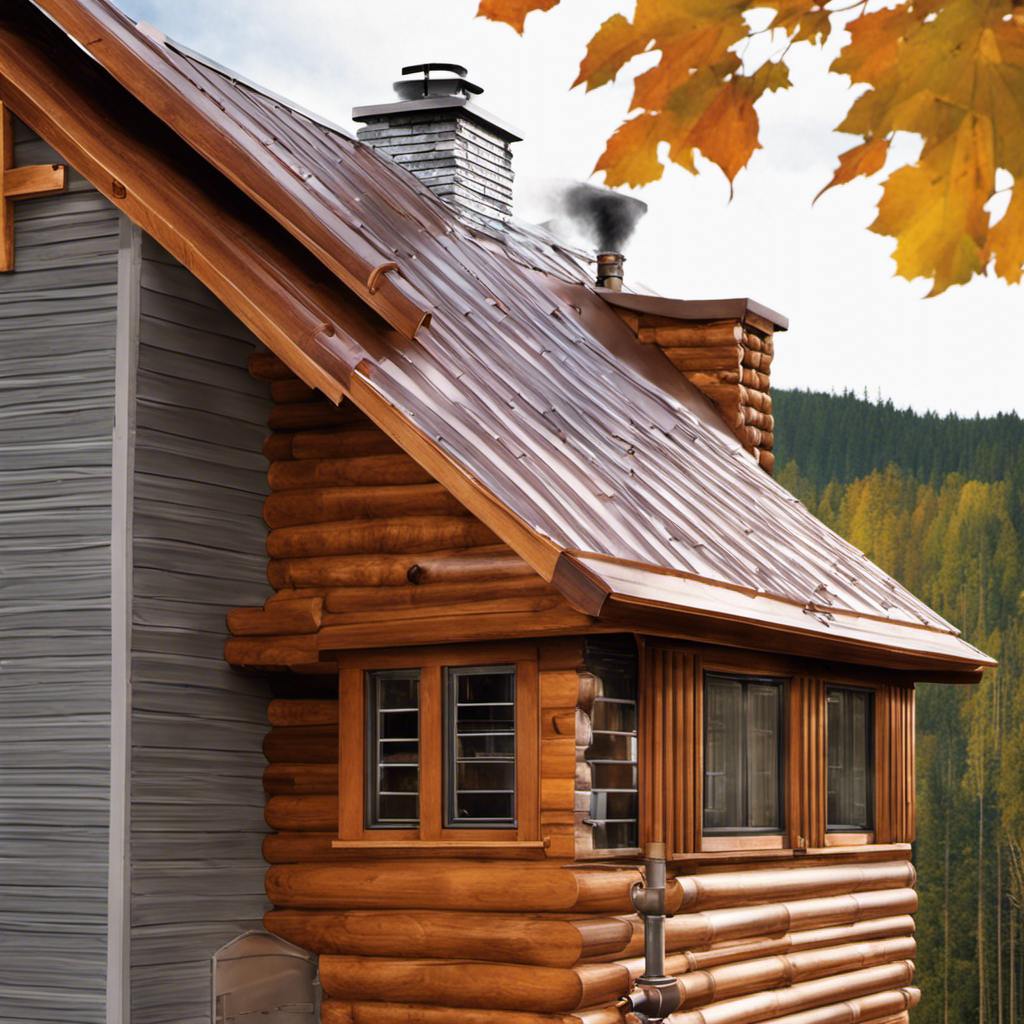
Installing a Roof Flashing for the Stove Pipe
As I secure the roof flashing, I ensure a tight seal around the opening to prevent any water leaks. Installing a roof vent and maintaining the stove pipe are crucial steps in running a wood stove pipe through the roof. The roof flashing acts as a protective barrier that prevents water from entering the house. It is important to choose a high-quality flashing material, such as aluminum or galvanized steel, to ensure durability and longevity. Here is an example of a table highlighting the different types of roof flashings:
| Material | Pros | Cons |
|---|---|---|
| Aluminum | Lightweight | Less durable |
| Steel | Durable | Heavy |
| Galvanized | Rust-resistant | Expensive |
Connecting and Securing the Stove Pipe Sections
Once the roof flashing is secure, I connect and secure the sections of the stove pipe.
When it comes to connecting the stove pipe sections, there are a few methods you can choose from.
One common method is using stove pipe elbows and adapters. These fittings allow you to connect the sections at different angles, making it easier to navigate around obstacles.
Another method is using pipe clamps or screws to secure the sections together. This provides a more secure and stable connection. It’s important to ensure that the connections are tight and properly sealed to prevent any leaks.
Regular maintenance is also key to keeping your stove pipe in good condition. Inspect it regularly for any signs of damage or corrosion, and clean it as needed to remove any creosote buildup.
These maintenance tips will help ensure that your stove pipe functions properly and safely.
Insulating and Sealing the Stove Pipe for Maximum Efficiency
I can improve the efficiency of my stove by properly insulating and sealing the sections of the pipe. Insulation techniques play a crucial role in minimizing heat loss and maximizing the efficiency of the stove.
One effective method is using high-temperature insulation materials, such as ceramic fiber or mineral wool, to wrap around the stove pipe. This helps to trap and retain the heat within the pipe, preventing it from escaping into the surrounding area.
Additionally, sealing methods are essential for preventing air leaks and ensuring that all the sections of the pipe are tightly connected. Using high-temperature silicone sealant or heat-resistant tape can help create a tight seal and minimize any potential air leakage points.
Frequently Asked Questions
What Are the Safety Precautions to Consider When Running a Wood Stove Pipe Through the Roof?
When running a wood stove pipe through the roof, it’s crucial to prioritize safety precautions and ensure proper installation. By following guidelines and seeking professional advice, you can reduce the risk of fire hazards and ensure efficient performance.
Is It Necessary to Consult a Professional for Installing a Wood Stove Pipe Through the Roof?
Consulting a professional for installing a wood stove pipe through the roof is necessary to ensure proper installation. DIY installation may pose potential risks and dangers if not done correctly. It’s crucial to prioritize safety and seek expert guidance.
Can I Install a Wood Stove Pipe Through a Metal Roof?
Yes, you can install a wood stove pipe through a metal roof. You will need a few materials like a flashing kit, high-temperature silicone, screws, and a storm collar. It’s important to follow the manufacturer’s instructions for a proper installation.
How Often Should the Stove Pipe Be Inspected and Cleaned?
Inspecting and cleaning the stove pipe regularly is crucial for safe and efficient wood stove operation. Signs of a dirty pipe include reduced draft and excessive smoke. Cleaning usually takes about 30 minutes to an hour.
Are There Any Specific Building Codes or Regulations That Need to Be Followed When Installing a Wood Stove Pipe Through the Roof?
When installing a wood stove pipe through the roof, it is crucial to follow building code regulations and installation guidelines. These ensure safety and compliance. I can provide detailed instructions on how to run the pipe properly.
Conclusion
After carefully measuring, cutting, and installing the stove pipe through the roof, it’s crucial to insulate and seal the pipe for optimal efficiency.
This final step ensures that no heat is lost and that the wood stove operates at its highest potential. By taking the time to properly insulate and seal the stove pipe, homeowners can enjoy a cozy and warm environment while minimizing energy waste.
Don’t overlook this important step in creating a well-functioning wood stove system.