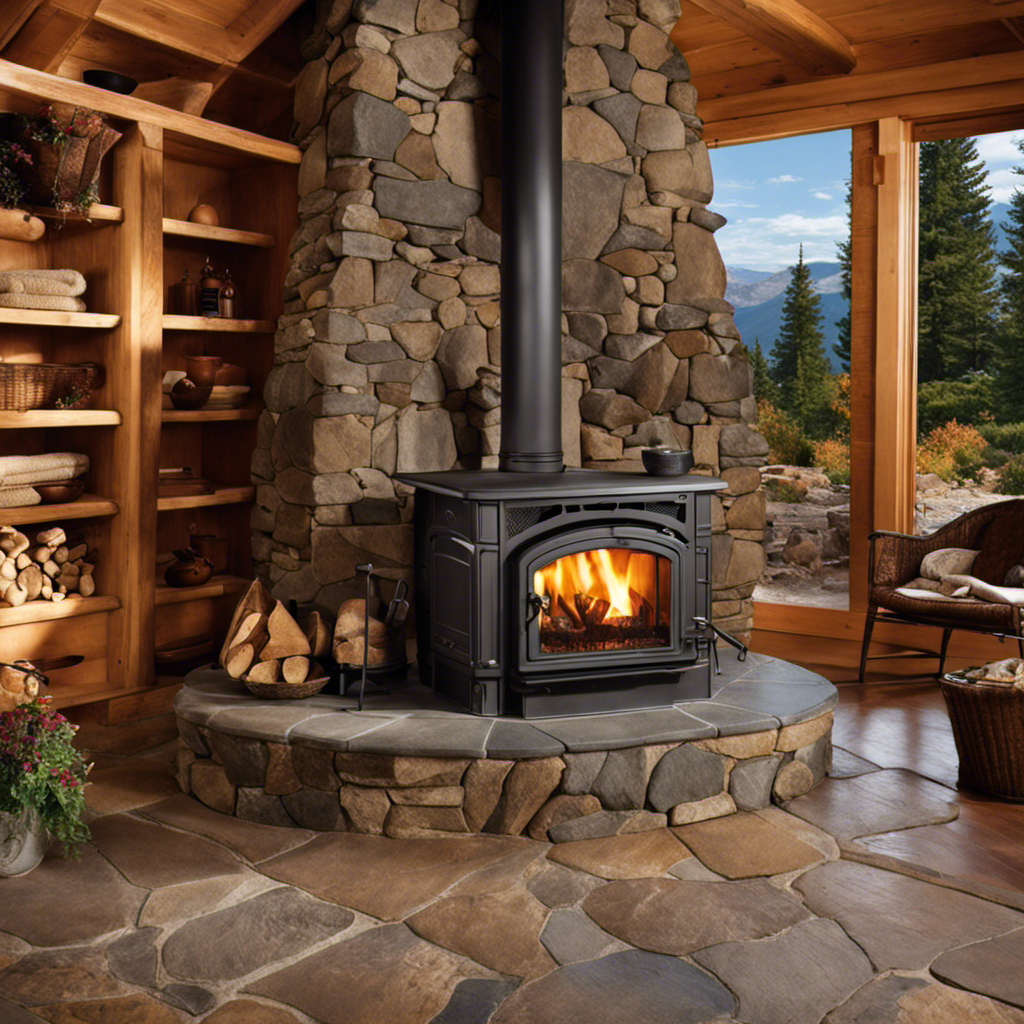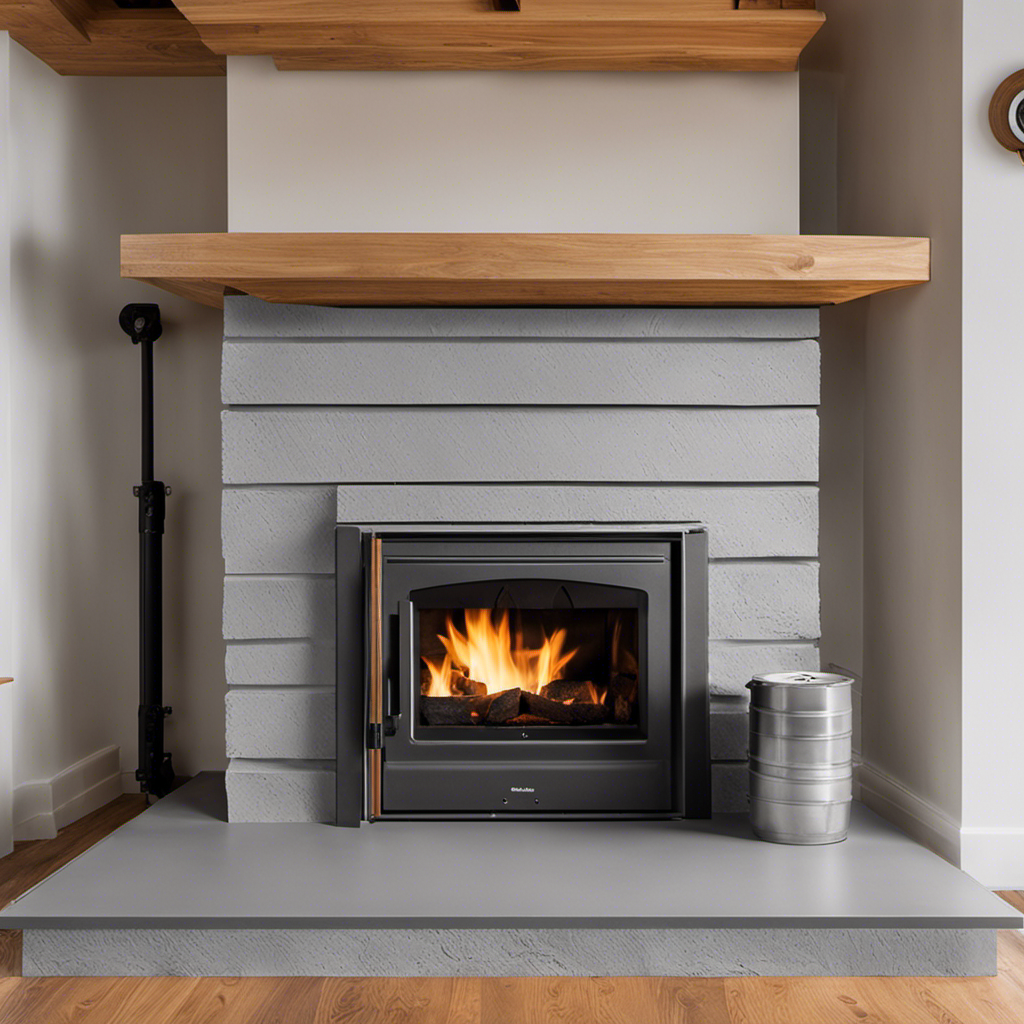
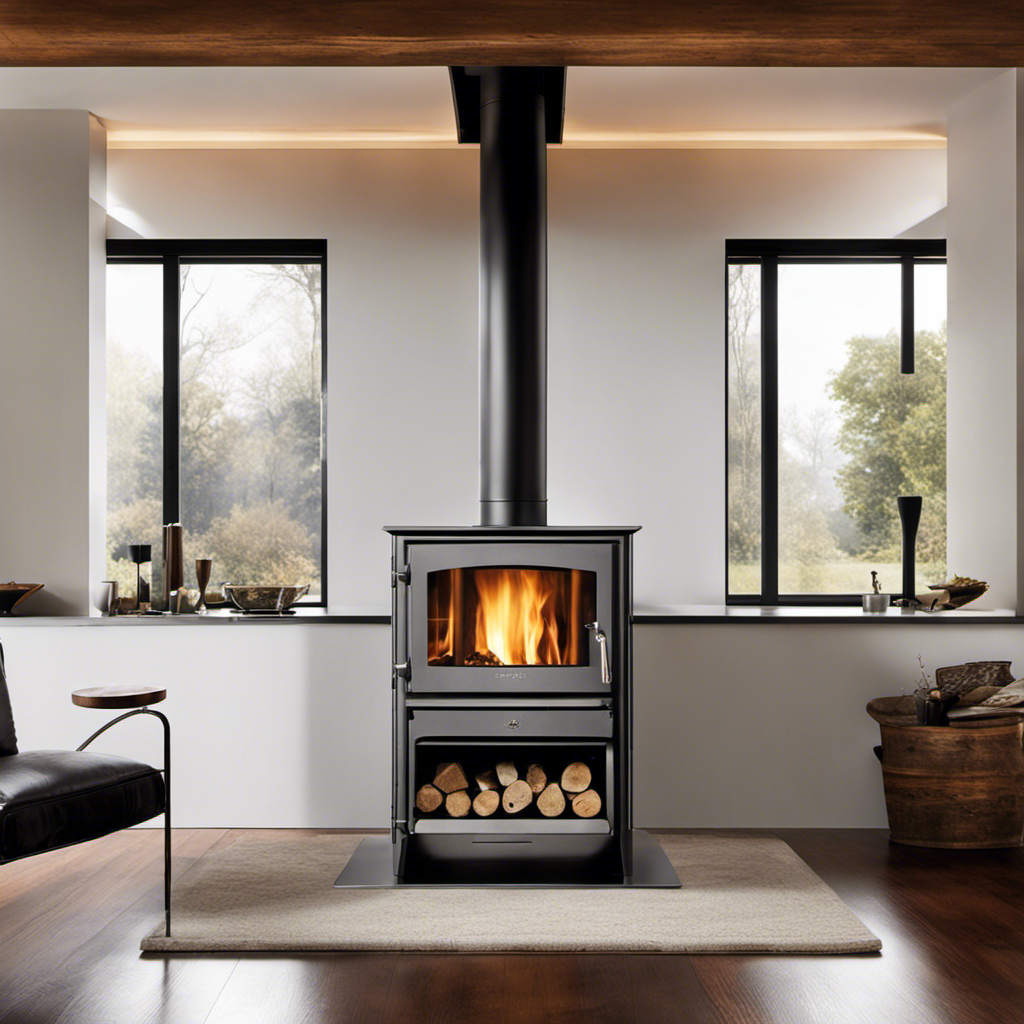
I have the perfect solution for those looking to create a robust and fire-proof foundation for their wood stove by using Durock tape. This method guarantees a sturdy and smooth finish, offering exceptional protection.
In this article, I’ll guide you through the step-by-step process, from gathering the necessary tools and materials to applying joint tape and finishing touches.
Get ready to transform your wood stove area into a safe and reliable haven with this foolproof method.
Key Takeaways
- Durock is a popular choice for wood stove hearths due to its strength and fire resistance.
- Using alkaline-resistant fiberglass tape is crucial for taping Durock.
- Properly embedding the tape into the thin-set mortar is essential for a durable installation.
- Understanding the advantages and avoiding common mistakes ensures a safe wood stove hearth.

Chonway Non-Adhesive Fiberglass Mesh Tape 164ft X 3.6in Alkaline Resistant Fiberglass Mat, Fiberglass Screen Mesh Roll Repair for Drywall, Plaster, Stucco, Ceiling, Concrete, 130g/M² White
- Wall Crack Repair Mesh: Non-adhesive fiberglass for crack prevention
- Versatile Building Use: 164ft x 3.6in mesh for various projects
- High-Quality Construction: Durable, stable fiberglass with uniform fibers
As an affiliate, we earn on qualifying purchases.
As an affiliate, we earn on qualifying purchases.
Understanding the Importance of Taping Durock for a Wood Stove Hearth
I personally understand the importance of properly taping Durock for a wood stove hearth to ensure a secure and safe installation. Durock is a popular choice for wood stove hearths due to its exceptional strength and fire resistance. One of the advantages of using Durock is its ability to withstand high temperatures without deteriorating or releasing harmful gases.
When taping Durock, it’s crucial to avoid common mistakes that could compromise the integrity of the installation. One common mistake isn’t using the correct type of tape. It’s important to use alkaline-resistant fiberglass tape, as regular drywall tape isn’t suitable for Durock.
Another mistake to avoid isn’t properly embedding the tape into the thin-set mortar. This can lead to weak spots and potential cracks in the Durock. By understanding these advantages and avoiding common mistakes, you can ensure a durable and safe wood stove hearth installation.
Gathering the Necessary Tools and Materials for the Taping Process
To properly tape Durock for a wood stove hearth, gather all the necessary tools and materials, such as a trowel and alkaline-resistant fiberglass tape. Here are the steps to follow:
-
Choosing the right type of joint tape:
-
Fiberglass mesh tape is commonly used for Durock taping due to its strength and durability.
-
Make sure the tape is alkaline-resistant to prevent deterioration over time.
-
How to properly cut and measure joint tape:
-
Measure the length needed for each joint and cut the tape accordingly, leaving a little extra for overlapping.
-
Use a utility knife or scissors to cleanly cut the tape, ensuring straight edges for a neat finish.
Preparing the Durock Surface for Taping
Before taping the Durock surface, it’s important to thoroughly clean and prime it with a bonding agent to ensure proper adhesion. This step is crucial in creating a strong and durable tape joint.
To begin, clean the Durock surface with a broom or vacuum to remove any dust or debris.
Next, apply a bonding agent using a paint roller or brush, making sure to cover the entire surface evenly.
Once the bonding agent is dry, you can start applying joint compound to the taped seams. Use a taping knife to spread the compound evenly over the tape, making sure to cover it completely.
After allowing the joint compound to dry, sand the surface lightly to remove any imperfections.
Step-by-Step Guide for Applying Joint Tape on Durock Seams
I’ll start by applying joint tape to the Durock seams using a taping knife and joint compound. This step is crucial to create a seamless finish and ensure the durability of the wood stove hearth. Here are some proper taping techniques for a flawless result:
- Begin by cleaning the Durock surface thoroughly, removing any dust or debris.
- Apply a thin layer of joint compound to the seams using a taping knife, making sure to cover the entire area.
- Place the joint tape over the wet compound, pressing it firmly into place.
- Use the taping knife to smooth out any air bubbles or wrinkles in the tape.
- Apply a second layer of joint compound over the tape, feathering the edges to create a seamless transition.
- Allow the compound to dry completely before sanding and finishing.
When taping Durock seams, it’s important to troubleshoot common issues that may arise:
- If the tape starts to lift or bubble, apply more joint compound and press it down firmly.
- To prevent cracking, avoid applying too much pressure on the taping knife.
- If the joint compound isn’t adhering properly, make sure the surface is clean and free from any moisture.
- Always follow manufacturer’s instructions for drying times and recommended joint compound consistency.
Finishing Touches: Sanding and Priming the Taped Durock Surface
I can start sanding and priming the taped Durock surface after completing the taping process. Sanding is an important step to ensure a smooth and even surface for painting. When sanding Durock, it’s crucial to use the right sanding techniques to avoid damaging the surface. Begin by using a medium-grit sandpaper to remove any rough edges or imperfections. Then, switch to a fine-grit sandpaper to achieve a smooth finish. Remember to wear protective gear, such as a dust mask and goggles, to prevent inhaling dust particles. After sanding, it’s essential to prime the surface before painting. Priming helps the paint adhere better and provides a uniform base color. Choose a primer specifically designed for Durock surfaces and follow the manufacturer’s instructions for proper application. Use a paintbrush or roller to apply the primer evenly. Allow it to dry completely before proceeding with painting.
| Sanding Techniques | Priming Tips | Proper Application |
|---|---|---|
| Use medium-grit sandpaper to remove rough edges and imperfections | Choose a primer designed for Durock surfaces | Apply primer with a paintbrush or roller |
| Switch to fine-grit sandpaper for a smooth finish | Follow manufacturer’s instructions for application | Allow primer to dry completely |
| Wear protective gear to prevent inhaling dust particles | Primer helps paint adhere better | Proceed with painting after primer has dried |
Conclusion
In conclusion, properly taping Durock for a wood stove hearth is crucial for ensuring a secure and long-lasting installation. By following the step-by-step guide and using the right tools and materials, you can achieve a seamless and durable finish.
For example, imagine coming home to a cozy living room with a crackling fire, knowing that your carefully taped Durock hearth provides a safe and reliable foundation for your wood stove.
Don’t overlook the importance of taping and enjoy the peace of mind it brings.