I have always been fascinated by the concept of transforming ordinary objects into useful tools.
So when I came across an old jerry can in my garage, I knew I had the perfect opportunity to create my own wood stove.
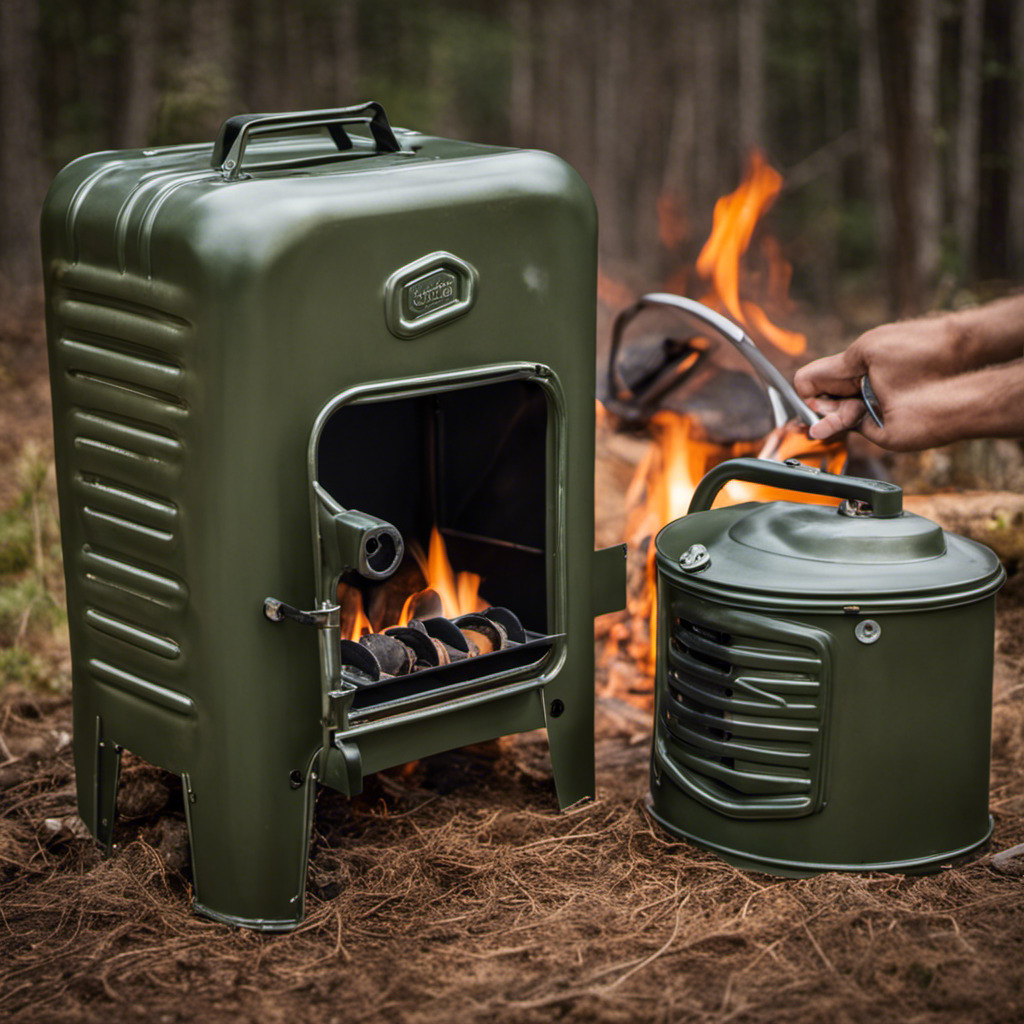
In this article, I’ll guide you through the process of transforming a jerry can into a functional and efficient wood stove, complete with ventilation, legs, and a base.
Get ready to unleash your inner DIY enthusiast and start enjoying the warmth of your homemade wood stove.
Key Takeaways
- Consider the capacity and dimensions of the jerry can
- Compare different materials for jerry cans
- Prepare and clean the jerry can properly
- Take safety precautions and use the right tools when modifying the jerry can

8 Pack Jerry Can Gaskets for 5 Gallon 20 Liter Scepter Jerry Cans and USMC Blitz Metal Gasoline Cans, Jerry Can Replacement Gaskets and Seals
- Suitable for 5-gallon cans: Fits Scepter and USMC Blitz cans
- Leak-proof seal: Ensures secure, leak-free fuel transport
- Easy to install: Simple replacement for hassle-free maintenance
As an affiliate, we earn on qualifying purchases.
As an affiliate, we earn on qualifying purchases.
Selecting the Right Jerry Can for Your Wood Stove
I’m trying to figure out which jerry can is the best option for my wood stove.
When it comes to choosing the right size jerry can for your wood stove, it’s important to consider the capacity and dimensions. A larger can will hold more fuel, but it may be too bulky for your space. On the other hand, a smaller can may require more frequent refills.
Additionally, it’s crucial to compare different materials for jerry cans to ensure optimal wood stove performance. Metal cans are durable and resistant to heat, but they can also be heavy. Plastic cans, on the other hand, are lightweight and easier to handle, but may not withstand high temperatures as well.
Ultimately, finding the perfect jerry can for your wood stove is about balancing capacity, dimensions, and material for efficient and safe operation.
Preparing and Cleaning the Jerry Can
Before starting to use the jerry can, it’s crucial to properly clean and prepare it by removing any dirt or residue, and then ensuring it’s completely dry. Here is the cleaning process and safety precautions to follow:
-
Rinse the jerry can with warm water and a mild detergent to remove any dirt or debris. Use a sponge or brush to scrub the inside and outside of the can thoroughly.
-
Rinse the can again with clean water to remove any soap residue. Make sure to rinse it multiple times to ensure all the soap is gone.
-
After rinsing, allow the jerry can to air dry completely. This is important to prevent any moisture from causing rust or corrosion.
By following these cleaning steps, you can ensure that your jerry can is ready for modification.
Now, let’s discuss cutting open and modifying the jerry can for ventilation.
Cutting Open and Modifying the Jerry Can for Ventilation
I’ll explain how to use a few small holes in the jerry can to provide adequate ventilation for the wood stove. When modifying the jerry can for ventilation, it is important to take safety precautions and use the right tools. Here is a table outlining the necessary steps:
| Step | Safety Precautions | Tools Needed |
|---|---|---|
| 1 | Wear protective gloves and goggles | Drill |
| 2 | Work in a well-ventilated area | Marker |
| 3 | Ensure the jerry can is empty and clean | Metal file |
| 4 | Mark the desired ventilation holes on the can | Safety glasses |
| 5 | Use the drill to create the holes | Protective gloves |
| 6 | Smooth the edges of the holes with the metal file | Goggles |
| 7 | Clean any metal shavings from the can | Clean cloth |
Adding Legs and a Base to the Wood Stove
I can attach some sturdy legs and a stable base to the wood stove to ensure it stands securely on any surface. Achieving stove stability is crucial to prevent accidents and maintain proper functioning.
When choosing materials for the legs and base, it’s important to consider their strength, durability, and heat resistance. Here are three essential elements to consider:
-
Material Selection: Opt for materials that can withstand high temperatures, such as stainless steel or cast iron. These materials are known for their strength and ability to withstand the intense heat generated by the wood stove.
-
Design and Construction: The design of the legs should provide sufficient support and stability. Consider a tripod or four-leg design for optimal balance. Additionally, ensure the legs are securely attached to the stove body to prevent any wobbling or instability.
-
Base Size and Shape: The base of the wood stove should be wide and flat enough to distribute the weight evenly, ensuring stability on various surfaces. A larger base will provide better stability, especially when using the stove on uneven or soft ground.
Testing and Using Your DIY Wood Stove
I’ve successfully tested and now use my DIY wood stove to cook meals while camping. It’s a simple yet effective solution for outdoor cooking. However, before using it, I took several testing techniques and safety precautions to ensure its efficiency and my own well-being.
Firstly, I conducted a leak test to ensure there were no air or gas leaks that could potentially cause a fire hazard. This involved pressurizing the stove and checking for any signs of leakage. I also tested its heat distribution by placing a pot of water on the stove and monitoring how evenly the heat was dispersed.
To further ensure safety, I implemented safety precautions such as maintaining a safe distance between the stove and any flammable objects, using heat-resistant gloves when handling the stove, and having a fire extinguisher nearby.
Using my DIY wood stove has been a game-changer for my camping trips. Not only does it provide a reliable cooking source, but it also allows me to enjoy the natural surroundings without relying on traditional campfire cooking methods. By following proper testing techniques and safety precautions, I can confidently cook my meals and enjoy the great outdoors.
Frequently Asked Questions
How Long Does It Take to Build a Wood Stove From a Jerry Can?
It takes about 2 hours to build a wood stove from a jerry can. The benefits of using a wood stove include cost-effective heating and a sustainable fuel source. Regular cleaning and maintenance ensure optimal performance.
Can I Use Any Type of Wood for the Base of the Wood Stove?
I can use different types of wood for the base of the wood stove, but it’s important to consider safety precautions when using it indoors. Proper ventilation and non-flammable materials are crucial.
Is It Safe to Use the Wood Stove Indoors?
Oh, using a wood stove indoors, what a brilliant idea! Let me enlighten you on the potential health hazards and share some precise tips for safely using one. Shall we begin?
Can I Paint the Jerry Can After Modifying It?
Yes, you can paint the modified jerry can using various painting techniques. It is important to choose a paint that can withstand high temperatures and adhere well to metal surfaces. Make sure to consider alternative fuel sources when painting for safety.
What Tools Do I Need to Build a Wood Stove From a Jerry Can?
To build a wood stove from a jerry can, I need a few tools like a jigsaw, drill, and metal file. Safety precautions are crucial, and alternative materials can be used if necessary.
Can I Use a Wood Stove Insert in a DIY Jerry Can Wood Stove?
When considering building a wood stove fireplace, it’s crucial to factor in the cost of materials and construction. However, if you’re planning to use a wood stove insert in a DIY Jerry Can Wood Stove, the cost of building a wood stove fireplace may decrease significantly. This alternative method combines affordability and practicality, making it an excellent choice for those seeking an alternative heating solution.
Can Duraflame Logs Be Used in a Wood Stove Made from a Jerry Can?
Can Duraflame logs be used in a wood stove made from a jerry can? Many DIY enthusiasts wonder about using Duraflame logs in a wood stove. While Duraflame logs are commonly used in traditional fireplaces, their use in a jerry can wood stove may not be ideal. It’s important to consider the safety and compatibility aspects of using duraflame logs in wood stoves specifically designed for them.
Conclusion
After carefully selecting the right jerry can, preparing and modifying it for ventilation, and adding sturdy legs and a stable base, your DIY wood stove is ready for testing and use.
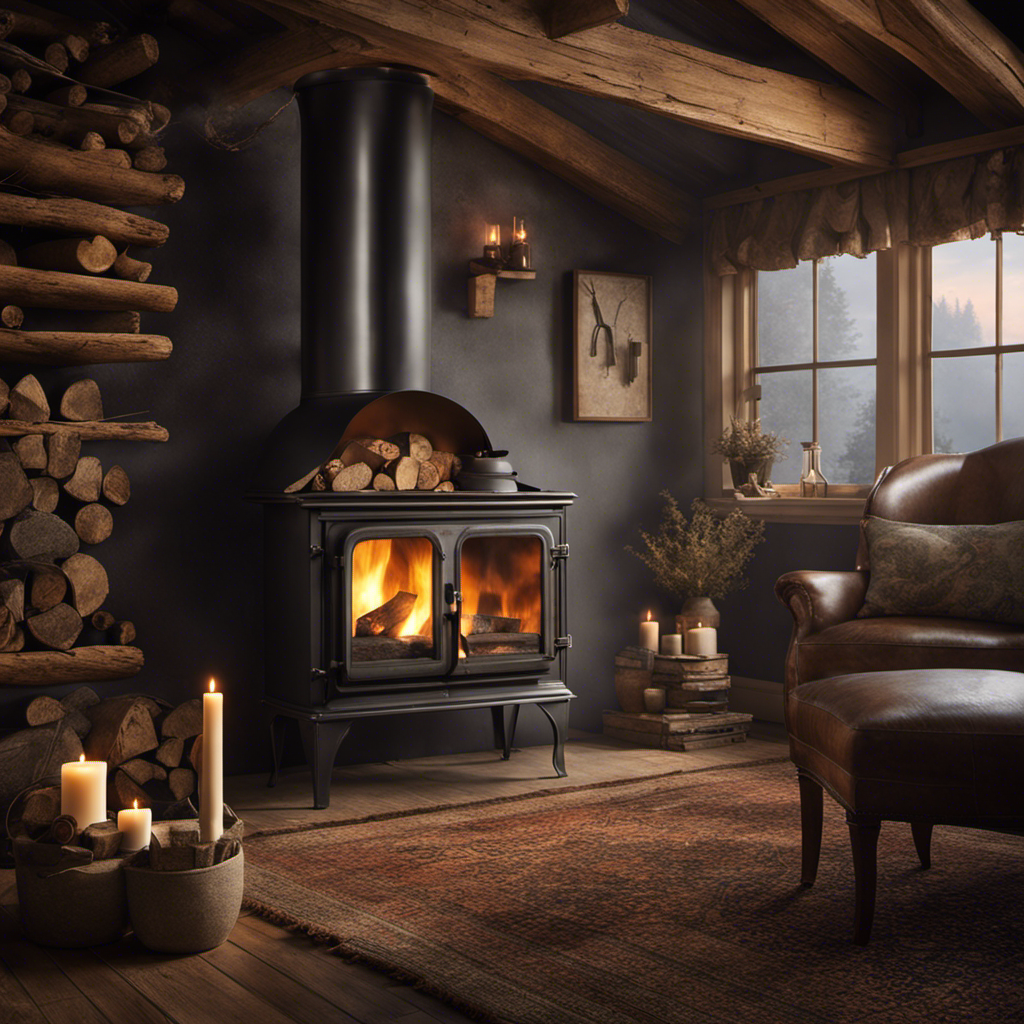
With its compact design and efficient functionality, this wood stove provides a practical and cost-effective heating solution for outdoor activities or emergency situations.
Embrace the warmth and convenience of this homemade creation, bringing comfort and coziness wherever you go.