Hello!
Ever struggled to get the perfect fire going in your wood stove? Well, fear no more, because I’ve got all the tips and tricks you need.
In this article, I’ll show you step by step how to:
- Gather the right firewood
- Prepare your wood stove
- Build a solid base for your fire
Plus, I’ll teach you:
- The secret to arranging the firewood for optimal airflow
- How to ignite and maintain that perfect, cozy fire.
Let’s get started!
Key Takeaways
- Choosing hardwoods like oak, maple, and birch for long-lasting and consistent heat.
- Seasoning firewood for at least six months for efficient burning and less smoke.
- Storing firewood off the ground in a well-ventilated area to prevent moisture buildup.
- Arranging firewood in a crisscross pattern to promote proper airflow and combustion.

15" Apple & Cherry Firewood Logs with Fire Starters Set – Kiln-Dried Firewood for Fire Pit, Seasoned Wood for Fireplace, Campfire & Pizza Oven – Split Wood for Solo Stove – 1200 cu. in., 15-20lb
Premium Quality Firewood: Our kiln-dried firewood logs are perfect for any use, whether you need oak firewood, birch…
As an affiliate, we earn on qualifying purchases.
As an affiliate, we earn on qualifying purchases.
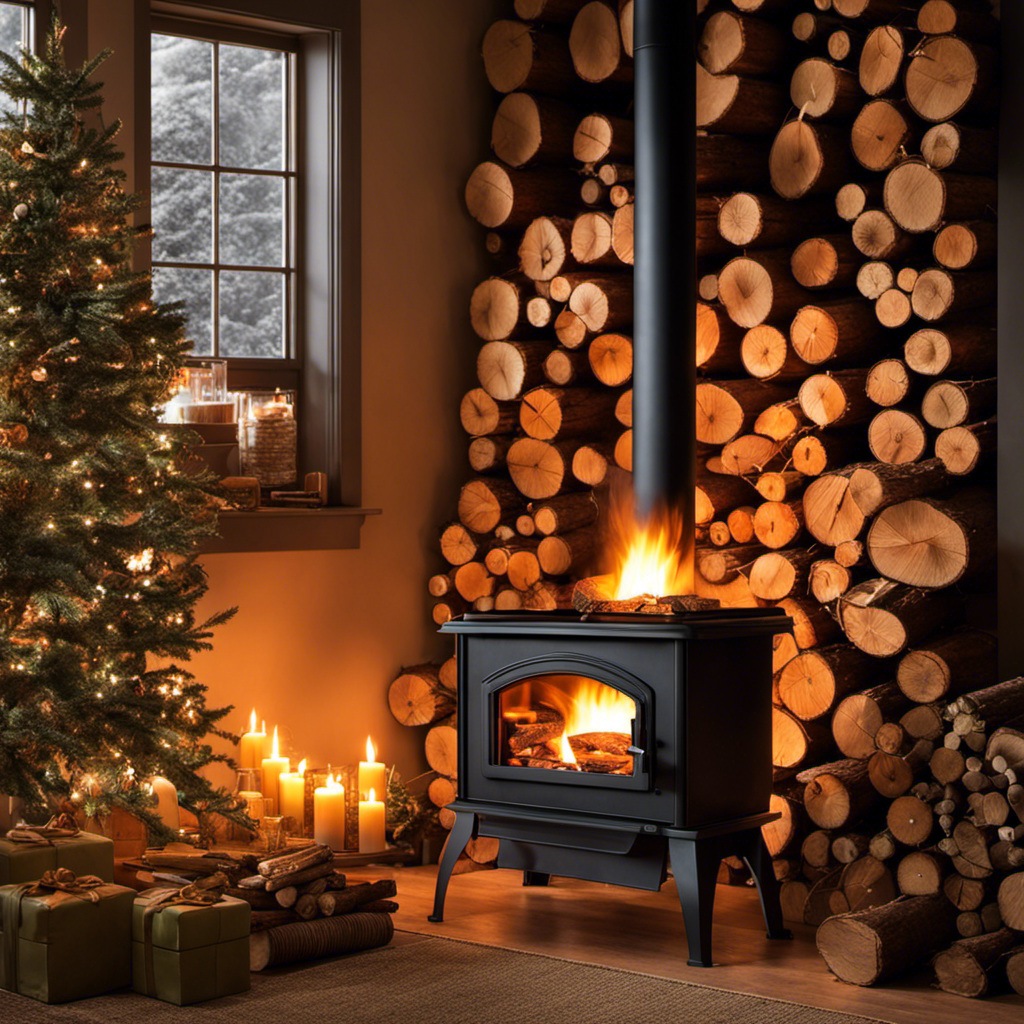
Gathering the Right Firewood
I’m heading out to gather the right firewood for tonight’s cozy fire in the wood stove.
Choosing the right firewood is crucial for a successful and efficient fire. Hardwoods like oak, maple, and birch are ideal for long-lasting and consistent heat. They burn slower and produce more heat compared to softwoods like pine or spruce.
It’s important to select seasoned firewood that has been properly dried for at least six months. This ensures that the wood burns efficiently and produces less smoke and creosote buildup in the chimney.
Storing firewood properly is also essential. It should be stacked off the ground, in a well-ventilated area, and protected from rain and snow. This way, the wood remains dry and ready to burn when you need it.

4FT Firewood Rack Indoor Outdoor, Heavy Duty Log Holder Stand for Fireplace, Adjustable Wood Storage Organizer with Weather-Resistant Tubular Steel, Cradle for Kindling & Stacking Logs
Large Capacity & Adjustable: The Upgraded fire wood rack measures appr 48"W x 10"D x 28" H, The…
As an affiliate, we earn on qualifying purchases.
As an affiliate, we earn on qualifying purchases.
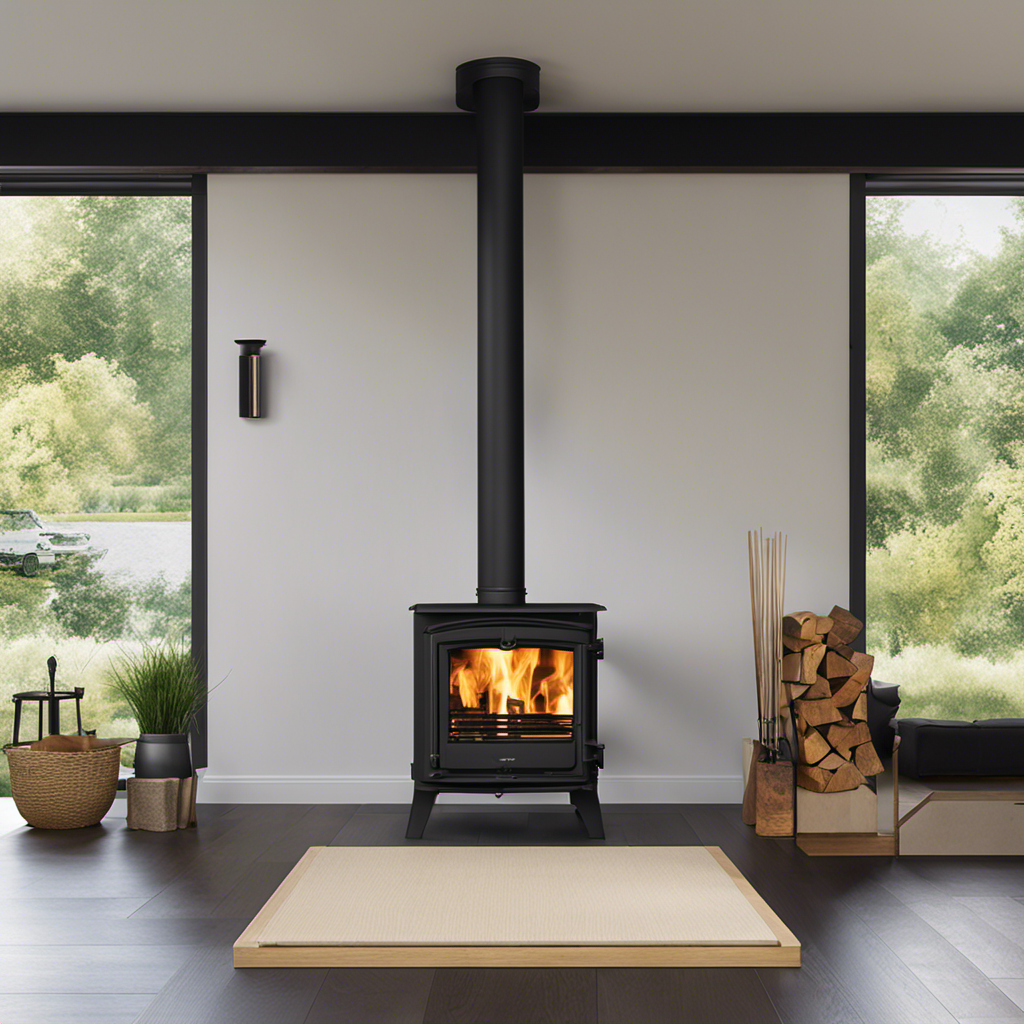
Preparing the Wood Stove
To ensure a warm and cozy evening, I’ll carefully clean and stock the wood stove with dry firewood. Proper firewood storage is essential to maintain the quality of the wood and ensure an efficient burn.
It’s important to store firewood in a dry and well-ventilated area to prevent moisture buildup, which can lead to mold and insect infestation. Cleaning the wood stove regularly is crucial to maintain its efficiency and safety.
Start by removing any ashes and debris from the previous fire. Use a wire brush to clean the inside of the stove, removing any built-up soot or creosote. Check the condition of the door gasket and replace if necessary.

Protalwell Woodstove Firebricks, Upgrade Fire Bricks Replacement for US Stove FBP6, Size 9" x 4-1/2" x 1-1/4", 6-Pack
Vermiculite Material Fire Bricks – Can withstand high temperature of 2200F, has strong thermal insulation performance, help you…
As an affiliate, we earn on qualifying purchases.
As an affiliate, we earn on qualifying purchases.
Building a Solid Base for Your Fire
I’ll begin by arranging a sturdy layer of fire bricks to create a solid base for my fire in the wood stove. This is an important step in building a perfect fire because it helps to evenly distribute the heat and protect the bottom of the stove. Fire bricks are designed to withstand high temperatures and provide excellent insulation, making them the ideal choice for this purpose.
Before I start arranging the fire bricks, I ensure that I’ve chosen the right firewood. It’s crucial to use dry, seasoned firewood that has been properly stored. Wet or green wood can create excessive smoke and produce less heat. I always store my firewood in a dry, well-ventilated area, allowing it to properly dry out and reach the optimal moisture content.
Once the fire bricks are in place, I carefully stack the firewood on top. I make sure to leave enough space between the logs for air circulation, which is essential for a good burn. The base of the fire should be filled with smaller pieces of wood and kindling to help ignite the fire quickly and efficiently.

50-inch Long Tent Wood Burning Stove Pipe Cleaning Brush with Stainless Steel Bristles, and Chimney Cleaning Wire Brush with 4 Flexible Rods, 2.5'' Brush Heads
★SIZE–Brush Diameters:2 1/2 Inches (65 Mm), 4 Pcs X 12 Inch Flexible Rods.
As an affiliate, we earn on qualifying purchases.
As an affiliate, we earn on qualifying purchases.
Arranging the Firewood for Proper Airflow
I carefully stack the firewood, ensuring proper airflow between the logs. This is crucial for creating a perfect fire in a wood stove. When arranging the firewood, there are a few key points to keep in mind:
-
Position: Start by placing larger logs at the bottom, forming a solid base. This will provide stability and prevent the fire from collapsing.
-
Spacing: Leave enough space between the logs to allow air to circulate. This will ensure efficient combustion and prevent the fire from smoldering.
-
Orientation: Stack the logs in a crisscross pattern, alternating the direction with each layer. This creates gaps that allow air to flow through the stack, promoting proper combustion.
Proper wood stacking is essential for controlling airflow in a wood stove. By following these guidelines, you can achieve a well-ventilated fire that produces optimal heat and minimal smoke.
Igniting and Maintaining the Perfect Fire
I carefully ignite the kindling, and once it catches, I add larger logs to maintain the perfect fire.
Igniting a fire in a wood stove requires proper technique and attention to detail. One effective technique is the top-down method, where you place the larger logs at the bottom and layer smaller logs and kindling on top. This allows for better airflow and a more efficient burn.
However, if you’re experiencing issues with igniting the fire, there are a few troubleshooting steps you can take.
First, make sure the damper is fully open to allow for proper ventilation.
Second, check if the wood is dry and properly seasoned, as wet wood can be difficult to ignite.
Lastly, consider using fire starters or newspaper to help get the fire going.
Frequently Asked Questions
What Are the Benefits of Using a Wood Stove Compared to Other Heating Methods?
Compared to other heating methods, wood stoves offer numerous benefits. They provide a cozy and warm atmosphere, are cost-effective, and can be used during power outages. However, it is important to consider the environmental impact of wood stoves.
How Long Does It Take for a Wood Stove to Heat up a Room?
It usually takes about 20-30 minutes for a wood stove to heat up a room. But if you want to make a perfect fire, you need to calculate the heating capacity of the stove and ensure proper ventilation in the room.
Can I Use Any Type of Wood in a Wood Stove?
Yes, you can use different types of wood in a wood stove. It’s important to choose dry, seasoned wood for efficient burning. Properly store firewood in a dry, well-ventilated area to ensure it’s ready to use.
What Is the Recommended Size for Firewood When Using a Wood Stove?
The recommended size for firewood when using a wood stove is typically around 16 to 18 inches in length. This ensures optimal burning and heat output, making for a perfect fire.
Is It Necessary to Clean the Wood Stove After Each Use?
It’s necessary to clean the wood stove after each use. Cleaning frequency depends on how often you use it. Regular cleaning prevents buildup and ensures efficient operation. Methods include removing ashes, cleaning the flue, and wiping down the exterior.
Conclusion
In conclusion, by gathering the right firewood, preparing the wood stove, and arranging the firewood for proper airflow, you can ignite and maintain the perfect fire in your wood stove.
With a crackling blaze that dances like a mesmerizing symphony, you’ll be able to bask in the warm embrace of its radiant glow.
So, let the flames guide you on a journey of comfort and tranquility, as you master the art of creating the perfect fire in your wood stove.