Hello there!
Ever wanted to give your old wood stove a sleek, modern look? Look no further! In this article, I’m going to show you how to refinish and blacken your wood stove like a pro.
With just a few simple steps, you’ll be able to transform your stove into a stunning centerpiece for your home.
So grab your tools and let’s get started on this exciting DIY project!
Key Takeaways
- Proper preparation, including cleaning, sanding, and stripping the old finish, is crucial for a successful wood stove refinishing project.
- When applying the blackening solution, it is important to wear protective gloves and safety goggles, work in a well-ventilated area, and use a soft cloth for an even application.
- After applying the blackening solution, it is necessary to wipe down the stove, inspect for missed spots or residue, remove debris from the interior, and apply a thin coat of stove polish or high-temperature paint.
- To ensure a successful refinishing project, it is important to thoroughly sand the surface, remove imperfections, clean and repair any damage, and select a suitable blackening solution that provides the desired finish and protection against heat and corrosion.

Stove Bright Fireplace Satin Black Paint – High Temp Satin Black Spray Paint, Withstands up to 1200° F, Quick Drying, Retains Color, Easy Application
- High Temp Resistance: Withstands up to 1200°F
- Satin Black Finish: Easy to apply, quick drying
- Color Retention: Maintains color in extreme heat
As an affiliate, we earn on qualifying purchases.
As an affiliate, we earn on qualifying purchases.
Preparing the Wood Stove
I’m getting ready to prepare the wood stove by cleaning it thoroughly before applying the black finish. Cleaning is an essential step to ensure a smooth and long-lasting finish.
First, I remove any loose dirt and debris from the stove using a brush and dustpan. Then, I use a mild detergent mixed with warm water to scrub away any grime or grease.
Once the stove is clean, I move on to sanding. Sanding helps to remove any rough or uneven areas on the surface, allowing for a better adhesion of the black finish. I use a medium-grit sandpaper and gently sand the entire stove in circular motions.
After cleaning and sanding, the wood stove is ready for the next step in the refinishing process.
Stripping the Old Finish
To effectively strip the old finish, I start by applying a chemical stripper onto the wood stove and letting it sit for a few minutes before scrubbing it off with a brush. This process helps to remove any varnish or paint that may have been previously applied to the surface. The chemical stripper works by breaking down the finish, making it easier to remove.
After scrubbing off the stripper, I thoroughly rinse the surface to remove any residue. Once the old finish has been stripped, it’s important to sand the surface to prepare it for the new finish. Sanding helps to smooth out any imperfections and creates a clean, even surface for the new finish to adhere to.
Applying the Blackening Solution
I apply a generous amount of the blackening solution onto the wood stove, ensuring that every inch of the surface is covered.
When it comes to applying the blackening solution, there are a few important techniques to keep in mind. First, make sure to wear protective gloves and safety goggles to protect your skin and eyes from any potential contact with the solution. Additionally, it’s crucial to work in a well-ventilated area to avoid inhaling any fumes.
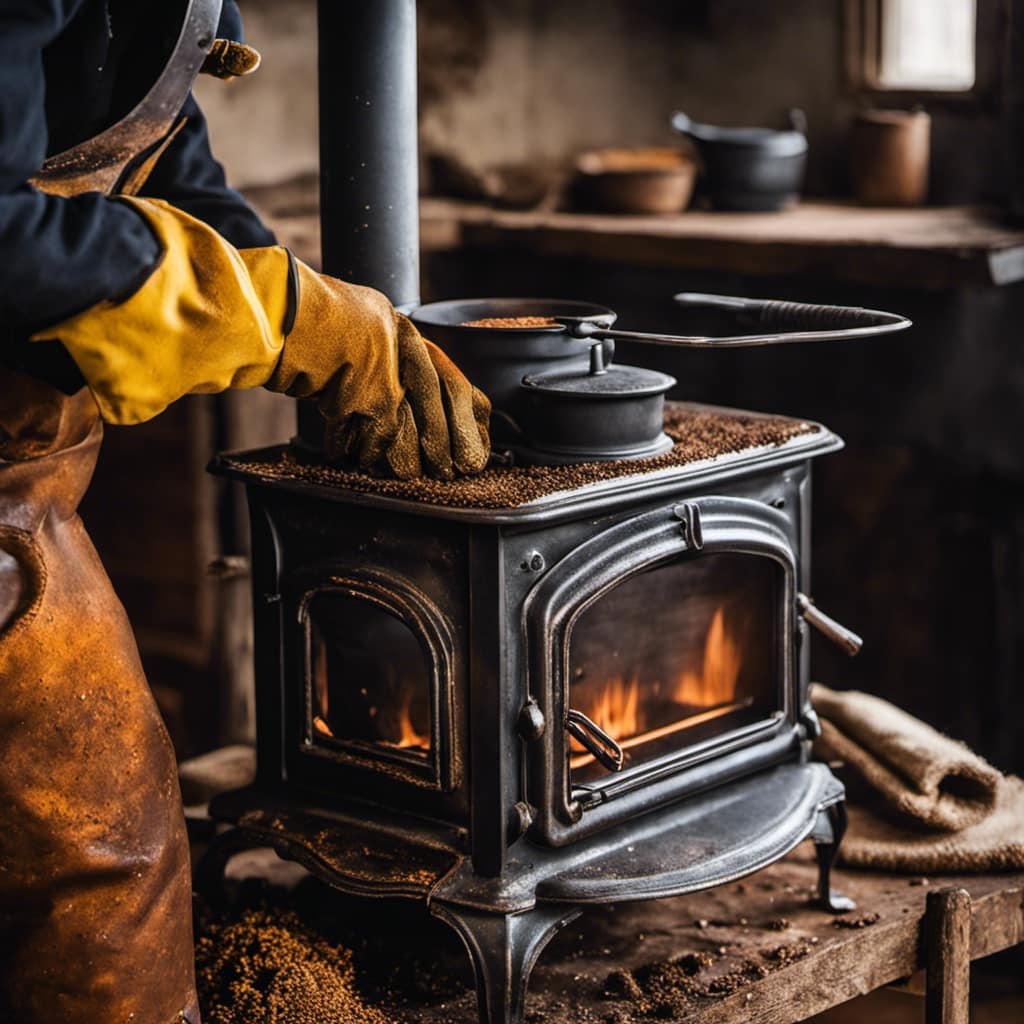
As I spread the solution, I use a soft cloth to ensure an even application and smooth finish. Taking safety precautions and applying techniques correctly will help achieve the best results while also keeping you safe.
Now that the blackening solution is applied, it’s time to move on to the finishing touches and maintenance.
Finishing Touches and Maintenance
After applying the blackening solution, I wipe down the wood stove with a soft cloth and then proceed to perform the finishing touches and maintenance.
Here are the steps I take to ensure the stove is clean and protected against rust:
- Inspect the stove for any missed spots or residue from the blackening solution.
- Use a brush or vacuum to remove any remaining ash or debris from the stove’s interior.
- Apply a thin coat of stove polish or high-temperature paint to enhance its appearance and protect against rust.
- Finally, check all the seals and gaskets to ensure they’re in good condition and replace any that are worn or damaged.
Tips for a Successful Refinishing Project
One tip for a successful refinishing project is to thoroughly sand the surface before applying any paint or stain. This step is crucial in order to achieve a smooth and even finish. It helps to remove any imperfections, such as scratches or dents, and allows the paint or stain to adhere properly to the wood surface. Additionally, proper preparation steps, such as cleaning and repairing any damage, should be taken before starting the refinishing process. Another important aspect to consider is choosing the right blackening solution. There are various options available in the market, so it’s essential to research and select a product that is suitable for your specific wood stove. This will ensure that you achieve the desired black finish and protect the wood from heat and corrosion.
| Preparation Steps | Choosing the Right Blackening Solution |
|---|---|
| Sand the surface thoroughly | Research different options available |
| Clean and repair any damage | Select a product suitable for your wood stove |
| Apply paint or stain evenly | Ensure it provides the desired black finish |
| Allow proper drying time | Protect the wood from heat and corrosion |
Frequently Asked Questions
How Long Does It Take for the Blackening Solution to Dry on the Wood Stove?
It usually takes a few hours for the blackening solution to dry on the wood stove. To apply it, I recommend using a high-quality brush with stiff bristles for better coverage.
Can I Use Any Type of Paintbrush to Apply the Blackening Solution?
I can use different types of paintbrushes to apply the blackening solution. Some techniques for applying the solution include using a foam brush for smooth surfaces and a bristle brush for textured areas.
Is It Necessary to Remove the Stovepipe Before Refinishing the Wood Stove?
Removing the stovepipe before refinishing a wood stove is not necessary, but it is recommended. It allows for easier access to all parts of the stove and helps prevent any damage to the stovepipe during the refinishing process.
Can I Use a Different Type of Finish Instead of the Blackening Solution?
Yes, you can use a different type of finish for your wood stove. However, using a blackening solution has its benefits such as providing a protective coating and enhancing the appearance of the stove.
How Often Should I Perform Maintenance on the Refinished Wood Stove?
I recommend performing maintenance on a refinished wood stove every 6-12 months. Regular cleaning with a soft cloth and mild detergent is recommended to remove any dirt or residue and keep it looking its best.
Conclusion
In conclusion, refinishing and blackening a wood stove can be a rewarding project that enhances the appearance and longevity of your stove.
By following the steps outlined in this article, you can achieve a professional-looking finish that will make your stove stand out.
Remember to take proper safety precautions and maintain the finish regularly for optimal results.
With a little effort, you’ll have a beautifully blackened wood stove that will be the envy of your friends and neighbors.