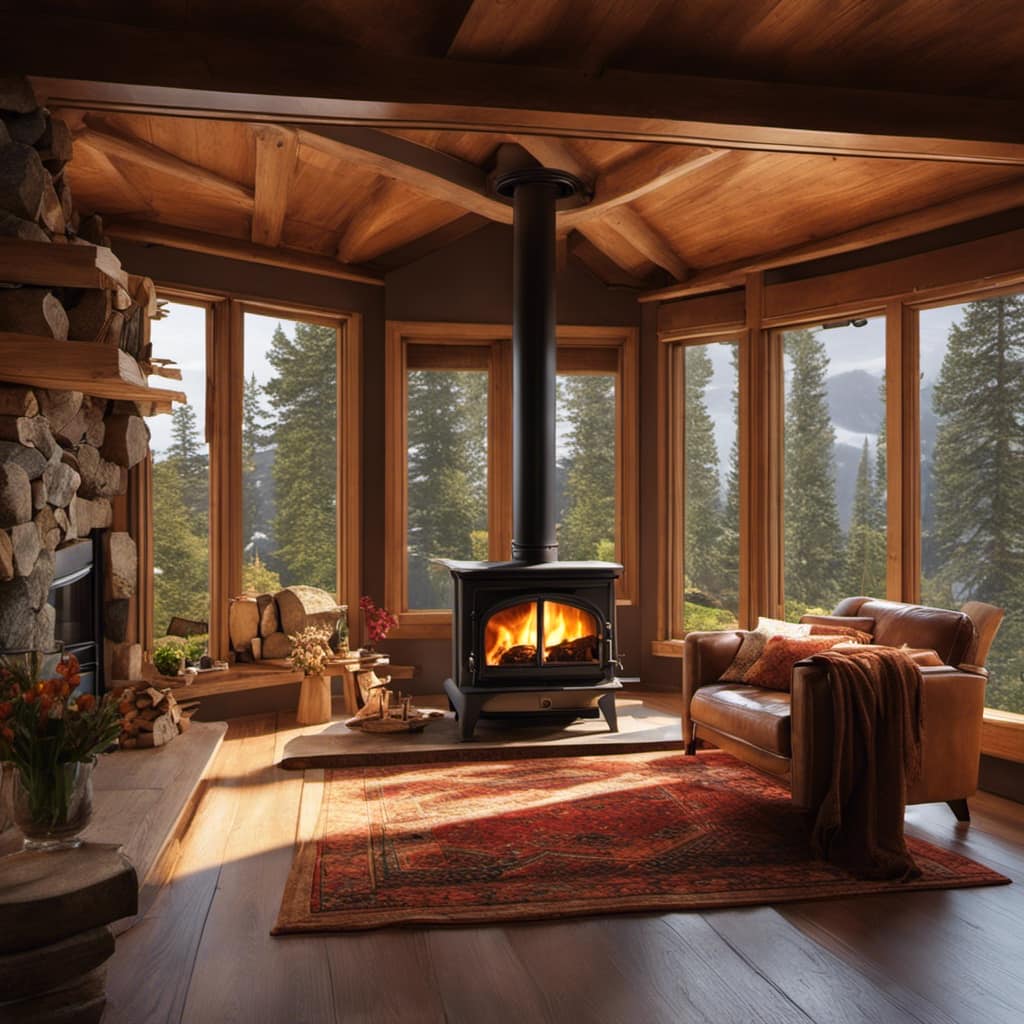
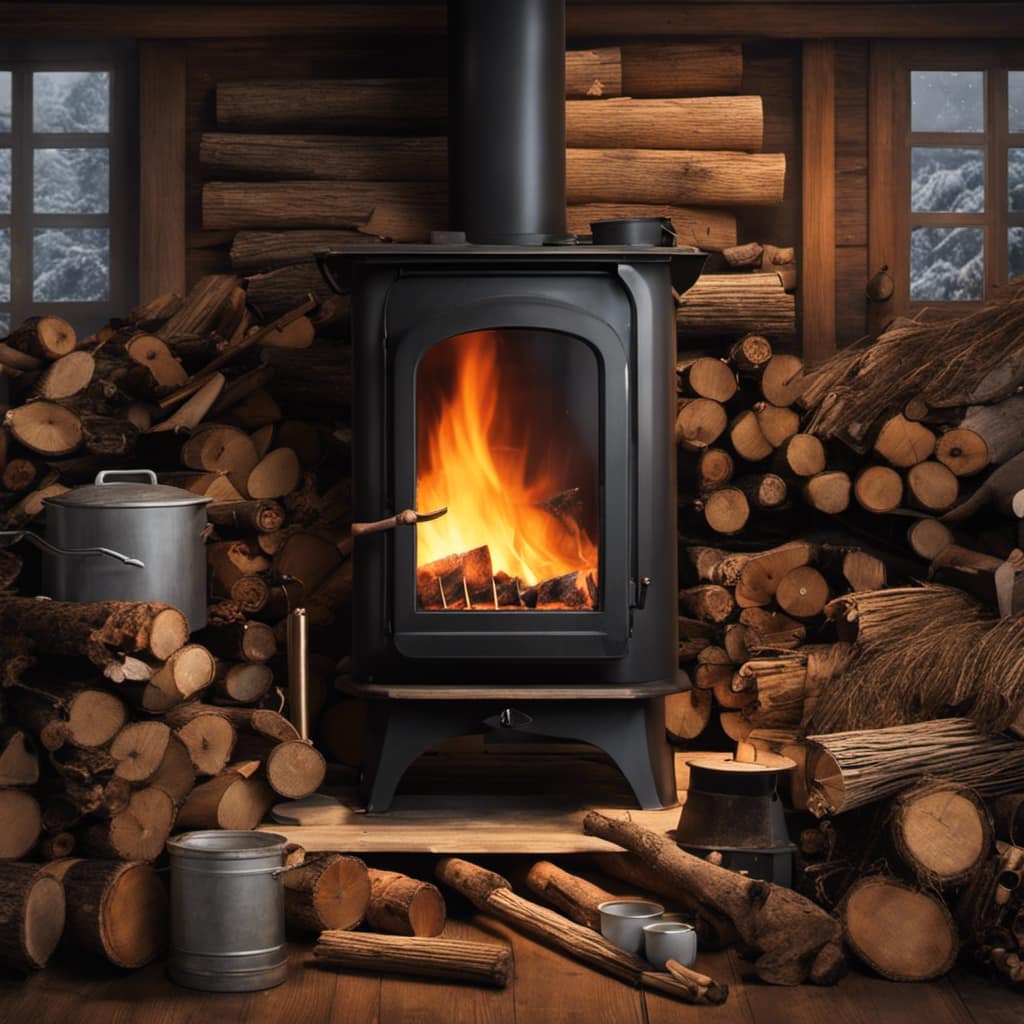
Connect with us

Wood Stove

How To Paint Wood Stove

Published

on

So, your wood stove isn’t performing at its best anymore, correct? Don’t worry, because I’ve got the ideal solution for you.

In this article, I’m going to show you exactly how to paint your wood stove and give it a fresh, new look.

From choosing the right paint to sealing the final coat, I’ll guide you through each step of the process.

Get ready to transform your old wood stove into a stunning centerpiece in your home.

Advertisement

blaze king wood stove

Key Takeaways

  • Choose a heat-resistant paint specifically designed for wood stoves with high heat resistance ratings.
  • Consider classic black or bold colors like red or blue for a sleek and modern look.
  • Look for heat-resistant paint finishes like enamel or ceramic.
  • Properly clean, sand, and prime the surface of the wood stove before applying paint for a long-lasting and protective finish.

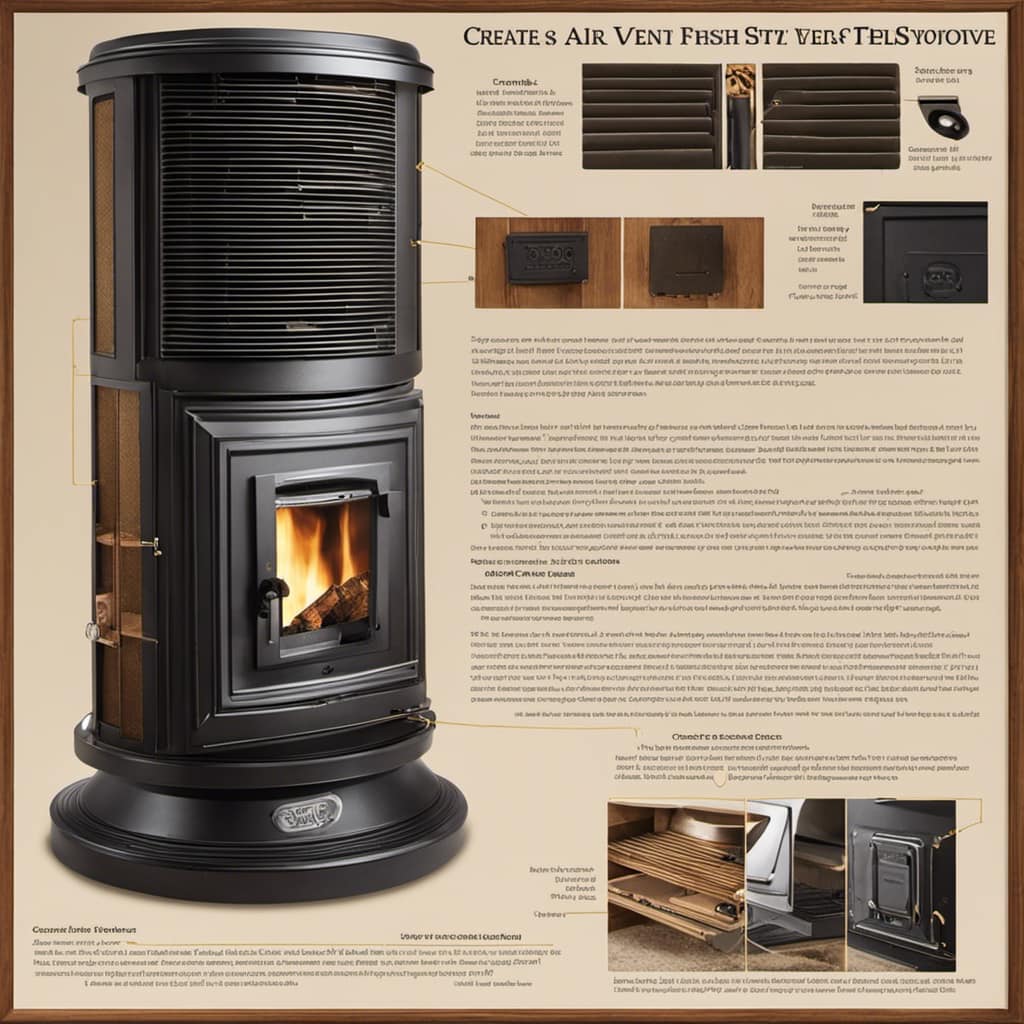
Choosing the Right Paint for Your Wood Stove

I’m considering the best paint option for my wood stove. When it comes to painting a wood stove, it’s important to choose a paint that can withstand high temperatures. Heat resistant paints are specially designed for this purpose. These paints are formulated to withstand the extreme heat produced by wood stoves, ensuring that the paint job remains intact and doesn’t peel or bubble.

There are a few key painting techniques to keep in mind when painting a wood stove. Firstly, it’s crucial to properly prepare the surface before applying the paint. This involves cleaning the stove thoroughly to remove any dirt, grease, or rust. Sanding the surface lightly can also help the paint adhere better.

Once the surface is prepared, it’s time to choose the right heat resistant paint. Look for paints that are specifically designed for use on wood stoves and have a high heat resistance rating. These paints are often made with special additives that allow them to withstand temperatures up to 1200°F or more.

When applying the paint, it’s important to follow the manufacturer’s instructions. Generally, it’s recommended to apply multiple thin coats rather than one thick coat. This ensures better adhesion and a more even finish. Allow each coat to dry completely before applying the next one.

warnock hersey wood stove

Preparing Your Wood Stove for Painting

Before painting, I’ll make sure to thoroughly clean and sand the surface of the wood stove. Properly preparing your wood stove is essential for achieving a smooth and long-lasting paint finish.

To start, I’ll clean the stove’s surface using a mild detergent and water solution. This will remove any dirt, grease, or grime that may interfere with the paint’s adhesion.

Advertisement

After cleaning, I’ll inspect the surface for any rust or peeling paint. If necessary, I’ll use a wire brush or sandpaper to remove these imperfections.

Sanding the surface is crucial for creating a smooth and even base for the paint. I’ll use fine-grit sandpaper to lightly sand the entire surface of the wood stove. This will help remove any remaining debris, rough patches, or glossy areas that could prevent the paint from adhering properly.

wood stove outdoor

Once the surface is clean and smooth, I’ll wipe it down with a tack cloth to remove any dust or particles left from sanding. This step is crucial to ensure the paint goes on smoothly and without any imperfections.

By following these painting techniques and properly maintaining your wood stove, you can achieve a professional-looking finish that will protect and enhance the appearance of your stove for years to come.

Now that the surface of the wood stove is clean and sanded, it’s time to move on to the next step: applying primer.

Advertisement

Cleaning and Sanding the Surface of Your Wood Stove

After thoroughly cleaning and sanding the surface, it’s important to wipe it down with a tack cloth to remove any dust or particles. Cleaning and sanding are crucial steps in preparing the surface of your wood stove for painting. When it comes to cleaning methods, it’s important to use a gentle yet effective approach.

wood stove fireplace insert with blower

Start by removing any loose dirt or debris using a soft brush or cloth. For tougher stains or grease buildup, a mild detergent or vinegar solution can be used. Avoid using abrasive cleaners or harsh chemicals that may damage the surface of the stove.

Once the stove is clean, sanding techniques can be employed to create a smooth and even surface for the paint to adhere to. Begin by using a medium-grit sandpaper to remove any rough spots or imperfections. Sand in the direction of the grain to avoid creating scratches. Afterward, switch to a fine-grit sandpaper to further smooth the surface.

Be sure to wipe away any sanding dust with a tack cloth before moving on to the painting process. This will help ensure a clean and flawless finish. By following these cleaning methods and sanding techniques, you’re taking the necessary steps to prepare your wood stove for painting. This will result in a professional-looking finish and prolong the life of your stove.
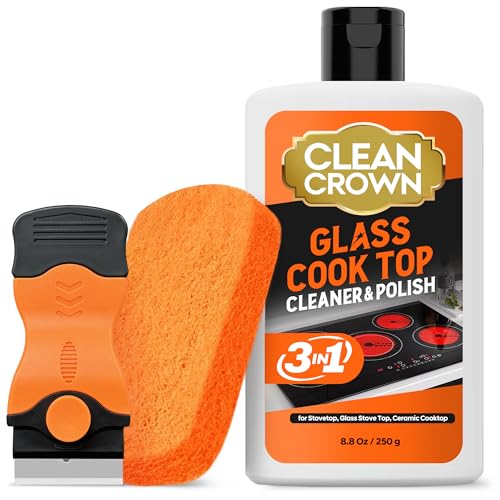
Priming Your Wood Stove for a Long-Lasting Finish

To achieve a long-lasting finish, I ensure that the surface of my wood stove is properly primed before painting.

Advertisement

wood stoves for sale near me

Priming is a crucial step in prepping the wood surface for painting, as it helps to create a smooth and even base for the paint to adhere to. Additionally, it provides a layer of protection against heat damage.

Before I begin priming, I make sure to clean and sand the surface of the wood stove to remove any dirt, grease, or old paint. This ensures that the primer will properly bond to the surface and prevent any peeling or flaking in the future.

Once the surface is clean and dry, I apply a high-quality heat-resistant primer that’s specifically designed for use on wood stoves.

The primer acts as a barrier between the wood and the paint, preventing any heat damage that may occur during the stove’s operation. It also helps to seal the wood, preventing moisture from seeping in and causing warping or rotting.

wood stoves for sale at lowes

Applying the First Coat of Paint to Your Wood Stove

I’m now going to guide you through the process of applying the first coat of paint to your wood stove.

Advertisement

It’s essential to follow proper paint application techniques to ensure a smooth and long-lasting finish.

Additionally, choosing the right type of paint is crucial for achieving the desired results and protecting your wood stove from heat and wear.

Proper Paint Application Techniques

I always ensure a smooth and even coat of paint by using long, steady brush strokes. Proper paint application techniques are essential for achieving a professional finish on your wood stove. Here are three key tips to keep in mind:

wood burning stove indoor

  1. Clean the surface: Before applying paint, make sure the surface of your wood stove is clean and free of any dirt, grease, or rust. Use a mild detergent and a scrub brush to remove any residue, and then rinse thoroughly and allow the stove to dry completely.

  2. Use the right brush: Choose a high-quality brush specifically designed for painting metal surfaces. A brush with synthetic bristles will provide a smooth application and minimize brush strokes.

  3. Apply thin coats: Instead of applying a thick coat of paint, it’s best to apply multiple thin coats. This allows for proper paint drying between each coat and helps to prevent drips and uneven coverage.

Choosing the Right Paint

Now that we’ve covered the proper paint application techniques, let’s dive into the exciting world of choosing the right paint for your wood stove.

wood burning stove indoor

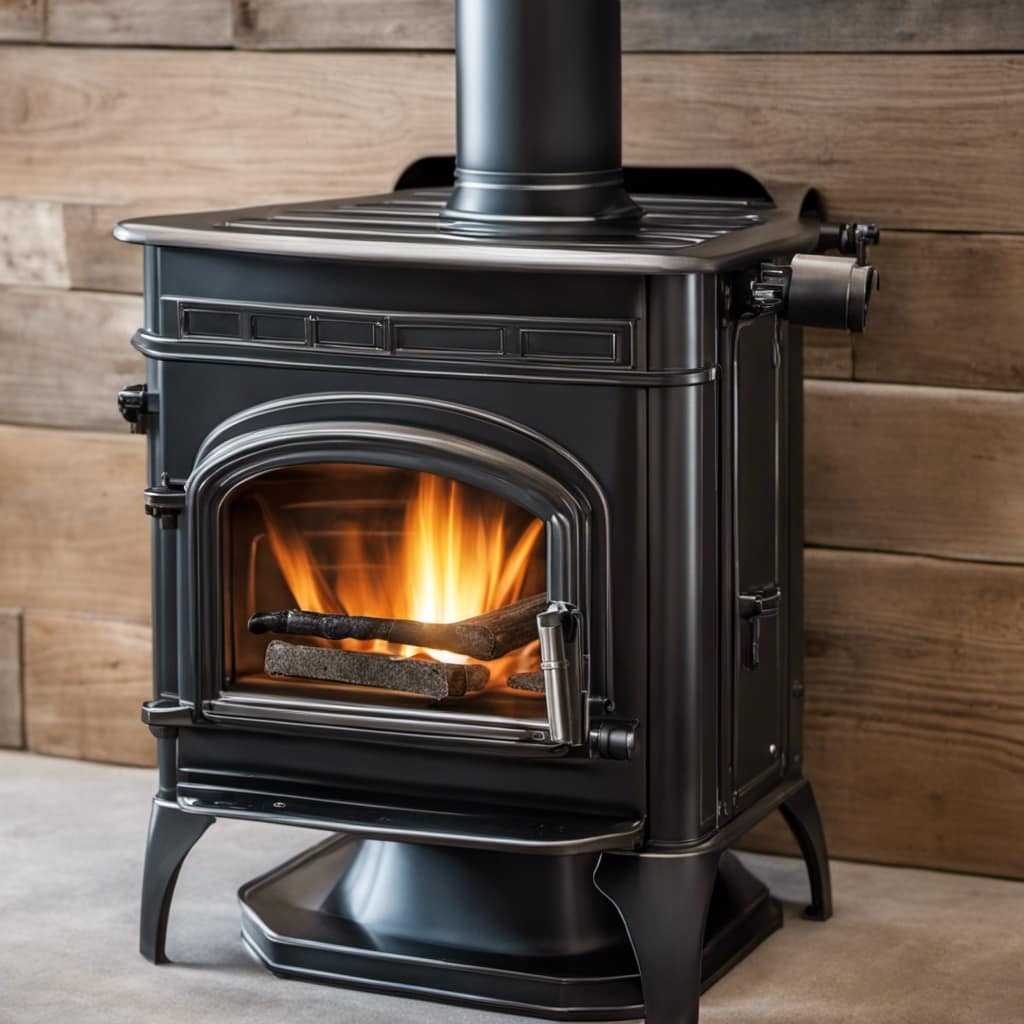
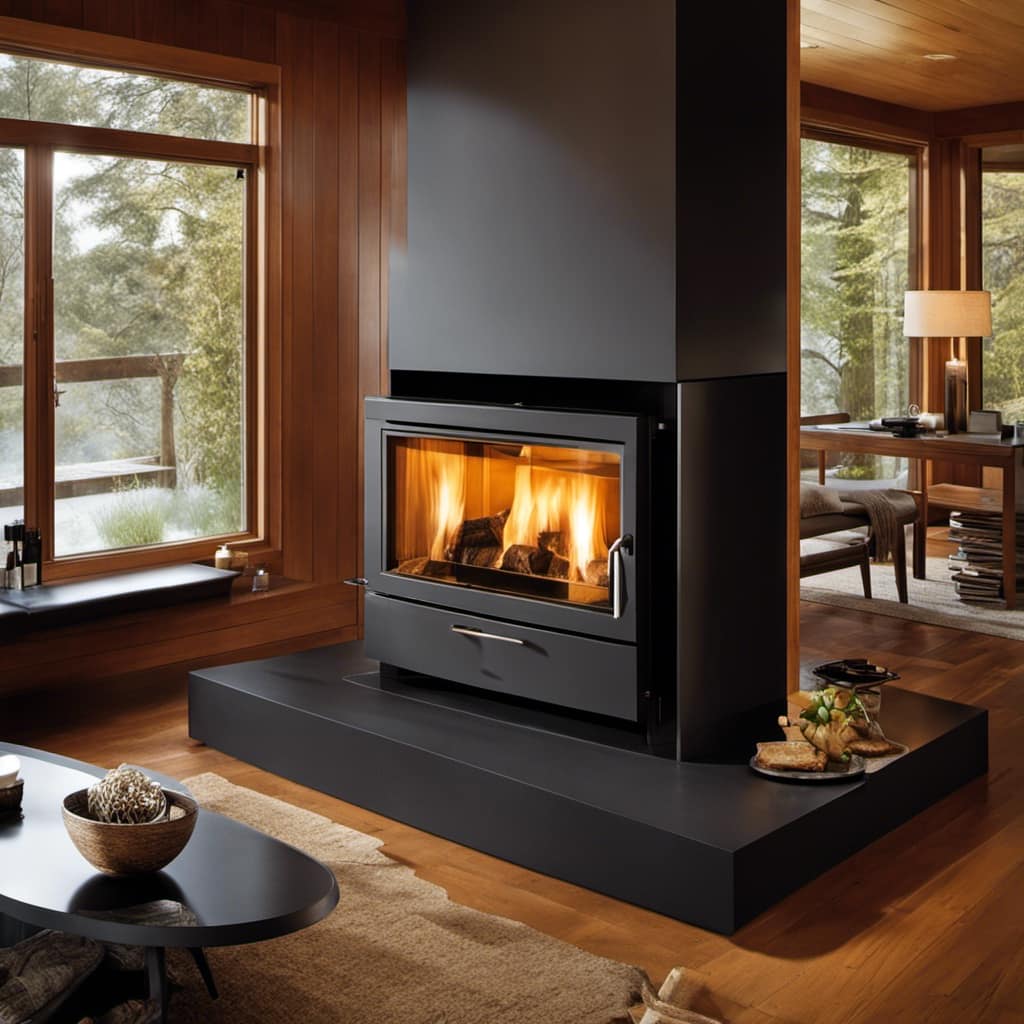
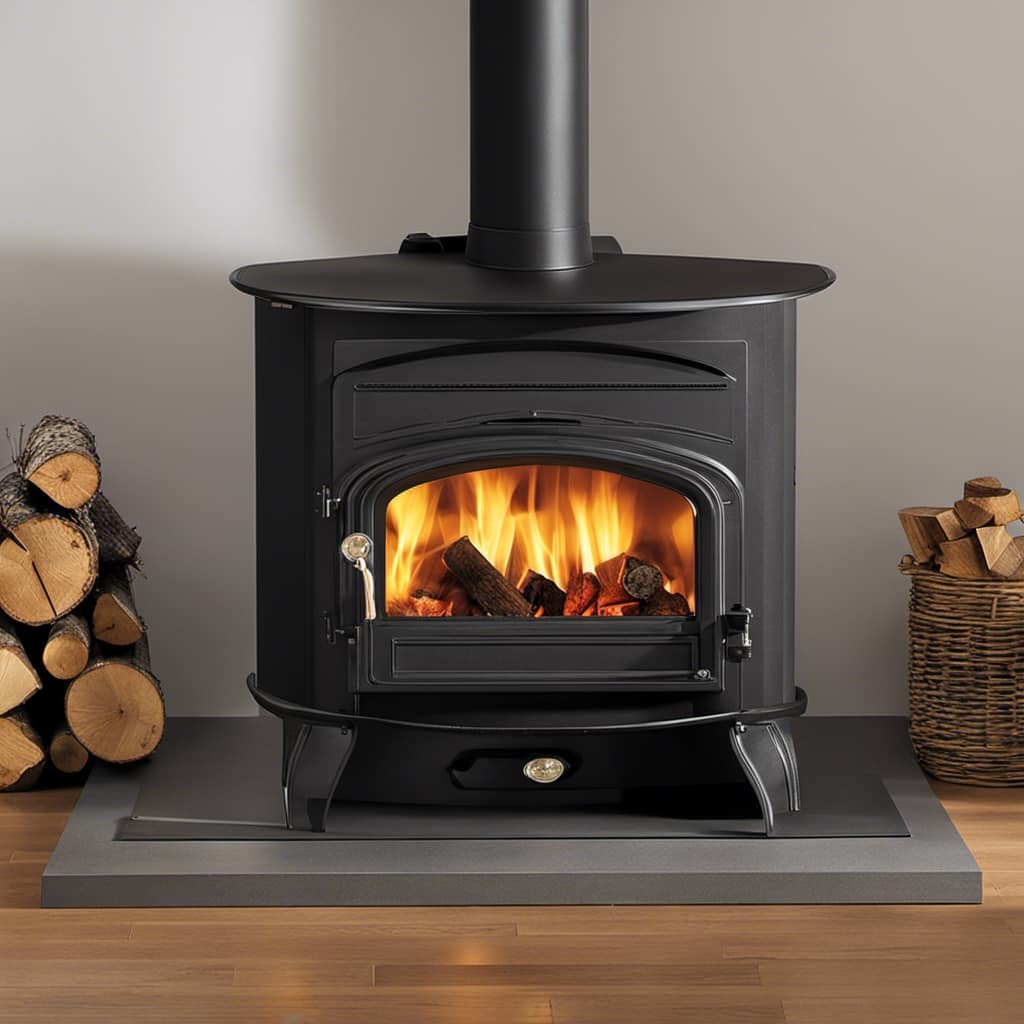
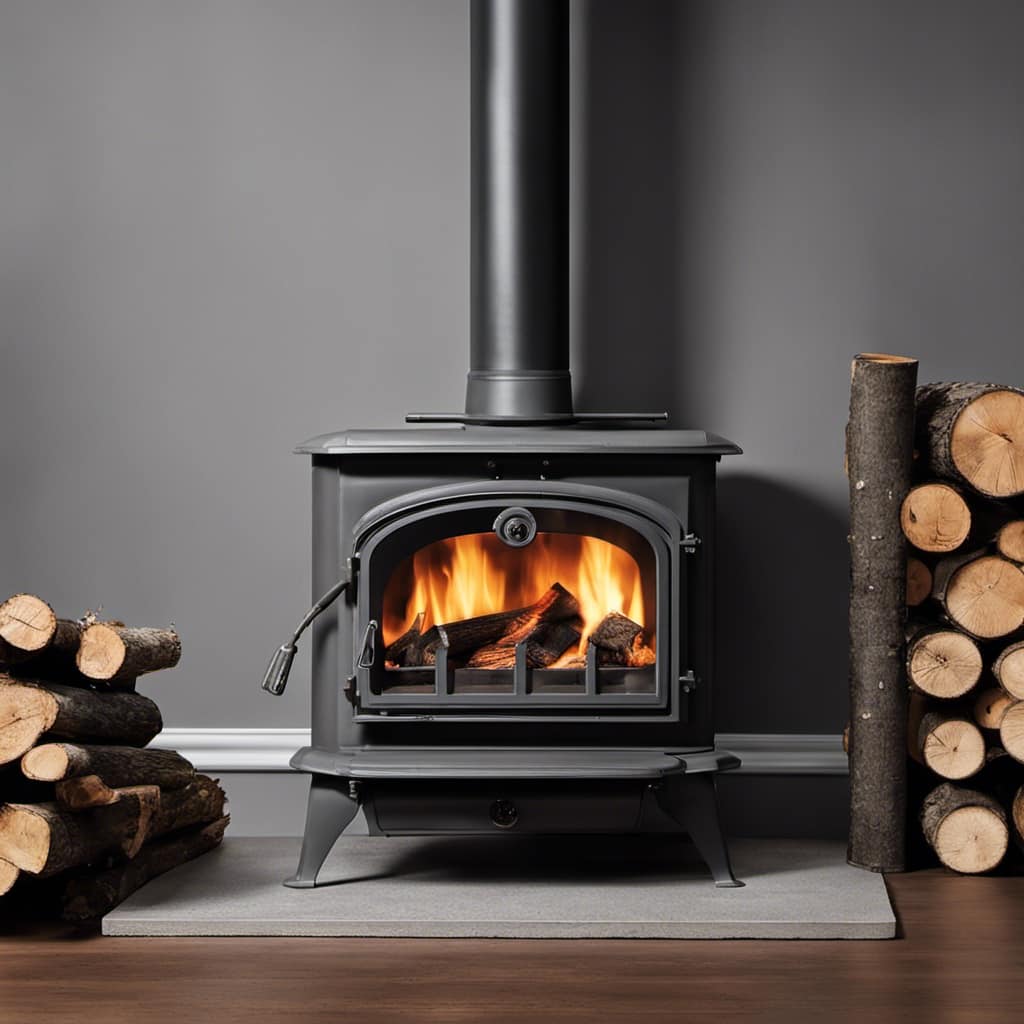
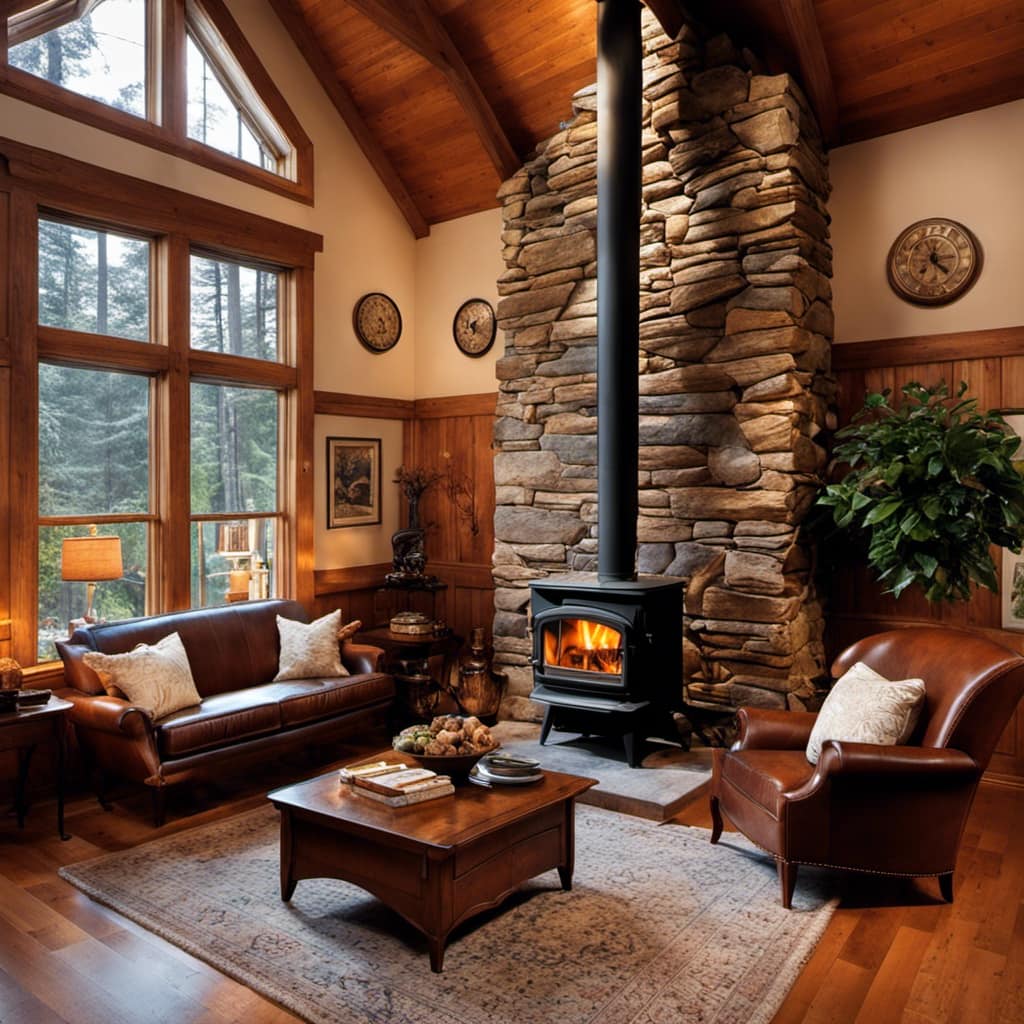
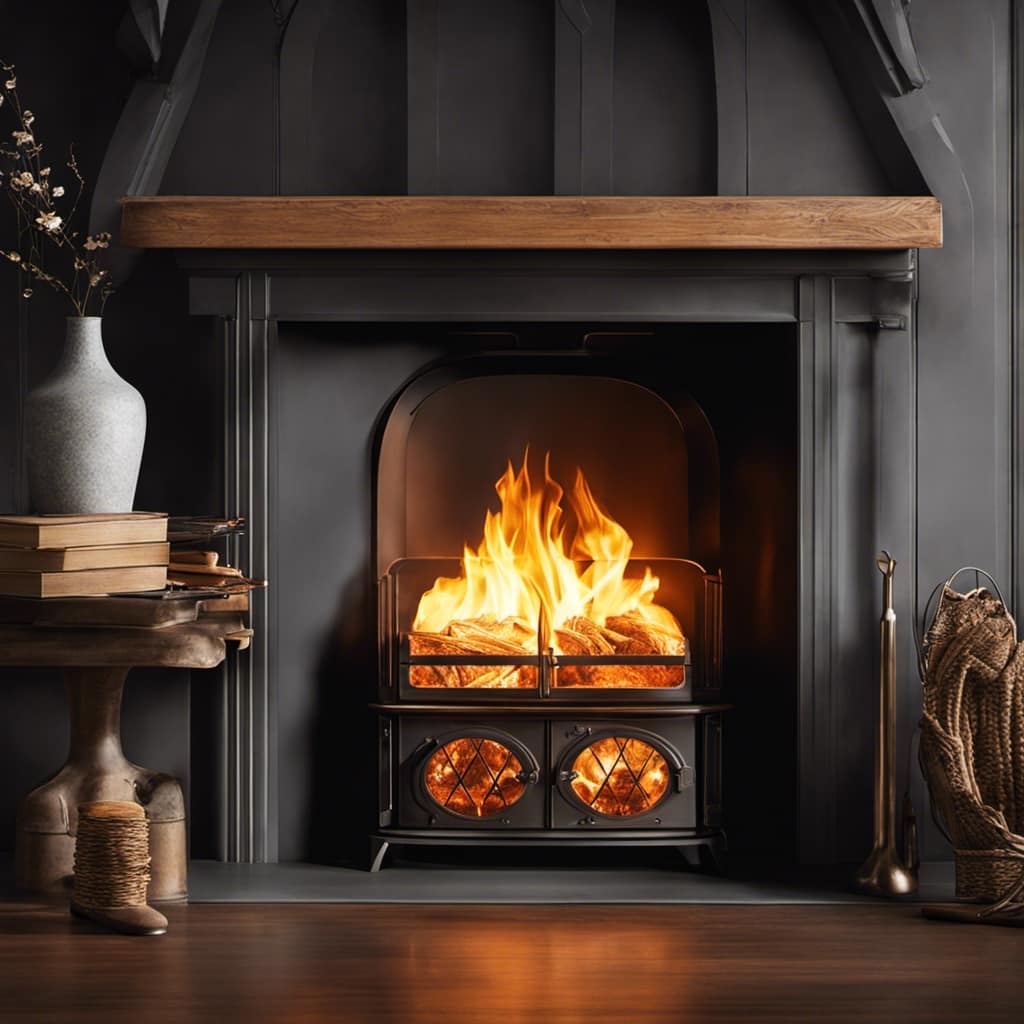
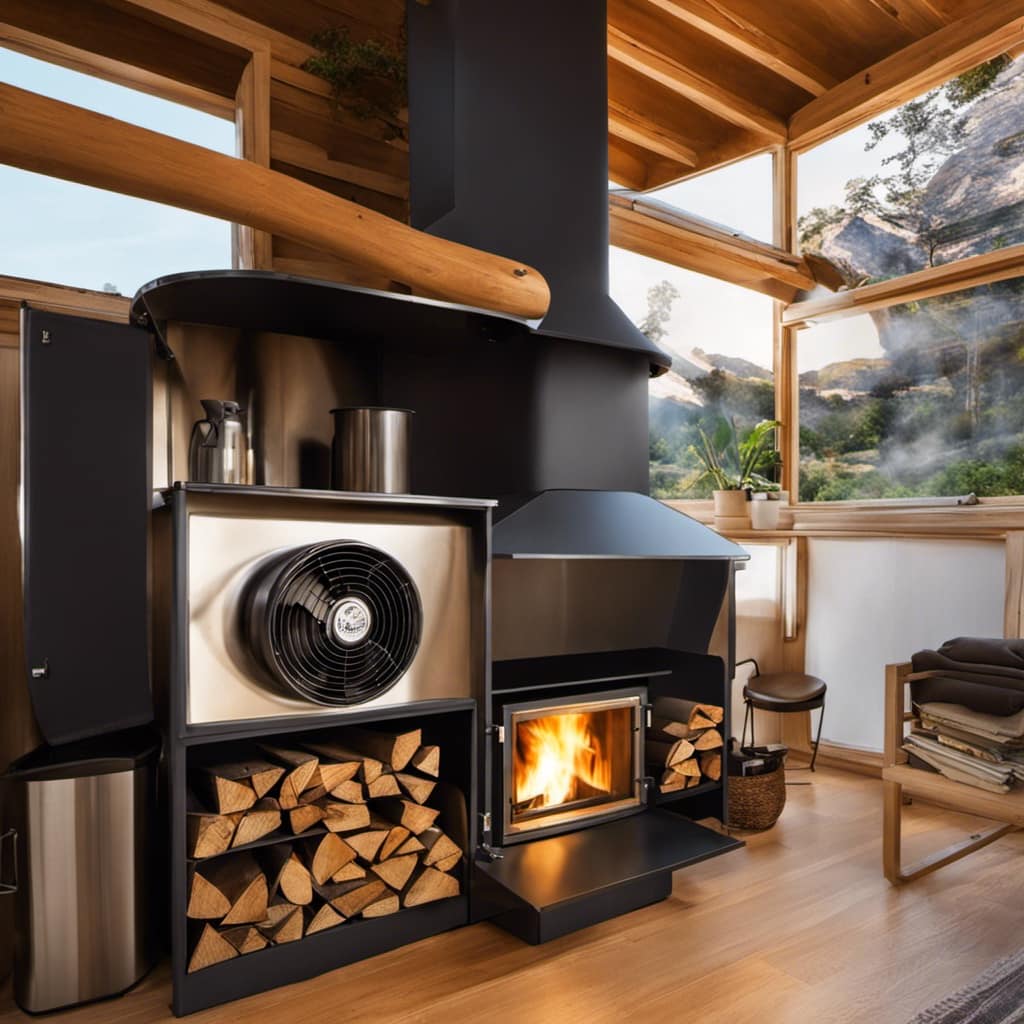
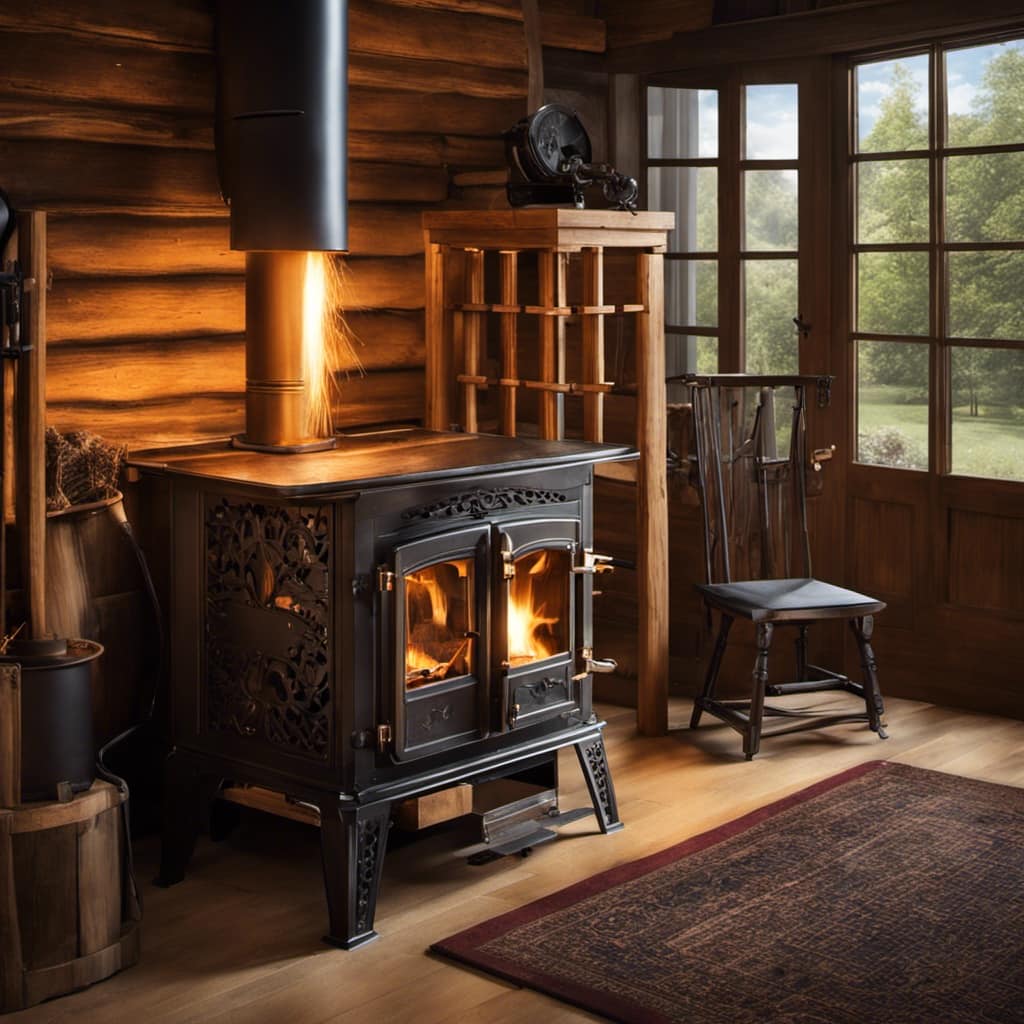
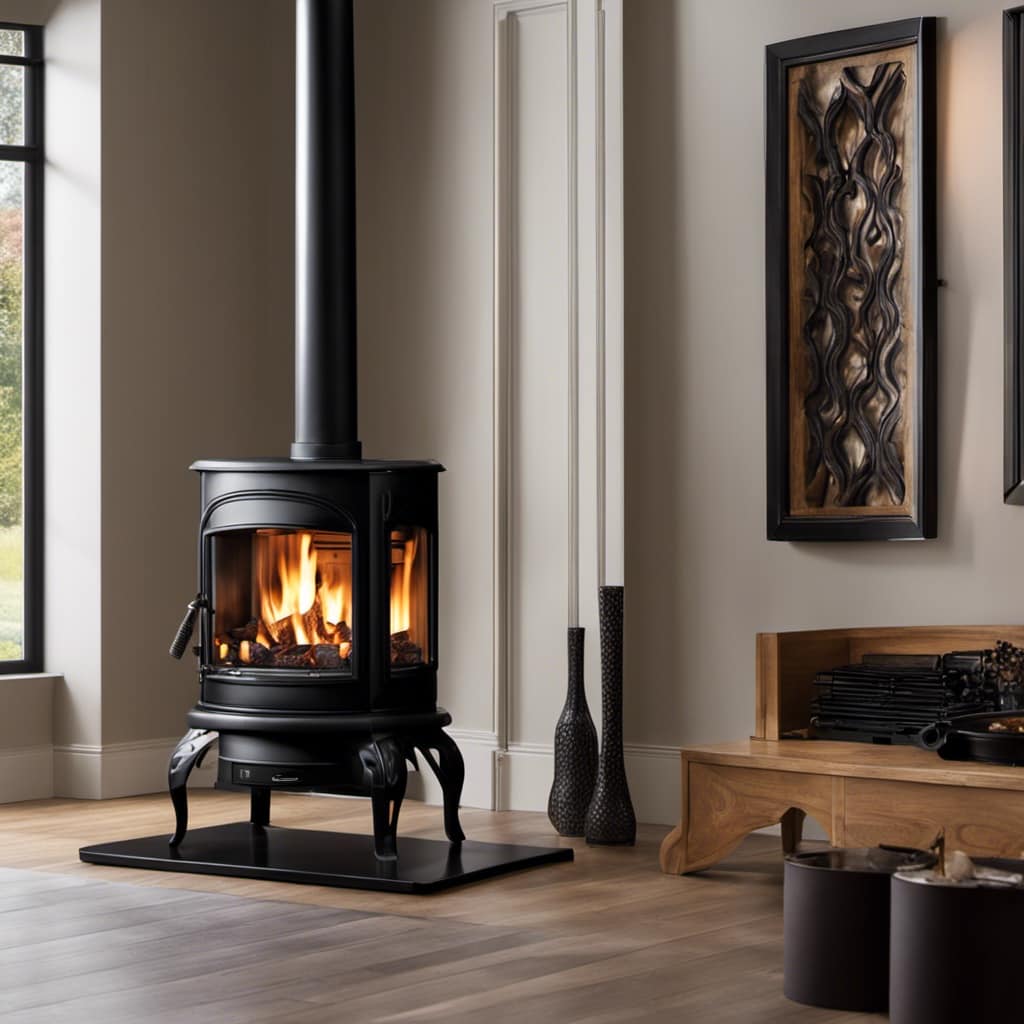
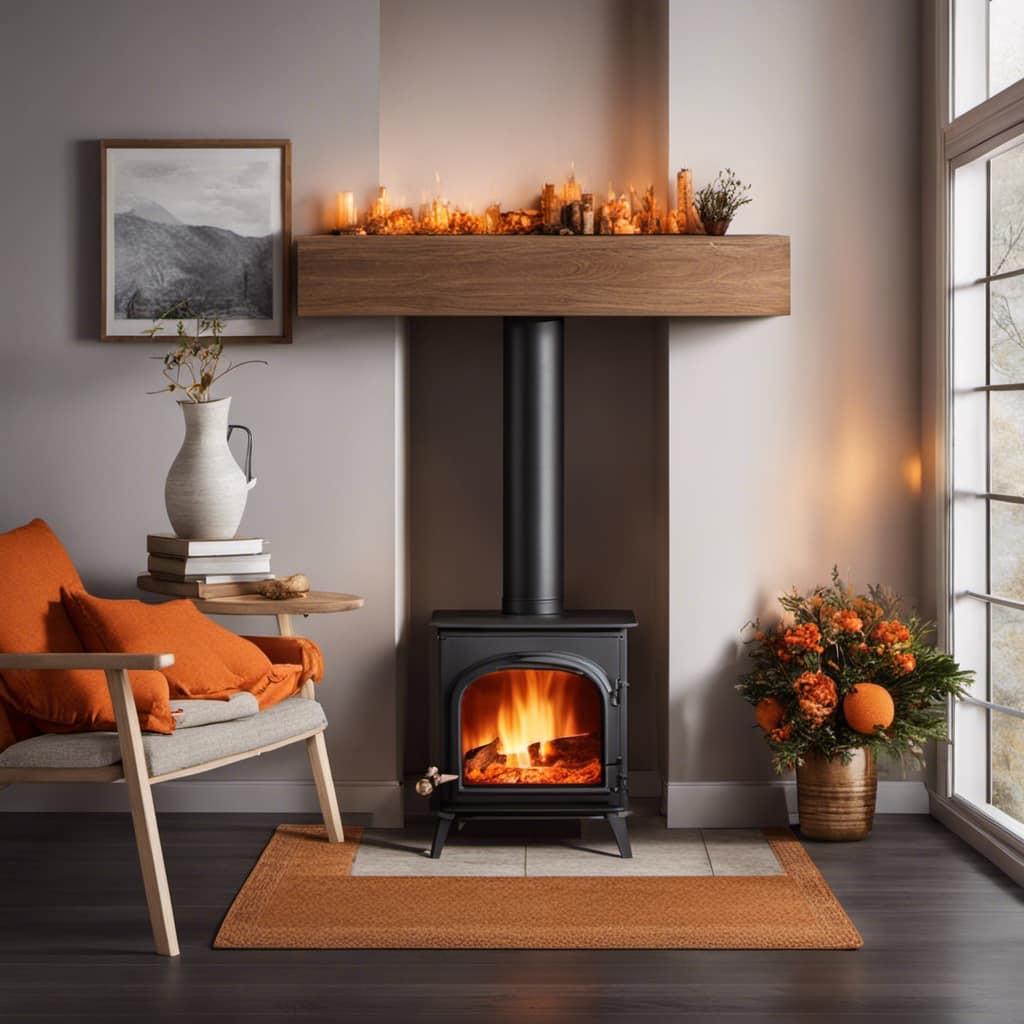
When it comes to color options, the possibilities are endless. You can go for a classic black to give your stove a sleek and timeless look. If you prefer a more modern touch, consider bold colors like red or blue to make a statement in your space.

Advertisement

As for the paint finish, it’s important to select one that can withstand the high temperatures your wood stove produces. Look for heat-resistant paint finishes specifically designed for stoves, such as enamel or ceramic finishes. These finishes not only provide durability but also give your wood stove a beautiful sheen.

With the right color and paint finish, you can transform your wood stove into a stunning focal point in your home.

Adding Additional Coats for a Smooth and Even Finish

After each coat of paint, I’ll check for any uneven spots and apply additional coats as needed to achieve a smooth and even finish. This step is crucial in ensuring a professional and polished look for your wood stove.

wood stove pipe installation

Here’s how I go about adding additional coats:

  1. Applying thin layers: To avoid drips and clumps, it’s important to apply thin layers of paint. This allows for better control and ensures a more even distribution of paint. I typically use a paint sprayer for this step, as it provides a smooth and consistent application.

  2. Checking for uneven spots: After each coat, I carefully inspect the surface for any uneven spots or missed areas. These can be easily corrected by applying additional coats to those specific areas. It’s important to address these issues promptly to achieve a flawless finish.

  3. Sanding between coats (if necessary): If there are any rough patches or imperfections, I lightly sand the surface between coats. This helps create a smoother surface and ensures that the subsequent coats adhere properly.

    wood stoves for sale

Painting the Details and Accessories of Your Wood Stove

When it comes to painting the details and accessories of your wood stove, attention to detail is key.

Start by carefully selecting the color that will complement your stove and enhance its overall appearance.

Advertisement

Before applying the final coat, make sure to properly prep and prime the surfaces to ensure a smooth and long-lasting finish.

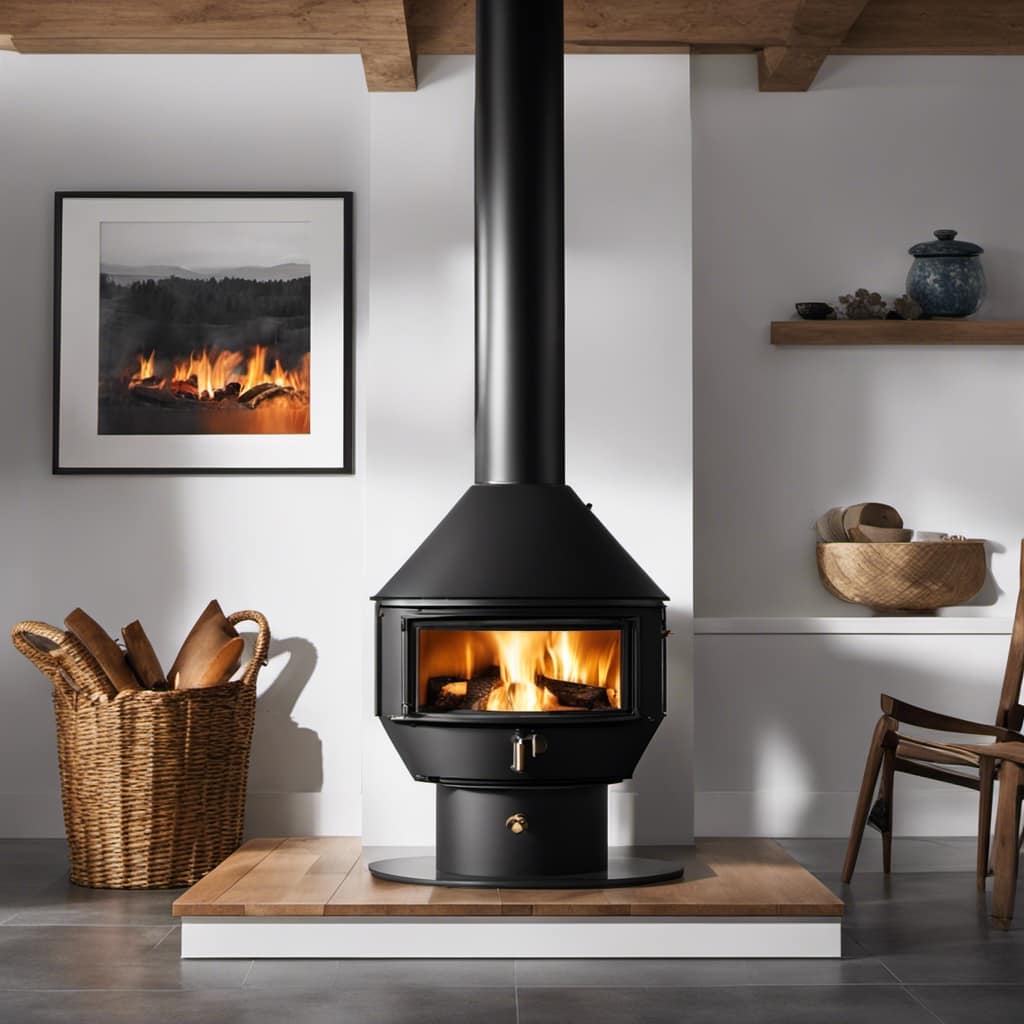
Color Choices for Stove

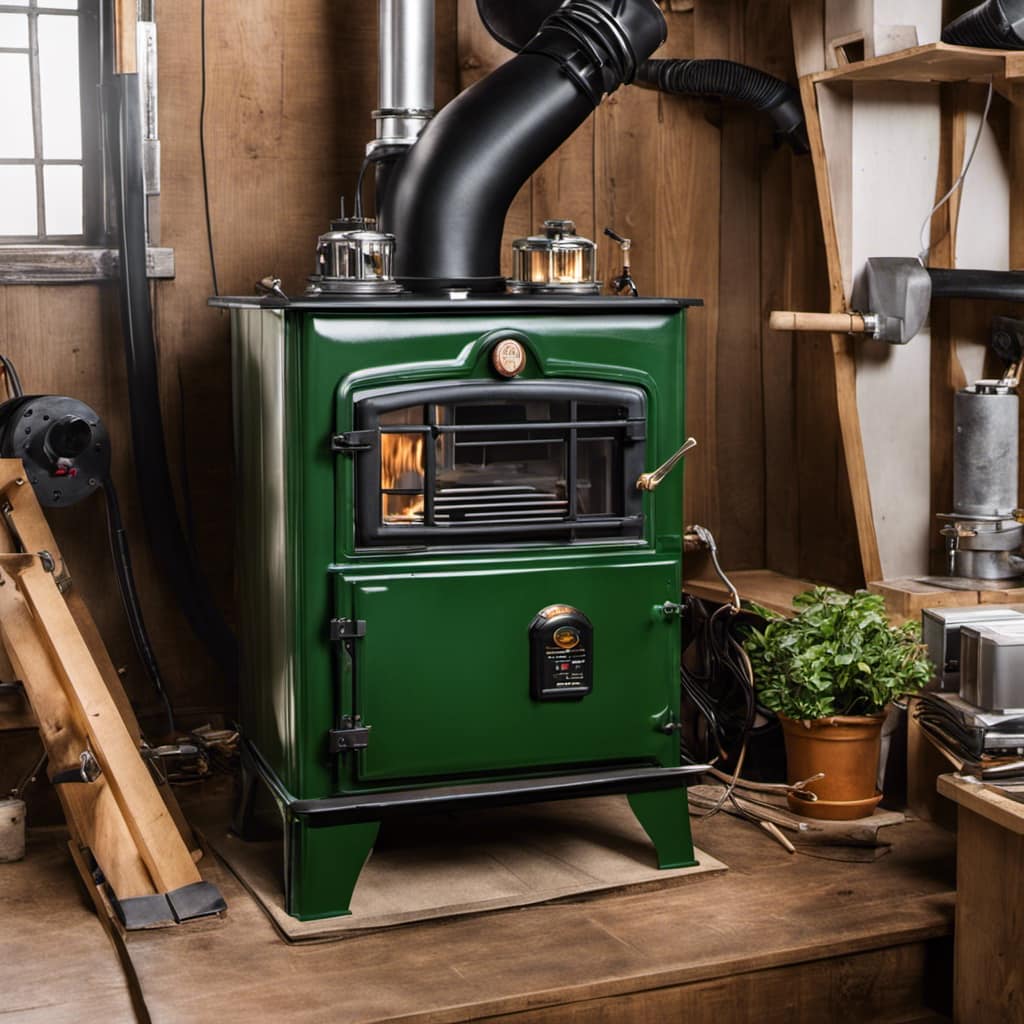
I think I’ll go for a bold red color for my wood stove. Color psychology plays a significant role in our emotions and can affect the overall ambiance of a room. Red is often associated with energy, passion, and warmth, which makes it a perfect choice for a wood stove.

wood stoves for sale at lowes

However, there are other alternative finishes that you can consider as well. Here are three options to consider:

  1. Black: It exudes elegance and sophistication, creating a sleek and modern look for your wood stove.

  2. Metallic: This finish adds a touch of glamour and can create a focal point in your room.

  3. Natural wood: If you want to maintain the rustic charm of your wood stove, a natural wood finish can be a great choice.

    wood stove fireplace inserts wood burning

When choosing a color or finish for your wood stove, consider the overall theme and style of your room to ensure a cohesive look.

Now that you’ve selected your color, it’s time to move on to prepping and priming the surfaces to ensure a smooth and long-lasting paint job.

Prep and Prime Surfaces

To ensure a smooth and long-lasting finish, I need to properly prep and prime the surfaces before applying the chosen color. The best techniques for prepping and priming the surfaces involve thorough cleaning, sanding to remove any imperfections, and applying the primer in thin, even coats. This will help the paint adhere properly and create a solid foundation for the final coat.

Advertisement

When it comes to choosing the primer color, it’s important to select one that will complement the final paint color and provide good coverage. For lighter paint colors, a white or light gray primer works well, while for darker colors, a tinted primer in a similar shade can help achieve better color accuracy.

wood stove outdoor

Once the surfaces are prepped and primed, it’s time to move on to applying the final coat.

Applying the Final Coat

The final coat should be applied in smooth, even strokes for a flawless finish.

To ensure a successful paint job on your wood stove, here are some crucial steps to follow:

  1. Choose the right paint: Opt for a heat-resistant paint specially formulated for wood stoves. This will ensure durability and longevity.

    wood stove fans ecofan

  2. Prepare the surface: Clean the stove thoroughly and sand any rough spots. Remove any rust or loose paint using a wire brush.

  3. Apply the paint: Use a high-quality brush or roller to apply the final coat. Start from the top and work your way down, using long, even strokes. Avoid overloading the brush or roller to prevent drips and uneven coverage.

Proper drying time is essential for a lasting finish. Allow the paint to dry completely according to the manufacturer’s instructions before using the stove.

Advertisement

Now that you’ve applied the final coat, it’s time to move on to the next step: curing and sealing the paint on your wood stove.

truck bed wood stove

Curing and Sealing the Paint on Your Wood Stove

I’m going to apply a clear sealant to protect the paint on my wood stove. Once the final coat of paint has dried, it’s important to allow the paint to cure properly. This curing process ensures that the paint bonds securely to the surface and becomes more durable.

Sealing the paint on your wood stove offers several benefits. Firstly, it provides an extra layer of protection against heat, moisture, and other environmental factors. This helps to prolong the life of the paint and prevent it from peeling or fading over time. Additionally, sealing the paint makes it easier to clean and maintain the stove, as it creates a smooth and non-porous surface that resists stains and dirt.

To give you a visual representation of the benefits of sealing the paint, here is a table that compares the before and after effects of sealing:

Before Sealing After Sealing
Prone to peeling and fading Resistant to peeling and fading
Difficult to clean Easy to clean and maintain
Susceptible to stains and dirt Resistant to stains and dirt
Less durable More durable

Maintaining the Beauty of Your Painted Wood Stove

Maintaining the beauty of my painted wood stove is important to me, so I regularly clean and inspect it for any signs of damage. Here are a few maintenance tips that have helped me keep my wood stove looking great:

Advertisement

wood burning cook stove

  1. Clean regularly: I make sure to clean my wood stove at least once a month. I use a soft cloth or sponge and mild soap to gently wipe away any dirt or grime. Avoid using abrasive cleaners, as they can damage the paint.

  2. Inspect for damage: During my cleaning routine, I also take the time to inspect the paint for any signs of chips or scratches. If I notice any damage, I touch up the affected areas using heat-resistant paint in the same color as my stove.

  3. Consider color options: When painting my wood stove, I chose a color that complements my home decor and personal style. There are a variety of color options available, ranging from traditional black to more vibrant shades like red or blue. It’s important to choose a paint that’s specifically designed for high-heat environments to ensure durability.

Frequently Asked Questions

Can I Use Regular Interior Paint for My Wood Stove?

Yes, you can use regular interior paint for your wood stove, but it isn’t recommended. Using latex paint specifically designed for wood stoves is a better option.

cast iron wood stove

Regular interior paint may not be able to withstand the high temperatures that wood stoves can reach, which can lead to cracking, peeling, and release of toxic fumes.

Latex paint for wood stoves is formulated to withstand extreme heat and provide a durable finish that will last longer.

How Long Should I Wait After Painting Before Using My Wood Stove?

After painting my wood stove, I wondered how long I should wait before using it. It’s important to give the paint enough time to fully cure and harden to avoid any fumes or damage. Generally, it’s recommended to wait at least 24-48 hours before using your wood stove after painting.

As for the type of paint, it’s crucial to use high-temperature paint specifically designed for wood stoves. This paint can withstand the intense heat and provide long-lasting protection.

Advertisement

truck bed wood stove

Can I Paint the Glass Door of My Wood Stove?

Yes, you can paint the glass door of your wood stove.

When it comes to painting techniques, it’s important to use a paint that’s specifically designed for glass surfaces.

Look for a high-temperature paint that can withstand the heat generated by the stove.

Additionally, make sure to properly clean and prepare the glass before applying the paint to ensure good adhesion.

no smoke wood stove

Following these steps will help you achieve a beautiful and long-lasting finish on your wood stove’s glass door.

Advertisement

What Type of Primer Should I Use for My Wood Stove?

When it comes to painting a wood stove, choosing the right primer is key. The type of primer you use will depend on the material of your stove. For example, if your wood stove is made of cast iron, it’s best to use a high-heat primer specifically designed for metal surfaces. This will ensure proper adhesion and durability.

As for the best paint for a wood stove, look for a high-heat paint that can withstand the extreme temperatures.

How Often Should I Repaint My Wood Stove to Maintain Its Appearance?

Repainting frequency is an important factor in maintaining the appearance of your wood stove. The best paint for wood stoves is a high-temperature paint specifically designed for this purpose.

wood stove pipes and fittings

As for how often you should repaint, it depends on various factors such as the quality of the paint used, the amount of use your stove gets, and the conditions it’s exposed to.

Generally, it’s recommended to repaint every 2-3 years to keep your wood stove looking its best.

Advertisement

Conclusion

In conclusion, painting your wood stove is a great way to give it a fresh and updated look. By following the right steps, you can ensure a long-lasting finish that will enhance the beauty of your stove.

Remember to choose the right paint, properly prepare the surface, and apply multiple coats for a smooth and even finish.

lopi endeavor wood stove price

Don’t forget to add those little details and accessories to truly make your stove stand out. With proper care and maintenance, your painted wood stove will continue to bring warmth and style to your home.

So grab your paintbrush and get creative! Happy stove painting!

Advertisement

Growing up surrounded by the vast beauty of nature, Sierra was always drawn to the call of the wild. While others sought the comfort of the familiar, she ventured out, embracing the unpredictable and finding stories in the heartbeat of nature.   At the epicenter of every remarkable venture lies a dynamic team—a fusion of diverse talents, visions, and passions. The essence of Best Small Wood Stoves is crafted and refined by such a trio: Sierra, Logan, and Terra. Their collective expertise has transformed the platform into a leading authority on small wood stoves, radiating warmth and knowledge in equal measure.

Continue Reading
Advertisement

Wood Stove

What Happens When Aluminum Is Put A Wood Stove

Published

on

By

An image showcasing the mesmerizing transformation of aluminum inside a wood stove

When I throw a thin aluminum strip into the powerful flames of my wood-burning stove, a captivating chemical reaction takes place right before my eyes. In this article, I will explore the scientific principles that can help us understand this mesmerizing phenomenon.

By exploring the thermal properties of aluminum, the combustion and oxidation processes, and the impact on the stove’s efficiency, we can uncover the intricate mechanisms at play.

However, we must also consider safety precautions when experimenting with this fiery interaction.

Let’s delve into the captivating world of aluminum and wood stove combustion.

Key Takeaways

  • Aluminum undergoes oxidation when exposed to oxygen in the air, and the intense heat in a wood stove accelerates this process.
  • The chemical reaction between aluminum and oxygen produces aluminum oxide, and the high temperature in the wood stove provides the energy for the reaction.
  • Aluminum has high thermal conductivity and is commonly used in industries like automotive, aerospace, and electronics for efficient heat transfer.
  • Using aluminum foil in a wood stove reflects heat back into the firebox, improves combustion, reduces energy consumption, helps distribute heat evenly, and can lower fuel consumption.

The Science Behind the Reaction

I can explain the science behind the reaction between aluminum and a wood stove.

When aluminum is put in a wood stove, a chemical reaction occurs due to the intense heat. Aluminum is a highly reactive metal, and when it comes into contact with oxygen in the air, it undergoes oxidation. The heat from the wood stove accelerates this process, causing the aluminum to react even more rapidly.

Advertisement

This chemical reaction produces aluminum oxide, which is a compound of aluminum and oxygen. The heat transfer in this reaction is significant, as the high temperature of the wood stove provides the energy needed for the reaction to take place.

Overall, the combination of the chemical reaction and heat transfer results in the aluminum undergoing a transformation in the wood stove.

Thermal Properties of Aluminum

Although aluminum is a metal, it has impressive thermal conductivity properties that make it an excellent choice for various heat transfer applications. The conductivity of aluminum is one of the highest among all metals, allowing it to efficiently transfer heat from one area to another. This is due to its crystal structure, which allows for the easy movement of heat-carrying electrons. Additionally, aluminum has a relatively low melting point of 660 degrees Celsius, making it suitable for applications where high temperatures are involved.

The high thermal conductivity of aluminum makes it particularly useful in industries such as automotive, aerospace, and electronics, where efficient heat transfer is crucial for optimal performance. In heat exchangers, for example, aluminum is commonly used as it can quickly absorb and distribute heat, ensuring efficient cooling. Similarly, in electronic devices, aluminum is often used as a heat sink material to dissipate excess heat generated by components.

Combustion and Oxidation Processes

The combustion of wood in a stove releases heat and carbon dioxide as byproducts. This process is driven by chemical reactions between the wood and oxygen in the air.

Advertisement

The heat generated during combustion is transferred to the surrounding environment through conduction, convection, and radiation. Chemical reactions occur when the wood is exposed to high temperatures, causing it to decompose into various volatile gases, such as methane, carbon monoxide, and hydrogen. These gases then react with oxygen to produce carbon dioxide and water vapor.

The heat transfer in a wood stove is primarily through convection, where hot gases rise and escape through the chimney, while cooler air is drawn in to replace it. This continuous cycle ensures efficient heat transfer and a steady supply of oxygen for the combustion process.

Impact on the Wood Stove’s Efficiency

Using aluminum foil in a wood stove can improve its efficiency, as it reflects heat back into the firebox. This simple technique can have a significant impact on heat distribution and energy consumption. Here are five reasons why using aluminum foil in a wood stove is beneficial:

Safety Considerations and Precautions

I take adequate safety precautions and carefully follow guidelines to ensure my well-being when using aluminum foil in my wood stove. Ventilation requirements are crucial when using aluminum foil as it can release toxic fumes if heated to high temperatures without proper airflow. It’s essential to ensure that the wood stove is properly vented to prevent the accumulation of harmful gases.

Additionally, handling and disposal of aluminum residue should be done with caution. Aluminum foil remnants should be cool before handling to avoid burns. Proper disposal methods should be followed, such as recycling the foil or disposing of it in designated waste bins.

Advertisement

Frequently Asked Questions

How Long Does It Take for Aluminum to Completely Burn in a Wood Stove?

The burn time for aluminum in a wood stove depends on various factors such as temperature and airflow. It can take anywhere from a few minutes to several hours for aluminum to completely burn. However, this process can release harmful emissions and negatively impact air quality.

Will Putting Aluminum in a Wood Stove Release Any Harmful Gases?

When aluminum is burned in a wood stove, it can release toxic fumes. The environmental impacts of this process include the emission of harmful gases and the potential for air pollution.

Can the Combustion of Aluminum in a Wood Stove Damage the Stove’s Interior?

The combustion of aluminum in a wood stove can potentially damage the stove’s interior and affect its performance. This is because the high heat generated during the combustion process can cause the aluminum to melt or warp, posing a fire hazard.

Is It Possible to Recycle the Aluminum Ash Left Behind After Burning It in a Wood Stove?

Recycling aluminum ash is possible, but the environmental impact of aluminum combustion must be considered. As an active participant in the process, I can tell you that proper recycling methods should be followed to reduce waste and promote sustainability.

What Are the Potential Risks of Using Aluminum in a Wood Stove, Both to the Stove Itself and to the Surrounding Environment?

Potential health hazards and environmental impact should be considered when using aluminum in a wood stove. The stove’s integrity may be compromised, leading to safety issues, and aluminum ash can release harmful toxins into the air, soil, and water.

Advertisement

Conclusion

In conclusion, when aluminum is put in a wood stove, it undergoes a combustion and oxidation process due to the high temperature. This reaction releases heat and produces aluminum oxide, which can impact the efficiency of the wood stove.

It’s important to consider safety precautions when introducing aluminum into a wood stove. Interestingly, the combustion of aluminum releases approximately 31,000 BTUs per pound, providing a visual representation of its potential energy output.

Continue Reading

Wood Stove

What Is The Twistable Knob On A Wood Stove For

Published

on

By

An image capturing the intricate details of a wood stove's twistable knob, showcasing its position on the stove, its textured grip, and the engraved temperature scale, enticing readers to learn about its purpose in our blog post

If you are the owner of a wood stove, have you ever questioned the function of the twistable knob?

Well, prepare to have your curiosity stoked. The twistable knob on a wood stove is like the conductor of an orchestra, controlling the airflow and ultimately the temperature inside your stove.

It’s a crucial instrument for achieving optimal heating efficiency. In this article, I will guide you through the purpose, function, and troubleshooting of this mysterious knob, ensuring you can make the most of your wood stove experience.

Key Takeaways

  • The twistable knob on a wood stove controls airflow and heat output by adjusting the amount of oxygen entering the combustion chamber.
  • It is connected to a damper that regulates air intake, opening the damper increases airflow and fire intensity, while closing it reduces airflow and fire intensity.
  • Turning the twistable knob counterclockwise increases the temperature, while turning it clockwise decreases the temperature.
  • Regular maintenance, including cleaning and lubrication, is necessary for proper functionality and optimizing the stove’s performance.

Understanding the Purpose of the Twistable Knob

I’m still not sure about the purpose of the twistable knob on a wood stove, but understanding its function seems crucial.

The twistable knob on a wood stove serves a vital role in controlling the airflow and heat output of the stove. It’s usually located on the front or side of the stove and can be easily adjusted to regulate the amount of oxygen that enters the combustion chamber. By turning the knob, you can increase or decrease the intensity of the fire, thus controlling the temperature inside the stove.

This feature is particularly useful for achieving optimal efficiency and preventing overheating. Different types of wood stove twistable knobs may include air intake knobs, damper knobs, and secondary air control knobs, each with their specific functions.

Advertisement

Proper maintenance and cleaning of wood stoves, including regular inspection and lubrication of the twistable knob, are essential to ensure its smooth operation and longevity.

How the Twistable Knob Controls Airflow

The twistable knob on a wood stove controls the airflow, allowing me to adjust the intensity of the fire. Understanding the mechanics of this twistable knob is essential to effectively control the combustion process in a wood stove.

The knob is connected to a damper, which regulates the amount of air that enters the stove. By twisting the knob, I can open or close the damper, thereby controlling the amount of oxygen that reaches the fire. Increasing the airflow by opening the damper will result in a more intense fire, while reducing the airflow by closing the damper will decrease the intensity.

This adjustment is crucial as it directly affects the combustion process. By managing the airflow, I can ensure efficient and clean burning, optimizing the stove’s performance.

Adjusting the Twistable Knob for Temperature Control

I can adjust the twistable knob by turning it counterclockwise to increase the temperature, or by turning it clockwise to decrease the temperature. The twistable knob is a crucial component of a wood stove as it allows me to control the amount of air reaching the fire, thus regulating the temperature. To ensure proper functionality and longevity of the twistable knob, regular maintenance is necessary. This includes checking for any debris or obstructions that may hinder its movement and cleaning it with a soft cloth. It’s also important to be aware of the different types of twistable knobs available. Some may have a simple design with arrows indicating the direction for temperature adjustment, while others may have numerical values for precise temperature control. Understanding the specific type of twistable knob on my wood stove will help me effectively adjust the temperature and maintain optimal performance.

Advertisement
Types of Twistable Knobs
Simple Design
Numerical Adjustment
Color-Coded
Digital Display
Multi-Function

The Importance of Properly Using the Twistable Knob

To effectively control the temperature of the wood stove, it’s crucial to properly turn and adjust the twistable knob.

The twistable knob on a wood stove is designed to regulate the airflow and therefore the heat output of the stove. It’s important to understand the mechanics of the knob and how it affects the stove’s performance.

Proper maintenance of the twistable knob is essential to ensure its smooth operation and prevent any malfunctions. Regular cleaning and lubrication are recommended to keep it functioning optimally.

Safety precautions must also be taken when handling the twistable knob. Always make sure to turn off the stove before adjusting the knob to avoid any accidents or burns.

Additionally, it’s important to be aware of the temperature range indicated on the knob and not exceed the recommended limits to prevent overheating or damage to the stove.

Advertisement

Troubleshooting Common Issues With the Twistable Knob

I’ve encountered several common issues with the twistable knob, such as it getting stuck or not turning smoothly. When faced with these problems, it’s essential to utilize troubleshooting techniques to address the issue effectively.

One common cause of a stuck twistable knob is the accumulation of debris or ash around the knob’s base. To resolve this, I recommend performing regular maintenance by cleaning the area around the knob using a soft brush or cloth.

Additionally, lubricating the knob’s mechanism with a high-quality graphite lubricant can improve its smooth operation. If the knob still refuses to turn smoothly, there might be a problem with the internal mechanism. In such cases, it’s advisable to seek professional assistance to avoid further damage.

Frequently Asked Questions

How Often Should I Adjust the Twistable Knob on My Wood Stove?

I adjust the twistable knob on my wood stove periodically to optimize heating efficiency. Cleaning the knob regularly ensures it functions properly. The twistable knob controls the airflow, allowing me to regulate the heat output of the stove.

Can I Use the Twistable Knob to Control the Intensity of the Fire?

Yes, the twistable knob on a wood stove can be used to control the intensity of the fire. By adjusting the knob, you can increase or decrease the amount of airflow to regulate the heat output.

Advertisement

What Happens if I Accidentally Break the Twistable Knob?

If the twistable knob on a wood stove is accidentally broken, it can be replaced. However, it is important to troubleshoot common issues with the knob first, such as checking for any debris or obstructions.

Is It Necessary to Have the Twistable Knob on a Wood Stove?

I wouldn’t dream of having a wood stove without the twistable knob. It’s absolutely necessary for controlling the airflow and regulating the temperature. Let me explain how this genius invention works.

Can the Twistable Knob Be Used to Control the Amount of Smoke Emitted From the Wood Stove?

Yes, the twistable knob on a wood stove can be used to control the amount of smoke emitted. By adjusting the knob, you can regulate the fire intensity, which directly affects the smoke production.

Does the Twistable Knob on a Wood Stove Affect the Amount of Ash Produced?

The twistable knob on a wood stove can indeed influence the amount of ash produced. By adjusting the knob, users can regulate the airflow and control the combustion process. Proper adjustment helps optimize burning efficiency and minimize excessive ash buildup in wood stoves, ensuring cleaner and more efficient heating.

Is a Catalytic or Non-Catalytic Wood Stove Better for Controlling Heat Output?

When it comes to controlling heat output, the choice between catalytic and non-catalytic wood stoves is a key factor. Catalytic vs non-catalytic wood stoves differ in their combustion process. Catalytic stoves use a catalyst to burn off smoke at lower temperatures, providing efficient and consistent heat. Non-catalytic stoves, on the other hand, provide a quicker and easier start-up but may have less precise heat control. Ultimately, the decision between the two depends on personal preferences and specific heating needs.

Advertisement

Conclusion

In conclusion, the twistable knob on a wood stove plays a crucial role in controlling the airflow and temperature within the stove. It acts as a metaphorical compass, guiding the user towards achieving the desired warmth and efficiency.

Just like a captain navigating through rough seas, understanding how to properly adjust and utilize the twistable knob is essential for a smooth and enjoyable wood stove experience.

So, remember to pay attention to this small but powerful tool to make the most out of your wood stove.

Continue Reading

Wood Stove

How To Remove Hearthstone Tribute Wood Stove Secondary Air Manifold

Published

on

By

An image that showcases the step-by-step process of detaching and removing the secondary air manifold from a Hearthstone Tribute Wood Stove

I’ve always enjoyed basking in the warm glow of my Hearthstone Tribute wood stove.

But recently, I noticed a decrease in its efficiency.

After some investigation, I discovered that the secondary air manifold might be clogged.

In this article, I’ll guide you through the process of removing the manifold, cleaning it, and inspecting for any issues.

By the end, your wood stove will be back to its optimal performance, keeping you cozy all winter long.

Advertisement

Key Takeaways

  • Prepare the stove by cleaning it thoroughly and disconnecting power sources
  • Use penetrating oil to loosen stuck or corroded bolts before removing the secondary air manifold
  • Regularly clean and inspect the manifold for debris, soot buildup, cracks, and leaks
  • When reinstalling the manifold, ensure the mating surfaces are clean, use a new gasket, and tighten the bolts evenly for a tight seal

Checking the Tools and Materials Needed

I need to make sure I’ve all the tools and materials required before starting the project. Safety precautions are essential when working with any heating appliance, so I’ll need safety goggles, gloves, and a dust mask to protect myself from any potential hazards.

Troubleshooting common issues may also require additional tools such as a flashlight, a screwdriver set, and pliers. It’s crucial to have these tools readily available to address any unexpected problems that may arise during the removal process.

Additionally, I’ll need to gather the necessary materials, including a new secondary air manifold, high-temperature silicone sealant, and a wire brush for cleaning.

Preparing the Stove for Manifold Removal

Before starting the removal process, it’s important to carefully clean the stove and disconnect the necessary components. This will ensure a smooth and efficient removal of the Hearthstone Tribute Wood Stove Secondary Air Manifold.

Here are a few key steps to follow when preparing the stove for removal:

  • Clean the stove thoroughly, removing any ash or debris that may have accumulated. This will prevent any dirt from entering the components during removal.

  • Disconnect the stove from any power sources and shut off the gas supply if applicable. Safety should always be the top priority when working with any appliance.

  • Troubleshoot common issues that may arise during removal, such as stuck or corroded bolts. Using penetrating oil and carefully applying pressure can help loosen stubborn parts.

Removing the Secondary Air Manifold

To successfully remove the secondary air manifold, carefully unscrew the bolts from the stove and gently slide it out from underneath the stove’s top plate.

Advertisement

The Hearthstone Tribute Wood Stove is a reliable and efficient heating source, but like any appliance, it may encounter common issues over time. Troubleshooting these issues is essential to ensure proper functioning.

Some common problems with the wood stove’s secondary air manifold include clogging and restricted airflow. Regular maintenance is key to maintaining the efficiency of the secondary air manifold.

It’s recommended to clean the manifold regularly by removing any buildup or debris. Additionally, checking for any leaks or cracks in the manifold and replacing damaged parts will help optimize its performance.

Cleaning and Inspecting the Manifold

The best way to ensure proper functioning of the secondary air manifold is to regularly clean and inspect it for any clogging or damage. The manifold plays a crucial role in the efficient operation of the wood stove, so it’s important to keep it in good condition.

Here are some key points to consider when inspecting the manifold:

Advertisement
  • Look for any signs of clogging, such as debris or soot buildup. A clogged manifold can restrict airflow and hinder the stove’s performance.

  • Check for any damage, such as cracks or leaks. These can lead to air leakage and affect the stove’s ability to generate heat.

  • Troubleshoot common issues, such as a misaligned or loose manifold. These problems can be easily fixed by adjusting or tightening the manifold.

Reinstalling the Secondary Air Manifold

After inspecting the secondary air manifold, I’ll reinstall it using a gasket and then secure it with bolts. When reinstalling the secondary air manifold, it’s important to ensure a proper seal to prevent any air leaks.

Start by cleaning the mating surfaces of the manifold and the stove body to remove any debris or old gasket material. Then, place a new gasket onto the manifold and align it with the bolt holes on the stove body. Carefully lower the manifold into position, making sure the gasket remains in place.

Once aligned, secure the manifold with the bolts, tightening them evenly to ensure a tight seal. Finally, check for any signs of air leaks and troubleshoot common issues such as loose bolts or a damaged gasket.

Frequently Asked Questions

How Long Does It Typically Take to Remove the Secondary Air Manifold From a Hearthstone Tribute Wood Stove?

Typically, it takes me about 15 minutes to remove the secondary air manifold from my Hearthstone Tribute wood stove. It’s a simple process that involves a few screws and careful maneuvering.

Can the Secondary Air Manifold Be Cleaned Without Removing It From the Stove?

Yes, the secondary air manifold can be cleaned without removing it from the stove. Regular maintenance and cleaning techniques for other parts of the wood stove are essential for optimal stove performance.

Advertisement

Is It Necessary to Inspect the Manifold for Any Specific Issues During the Cleaning Process?

Inspecting the manifold for specific issues during the cleaning process is necessary. Regularly inspecting the manifold is important to ensure its proper functioning and to identify any potential problems that may arise.

Are There Any Recommended Cleaning Agents or Solutions That Should Be Used When Cleaning the Secondary Air Manifold?

When cleaning the secondary air manifold of a Hearthstone Tribute Wood Stove, it is important to use recommended cleaning agents and follow the best cleaning techniques. This ensures a thorough and effective cleaning process.

Are There Any Common Mistakes to Avoid When Reinstalling the Secondary Air Manifold?

When reinstalling the secondary air manifold, it’s important to avoid common mistakes. One tip is to ensure a secure fit by tightening the screws evenly. Another is to double-check all connections for any leaks or gaps.

What is the Best Method to Remove Gunk from Wood Stove Windows?

When it comes to removing gunk from wood stove windows, there are several effective methods. One of the best approaches is to use a combination of vinegar and water. Simply mix equal parts of vinegar and water, apply the solution to the gunk, and let it sit for a few minutes. Then, scrub the residue off with a soft cloth or sponge. This method is not only affordable but also environmentally friendly.

Conclusion

After carefully removing and cleaning the secondary air manifold from your Hearthstone Tribute wood stove, you can reinstall it to ensure optimal performance.

Advertisement

Just like a conductor guiding an orchestra, the manifold plays a crucial role in directing the flow of air and fuel, enhancing the stove’s efficiency and heat output.

By maintaining and inspecting this component regularly, you can ensure that your wood stove continues to provide warmth and comfort for years to come.

Continue Reading

Trending