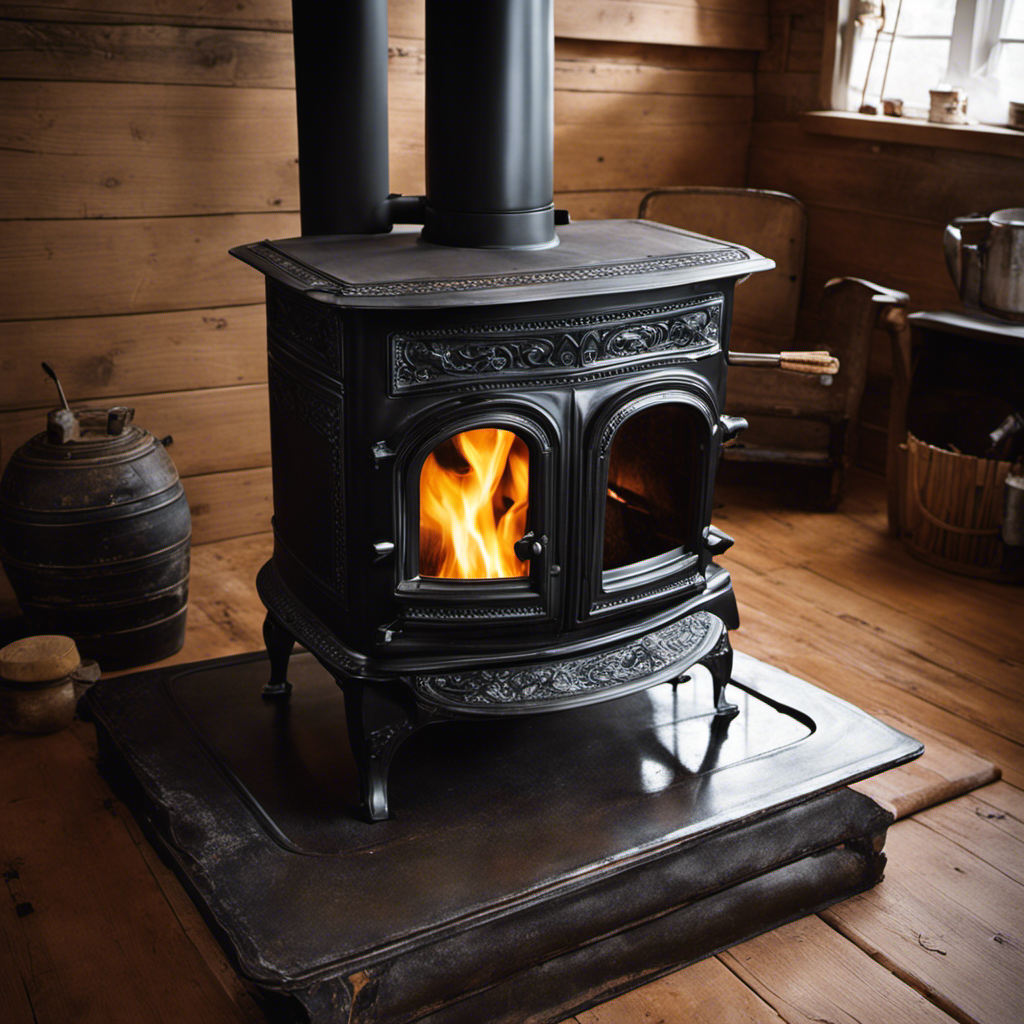
I’ve consistently held the belief that a crack is merely a short-term obstacle, offering an opportunity to demonstrate our perseverance. When it involves repairing a crack in a cast iron wood stove, I possess the necessary skills to restore it to its original condition.
In this guide, I’ll take you through the steps, from assessing the damage to applying the cast iron epoxy. So gather your tools, roll up your sleeves, and let’s restore that stove to its former glory.
Key Takeaways
- Assess the length, width, and depth of the crack and inspect the surrounding area for additional damage
- Choose a heat-resistant epoxy designed for cast iron and gather necessary tools and materials before starting the repair
- Clean and prepare the crack by removing debris, rust, and smoothing the edges
- Apply the cast iron epoxy carefully and evenly, ensuring the crack is clean and free of debris before applying

J-B Weld High Heat Epoxy Syringe, Dark Grey
- Heat Resistance: Withstands up to 550°F
- Strong Bond: 4730 PSI strength
- Chemical Resistant: Resistant to chemicals and fuels
As an affiliate, we earn on qualifying purchases.
As an affiliate, we earn on qualifying purchases.
Assessing the Damage
I’m carefully examining the extent of the damage to determine the best course of action. Evaluating the severity of the crack is crucial to ensure an effective repair.
I start by assessing the length, width, and depth of the crack. This helps me understand the potential impact on the stove’s functionality and safety. I also inspect the surrounding area for any signs of stress or additional damage.
To determine the cause of the crack, I look for any signs of overheating, such as discoloration or warping. I also consider factors like improper installation or excessive pressure.
By thoroughly evaluating the severity and determining the cause, I can make an informed decision on how to proceed with the repair.
Now that I’ve assessed the damage, it’s time to gather the necessary tools and materials for the repair process.
Gathering the Necessary Tools and Materials
I need to gather all the required tools and materials to successfully fix the crack in my cast iron wood stove. Choosing the right type of epoxy is crucial for a durable and effective repair. It’s important to select an epoxy that’s heat resistant and designed specifically for cast iron. Look for high-temperature epoxy that can withstand the extreme conditions inside the stove.
Additionally, consider the size and location of the crack when choosing the epoxy. Once you have the epoxy, gather other necessary tools such as sandpaper, wire brush, and a cleaner to prepare the crack for repair.
Preparing the Crack for Repair
To effectively repair the crack in my cast iron wood stove, I’ll start by cleaning the area with a wire brush and then sanding it down.
Evaluate the repair options: Before proceeding, it’s essential to determine the best approach to fix the crack. Factors such as the size and location of the crack will influence the repair method chosen.
Clean the crack thoroughly: Using a wire brush, remove any loose debris or rust from the crack. This ensures proper adhesion of the repair material and prevents further damage.
Sand the area: After cleaning, smooth the edges of the crack by sanding it down. This step creates a clean surface for the repair material to bond with.
Wipe away any residue: To eliminate any remaining dust or particles, wipe the area with a clean cloth or paper towel. This step guarantees a clean and smooth surface for a successful repair.
Applying the Cast Iron Epoxy
Carefully and evenly, mix the cast iron epoxy with the hardener, then apply it to the crack using a putty knife.
When it comes to repairing a crack in a cast iron wood stove, using cast iron epoxy can provide several benefits. Firstly, cast iron epoxy is specifically designed to withstand high temperatures, making it an ideal choice for repairing cracks in wood stoves. Additionally, it creates a strong bond that can withstand the constant heating and cooling cycles that occur in a wood stove.
Common mistakes to avoid when applying cast iron epoxy include not thoroughly mixing the epoxy and hardener, as this can result in a weak bond. It’s also important to ensure that the crack is clean and free of debris before applying the epoxy, as any contaminants can compromise the bond.
Curing and Finishing the Repair
After applying the cast iron epoxy, I’ll let it cure for 24 hours before finishing the repair with a high-temperature paint. Curing the epoxy properly is crucial to ensure a strong and durable repair. Here are the steps I’ll follow to properly cure the epoxy:
-
Time: Giving the epoxy enough time to cure is vital. The recommended curing time for the cast iron epoxy is 24 hours, but it’s always best to check the manufacturer’s instructions for specific guidelines.
-
Temperature: Maintaining a consistent temperature during the curing process is important. Keeping the repaired area at room temperature or slightly higher will help the epoxy cure evenly and thoroughly.
-
Ventilation: Adequate ventilation is necessary to allow any fumes from the curing epoxy to dissipate. Ensure that the area is well-ventilated to prevent any health hazards.
-
Alternative Repair Options: If the crack in the cast iron wood stove is severe or the epoxy repair doesn’t hold up well, there are alternative repair options to consider. Welding or brazing may be more suitable for extensive damage, but they require specialized skills and equipment.
Frequently Asked Questions
Can I Use Regular Epoxy or Adhesive to Fix a Crack in a Cast Iron Wood Stove?
I wouldn’t recommend using regular epoxy or adhesive to fix a crack in a cast iron wood stove. There are alternative repair methods available, but it’s best to consult a professional for the best results.
Is It Necessary to Remove the Stove From Its Installation Before Repairing a Crack?
Yes, a crack in a cast iron wood stove can usually be repaired without removing it from its installation. However, it is not recommended to use a temporary fix as it may compromise the stove’s safety and performance.
Can I Use High-Temperature Paint to Cover the Repaired Crack?
Yes, high-temperature paint can be used to cover a repaired crack in a cast iron wood stove. However, it is recommended to use a high-temperature sealant specifically designed for this purpose. There are alternative repair methods available as well.
How Long Should I Let the Epoxy Cure Before Using the Wood Stove Again?
I let the epoxy cure for at least 24 hours before using the wood stove again. It’s crucial to ensure proper heat resistance, allowing the epoxy to fully bond and harden for optimal safety and performance.
Are There Any Additional Steps I Should Take to Prevent Future Cracks in the Cast Iron Wood Stove?
To prevent future cracks in a cast iron wood stove, I recommend taking preventive measures and following maintenance tips. These include regular inspections, proper seasoning, avoiding rapid temperature changes, and using appropriate fuel.
Conclusion
In conclusion, by following these steps and utilizing the right tools and materials, you can effectively fix a crack in your cast iron wood stove.
This repair process is straightforward and can be completed with confidence, even if you aren’t an experienced DIYer.
With the application of cast iron epoxy and proper curing, your wood stove will regain its structural integrity and continue to provide efficient heating for years to come.


![[Invitation] Galaxy Unpacked July 2026: A New Shape Unfolds](https://bestsmallwoodstoves.com/wp-content/uploads/2026/07/invitation-galaxy-unpacked-july-2026-a-new-shape-unfolds-featured-260x140.jpg)