As I set out to build a wood stove hood, I’m navigating the intersection of creative expression and functional use. Through deliberate planning and adept craftsmanship, I aim to turn a simple assortment of materials and tools into a centerpiece in my kitchen that is both operational and visually appealing.
Join me as I guide you through each step of this process, from constructing the wood frame to installing the ventilation system, ultimately crafting a beautiful and efficient wood stove hood.
Key Takeaways
- The size of the wood stove hood should be determined based on the stove size and available kitchen space.
- Materials like stainless steel and tempered glass can be used for durability, easy maintenance, and a modern appearance.
- Proper ventilation is crucial for effective removal of smoke, odors, and grease particles.
- Regular cleaning and maintenance, including filter replacement, are necessary to ensure optimal performance and airflow.

SNDOAS 30 inch Range Hood Ducted/Ductless Convertible Stainless Steel Range Hood Under Cabinet with Rocker Button Control,Vent Hood with LED Light,2 Speed Exhaust Fan,Under Cabinet Hood,Silver
- Material: 430 stainless steel with brushed finish
- Lighting: Built-in energy-saving LED light
- Air Quality: 230 CFM airflow for smoke removal
As an affiliate, we earn on qualifying purchases.
As an affiliate, we earn on qualifying purchases.
Planning and Design
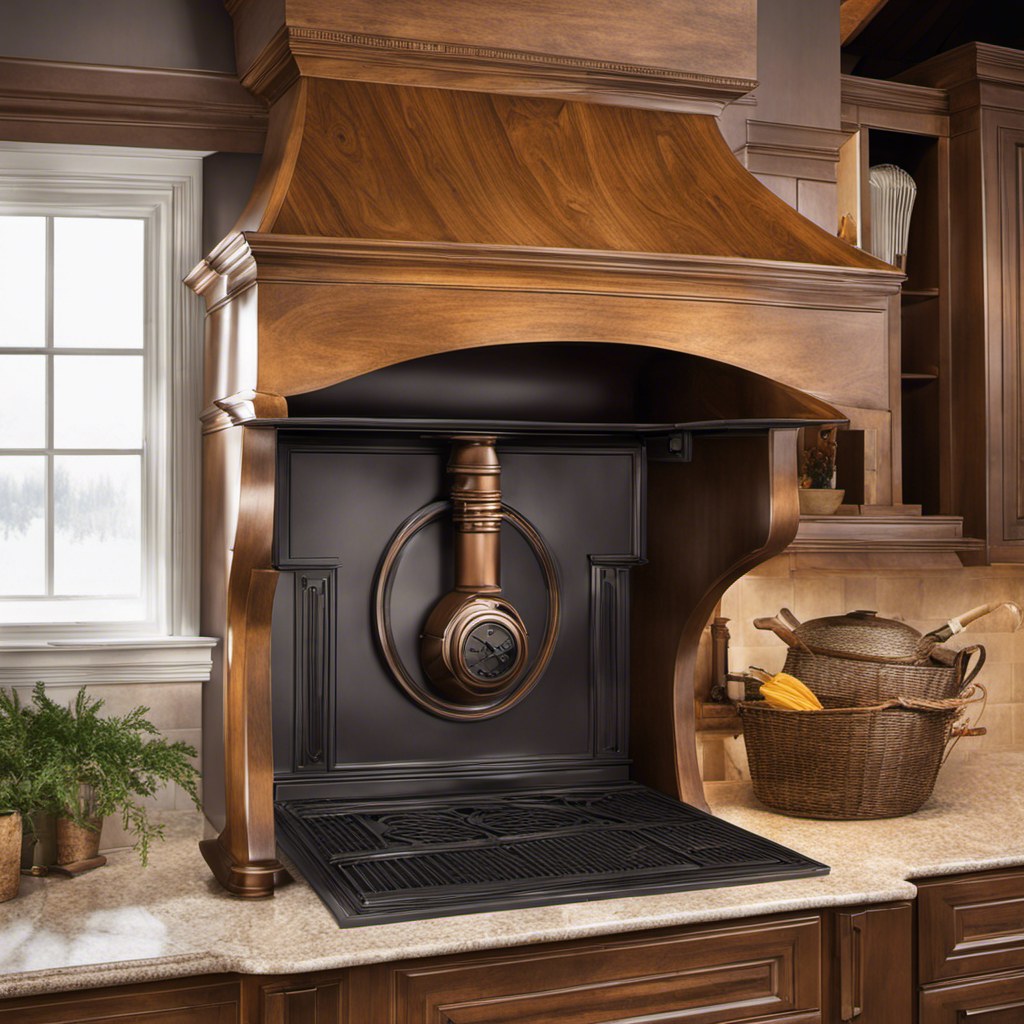
I’m currently working on the planning and design for my wood stove hood. Determining the appropriate size is crucial for the functionality and aesthetics of the hood. I need to consider the size of my stove and the space available in my kitchen.
The hood should be wide enough to effectively capture and exhaust the smoke and fumes generated during cooking. Additionally, I must choose the right materials for durability and style. Stainless steel is a popular choice due to its heat resistance and sleek appearance. It’s easy to clean and maintain, ensuring the longevity of the hood.
I’ll also incorporate a tempered glass panel for a modern touch and to allow for visibility while cooking.
Gathering Materials and Tools
I’ve gathered all the necessary materials and tools, so now I’m ready to start building my wood stove hood. To ensure a successful construction process, choosing the right materials and having the essential tools for the job is crucial. Here’s a list of what I’ve gathered:
- Sheet metal or stainless steel for the hood body – these materials are durable and heat-resistant, making them ideal for a wood stove hood.
- Nuts, bolts, and screws – these fasteners will secure the different components of the hood together.
- Venting ducts – these will connect the hood to the outside, allowing the smoke and fumes to be properly vented.
- Safety goggles, gloves, and a dust mask – these protective gear items are essential for ensuring my safety during the construction process.
Now that I’ve everything I need, it’s time to move on to constructing the wood frame.
Constructing the Wood Frame
To construct the wood frame, I’ll need to gather some 2x4s and a hammer. Before I start cutting and assembling, it’s crucial to measure the dimensions accurately. This ensures that the wood stove hood fits perfectly in the designated area. To help you visualize the process, here’s a table outlining the necessary steps:
| Step | Description |
|---|---|
| 1 | Measure the width, height, and depth of the area |
| 2 | Cut the 2x4s according to the dimensions obtained |
| 3 | Assemble the frame by connecting the pieces with screws |
| 4 | Use a level to ensure the frame is straight |
| 5 | Secure the frame in place using additional screws or brackets |
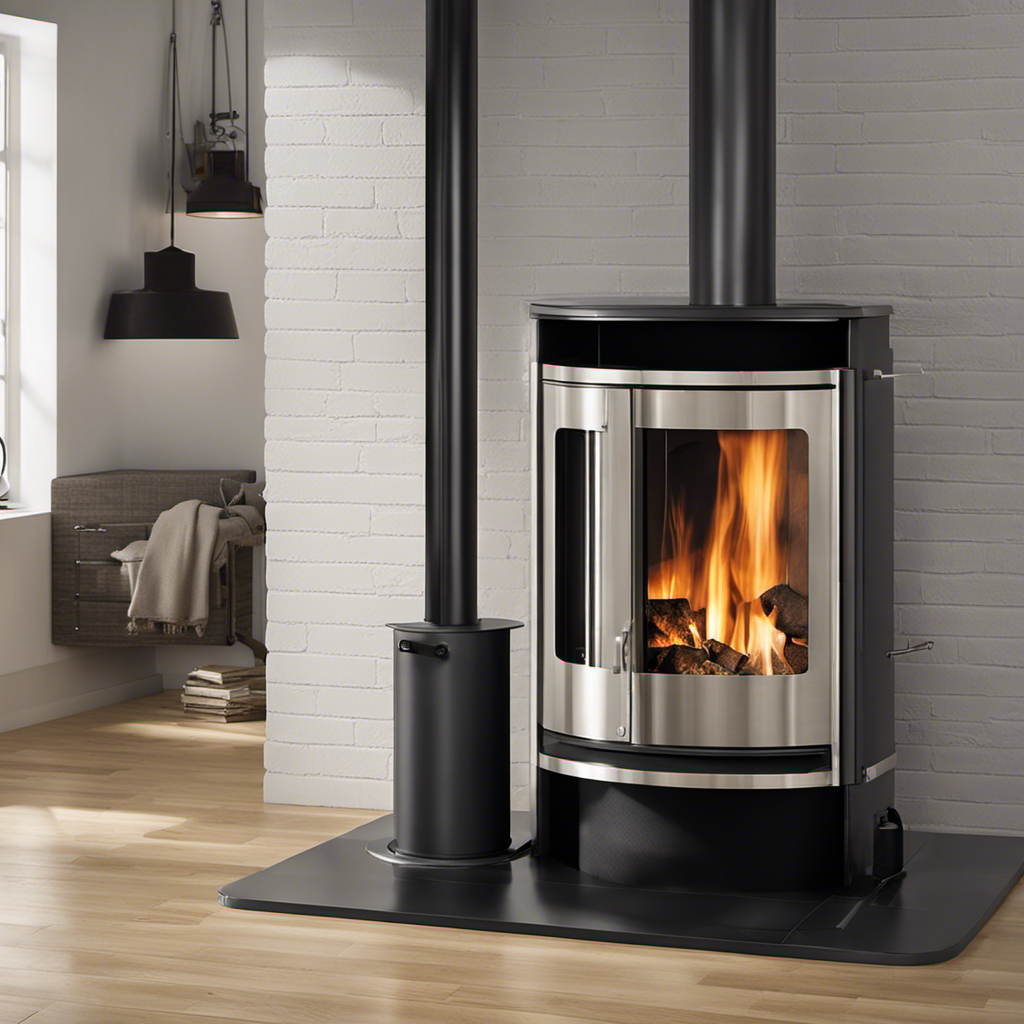
Installing the Ventilation System
I’ll begin by measuring the dimensions of the designated area and gathering the necessary tools for installing the ventilation system, so that I can ensure proper airflow in the kitchen.
Choosing the right ventilation system is crucial for maintaining a healthy and comfortable environment in the kitchen. It should be able to effectively remove smoke, odors, and grease particles from the air.
Proper maintenance of the ventilation system is essential to keep it functioning optimally. Regular cleaning and filter replacement are necessary to prevent clogs and ensure efficient airflow.
Adequate ventilation helps to prevent the buildup of moisture, which can lead to mold and mildew growth. It also helps to improve indoor air quality by removing pollutants and allergens from the kitchen.
Installing a ventilation system requires careful consideration of the kitchen layout and the specific needs of the space. Proper installation will ensure that the system operates effectively and efficiently, providing a comfortable and healthy environment for cooking and dining.
Finishing and Installing the Wood Stove Hood
I’m ready to start by sanding the wood stove hood and then carefully attaching it to the wall using screws for a secure installation. Once the wood stove hood is securely in place, it’s time to consider the decorating options and maintenance tips.
When it comes to decorating, you can choose to paint the wood stove hood to match the overall theme of your kitchen. A fresh coat of paint can give it a polished and finished look. Additionally, you can add decorative elements like trim or molding to enhance its appearance.
In terms of maintenance, it’s important to regularly clean the wood stove hood to keep it free from grease and debris. Use a mild detergent and a soft cloth to wipe down the surface. Remember to also check and clean the filters regularly to ensure optimal performance.
Conclusion
In conclusion, building a wood stove hood is a rewarding project that adds both functionality and aesthetic appeal to any kitchen.
By carefully planning and gathering the necessary materials, constructing the wood frame, installing the ventilation system, and finishing the hood, you can create a beautiful and efficient addition to your home.
So why wait? Take the plunge and let your creativity soar as you transform your kitchen into a warm and inviting space. Remember, with a little patience and craftsmanship, the possibilities are endless!