Connect with us

Wood Stove

Which Way On The Wood Stove Do I Turn The Damper To Slow It Down

Published

on

An image showcasing a wooden stove with a clear view of the damper handle

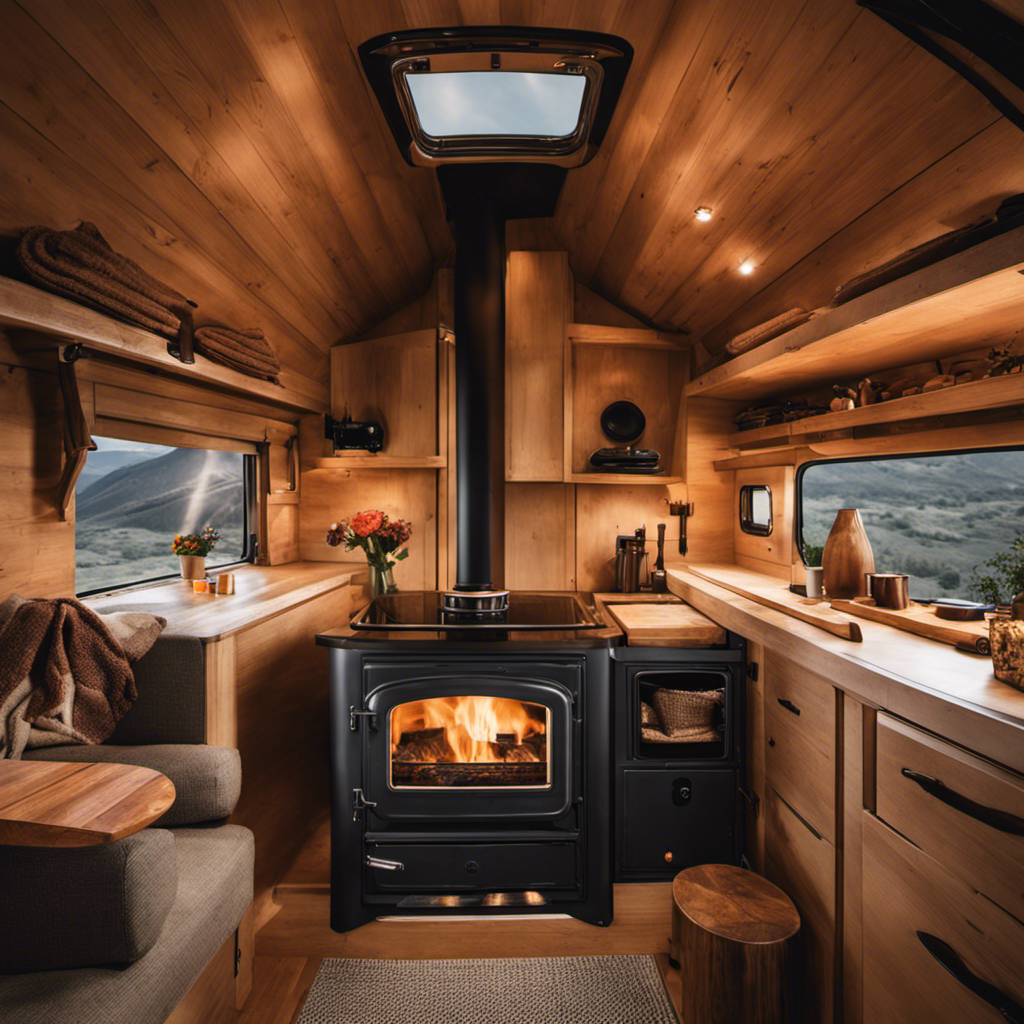
Nestled close to the warm embrace of the wood stove, basking in its warmth, I catch myself pondering, ‘How might I adjust the damper to reduce its intensity?’

In this article, I will guide you through the intricate workings of the wood stove damper. With my knowledge and expertise, I will explain the purpose of the damper, the direction to turn it, and the precise adjustments needed for slower burning.

Get ready to find the sweet spot and enjoy a perfectly controlled fire.

Key Takeaways

  • Turning the damper clockwise reduces airflow and slows down the burn rate.
  • Using smaller logs and closing the stove’s air vents can also decrease oxygen available to the fire and achieve slower burning.
  • Fine-tuning the damper position is important for efficient combustion, balancing air intake with fuel burned.
  • Humidity control is crucial for fuel efficiency and comfort, and adjusting the damper can help regulate oxygen supply for complete combustion and fuel efficiency.
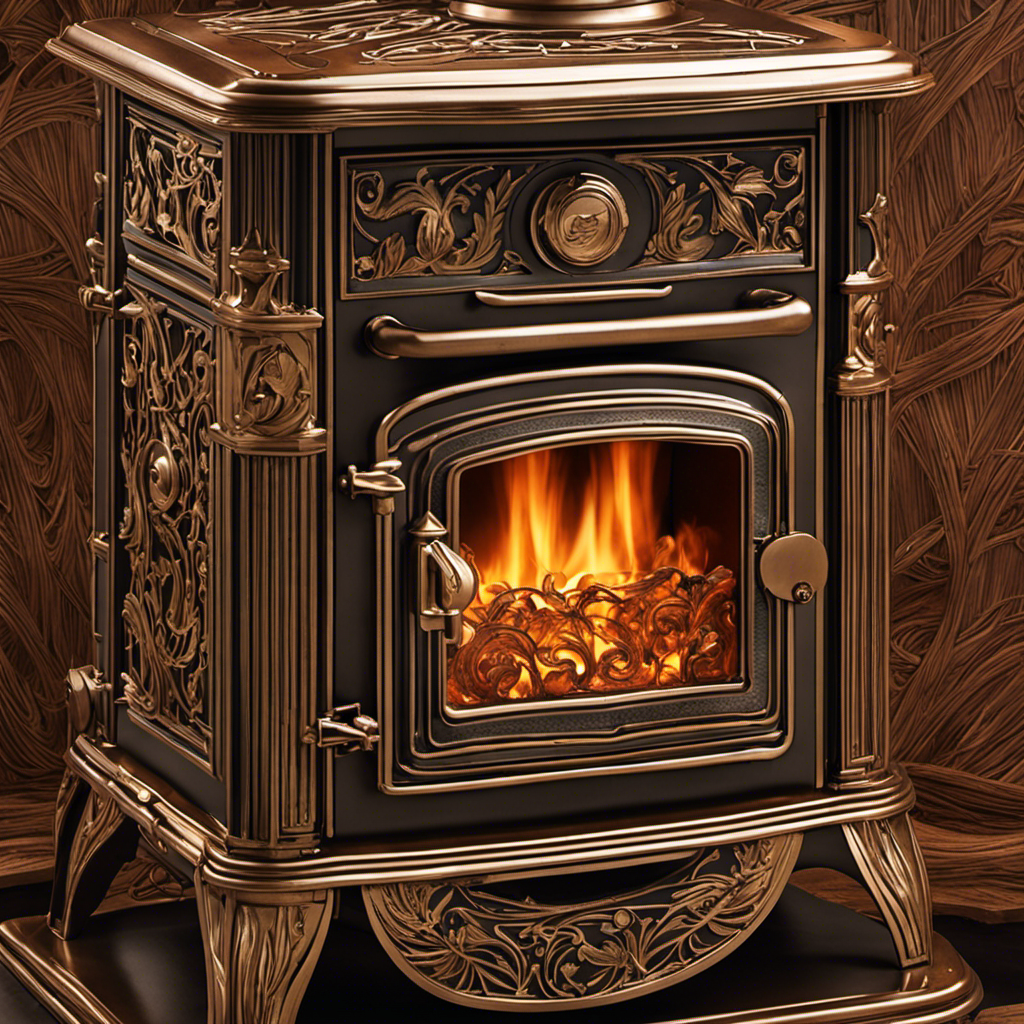
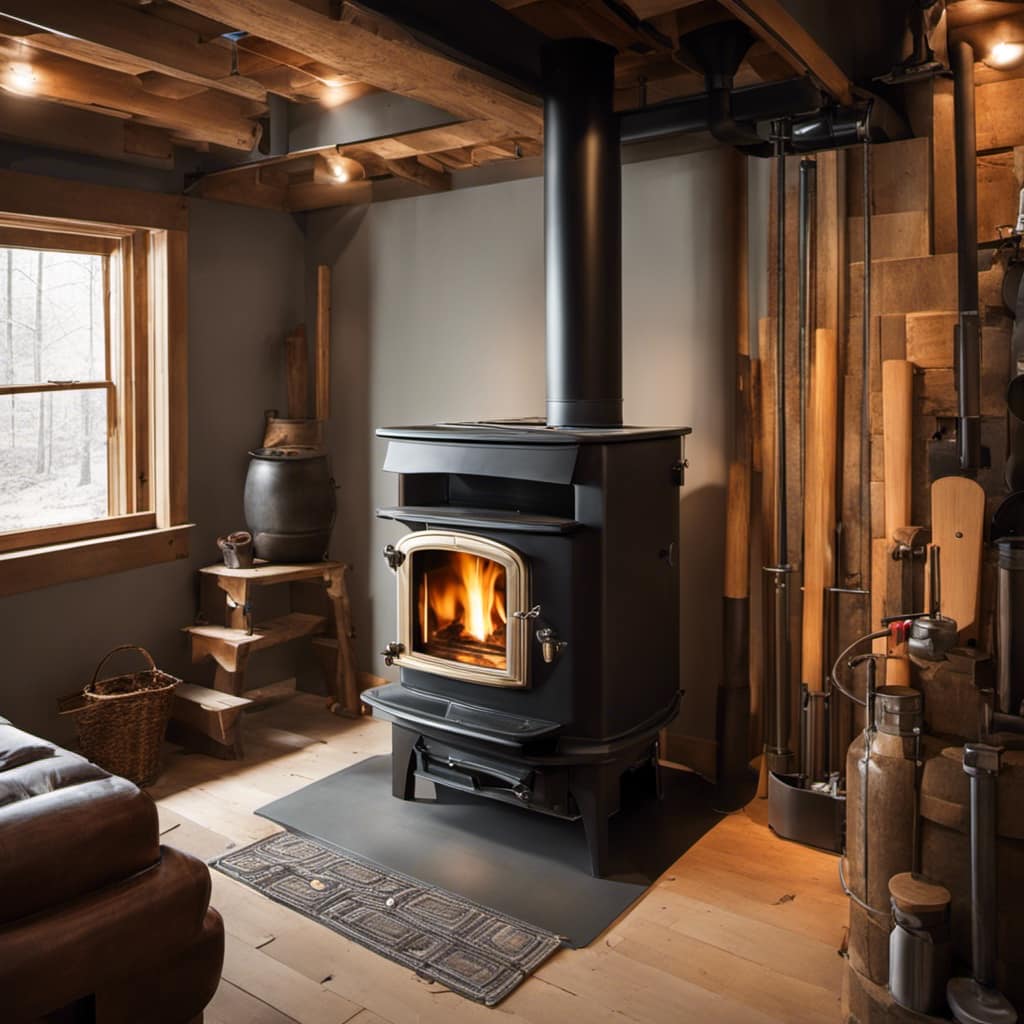
Understanding the Purpose of the Damper

I need to learn about why I should adjust the damper to control the airflow in my wood stove.

The damper plays a crucial role in controlling heat and improving efficiency.

By adjusting the damper, you can regulate the amount of air that enters the firebox, which directly affects the combustion process.

Advertisement

When the damper is fully open, more oxygen is supplied, resulting in a hotter fire.

Conversely, when the damper is partially closed, the airflow is restricted, leading to a slower burn and reduced heat output.

This control over the air intake allows you to maintain a consistent temperature and prevent excessive heat loss.

Adjusting the damper correctly ensures optimal burning conditions, maximizes fuel utilization, and ultimately improves the stove’s efficiency.

Clockwise or Counterclockwise: Which Way to Turn

Sometimes, it can be confusing to determine whether to turn the damper clockwise or counterclockwise, but understanding the direction will help control the airflow in your wood stove.

Advertisement

When it comes to wood burning, the direction in which you turn the damper can have a significant impact.

Turning the damper clockwise will close it, reducing the amount of oxygen entering the stove. This can result in slower burning and lower heat output.

On the other hand, turning the damper counterclockwise will open it, allowing more oxygen to enter the stove and increasing the burning rate.

It’s essential to adjust the damper accordingly to achieve the desired burning speed.

Adjusting the Damper for Slower Burning

To achieve slower burning and maximize the efficiency of your wood stove, here are some tips:

Advertisement
  • Adjust the damper: Turn the damper clockwise to decrease the airflow and slow down the burn rate. This restricts the amount of oxygen entering the stove and helps to prolong the fire.

  • Use smaller logs: Burning smaller logs can help maintain a slower burn rate. They require less oxygen and produce less heat, resulting in a longer-lasting fire.

  • Close the stove’s air vents: By closing the air vents, you reduce the amount of oxygen available to the fire, which in turn slows down the burn rate.

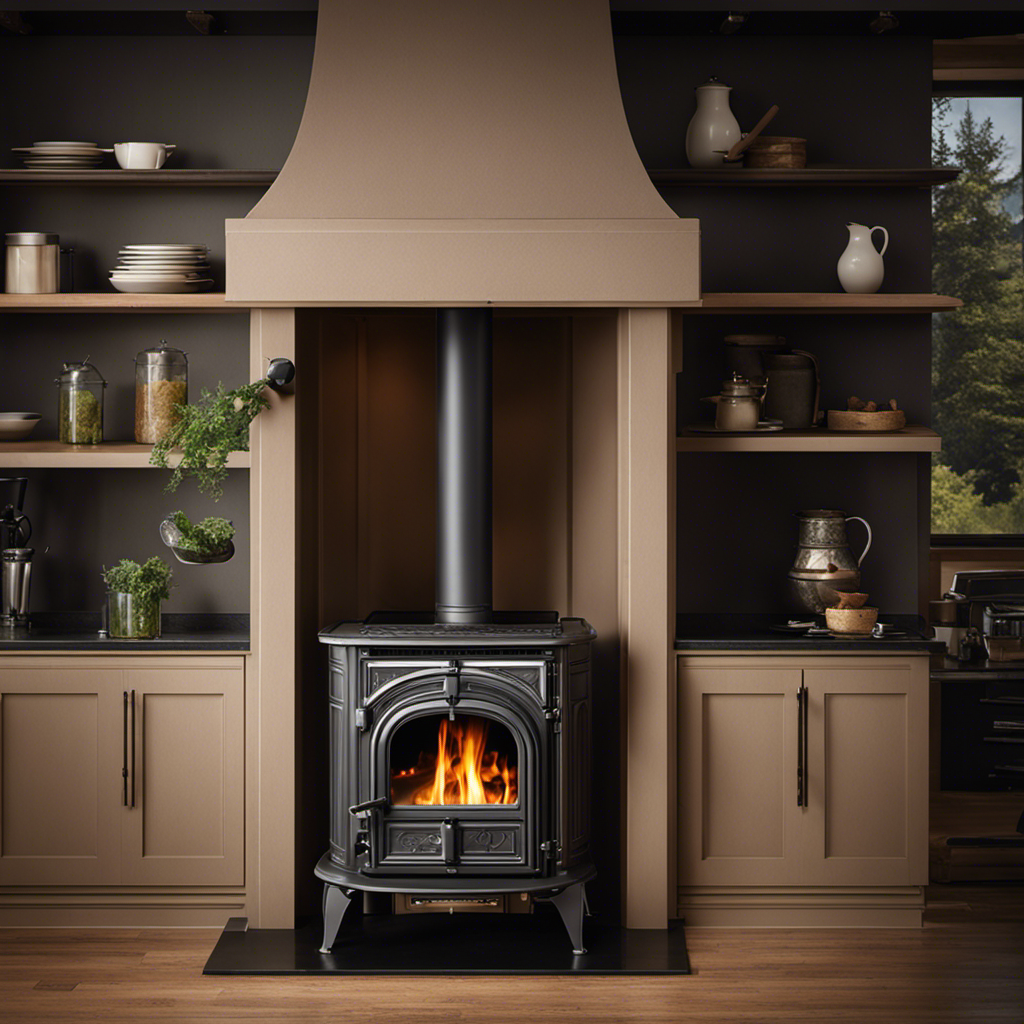
Finding the Sweet Spot: Fine-tuning the Damper

There are several ways to find the sweet spot for fine-tuning the damper, but one effective method is to gradually adjust it while monitoring the burn rate.

Finding the optimal position of the damper is crucial for achieving efficient combustion in a wood stove. The damper controls the amount of air flow, which directly affects the burn rate and overall efficiency of the stove.

To achieve efficient combustion, it’s important to balance the air intake with the fuel being burned. By gradually adjusting the damper, you can find the perfect balance where the fire burns steadily and efficiently.

Too much air can lead to a fast burn rate and wasted fuel, while too little air can result in a smoky and inefficient fire. Finding the sweet spot ensures that the wood stove operates at its highest efficiency, providing both warmth and cost savings.

Other Factors to Consider When Slowing Down the Wood Stove

I need to consider the humidity levels in my home when slowing down the wood stove. Proper air circulation is crucial for fuel efficiency and maintaining a comfortable environment. Here are a few factors to consider:

Advertisement
  • Humidity Control:

  • Low Humidity: If the air in your home is too dry, it can lead to discomfort and health issues. Slowing down the wood stove can help retain moisture in the air.

  • High Humidity: On the other hand, if the humidity levels are already high, reducing the stove’s intensity can prevent excessive moisture buildup.

  • Air Circulation:

  • Effective airflow is essential for efficient heating. Adjusting the damper can help regulate the supply of oxygen to the fire, ensuring complete combustion and maximizing fuel efficiency.

Conclusion

In conclusion, finding the right way to slow down your wood stove’s damper can be a crucial step in achieving optimal burning.

By understanding the purpose of the damper and adjusting it accordingly, you can fine-tune the burn rate to your desired level.

Remember to consider other factors, such as fuel type and draft, for a complete understanding of how to effectively slow down your wood stove.

So, take your time, experiment, and uncover the sweet spot that will enhance your wood stove experience.

Advertisement

Growing up surrounded by the vast beauty of nature, Sierra was always drawn to the call of the wild. While others sought the comfort of the familiar, she ventured out, embracing the unpredictable and finding stories in the heartbeat of nature.   At the epicenter of every remarkable venture lies a dynamic team—a fusion of diverse talents, visions, and passions. The essence of Best Small Wood Stoves is crafted and refined by such a trio: Sierra, Logan, and Terra. Their collective expertise has transformed the platform into a leading authority on small wood stoves, radiating warmth and knowledge in equal measure.

Continue Reading
Advertisement

Wood Stove

How To Install Wood Stove Double Wall Pipe

Published

on

By

An image showcasing a step-by-step process of installing a wood stove double wall pipe

Seeking an upgrade for your home’s heating setup? Considering the installation of a double-wall pipe for your wood stove? Your search ends here.

In this guide, I’ll walk you through the process step by step. We’ll cover everything from choosing the right pipe size to troubleshooting any issues that may arise.

With the right tools and a little know-how, you’ll have your wood stove up and running in no time. Let’s get started!

Key Takeaways

  • Consider clearance distance and follow guidelines and codes for accurate measurement
  • Use the correct tools and materials and properly seal all connections during installation
  • Clean and inspect the wood stove before installation to ensure optimal condition
  • Insulate and securely connect the double wall pipe sections, checking for gaps or loose fittings

Choosing the Right Double Wall Pipe Size

Which double wall pipe size should I choose for my wood stove installation?

When selecting the correct diameter for your double wall pipe, it’s crucial to consider the clearance distance. The clearance distance refers to the amount of space required between the pipe and any combustible material. This distance ensures proper ventilation and minimizes the risk of fire hazards.

To measure the clearance distance, you’ll need to follow the manufacturer’s guidelines and local building codes. It’s essential to accurately measure the distance to determine the appropriate pipe size. Additionally, take into account the size of your wood stove and the overall layout of your installation.

Advertisement

Gathering the Necessary Tools and Materials

I’ll start gathering all the necessary tools and materials for the wood stove installation. It’s important to have everything on hand before beginning the installation process. Here are some tips for maintaining a wood stove double wall pipe and common mistakes to avoid during installation.

First, ensure you have the correct size double wall pipe for your wood stove. Measure the diameter of the stove’s flue collar to determine the appropriate size.

Next, gather a tape measure, level, screwdriver, drill, chimney brush, and high-temperature sealant. These tools will assist in properly installing and maintaining the double wall pipe.

When installing the double wall pipe, ensure that it’s securely fastened and that all connections are properly sealed. Common mistakes to avoid include using too much sealant, which can create a blockage, and not properly aligning the sections of pipe, which can cause leaks.

Regular maintenance of the double wall pipe is crucial for its longevity. Clean the pipe regularly using a chimney brush to remove any creosote buildup. Additionally, inspect the pipe for any signs of damage or deterioration.

Advertisement

Preparing the Wood Stove for Installation

After gathering all the necessary tools and materials, I’ve prepared the wood stove for installation by cleaning it thoroughly and ensuring it’s in proper working condition. Cleaning the wood stove is an essential step to remove any buildup of soot, creosote, or debris that could potentially cause a fire hazard.

I carefully inspected the stove, checking for any signs of damage or wear, and repaired or replaced any components as needed. Additionally, I measured the clearance requirements, ensuring that the stove is positioned at a safe distance from combustible materials. This step is crucial to prevent any risk of fire or damage to surrounding structures.

With the wood stove now clean and in optimal condition, it’s time to move on to connecting the double wall pipe sections.

Connecting the Double Wall Pipe Sections

I’m currently connecting the double wall pipe sections, ensuring a secure and seamless fit for optimal functionality. As I work on this crucial step in the wood stove installation process, I want to highlight the importance of proper insulation for double wall pipe sections and the significance of proper sealing in double wall pipe connections. Here are some key points to consider:

  • Insulation: Proper insulation is essential to prevent heat loss and maintain the efficiency of the wood stove. It helps to minimize condensation and ensures that the pipe maintains a consistent temperature.

  • Sealing: A tight seal between the double wall pipe sections is crucial to prevent any leakage of exhaust gases. It ensures that the fumes are directed safely out of the house and prevents any potential health hazards.

  • Gaskets: Using high-quality gaskets is essential for achieving a proper seal. These gaskets help to create a tight connection between the sections and prevent any air or gas leakage.

  • Clamps: Securely fastening the double wall pipe sections using clamps adds an extra layer of stability and ensures a tight fit, minimizing any potential movement or disconnection.

  • Inspection: After connecting the double wall pipe sections, it’s important to thoroughly inspect the joints and connections to ensure there are no gaps or loose fittings.

By paying attention to these details, we can ensure that the double wall pipe installation is properly sealed and insulated, promoting safety and optimal performance.

Advertisement

Transitioning into the next section, let’s now discuss the crucial step of testing and troubleshooting the double wall pipe installation.

Testing and Troubleshooting the Double Wall Pipe Installation

As I test and troubleshoot the double wall pipe installation, I’ll carefully inspect for any leaks or issues that may arise. Testing for leaks is crucial to ensure that the wood stove operates safely and efficiently.

To do this, I’ll conduct a thorough visual examination of the pipe joints, looking for any signs of condensation or smoke leakage. Additionally, I’ll perform a smoke test by lighting a small amount of smoke-producing material near the pipe joints and observing for any signs of smoke escaping. This will help me identify and address any potential areas of concern.

Furthermore, during the troubleshooting process, I’ll also ensure proper ventilation by checking that the pipe is correctly connected to the chimney and that there are no obstructions or blockages in the flue.

Frequently Asked Questions

How Often Should I Clean My Double Wall Pipe?

I clean my double wall pipe at least once a year to maintain optimal performance. Regular cleaning is essential to prevent creosote buildup and ensure proper airflow. Here are some maintenance tips to keep your pipe in top condition.

Advertisement

Can I Use Single Wall Pipe Instead of Double Wall Pipe?

Using single wall pipe instead of double wall pipe is like using a paper plate instead of a sturdy ceramic one. It may be cheaper, but it lacks the durability and safety features needed for proper wood stove installation.

Is It Necessary to Use a Chimney Cap With a Double Wall Pipe?

It is necessary to use a chimney cap with a double wall pipe. The pros of double wall pipe include increased safety and efficiency. However, there are cons such as higher cost and more complex installation.

Can I Install a Wood Stove Double Wall Pipe in an Existing Fireplace?

Installing a wood stove double wall pipe in an existing fireplace offers numerous benefits. The double wall design enhances safety and efficiency, reducing the risk of fires and increasing heat output.

What Is the Average Lifespan of a Double Wall Pipe?

The average lifespan of a double wall pipe depends on various factors such as usage, maintenance schedule, and quality of materials. Regular inspections and proper cleaning can help extend its lifespan.

Conclusion

Well, congratulations! You have successfully installed your wood stove double wall pipe. Now, you can sit back, relax, and enjoy the cozy warmth it brings to your home.

Advertisement

Just remember to always follow the manufacturer’s instructions and guidelines to ensure safe and efficient operation. So go ahead, bask in the glory of your handy work and revel in the satisfaction of a job well done.

Happy heating!

Continue Reading

Wood Stove

How To Tell If The Catalytic Converter Is Bad On My Wood Stove

Published

on

By

An image showcasing a close-up of a wood stove's catalytic converter

As someone passionate about wood stoves, I have learned to appreciate the essential function the catalytic converter serves in maintaining peak performance.

But how do you know if it’s gone bad?

Well, fear not! In this article, I’ll guide you through the telltale signs of a malfunctioning catalytic converter on your wood stove.

From strange odors to reduced heat output, we’ll explore the common issues that indicate a faulty converter.

So, let’s dive in and diagnose the problem together!

Advertisement

Key Takeaways

  • A malfunctioning catalytic converter on a wood stove can lead to the release of harmful emissions and decreased efficiency.
  • Signs of a bad catalytic converter include black smoke, clogged or damaged converter, and build-up of creosote or debris.
  • Regular cleaning and maintenance, as well as using dry and seasoned wood, can help minimize issues with the catalytic converter.
  • Steps to diagnose a faulty catalytic converter include checking for decreased efficiency, inspecting for physical damage, and comparing the temperature to the recommended range.

Understanding the Function of a Catalytic Converter on a Wood Stove

I’ve been researching and I’ve learned that a catalytic converter plays a crucial role in reducing emissions from my wood stove.

The maintenance of a wood stove is essential to ensure its optimal performance and minimize environmental impact.

By using a catalytic converter, the benefits are significant. This device is designed to convert harmful gases and pollutants into less harmful substances through a chemical reaction. It acts as a catalyst, speeding up the conversion process and reducing the release of harmful emissions into the atmosphere.

The catalytic converter also helps to improve the efficiency of the wood stove by promoting a more complete combustion process. This not only reduces pollution but also increases fuel efficiency, saving both money and resources.

Regular maintenance, including cleaning and inspecting the catalytic converter, is crucial to ensure its proper functioning and prolong its lifespan.

Signs of a Malfunctioning Catalytic Converter on Your Wood Stove

One of the signs that indicate a malfunctioning catalytic converter on my wood stove is the presence of black smoke coming out of the chimney. This issue can occur due to a few potential causes.

Advertisement

The first one is a clogged or damaged catalytic converter, which can lead to incomplete combustion of wood and the production of excessive smoke. Another cause could be a build-up of creosote or other debris in the converter, obstructing its function.

Regular maintenance is crucial to prevent these problems. To maintain the catalytic converter on my wood stove, I make sure to clean it regularly, removing any accumulated creosote or debris. Additionally, proper burning techniques, such as using dry and seasoned wood, can help minimize the chances of a malfunctioning catalytic converter.

Common Issues That Indicate a Bad Catalytic Converter on Your Wood Stove

When the catalytic converter on my wood stove fails, it can result in decreased efficiency and increased emissions, which are common issues indicating a bad converter. Troubleshooting and maintaining the catalytic converter is crucial to ensure optimal performance and minimize environmental impact. Here are some troubleshooting tips and maintenance techniques that can help identify and address potential issues:

Troubleshooting Tips Maintenance Techniques
1. Check for unusual odor or smoke 1. Regularly clean the catalytic converter to remove accumulated soot and debris
2. Monitor the temperature 2. Inspect the converter for any signs of physical damage or corrosion
3. Examine the color of the flames 3. Replace the converter if it is beyond repair or fails to meet emissions standards
4. Test the efficiency using an emissions analyzer 4. Follow manufacturer’s guidelines for proper installation and usage

Steps to Diagnose a Faulty Catalytic Converter on Your Wood Stove

I recently learned the steps to diagnose a faulty catalytic converter on my wood stove, and it’s important to share this knowledge with others.

When it comes to diagnosing wood stove problems, specifically troubleshooting wood stove issues related to the catalytic converter, there are a few key steps to follow.

Advertisement

First, check for signs of a malfunctioning catalytic converter, such as decreased efficiency or a lack of heat production.

Next, inspect the converter for physical damage, such as cracks or leaks.

Additionally, you can perform a visual inspection of the catalyst material itself, looking for discoloration or deterioration.

Finally, if necessary, you can use a diagnostic tool to measure the converter’s temperature and compare it to the recommended range.

How to Address and Replace a Bad Catalytic Converter on Your Wood Stove

There are several steps you can take to address and replace a bad catalytic converter on your wood stove.

Advertisement

When it comes to troubleshooting a faulty catalytic converter, the first thing you should do is check for any signs of damage or wear. Look for cracks, holes, or discoloration on the converter itself. If you notice any of these issues, it’s likely time for a replacement.

To replace the catalytic converter, start by disconnecting it from the stove and removing any mounting hardware. Take note of the make and model of your wood stove to ensure you purchase the correct replacement.

Once you have the new converter, simply install it in the reverse order of removal. Remember to follow all safety precautions and consult your stove’s manual for specific maintenance techniques.

Frequently Asked Questions

Can a Malfunctioning Catalytic Converter on a Wood Stove Cause a Fire Hazard?

A malfunctioning catalytic converter on a wood stove can indeed pose a fire hazard. It’s important to regularly inspect and test the converter for any signs of damage or malfunction to ensure safe operation.

Do All Wood Stoves Have a Catalytic Converter?

Do wood stoves with catalytic converters burn cleaner? Yes, they do. They help reduce emissions by up to 90%. The benefits of having a catalytic converter on a wood stove include improved air quality and increased energy efficiency.

Advertisement

Can a Clogged Catalytic Converter Affect the Efficiency of My Wood Stove?

A clogged catalytic converter can significantly impact the efficiency of a wood stove. It restricts air flow, preventing proper combustion and reducing heat output. Regular maintenance and cleaning are crucial to ensure optimal performance.

Is It Possible to Clean a Bad Catalytic Converter on a Wood Stove Instead of Replacing It?

Cleaning a bad catalytic converter on a wood stove is not recommended. It’s crucial to replace it when it’s faulty as alternative solutions are limited. Proper maintenance and regular inspection are key to ensuring optimal performance.

What Are the Potential Health Risks Associated With a Faulty Catalytic Converter on a Wood Stove?

Regular maintenance and inspection of catalytic converters on wood stoves is crucial to prevent potential long term health risks associated with faulty converters. It’s important to be aware of the potential effects of exposure.

Conclusion

In conclusion, identifying a malfunctioning catalytic converter on your wood stove is crucial for maintaining its efficiency and safety. By understanding its function and recognizing common issues, you can diagnose and address any problems promptly.

Remember, addressing a faulty catalytic converter promptly will ensure optimal performance and reduce the risk of harmful emissions. So, don’t hesitate to take the necessary steps to replace a bad catalytic converter and keep your wood stove running smoothly.

Advertisement
Continue Reading

Wood Stove

How Hot Does The Outer Surface Of A Wood Stove Get

Published

on

By

An image that captures the intense heat radiating from the scorching outer surface of a wood stove

Similar to the intense heat of a midsummer’s day, the exterior of a wood stove can achieve extremely high heat levels. Throughout this article, I’ll explore the captivating science responsible for the heat production in wood stoves, and examine the elements that affect the temperature of their external surface.

By understanding heat transfer and implementing safety measures, we can ensure a safe and enjoyable wood stove experience. Join me as we uncover the secrets to maintaining a comfortable and hazard-free wood stove temperature.

Key Takeaways

  • Proximity of combustible materials impacts the temperature of the outer surface of a wood stove.
  • The material composition of the stove influences the surface temperature.
  • Insulation effectiveness plays a significant role in controlling the outer surface temperature.
  • Air circulation around the stove can affect the temperature of the outer surface.

The Science Behind Wood Stove Heat

I can explain the science behind wood stove heat and how it affects the outer surface temperature. Wood stove efficiency plays a crucial role in determining the heat distribution and, consequently, the temperature of the stove’s outer surface.

When the wood burns inside the stove, it releases energy in the form of heat. This heat is transferred to the surrounding air through a process called convection. The hot air rises and creates a flow that distributes the heat throughout the room. However, not all the heat is transferred through convection. Some heat is also radiated directly from the stove’s surface.

The efficiency of a wood stove determines how effectively it converts wood into heat and how much of that heat is distributed through convection or radiated from the surface. Understanding these mechanisms is essential in understanding why the outer surface of a wood stove gets hot.

This understanding leads us to explore the factors that influence the outer surface temperature of a wood stove.

Advertisement

Factors Affecting Outer Surface Temperature

One factor that significantly impacts the outer surface temperature of a wood stove is the proximity of combustible materials. If these materials are located too close to the stove, it can increase the risk of a fire and also cause the outer surface temperature to rise.

However, there are other factors that can affect the temperature as well. Here are four key considerations:

  1. Material composition: The type of material used for the outer surface of the wood stove can influence how hot it gets. Some materials may have better heat resistance and insulation properties, while others may be more prone to heating up quickly.

  2. Insulation effectiveness: The insulation surrounding the wood stove can play a crucial role in controlling the outer surface temperature. Good insulation can help prevent heat transfer and keep the outer surface cooler, while poor insulation may allow more heat to escape and increase the surface temperature.

  3. Air circulation: The airflow around the wood stove can impact its outer surface temperature. Proper ventilation and air circulation can help dissipate heat and prevent the surface from getting too hot.

  4. Stove design: The design of the wood stove itself can affect the outer surface temperature. Stoves with effective heat convection systems or heat shields can help distribute heat more evenly and reduce the temperature of the outer surface.

Considering these factors can help ensure the safe and efficient use of wood stoves while minimizing the risk of overheating and fire hazards.

Understanding Heat Transfer in Wood Stoves

Understanding how heat is transferred within wood stoves is crucial for optimizing their efficiency and preventing overheating. Thermal conductivity in wood stoves refers to the ability of the material to conduct heat. Different components of the stove, such as the firebox, flue, and outer surface, have varying thermal conductivity values. This affects how quickly heat is transferred from the fire to the surrounding environment.

Insulation techniques in wood stoves play a vital role in minimizing heat loss and improving overall performance. Insulating materials, such as firebricks or refractory materials, are commonly used to line the firebox and reduce heat transfer to the stove’s outer surface. Additionally, air gaps or double-wall construction can provide insulation and prevent excessive heating of the stove’s exterior.

Advertisement

Safety Measures for Hot Wood Stove Surfaces

To ensure the safety of everyone in the household, it’s important to implement proper safety measures, such as using heat-resistant gloves and keeping a safe distance from the hot wood stove surface. Preventing burns should be a top priority when dealing with a wood stove.

Here are some safety measures you can take:

  1. Use heat-resistant gloves: When handling the wood stove or any hot objects, make sure to wear gloves specifically designed to withstand high temperatures. This will protect your hands from burns.

  2. Keep a safe distance: Maintain a safe distance from the hot wood stove surface to avoid accidental contact. A general guideline is to keep at least three feet of clearance around the stove.

  3. Install a heat shield: Installing a heat shield behind the wood stove can help reduce the temperature of the surrounding walls, minimizing the risk of burns.

  4. Use heat-resistant materials: Opt for heat-resistant materials when decorating or furnishing the area around the wood stove. This includes using fireproof rugs, curtains, and furniture to prevent accidental fires and burns.

Tips for Maintaining a Safe Wood Stove Temperature

I need to adjust the air intake and keep an eye on the thermometer to make sure my wood stove maintains a safe temperature. Maintaining temperature control is crucial to prevent overheating, which can be dangerous and lead to fires. To ensure the safe operation of a wood stove, it is important to follow certain guidelines. First, regularly clean the stove and chimney to remove any built-up soot or debris that could affect airflow. Secondly, use seasoned firewood that has been properly dried to reduce the risk of excessive heat. Additionally, using a stove thermometer can help monitor the temperature and make necessary adjustments to the air intake. Finally, always follow the manufacturer’s instructions and guidelines for safe operation. By implementing these tips, you can enjoy the warmth of your wood stove while ensuring the safety of your home.

Tips for Maintaining a Safe Wood Stove Temperature
1. Adjust the air intake for proper airflow
2. Regularly clean the stove and chimney
3. Use seasoned firewood
4. Monitor temperature with a stove thermometer
5. Follow manufacturer’s instructions and guidelines

Frequently Asked Questions

What Are the Different Materials Used to Construct the Outer Surface of Wood Stoves?

Different types of insulation can be used to construct the outer surface of wood stoves. Some common materials include steel, cast iron, and ceramic. Each has its pros and cons in terms of durability, heat retention, and appearance.

Can the Outer Surface Temperature of a Wood Stove Be Affected by the Type of Fuel Being Burned?

The outer surface temperature of a wood stove can be affected by the type of fuel being burned. Factors like moisture content and stove design play a role in determining how hot it gets.

Advertisement

Is It Possible to Reduce the Outer Surface Temperature of a Wood Stove Without Affecting Its Heating Efficiency?

Reducing the outer surface temperature of a wood stove can be achieved without impacting its heating efficiency. Proper insulation and heat shields can help to dissipate heat, ensuring safe operation and preventing damage to surrounding materials.

How Long Does It Take for the Outer Surface of a Wood Stove to Cool Down After It Has Been Turned Off?

After turning off a wood stove, the outer surface can take a while to cool down completely. Factors such as the type of fuel burned and the stove’s insulation can affect the cooling time.

Are There Any Regulations or Standards in Place Regarding the Maximum Allowable Temperature for the Outer Surface of a Wood Stove?

There are regulations on the maximum temperature for wood stoves, which aim to ensure safety. The outer surface temperature of a wood stove can be influenced by factors such as design and insulation.

Conclusion

In conclusion, the outer surface of a wood stove can reach extremely high temperatures due to the heat generated inside. It’s important to understand the factors that affect the surface temperature and practice safety measures to prevent accidents.

By maintaining a safe wood stove temperature and following proper maintenance tips, we can ensure a secure and enjoyable experience while keeping warm.

Advertisement

Remember, a well-maintained wood stove can provide comfort and coziness, but it’s crucial to handle it with caution to avoid any potential hazards.

Continue Reading

Trending