I am here to help you in installing a ventilation system through a wall for your wood stove, ensuring you can relax and enjoy its comforting heat without any concerns.
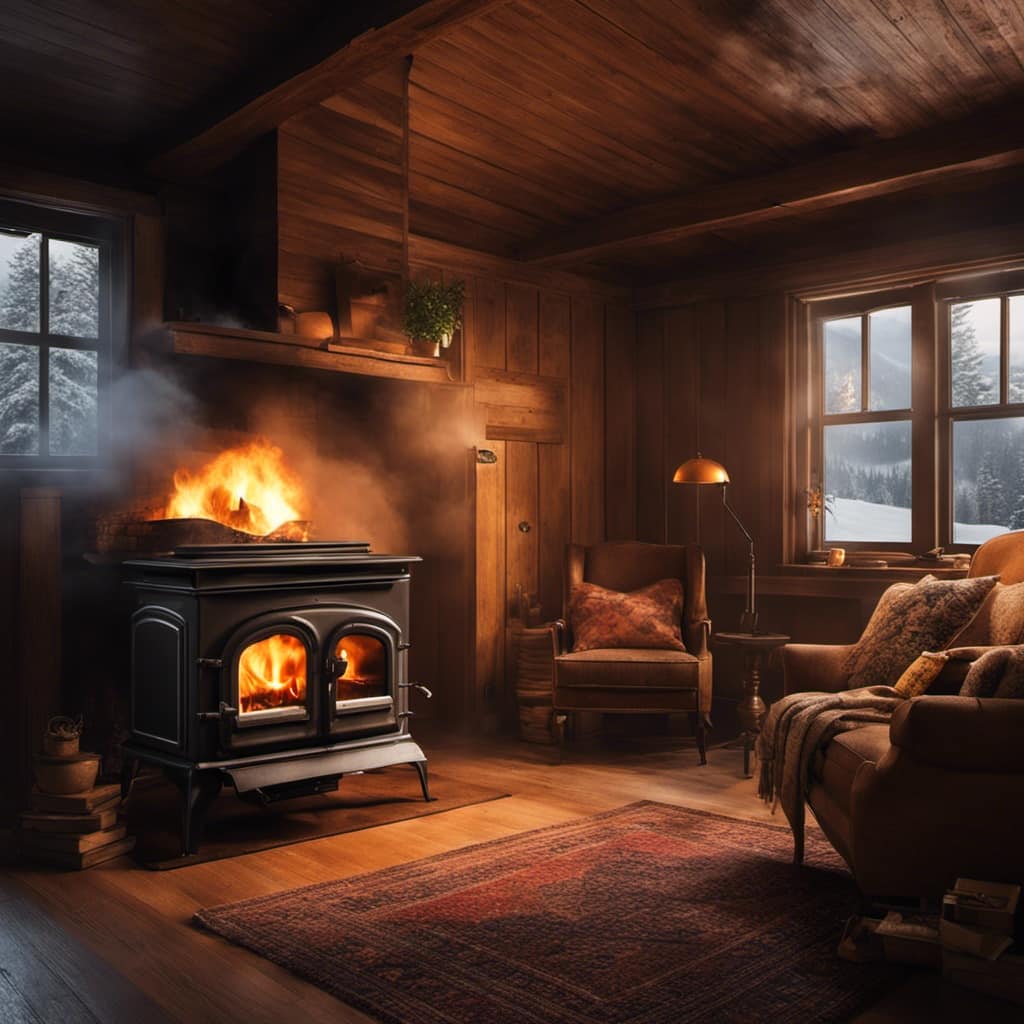
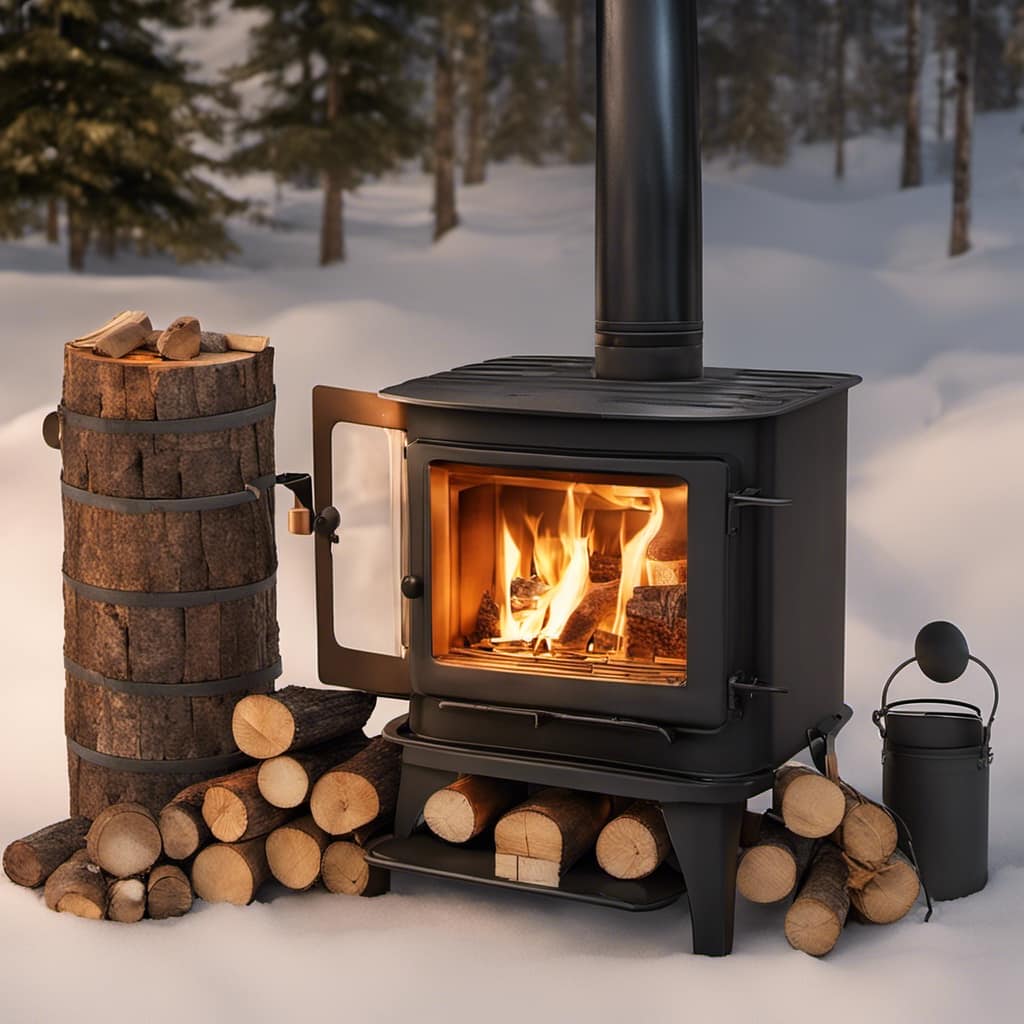
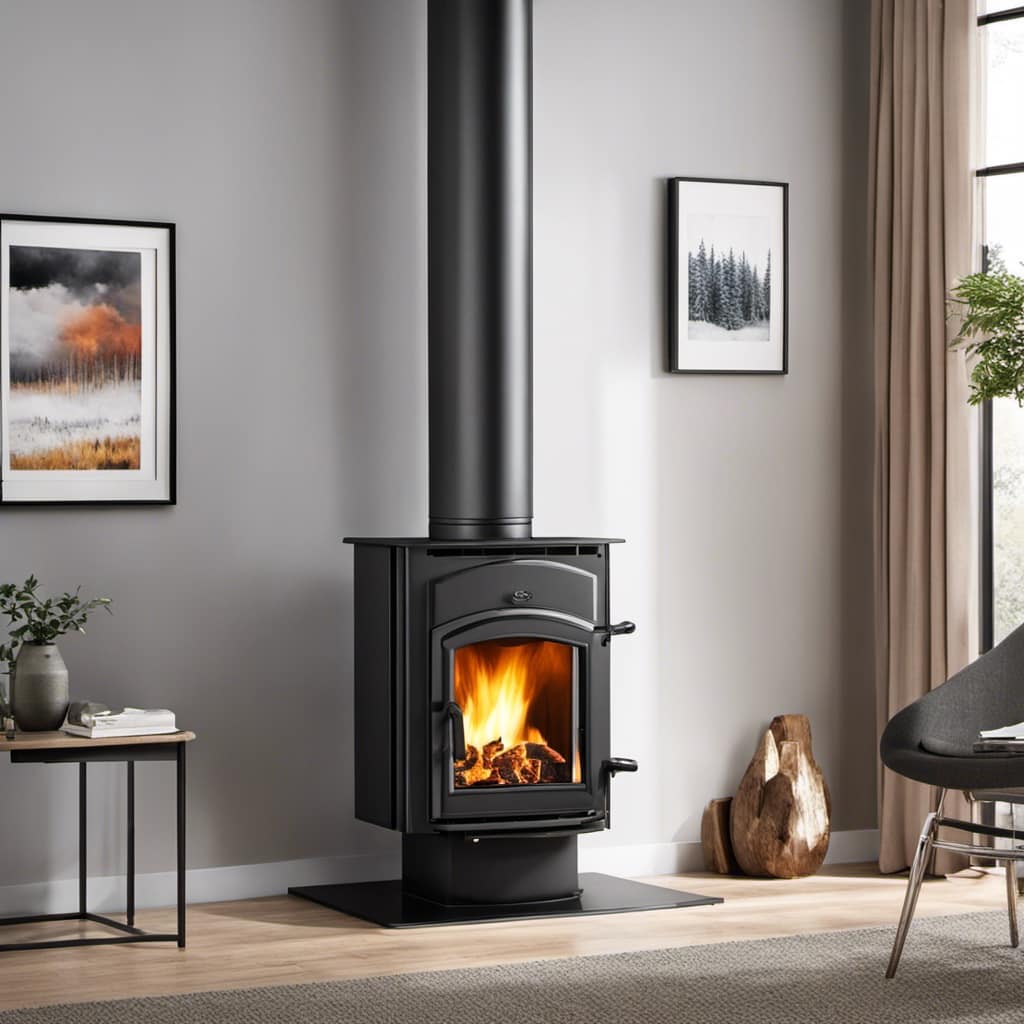
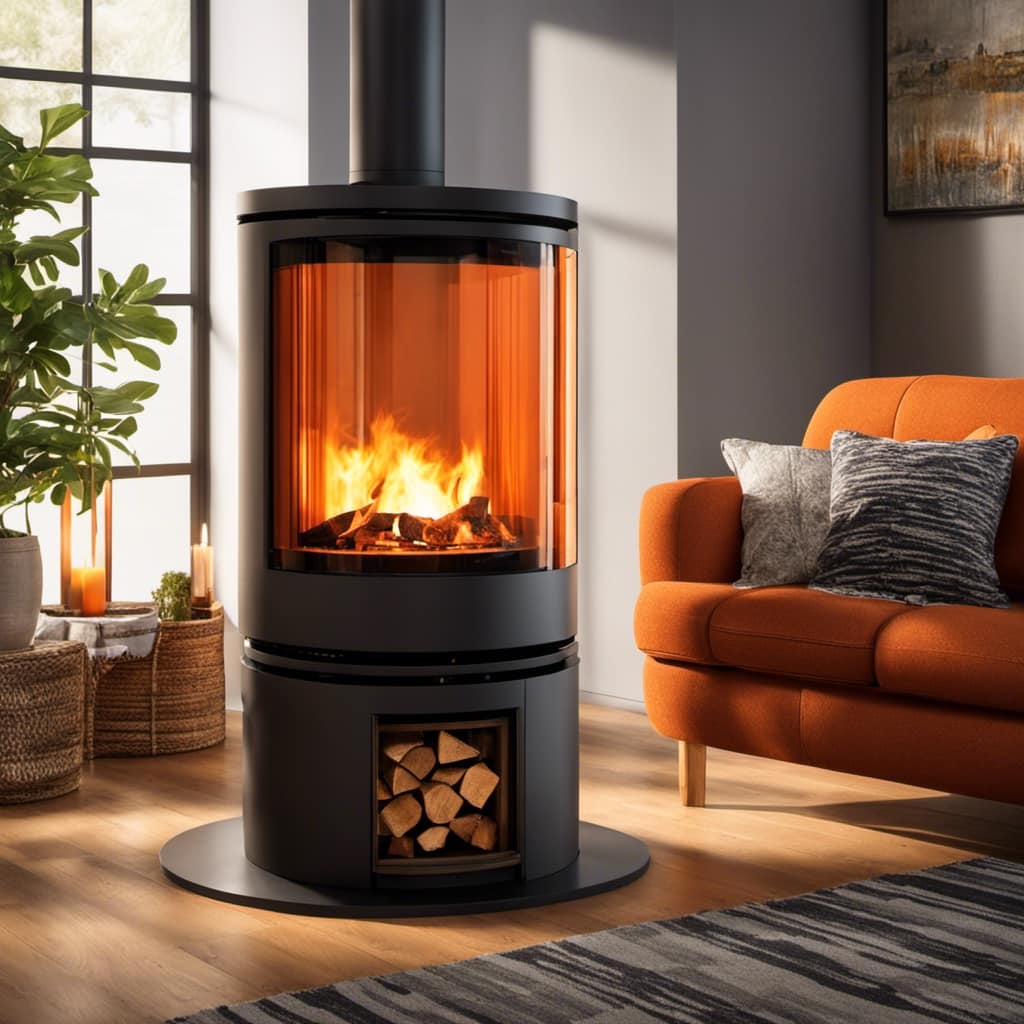
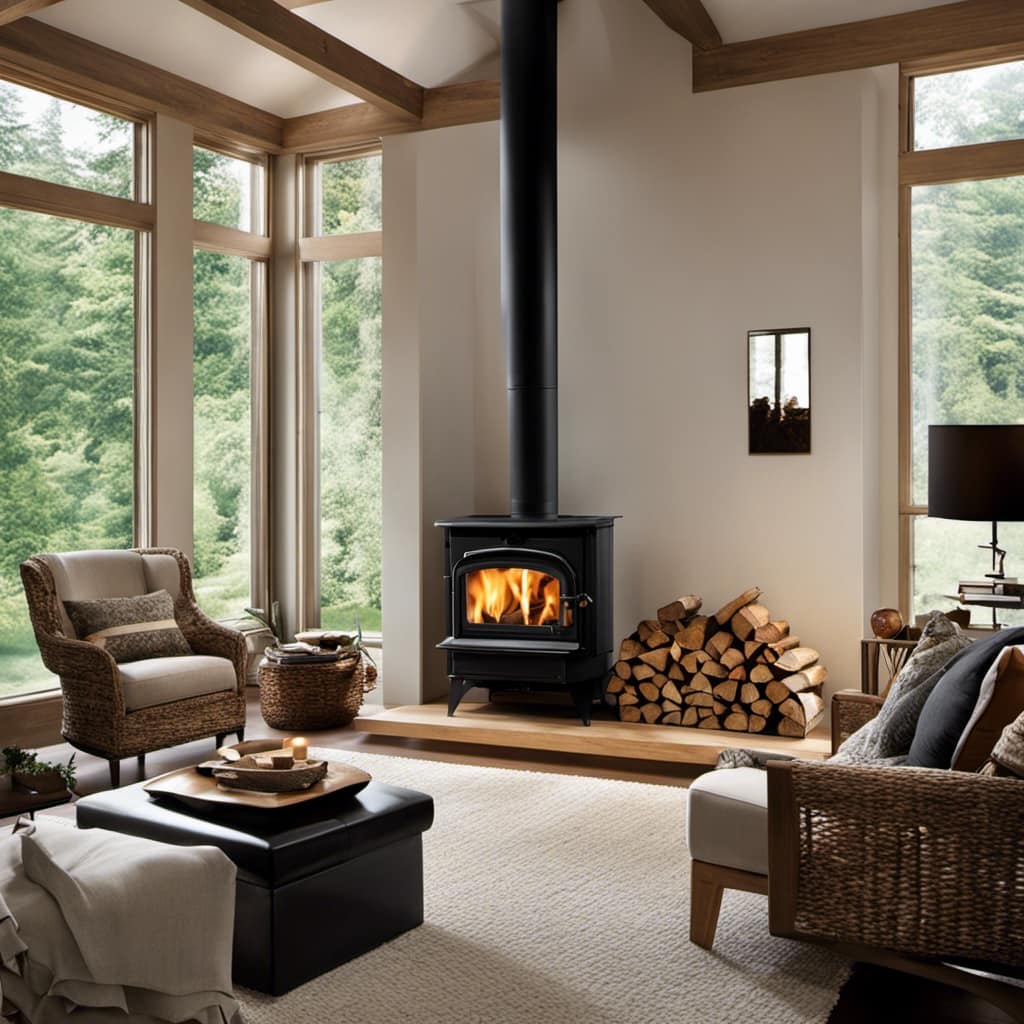
Picture this: you’re sitting by the fire, feeling the gentle heat and hearing the crackling sounds. Now, imagine that same warmth spreading throughout your home, thanks to a well-vented wood stove.
In this article, I’ll guide you step-by-step on selecting the perfect location, installing the vent pipe, and troubleshooting any issues that may arise.
Let’s get started!
Key Takeaways
- The vent for a wood stove should be positioned at least 12 inches away from combustible materials and away from windows and doors.
- Regular inspection and cleaning of the vent pipe is essential, with professional cleaning recommended at least once a year.
- There are different types of venting systems available, including direct vent, natural draft, power vent, pellet vent, and masonry chimney.
- When installing the vent pipe, it is important to follow safety precautions, use appropriate tools, and apply high-temperature sealant for a secure and tight seal.
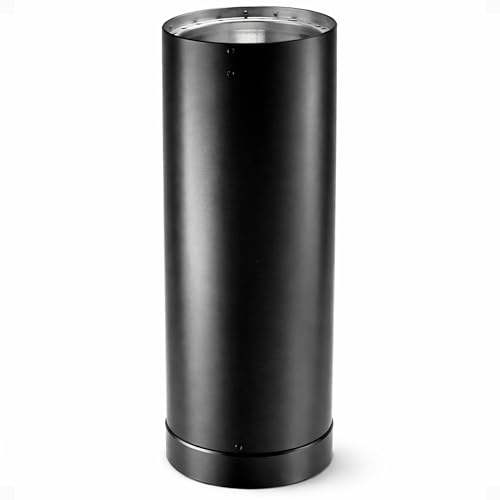
DuraVent DVL 6DVL-24 Easy to Install 6 Inch Galvanized and Stainless Steel Double Wall Wood Burning Stove Pipe to Vent Smoke or Exhaust, Black
- Double-wall pipe for safety: Keeps home smoke-free and secure
- High-performance DVL design: Maintains high flue gas temperatures
- Versatile venting options: Vents smoke from various fuels
As an affiliate, we earn on qualifying purchases.
As an affiliate, we earn on qualifying purchases.
Selecting the Ideal Location for Your Wood Stove Vent
I’ve found the perfect spot for my wood stove vent on the wall. When it comes to venting a wood stove, safety is of utmost importance. Properly venting your wood stove is crucial to ensure the safe operation of your stove and to prevent any potential hazards.
When selecting the location for your wood stove vent, there are a few key factors to consider. First and foremost, you want to make sure that the vent is at least 12 inches away from any combustible materials, such as walls or furniture. This will help prevent any accidental fires. Additionally, it’s important to choose a location that allows for proper airflow and ventilation. The vent should be positioned where it can easily expel the smoke and fumes outside, away from any windows or doors.
In terms of maintenance, regular inspection and cleaning of the vent pipe is essential. Over time, creosote and debris can accumulate inside the pipe, which can increase the risk of a chimney fire. It’s recommended to have your vent pipe professionally cleaned at least once a year to ensure optimal performance and safety.
Understanding the Different Types of Venting Systems
I’m learning about the various types of systems used for venting. Venting options are crucial when it comes to wood stoves, as they ensure the safe and efficient removal of combustion byproducts. Understanding the different types of venting systems is essential for meeting ventilation requirements and ensuring the proper operation of your wood stove.
Here are five types of venting systems commonly used:
Direct Vent: This system uses a sealed pipe for both exhaust and intake air, providing a controlled and efficient ventilation process.
Natural Draft: This system relies on the natural buoyancy of hot gases to draw them out of the stove and up the chimney.
Power Vent: A power vent system utilizes a fan to assist in the removal of exhaust gases, making it ideal for situations where a vertical chimney isn’t feasible.
Pellet Vent: Specifically designed for pellet stoves, this system uses a smaller diameter vent pipe and requires less clearance to combustible materials.
Masonry Chimney: A traditional and reliable option, a masonry chimney provides excellent draft and durability.
Gathering the Necessary Tools and Materials
To gather the necessary tools and materials, I need to make a list of items required for the installation. When installing a wood stove vent through a wall, it’s crucial to select the proper insulation and follow all necessary permits and regulations.
The first item on my list is a wall thimble, which is used to create a safe passage for the vent pipe through the wall. I also need a vent pipe, preferably made of stainless steel for its durability and heat resistance. Additionally, I’ll require a chimney cap to prevent debris and animals from entering the vent.

It’s important to check local building codes to ensure compliance with regulations regarding venting systems. Adequate insulation is essential to prevent heat loss and maintain energy efficiency. Therefore, I’ll include insulation materials such as foil-faced fiberglass insulation or mineral wool on my list.
Lastly, I’ll need high-temperature sealant to secure the connections and ensure a tight seal. By gathering these tools and materials, I can proceed with confidence in my wood stove vent installation.
Preparing the Wall for the Vent Installation
To prepare the wall for the vent installation, I first locate the ideal spot for the vent placement, ensuring it’s away from any obstacles or obstructions. Once I’ve determined the location, I gather the necessary tools and materials, including a measuring tape, level, pencil, stud finder, reciprocating saw, and vent kit.
This ensures that I’m fully prepared to begin the process of installing the vent in the wall.
Wall Vent Location Placement
I’ll find the best location on the wall for vent placement. When it comes to vent pipe installation for wood stoves, choosing the right location is crucial for optimal performance and safety. Here are a few things to consider:
Clearance: Ensure there’s enough clearance between the vent pipe and any combustible materials, such as walls or furniture.
Exterior Wall: Choose an exterior wall for venting as it allows for easier installation and reduces the risk of heat transfer to surrounding areas.
Height: Position the vent pipe high enough to prevent snow or debris from blocking it, but low enough to maintain proper draft.
Distance from Windows and Doors: Place the vent pipe away from windows and doors to avoid smoke entering your home when they’re open.
Accessibility: Select a location that allows for easy access for maintenance and cleaning.
Required Tools and Materials
When installing a vent for my wood stove, I gathered the necessary tools and materials.
For the tools selection, I made sure to have a drill, a reciprocating saw, a level, a measuring tape, and a screwdriver. These tools were essential for properly installing the vent through the wall.
As for the materials needed, I purchased a vent kit that included a vent pipe, a wall thimble, a storm collar, and a termination cap. Additionally, I made sure to have high-temperature sealant and screws to securely attach the vent components.
It’s crucial to use materials that are specifically designed for wood stove venting to ensure safety and efficiency.
Step-by-Step Guide to Installing the Vent Pipe
Now that the wall is prepared for the vent installation, it’s time to move on to the step-by-step guide for installing the vent pipe.
This guide will provide you with the necessary instructions and precautions to ensure a successful installation.
Follow along as I walk you through the process of determining the wall vent location, properly installing the vent pipe, and taking necessary safety precautions along the way.
Wall Vent Location
I think the best location for the wall vent would be near the top of the wall to ensure proper ventilation. This placement allows the rising hot air to escape more efficiently and prevents any potential obstruction from furniture or other objects.
When selecting the vent location, consider the following factors:
- Distance from combustible materials: Keep the vent at least 18 inches away from any combustible materials to prevent fire hazards.
- Exterior accessibility: Choose a location that’s easily accessible from the outside for maintenance and cleaning purposes.
- Interior aesthetics: Consider the visual appeal of the vent location and how it integrates with the overall design of the room.
- Structural integrity: Ensure that the chosen location doesn’t compromise the structural integrity of the wall.
- Clearance from windows and doors: Keep the vent away from windows and doors to avoid drafts and smoke entering the room.
Once the vent location is determined, the wall vent installation process can begin.
 [Transition sentence: Now that the vent location is chosen, let’s move on to the proper pipe installation.]
Proper Pipe Installation
To ensure proper pipe installation, I will measure and cut the pipes to the appropriate length before connecting them to the wall vent. Pipe sizing is crucial to ensure efficient and safe operation of a wood stove. The size of the pipes will depend on the stove’s output and the length of the vent run. It is important to consult the stove manufacturer’s guidelines or a professional to determine the correct pipe diameter. Additionally, vent clearance must be considered to avoid any potential fire hazards. The table below provides a visual representation of the recommended pipe sizing and vent clearance for different stove outputs:
| Stove Output | Pipe Diameter | Vent Clearance |
|---|---|---|
| 0-30,000 BTU | 6 inches | 6 inches |
| 30,000-60,000 BTU | 7 inches | 9 inches |
| 60,000-90,000 BTU | 8 inches | 12 inches |
| 90,000-150,000 BTU | 10 inches | 18 inches |
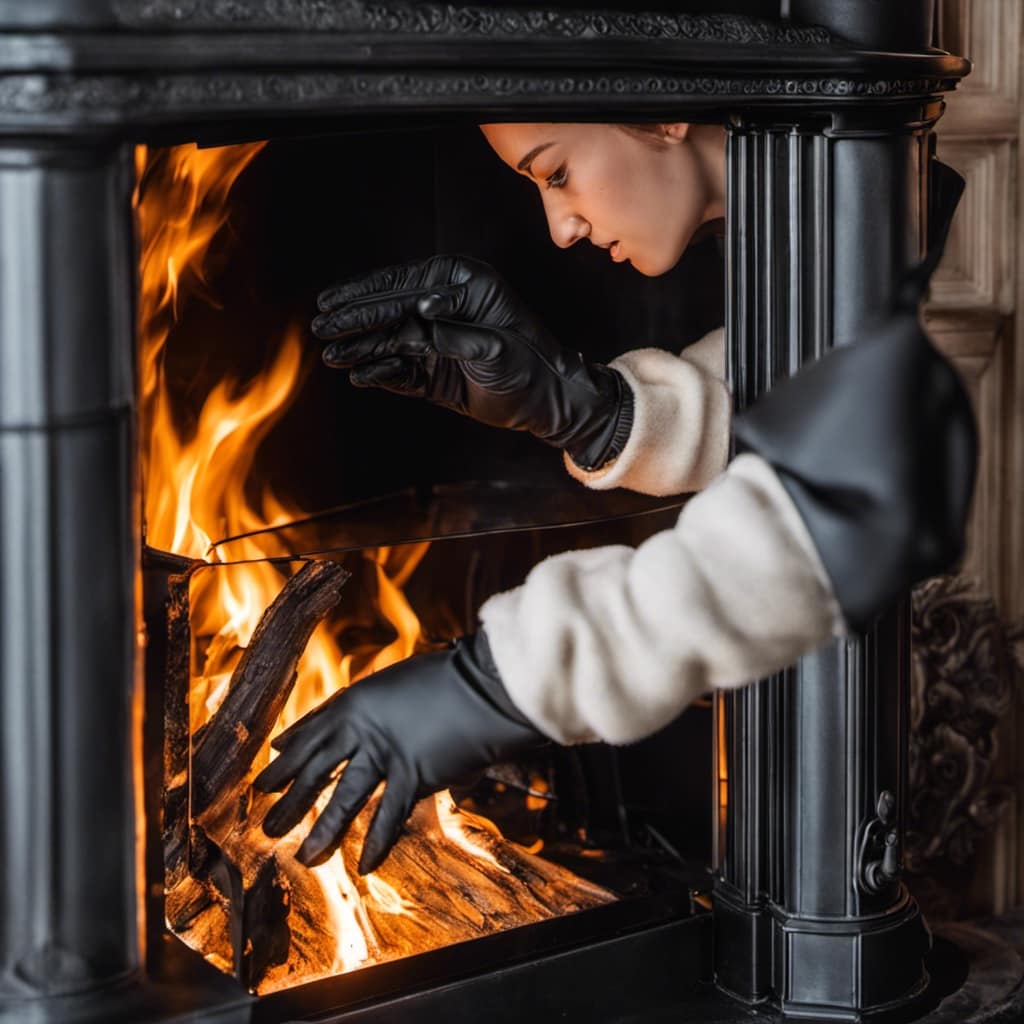
Safety Precautions
For safety precautions, it’s important to regularly inspect and clean the pipes to prevent any potential blockages or buildup of creosote. This ensures proper ventilation and reduces the risk of potential hazards. Here are some important steps to follow:
- Regularly inspect the pipes for any signs of blockages or creosote buildup.
- Clean the pipes using a chimney brush or a professional chimney sweep.
- Ensure that the pipes are properly installed and connected to the wood stove and the exterior wall.
- Check for any leaks or gaps in the pipes that can cause smoke or fumes to escape into the house.
- Install a carbon monoxide detector near the wood stove for early detection of any harmful gases.
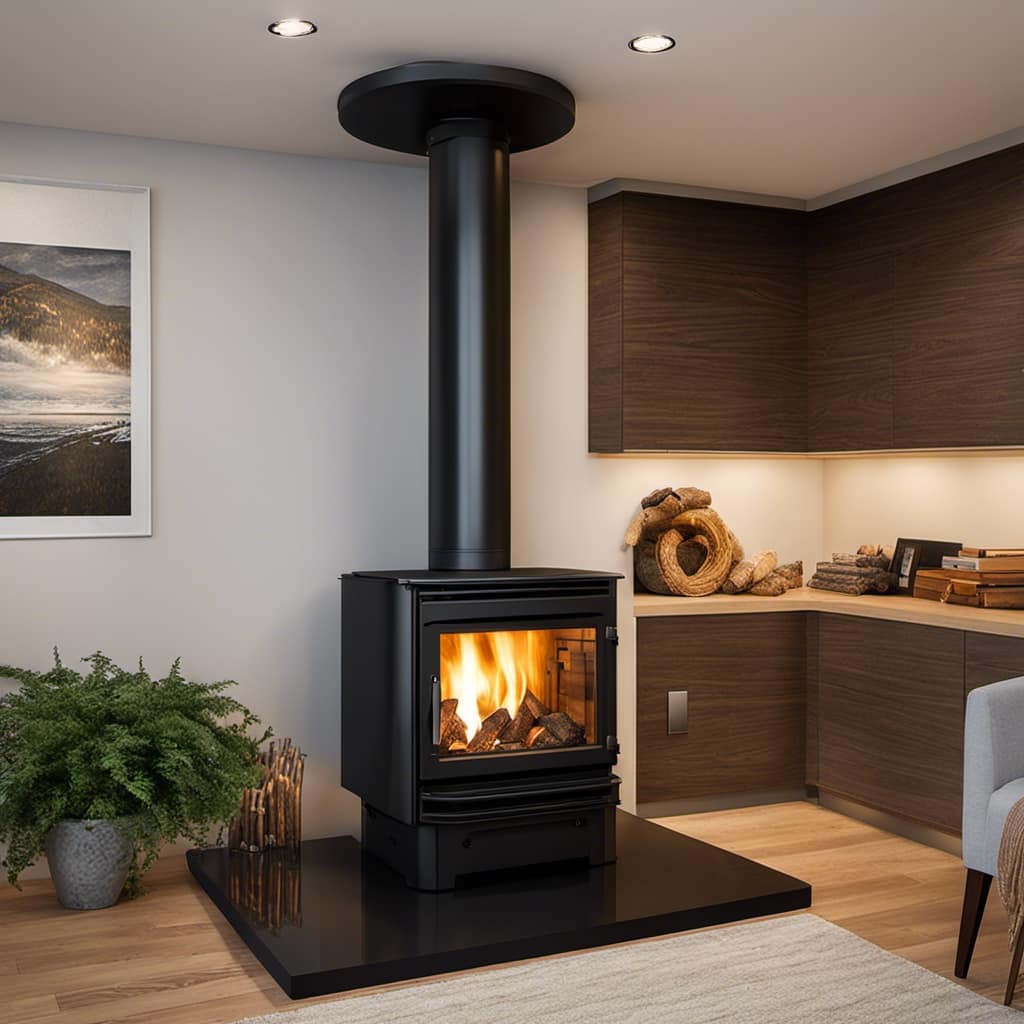
Securing and Insulating the Vent for Optimal Performance
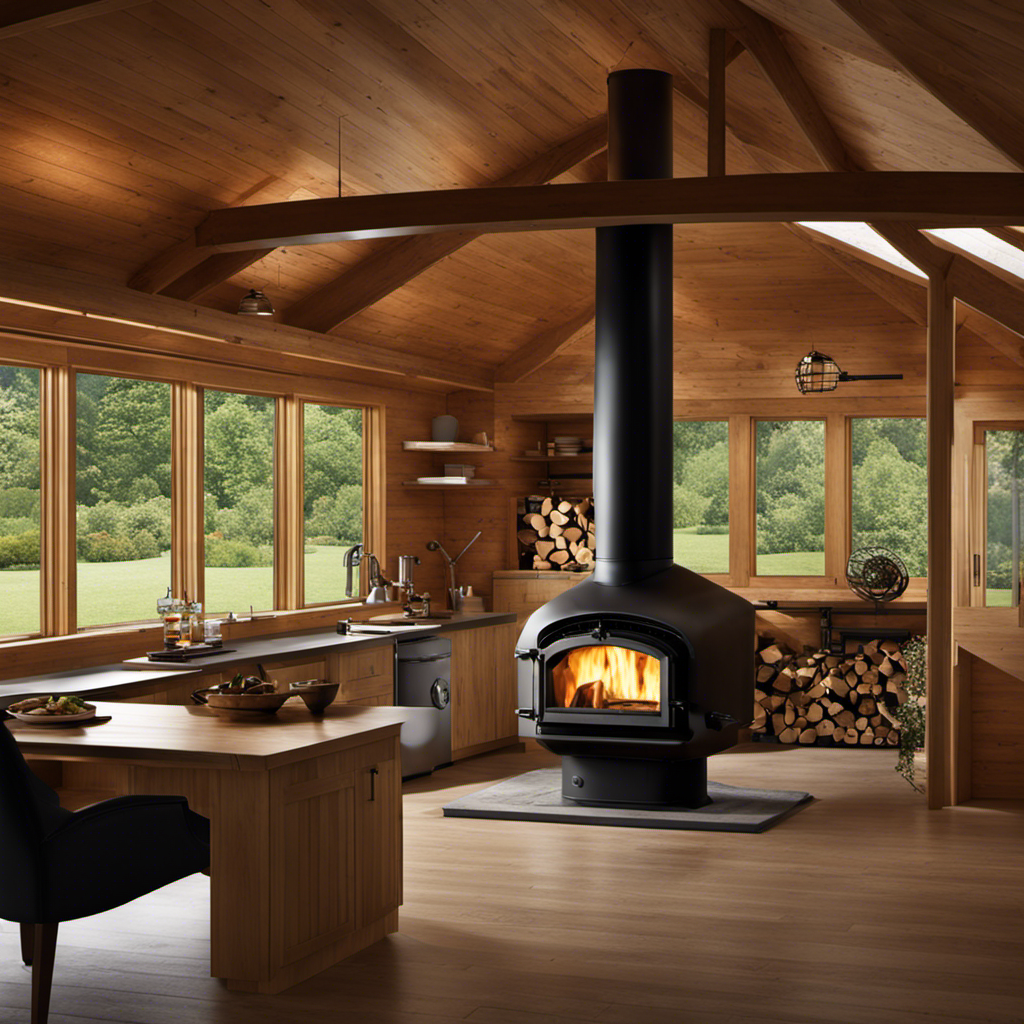
Securing and insulating the vent will ensure optimal performance for my wood stove. When it comes to venting a wood stove through a wall, there are certain insulating techniques and venting regulations that need to be followed.
Insulating the vent pipe is crucial to prevent heat loss and maintain efficiency. One effective insulating technique is using a double-wall pipe with an air gap between the inner and outer walls. This creates a barrier that minimizes heat transfer to the surrounding walls. Additionally, wrapping the vent pipe with insulation material, such as fiberglass or mineral wool, can further enhance insulation.
In terms of venting regulations, it’s essential to comply with local building codes and manufacturer’s guidelines. These regulations may include specifications on the distance between the vent and combustible materials, the height of the vent termination above the roofline, and the proper installation of support brackets. Following these regulations ensures safe and efficient operation of the wood stove.
Troubleshooting Common Venting Issues
When troubleshooting common venting issues, I focus on identifying potential problems and finding effective solutions. Venting problems can lead to inefficient heating, poor air quality, and even safety hazards.
Here are some troubleshooting tips to help you address common venting problems:
Check for blockages: Obstructions in the venting system can cause poor airflow and backdrafting. Inspect the vent pipe and chimney for any debris or bird nests that may be blocking the passage.
Ensure proper clearance: Vent pipes need to be installed with the correct clearances to combustible materials. Check for any nearby objects that may be too close to the vent pipe and causing heat buildup or potential fire hazards.
Examine the chimney cap: A damaged or improperly installed chimney cap can result in rainwater entering the vent system. This can cause corrosion and blockages. Make sure the chimney cap is in good condition and properly installed.
Inspect the chimney liner: If you’ve a chimney liner, check for any cracks or deterioration. A damaged liner can lead to leakage or poor draft.
Consider the chimney height: The height of the chimney can affect the draft and performance of the venting system. If you’re experiencing issues, consult a professional to determine if the chimney needs to be extended.
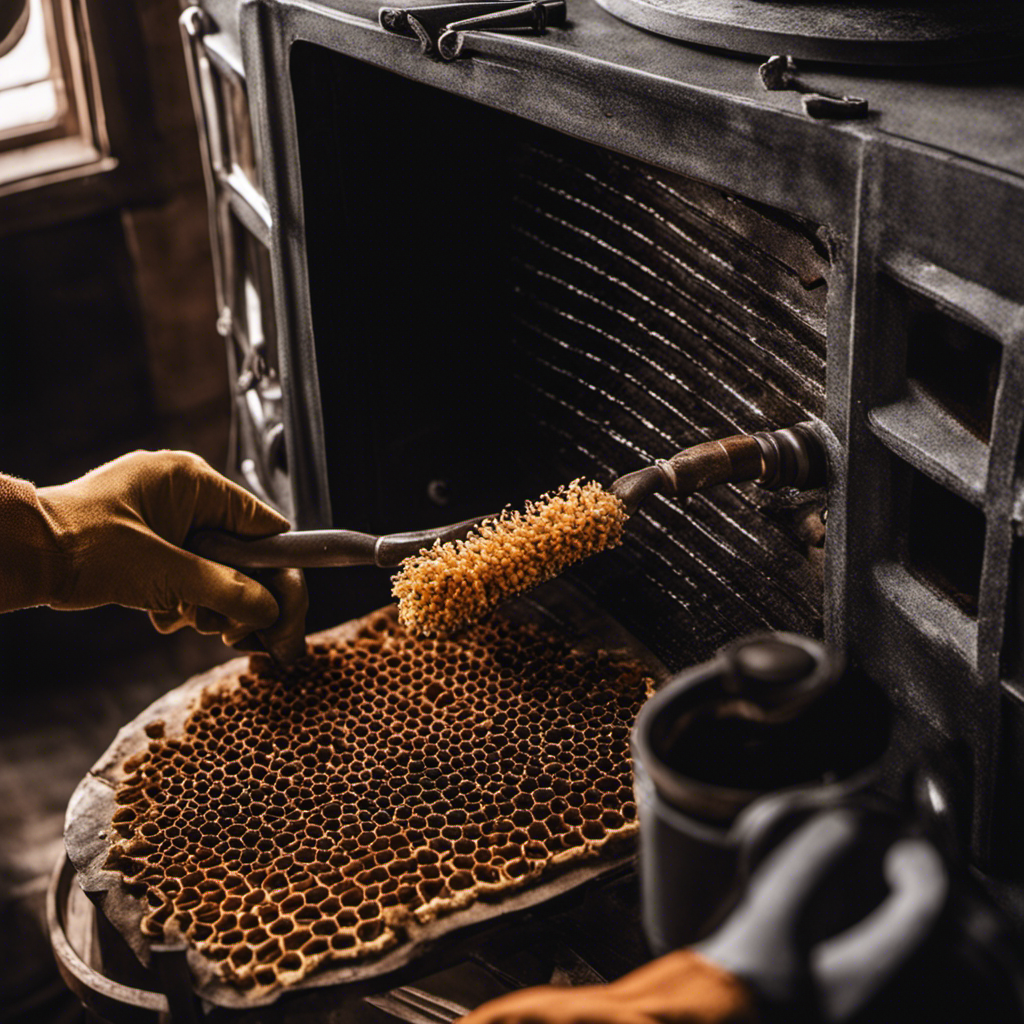
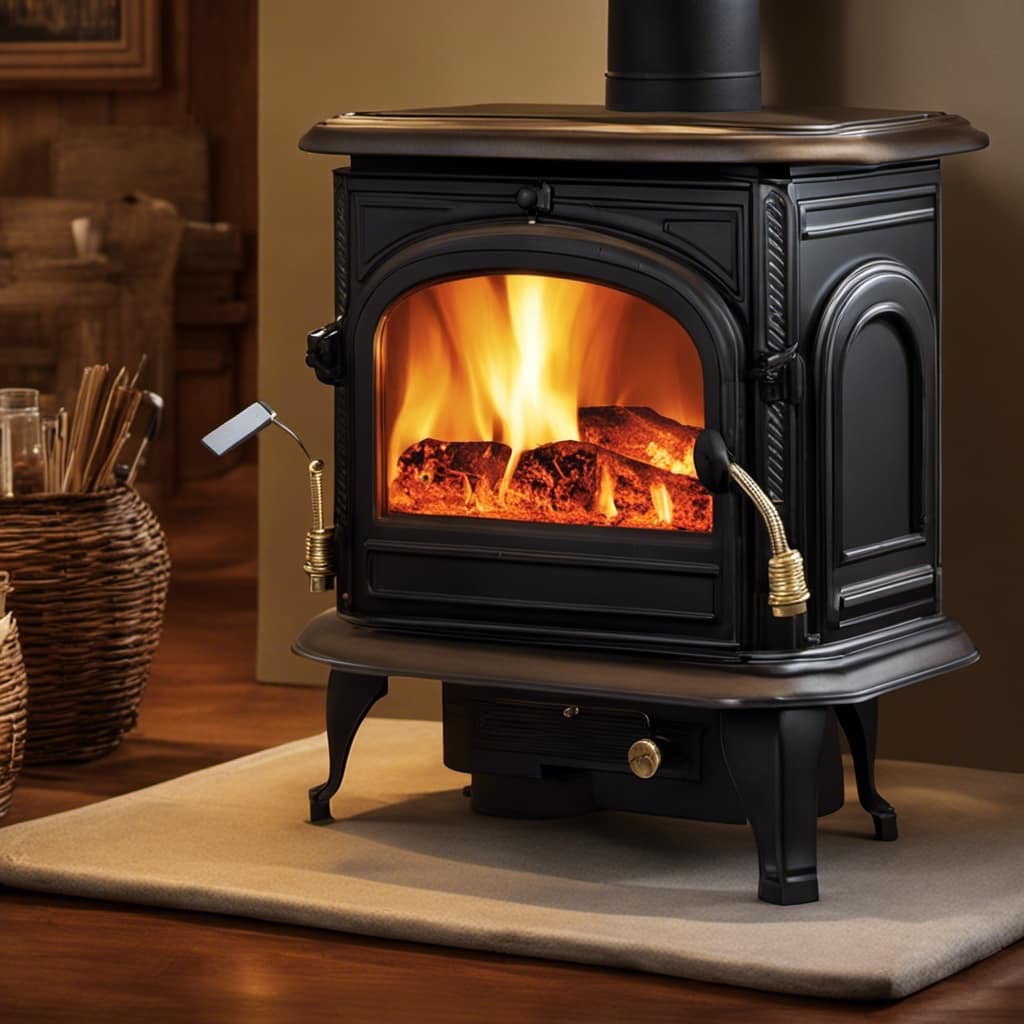
Maintaining and Cleaning Your Wood Stove Vent System
Maintaining and cleaning my wood stove vent system is essential for ensuring optimal performance and safety. Regular maintenance not only improves the efficiency of the stove but also prevents potential hazards such as vent blockages. By following proper cleaning techniques, I can keep my vent system in top condition and enjoy a cozy and safe atmosphere in my home.
To effectively clean my wood stove vent system, I follow these steps:
| Cleaning Techniques | Preventing Vent Blockages |
|---|---|
| Inspect the vent system for any visible blockages or debris. | Install a chimney cap to prevent birds and other animals from building nests or debris from entering the vent. |
| Use a chimney brush to remove creosote buildup from the inside of the vent. | Burn only well-seasoned wood to minimize the production of creosote. |
| Check the chimney cap for any damage or corrosion and replace if necessary. | Install a spark arrestor to prevent sparks from escaping the vent and causing a fire hazard. |
Frequently Asked Questions
What Are the Safety Precautions to Consider When Venting a Wood Stove Through a Wall?
Safety precautions are crucial when venting a wood stove through a wall. During the installation process, there are several key things to consider.
First, ensure that the wall materials can withstand the heat and weight of the stove.
It’s also important to follow local building codes and regulations, such as maintaining proper clearances from combustible materials.
Additionally, install a fireproof barrier around the vent pipe to prevent heat transfer.
Regular maintenance and inspections should be conducted to ensure the safe operation of the vented wood stove.
Can a Wood Stove Be Vented Through an Exterior Wall Made of Different Materials, Such as Brick or Stone?
When it comes to venting a wood stove through a different exterior wall material like brick or stone, it’s important to consider the proper sealing techniques. These materials may require specific venting options to ensure safety and efficiency.
One interesting statistic to note is that improper venting can lead to a buildup of dangerous carbon monoxide gas. To avoid this, it’s crucial to consult with a professional and follow the manufacturer’s guidelines for venting your wood stove through different wall materials.
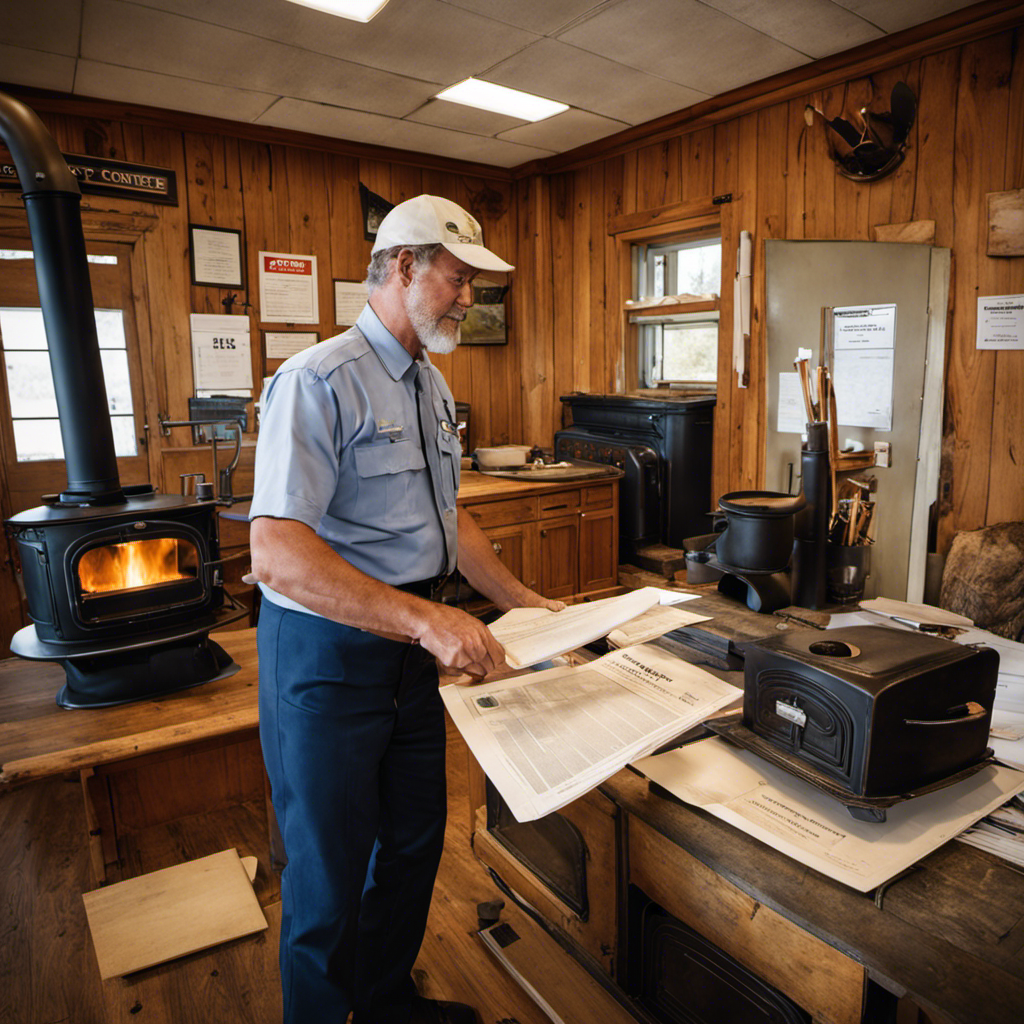
Are There Any Specific Building Codes or Regulations That Need to Be Followed When Installing a Wood Stove Vent Through a Wall?
When it comes to installing a wood stove vent through a wall, it’s important to follow specific building codes and regulations to ensure safety. These codes outline important guidelines for vent pipe size, venting through different materials like brick or stone, and venting through insulated walls.
Additionally, it’s crucial to consider any potential obstacles that may affect the venting process. By adhering to these regulations and taking necessary safety precautions, you can ensure a proper and efficient wood stove vent installation.
How Do You Determine the Appropriate Size of the Vent Pipe for Your Wood Stove?
To determine the appropriate size of the vent pipe for my wood stove, I need to consider a few factors.
First, I’ll calculate the required clearance by checking the manufacturer’s guidelines.
Then, I’ll measure the distance from the stove to the wall where the vent will be installed. This will help me determine the length of the vent pipe needed.
Additionally, I’ll check the diameter requirements specified by the stove’s manufacturer to ensure proper ventilation.
Can a Wood Stove Be Vented Through a Wall That Has Insulation or Other Obstacles in It?
Venting a wood stove through a wall with insulation or other obstacles can present some challenges. However, there are various venting options available to overcome these obstacles.
It’s important to consider the type of insulation and the clearance requirements for the stove. One option is to use a double-wall insulated pipe that can safely pass through the wall.
Another option is to use a thimble or a wall pass-through kit to ensure proper ventilation.
Consulting with a professional can help determine the best venting solution for your specific situation.
Why is it important to properly vent a wood stove through the wall?
Properly venting a wood stove through the wall is crucial for safety and efficiency. Maintaining the recommended wood stove distance from the wall helps prevent overheating and potential fire hazards. Additionally, a well-vented wood stove ensures proper airflow and minimizes the risk of harmful emissions inside the living space.
Conclusion
Well, congratulations! You’ve successfully learned how to vent your wood stove through a wall.
Now you can enjoy the warmth and cozy atmosphere it brings to your home while knowing that you’ve taken the necessary steps to ensure optimal performance and safety.
So go ahead, sit back, and revel in the irony of how something as simple as a vent can bring so much comfort and joy.
Happy venting!