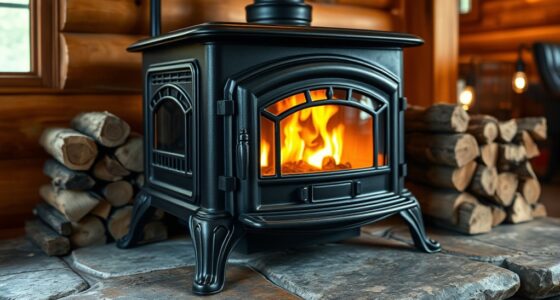
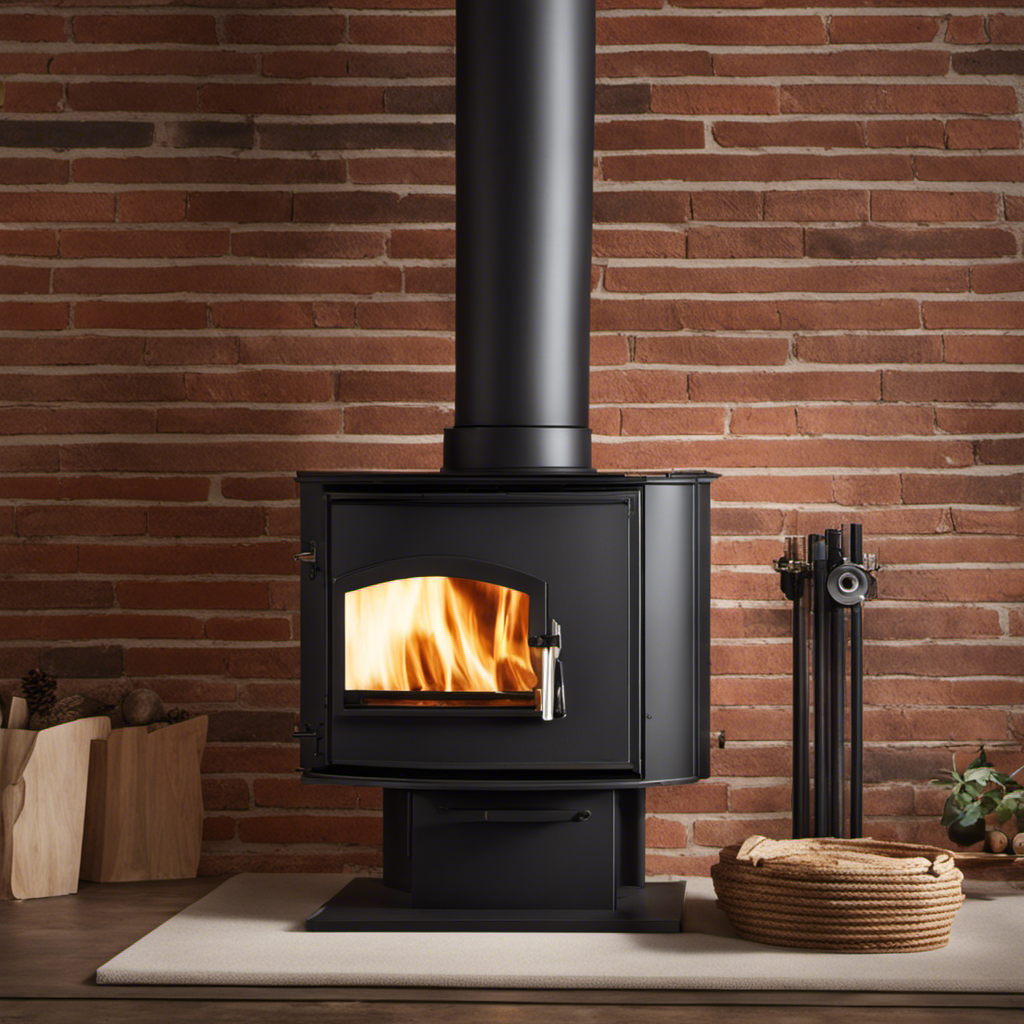
Standing before my old wood stove, its lackluster exterior speaks to the countless winters it has loyally weathered. However, a new layer of spray paint could turn it into a gleaming focal point in my house.
In this article, I will guide you through the steps of how to spray paint a wood stove, from choosing the right paint to maintaining its vibrant color for years to come.
Let’s bring new life to your trusty stove together.
Key Takeaways
- Consider the desired aesthetic and select a heat-resistant paint designed for wood stoves.
- Clean and prepare the surface before painting, removing all existing paint flakes and imperfections.
- Apply thin coats of paint, allowing each layer to dry completely and using a high-quality brush or roller for smooth application.
- Properly ventilate the area during the cleaning and drying process and gradually increase the heat to cure the paint and enhance durability.

Stove Bright Fireplace Satin Black Paint – High Temp Satin Black Spray Paint, Withstands up to 1200° F, Quick Drying, Retains Color, Easy Application
- High Temp Resistance: Withstands up to 1200°F
- Satin Black Finish: Easy to apply, quick drying
- Color Retention: Maintains color in extreme heat
As an affiliate, we earn on qualifying purchases.
As an affiliate, we earn on qualifying purchases.
Choosing the Right Paint
I’m having trouble choosing the right paint for my wood stove. When it comes to selecting the perfect color, there are a few factors to consider.
First, think about the overall aesthetic you want to achieve. Do you prefer a bold, eye-catching color or something more subtle and understated?
It’s also important to choose a heat-resistant paint that can withstand the high temperatures of a wood stove. Look for a paint specifically designed for this purpose.
As for avoiding paint drips, here are a few tips:
- First, make sure to clean and prepare the surface properly before painting.
- Apply thin coats of paint, allowing each layer to dry completely before adding another.
- Use a high-quality brush or roller to ensure smooth application.
- And finally, take your time and be patient – rushing the painting process can often lead to drips and uneven coverage.
Preparing the Wood Stove
Before starting the painting process, I’ll need to remove any ashes and debris from inside the wood stove, using a brush and a dustpan. Cleaning the wood stove thoroughly is essential to ensure a smooth and long-lasting paint job.
Once all the ashes and debris are removed, I’ll move on to the next step: sanding the surface. Sanding the wood stove surface helps to create a rough texture, allowing the paint to adhere better. I’ll use sandpaper with a medium grit to gently sand the entire surface, making sure to remove any existing paint flakes or imperfections. This step is crucial for achieving a professional-looking finish.
Applying the Spray Paint
I’ll start by shaking the spray paint can vigorously, and then I’ll apply thin, even coats to the wood stove surface. This is crucial for achieving a smooth and professional finish.
To ensure an even application, I’ll hold the can about 8-12 inches away from the surface and move it in a steady back-and-forth motion. It’s important to avoid spraying too closely or too quickly, as this can cause drips and streaks.
If any drips do occur, I’ll quickly wipe them away with a cloth before they dry. Additionally, I’ll make sure to overlap each pass slightly to prevent any patchy areas.
Drying and Curing the Paint
After the final coat has been applied, I’ll let the paint dry for at least 24 hours before moving on to the next step of curing it. This drying period is crucial to ensure a proper finish and durability of the paint job.
During this time, it’s important to keep the wood stove in a well-ventilated area to allow for proper air circulation.
Once the paint has dried, the curing process can begin. Curing involves subjecting the painted surface to heat, which helps in strengthening the paint and making it more resistant to high temperatures. It’s recommended to gradually increase the heat over a period of time to avoid any cracks or bubbles in the paint.
Additionally, using high-quality paint brands specifically designed for high-heat applications is highly recommended for the best results.
Maintaining and Extending the Life of the Paint
To properly maintain and extend the life of the paint on my wood stove, I regularly clean and inspect it for any signs of wear or damage. This is crucial in order to protect the stove from rust and ensure its longevity.
Cleaning involves using a mild detergent and warm water to remove any dirt or grime. I make sure to avoid abrasive cleaners that could damage the paint. After cleaning, I thoroughly dry the stove to prevent any moisture from causing rust.
If I notice any areas where the paint has chipped or worn off, I take the necessary steps to remove the old paint and apply new protective coatings. This ensures that my wood stove remains in optimal condition and continues to function efficiently.
Conclusion
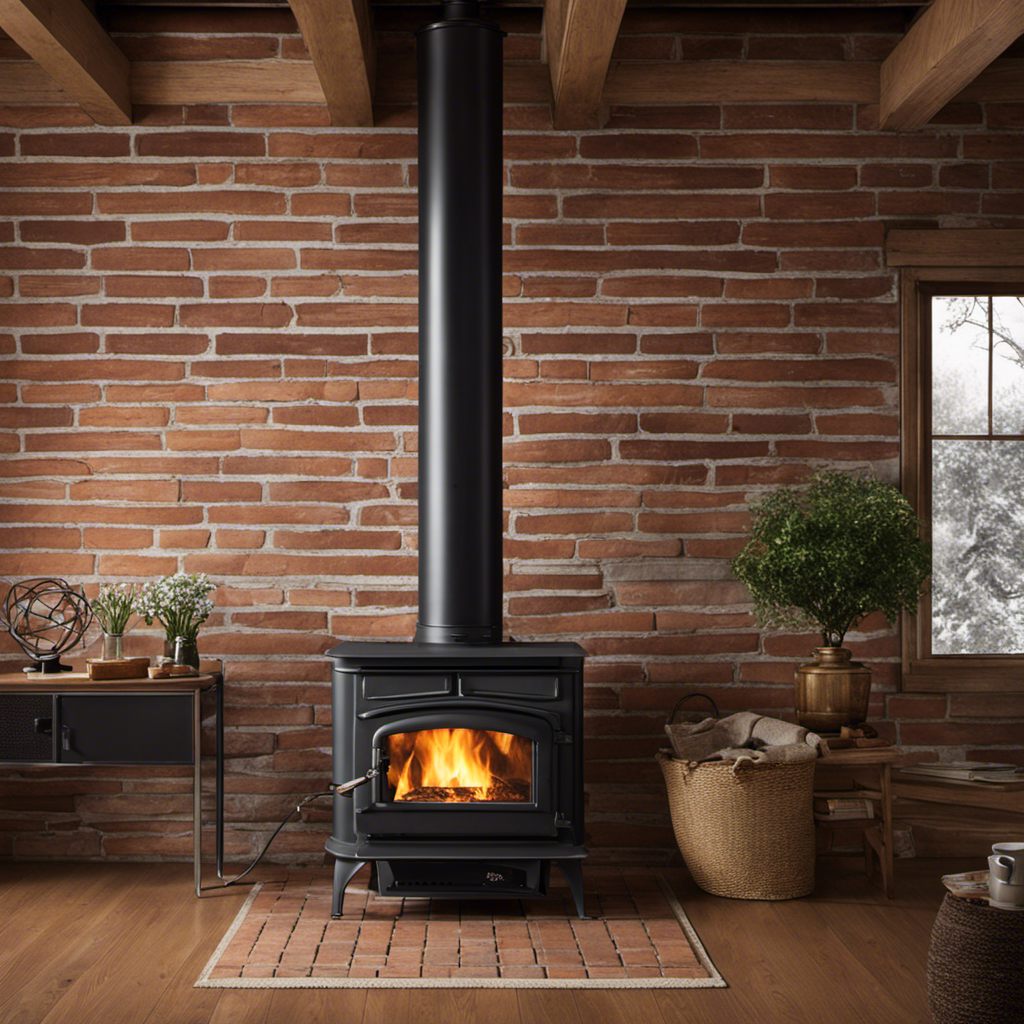
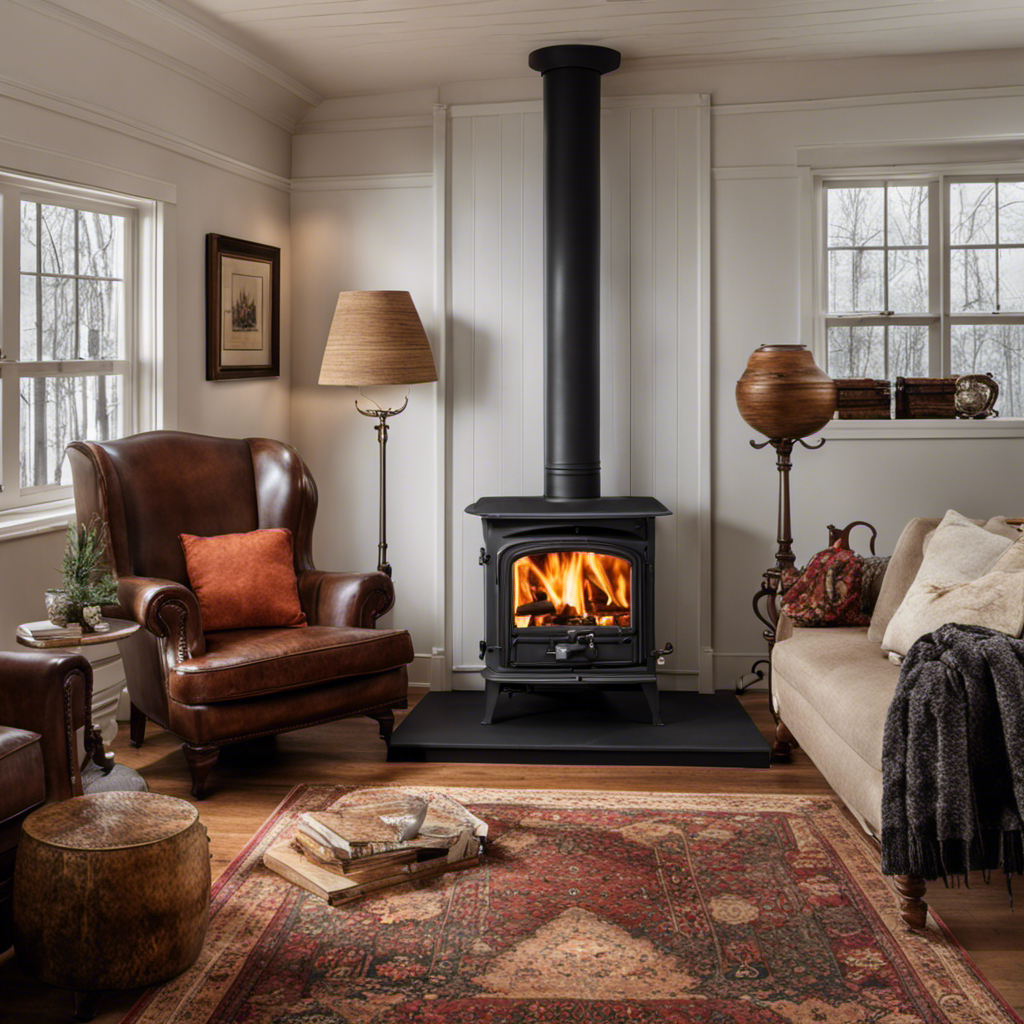
In conclusion, by following these simple steps, you can transform your old and worn-out wood stove into a stunning centerpiece in your home.
The spray paint not only adds a fresh and vibrant look to the stove, but also protects it from rust and corrosion.
With proper maintenance, your newly painted wood stove will stand the test of time and continue to impress guests with its sleek and modern appearance.
Don’t wait any longer, unleash your creativity and give your wood stove a much-needed makeover now!