So, you find yourself with an empty space where there used to be a wood stove connected to your chimney, and you’re considering the best method to seal it off.
Well, you’re in luck because I’ve got all the steps you need to do just that.
From assessing the hole to gathering materials and sealing it up with insulation, I’ll guide you through each step.
By the time we’re done, your chimney will be hole-free and ready to go.
Let’s get started, shall we?
Key Takeaways
- Prioritize safety and promptly address any issues with the chimney hole
- Gather the necessary materials such as bricks, mortar, chimney cap, and insulation
- Clean out debris and obstructions before sealing the hole with insulation
- Regularly inspect and maintain the sealed hole to ensure its good condition

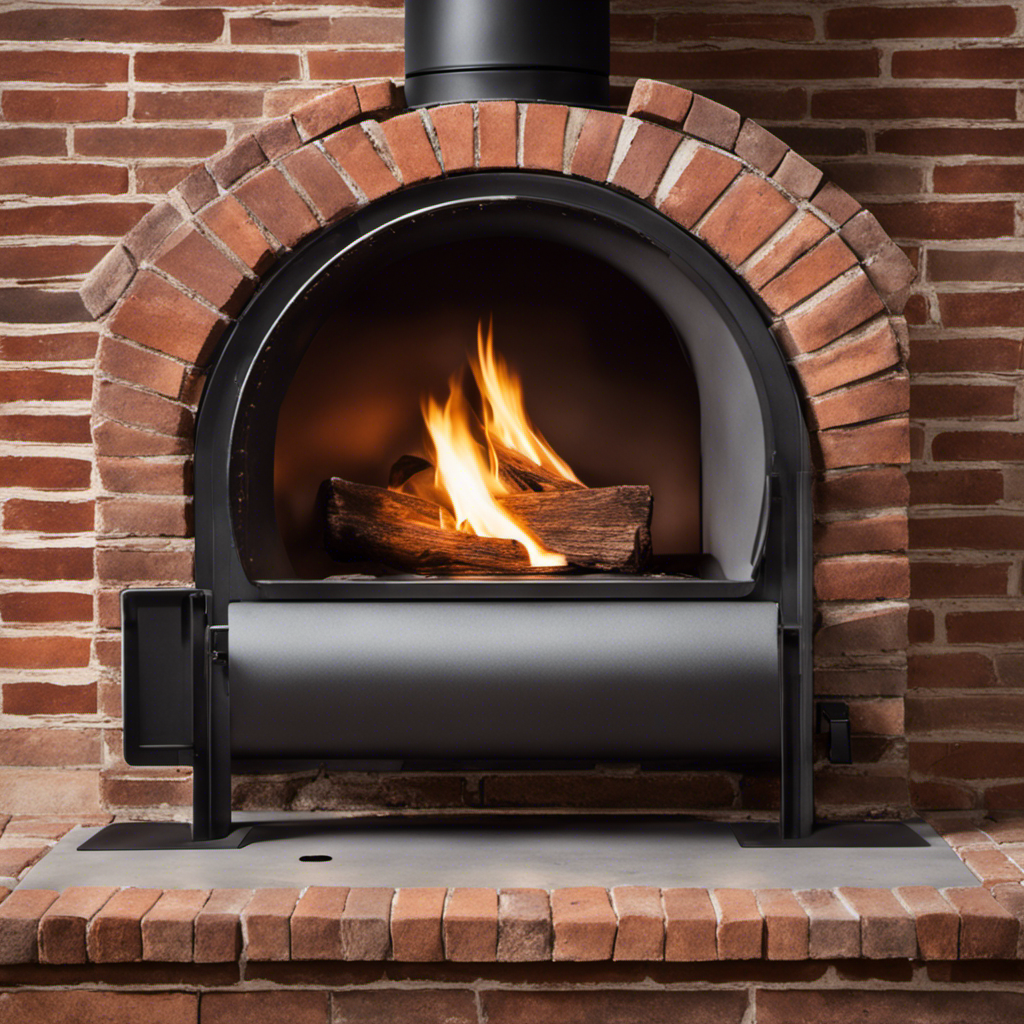
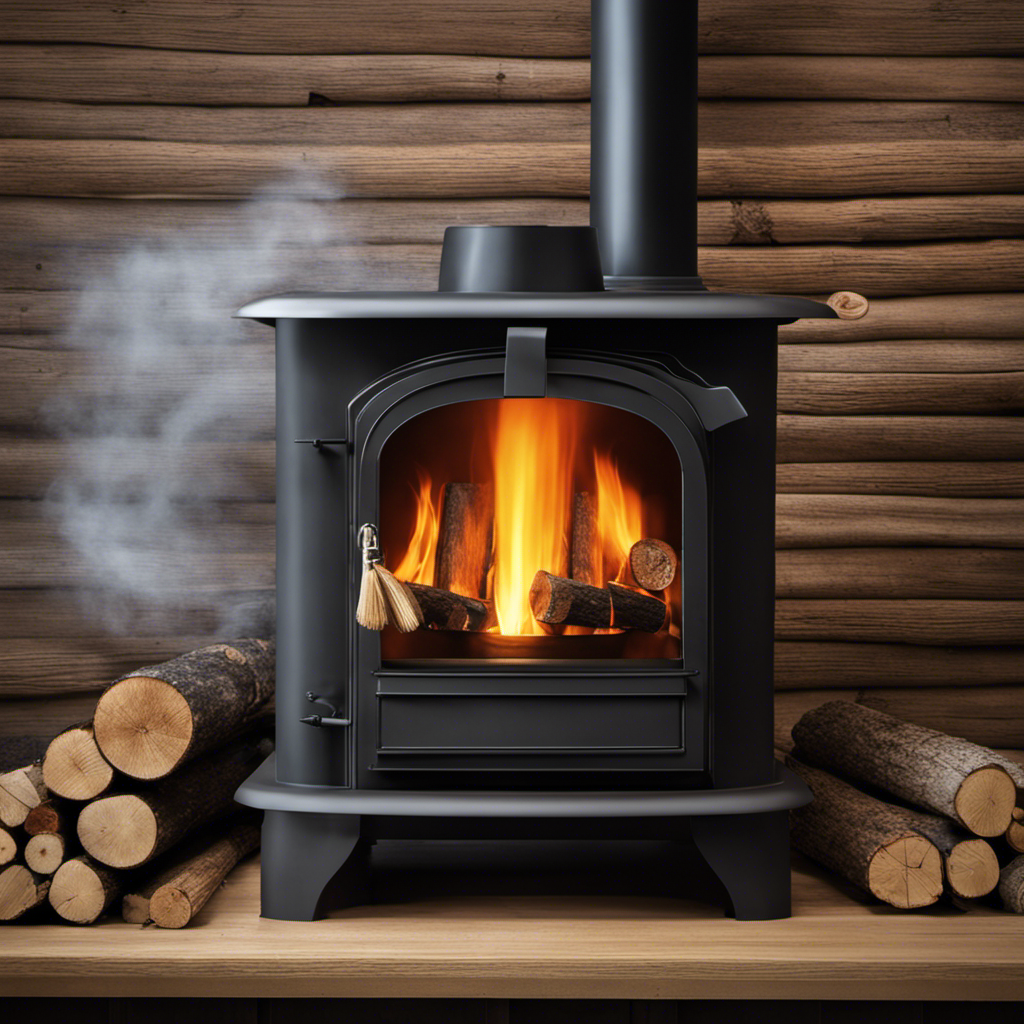
6 Inch Round Chimney Cap,Cone Top Chimney Cap with Screen,Roof Rain Wood Stove Pipe Cover Guard Outside Topper,Fireplace Exhaust Cover for 6" Stove Pipe-Galvanized Steel,Maximize Airflow Better Vent
- Protects from Debris and Animals: Prevents leaves, rain, snow, animals
- Enhanced Ventilation: Improves airflow and reduces blockages
- Durable Construction: Made of corrosion-resistant galvanized steel
As an affiliate, we earn on qualifying purchases.
As an affiliate, we earn on qualifying purchases.
Assessing the Chimney Hole
I’m currently evaluating the condition of the chimney hole to determine the necessary repairs.
When it comes to chimney repair, it’s essential to prioritize safety. A damaged chimney can pose serious risks, including the potential for carbon monoxide leaks and chimney fires.
As I inspect the chimney hole, I’m looking for any signs of deterioration or damage. This may include cracks, loose bricks, or a deteriorated chimney cap. It’s crucial to address these issues promptly to ensure the safety of your home and family.
Depending on the severity of the damage, repairs may range from simple fixes, such as sealing cracks, to more extensive repairs, such as rebuilding sections of the chimney.
Gathering the Necessary Materials
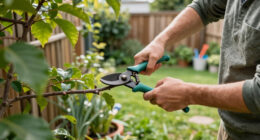
Before starting the repairs, I’ll gather the necessary materials, such as bricks, mortar, and a chimney cap.
Choosing the right insulation is crucial to ensure that the unused wood stove hole is properly sealed. It’s important to consider factors such as heat resistance and moisture protection when selecting insulation. Fiberglass insulation with a high R-value is often recommended for this purpose.
Additionally, proper disposal of wood stove components is essential for safety and environmental reasons. Any leftover wood, ashes, or debris should be carefully removed and disposed of according to local regulations. It’s important to avoid burning or dumping these materials, as they can release harmful pollutants into the air or contaminate soil and water sources.
Preparing the Chimney Hole
I’ll clean out any debris from the chimney hole to prepare it for sealing. Before I start repairing the chimney hole, it’s important to ensure that it’s free from any debris or obstructions. I’ll use a chimney brush or a vacuum cleaner to remove any soot, ash, or other buildup that may have accumulated over time. This step is crucial in order to create a clean surface for the sealing material to adhere to.
Once the chimney hole is cleaned, I can begin the process of sealing it. There are various methods and materials that can be used for this purpose. One option is to use a chimney plug or cap specifically designed for sealing unused chimney flues. These plugs are easy to install and provide a tight seal to prevent drafts and water leakage.
Alternatively, if you’re looking for alternative uses for the unused wood stove hole, you can consider converting it into a decorative feature. Some ideas include installing a small shelf or display area, creating a faux fireplace with decorative logs, or even turning it into a planter for indoor plants.
Sealing the Hole With Insulation
To effectively seal the hole, I can use insulation and a cap to prevent drafts and water leakage. There are different types of insulation that can be used for this purpose.
One common type is fiberglass insulation, which is easy to install and provides good thermal insulation. Another option is spray foam insulation, which can be applied directly to the hole and expands to fill any gaps or cracks. It provides excellent air sealing and insulation properties.
When sealing the hole, it’s important to avoid common mistakes. One common mistake isn’t properly cleaning the area before applying the insulation. Dust, debris, and old caulk should be removed to ensure a proper seal. Another mistake is using the wrong type of insulation for the specific hole. It’s important to choose an insulation material that’s suitable for the size and shape of the hole.
Finishing Touches and Maintenance
I’ve already sealed the hole, so now I just need to do some finishing touches and maintenance to ensure it stays in good condition. Here are some chimney hole repair tips and DIY wood stove removal suggestions for maintaining the hole:
-
Inspect Regularly: Check the sealed hole periodically for any signs of damage or wear. Look for cracks, gaps, or any signs of moisture leakage. This will help you catch any issues early on and prevent further damage.
-
Clean the Area: Keep the area around the sealed hole clean and free from debris. This will prevent any potential blockages and ensure proper airflow.
-
Weatherproofing: Apply a weatherproof sealant or caulk around the edges of the sealed hole. This will provide an extra layer of protection against the elements, preventing water penetration and potential damage.
Frequently Asked Questions
Can I Use Regular Household Items Instead of the Recommended Materials for Sealing the Chimney Hole?
Yes, you can use alternative materials to seal the chimney hole. It’s a cost-effective solution that many people opt for. However, it’s important to ensure that the materials you choose are safe and effective for this purpose.
How Long Does the Insulation Material Typically Last Before Needing to Be Replaced?
Insulation material typically lasts around 20 to 30 years before needing replacement. It’s important to choose the right insulation material based on factors like heat resistance and durability. Signs of replacement include wear, damage, and decreased energy efficiency.
Is It Necessary to Hire a Professional to Plug the Chimney Hole or Can It Be Done as a DIY Project?
I’ve found that plugging the chimney hole can be a DIY project, depending on your skill level and comfort. However, hiring a professional ensures proper sealing and reduces the risk of damage. Budget-friendly alternatives include using chimney caps or sealing with fire-resistant materials.
Can I Use the Same Method to Plug a Hole in a Chimney That Is Still in Use?
I can’t use the same method to plug a chimney hole that is still in use. It’s important to prioritize chimney hole safety and maintenance when dealing with an active chimney. It’s best to consult a professional for a proper solution.
Are There Any Safety Precautions I Should Take While Plugging the Chimney Hole?
When plugging a chimney hole, it is important to take safety precautions. Make sure to wear protective gear and work in a well-ventilated area. Additionally, consider alternative materials like chimney plugs or expanding foam to effectively seal the hole.
Conclusion
In conclusion, plugging a hole in a chimney is a simple and cost-effective way to prevent drafts and heat loss. By assessing the hole, gathering the necessary materials, preparing the chimney, sealing it with insulation, and adding finishing touches, you can ensure a snug and efficient solution.
Remember to regularly check and maintain the seal to keep your home cozy and energy-efficient. So, say goodbye to chilly drafts and hello to a well-insulated home!