Hello, fellow DIY enthusiasts!
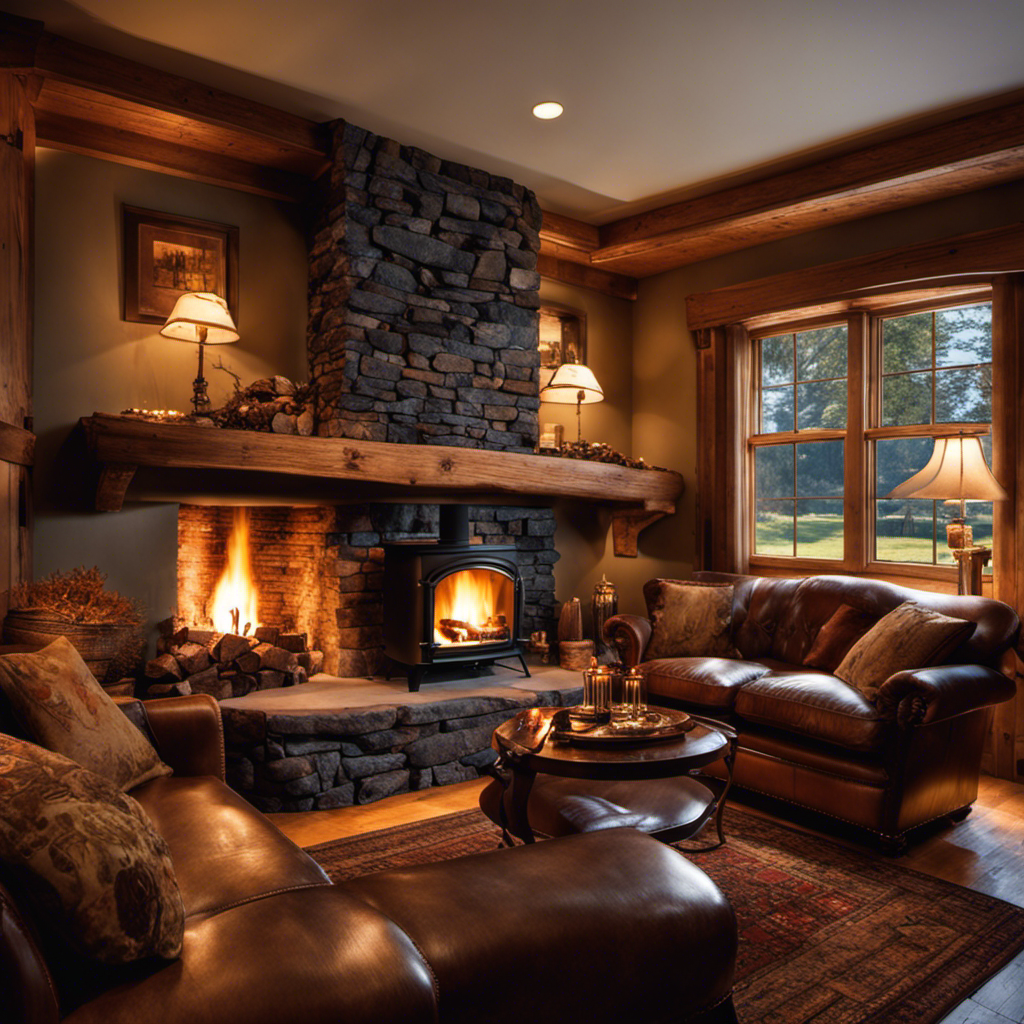
Ever dreamt of cozying up to a crackling wood stove you made yourself? Well, get ready to turn that dream into reality!
In this guide, I’ll walk you through the step-by-step process of creating your very own wood stove.
From gathering materials to testing and maintaining, I’ll share my knowledge and experience to help you build a reliable and efficient heating solution for your space.
Let’s get started!
Key Takeaways
- Choose the right type of wood for your wood stove, considering factors such as density and moisture content.
- Ensure a well-ventilated work area and use appropriate safety gear during wood stove installation.
- Use a suitable flooring material, such as ceramic tiles, for the stove base to provide insulation and heat distribution.
- Pay attention to proper airflow and install a ventilation system to ensure efficient combustion and heat release.

US Stove BSK2000 Barrel Camp Stove Kit
- Conversion Kit Includes: Accessories to convert barrels into stoves
- Versatile Use: Ideal for workshops, cabins, camping, and outdoor cooking
- Complete Hardware: Includes cast iron legs, door, flue collar, damper, and mounting hardware
As an affiliate, we earn on qualifying purchases.
As an affiliate, we earn on qualifying purchases.
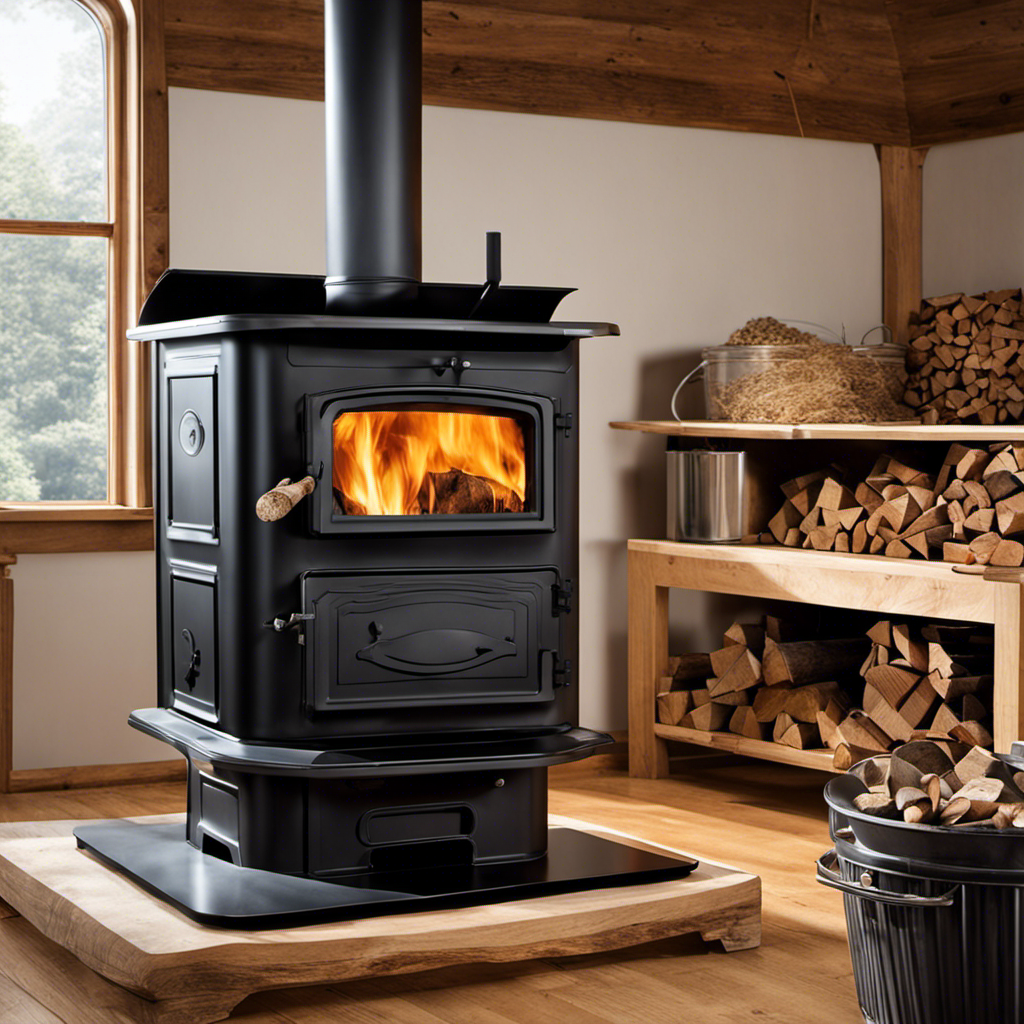
Gathering the Necessary Materials
I’ve gathered all the necessary materials for making a wood stove. When it comes to choosing the right wood type, it’s important to consider its density and moisture content.
Hardwoods like oak, maple, and cherry are excellent choices as they burn longer and produce more heat. Softwoods like pine and cedar, on the other hand, burn faster but may produce more creosote buildup in the chimney.
It’s crucial to have a well-ventilated area to work in and to wear appropriate safety gear, such as gloves and safety glasses.
Additionally, it’s important to follow safety precautions during wood stove installation. Before starting, make sure to clean the area where the stove will be installed, removing any flammable materials and ensuring proper clearance from walls and combustible surfaces. Install a non-combustible floor pad to protect the floor from heat and sparks.
Lastly, consult local building codes and regulations to ensure compliance with safety standards. By taking these precautions, you can safely install your wood stove and enjoy the warmth and comfort it provides.
Preparing the Stove Base
Preparing the stove base is a crucial step in setting up a wood stove.
First, ensure you’ve a suitable flooring material that can withstand the heat and weight of the stove.
Next, take the time to level the stove base properly to ensure stability and proper functioning of the stove.
Suitable Flooring for Stove
I prefer using ceramic tiles as the flooring for my wood stove. Not only do they provide a sleek and clean look, but they also offer the best insulation and heat distribution for the stove.
Here are a few reasons why ceramic tiles are my top choice:
-
Excellent Heat Resistance: Ceramic tiles can withstand high temperatures without warping or cracking, making them perfect for the intense heat generated by a wood stove.
-
Easy to Clean: With ceramic tiles, any spills or debris can be easily wiped away, ensuring a clean and hygienic surface around the stove.
-
Durability: Ceramic tiles are highly durable and can withstand heavy foot traffic, ensuring that the flooring around the stove remains in good condition for years to come.
-
Stylish Appearance: Ceramic tiles come in a wide range of colors and patterns, allowing you to choose a design that complements your home decor.
By using ceramic tiles as the flooring for my wood stove, I can ensure proper insulation and heat distribution, creating a safe and efficient heating system for my home.
Now that the flooring is chosen, let’s move on to the next step: leveling the stove base.
Leveling the Stove Base
To ensure stability and proper functioning, I’ll need to level the base of the stove. Leveling the stove base is a crucial step in the installation process, as it ensures that the stove sits securely and evenly on the floor.
To achieve this, there are a few leveling techniques that I like to use. First, I place a level on top of the stove and adjust the height of each leg until the bubble is centered.
I also use shims to fill any gaps or uneven spots. Safety precautions are important during this process. I make sure to wear gloves to protect my hands and use caution when adjusting the legs or adding shims.
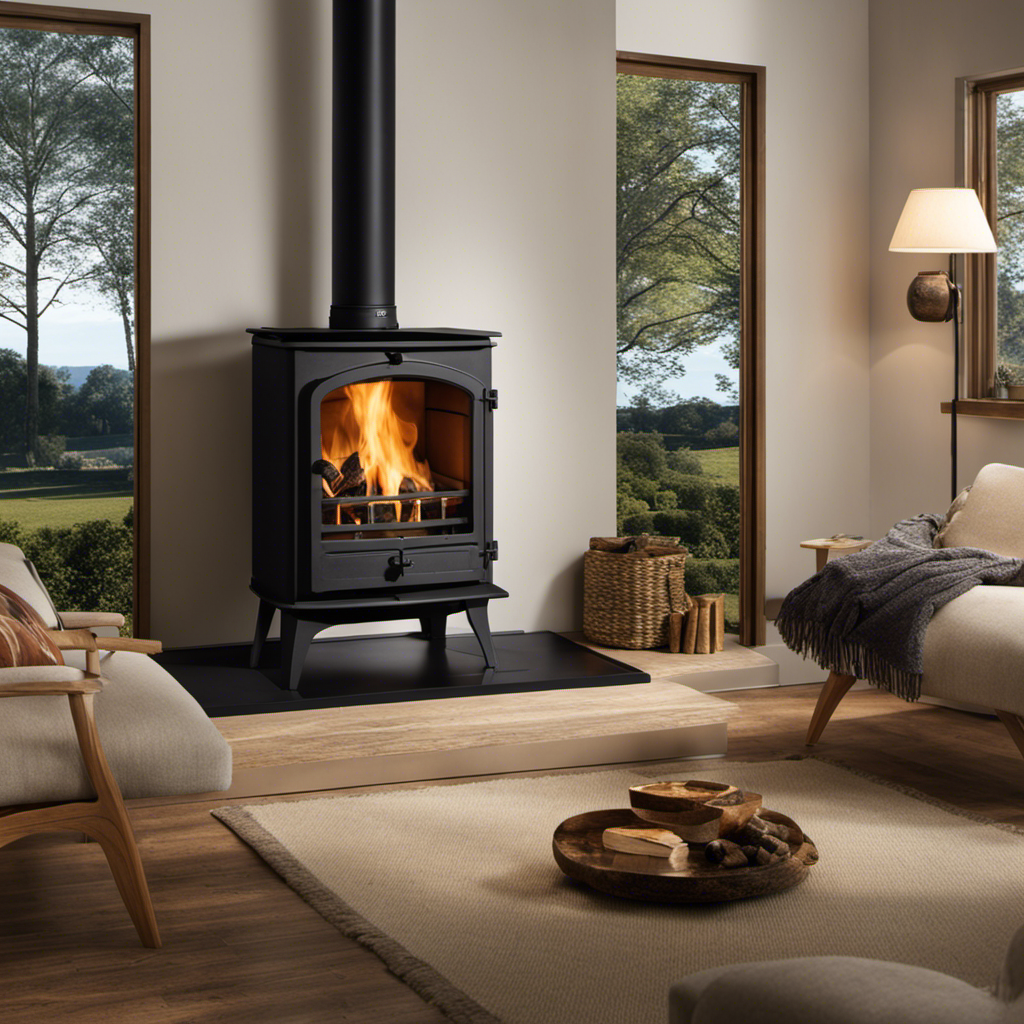
Building the Stove Body
I’m attaching the stovepipes to the stove body to complete the ventilation system. Building the stove body is a crucial step in making a wood stove. It requires careful attention to detail and adherence to proper building techniques to ensure a safe and efficient wood stove.
Here are some important points to consider:
-
Size and shape: The stove body should be designed to accommodate the size and type of wood you plan to burn. It should also be shaped in a way that promotes efficient heat transfer and airflow.
-
Material selection: Choose a high-quality, heat-resistant material for the stove body, such as cast iron or steel. This will ensure durability and longevity.
-
Assembly: Follow the manufacturer’s instructions or consult an expert to properly assemble the stove body. Pay close attention to the alignment of the stovepipes and ensure a tight, secure fit.
-
Safety precautions: When building the stove body, always wear protective gear such as gloves and safety goggles. Take precautions to prevent fires, such as keeping flammable materials away from the construction area.
Now that the stove body is complete, it’s time to focus on adding ventilation and airflow components to ensure proper operation and efficiency.
Adding Ventilation and Airflow Components
When it comes to building a wood stove, one crucial aspect that shouldn’t be overlooked is the addition of ventilation and airflow components. Proper airflow is essential for the efficient burning of wood and the effective release of heat.
As an experienced stove builder, I’ve learned that a well-designed ventilation system can greatly enhance the performance and longevity of the stove, ensuring that it operates at its best and provides optimal heating for your space.
Importance of Proper Airflow
Proper airflow is crucial for ensuring efficient combustion in a wood stove. As someone with years of experience in using wood stoves, I can attest to the importance of proper insulation and the benefits it brings.
Here are a few key points to help you understand why proper airflow is essential:
-
Increased combustion efficiency: With proper airflow, the wood burns more efficiently, resulting in better heat output and less wasted energy.
-
Reduced smoke and emissions: Good airflow prevents the buildup of smoke and harmful emissions inside the stove, promoting cleaner combustion.
-
Longer burn times: When the airflow is well-regulated, the wood stove can maintain a steady burn, prolonging the time between refueling.
-
Improved safety: Proper airflow helps prevent the buildup of dangerous gases like carbon monoxide, ensuring a safer and healthier environment.
Ventilation System Installation
Installing a ventilation system is essential to ensure proper airflow and maintain a safe and efficient wood stove operation. When it comes to ventilation system design, there are a few key considerations to keep in mind.
First, you need to determine the size and capacity of your wood stove to ensure that the ventilation system can effectively remove smoke and gases.
Next, you’ll need to choose the appropriate type of ventilation system, whether it’s a chimney or a direct vent system.
Proper installation is crucial to prevent any leaks or obstructions that could lead to ventilation issues. If you do encounter any problems with your ventilation system, troubleshooting can help identify and resolve the issue. Common issues include blockages, improper installation, or insufficient airflow.
Regular maintenance and cleaning are also important to ensure optimal performance and prevent any potential hazards.
Installing the Stovepipe
I can easily connect the stovepipe to the wood stove using a pipe connector. It’s a crucial step in the chimney installation process.
When installing the stovepipe, there are a few key points to keep in mind:
-
Measurements: Before purchasing the stovepipe, measure the distance between the wood stove and the chimney. This will ensure you buy the correct length of pipe.
-
Pipe Connector: Use a pipe connector to join the stovepipe to the wood stove. This connector should fit securely and be properly sealed to prevent any leaks.
-
Clearances: Make sure to maintain the required clearances between the stovepipe and any combustible materials. This will prevent any fire hazards and ensure proper ventilation.
-
Support: Install appropriate support brackets along the length of the stovepipe to prevent it from sagging or collapsing. These brackets will provide stability and maintain the integrity of the installation.
Installing the stovepipe is an essential part of the overall chimney installation process. By following these guidelines, you can ensure a safe and efficient ventilation system for your wood stove.
Creating a Firebox and Door
Now that the stovepipe is securely installed, it’s time to move on to the next step in creating a wood stove: constructing the firebox and installing the door.
The firebox is the heart of the wood stove, where the fire burns and produces heat. It needs to be built with durable materials that can withstand high temperatures. To construct the firebox, I recommend using firebricks or refractory cement. These materials are excellent at retaining heat and will ensure the longevity of your wood stove.
Begin by measuring the dimensions of the firebox and cutting the firebricks to fit. Once you’ve all the bricks ready, use a heat-resistant mortar to lay them in place, ensuring a tight and secure fit.
Now, let’s move on to the door installation. The door not only serves as an access point for adding wood but also helps control the flow of oxygen into the firebox. Start by choosing a door that fits your stove’s dimensions and has a good seal. Attach the door to the firebox using hinges and ensure it closes tightly to prevent any air leakage.
With the firebox constructed and the door installed, you’re one step closer to completing your wood stove. Stay tuned for the next subtopic, where we’ll discuss insulation and finishing touches.
Adding Finishing Touches and Insulation
With the firebox constructed and the door securely in place, it’s time to focus on adding the finishing touches and insulating the rest of the stove. As someone experienced in building wood stoves, I understand the importance of these final steps to ensure the stove’s efficiency and safety.
Here are some finishing techniques and insulation methods that will help you complete your wood stove project:
-
Painting: Choose a high-temperature paint specifically designed for wood stoves. Apply multiple thin coats to achieve a smooth, durable finish. This not only enhances the stove’s appearance but also protects it from rust and corrosion.
-
Trimming: Install heat-resistant trim around the edges to provide a polished look. This trim not only adds aesthetic value but also helps to seal any gaps, preventing heat loss.
-
Insulation: Use high-quality insulation materials to line the inside of the stove. Vermiculite or ceramic fiber blanket are excellent choices for insulation. Ensure proper coverage to minimize heat loss and maximize heat retention.
-
Sealing: Apply a heat-resistant sealant around the joints and seams of the stove to prevent air leakage. This not only increases the stove’s efficiency but also reduces the risk of carbon monoxide leaks.
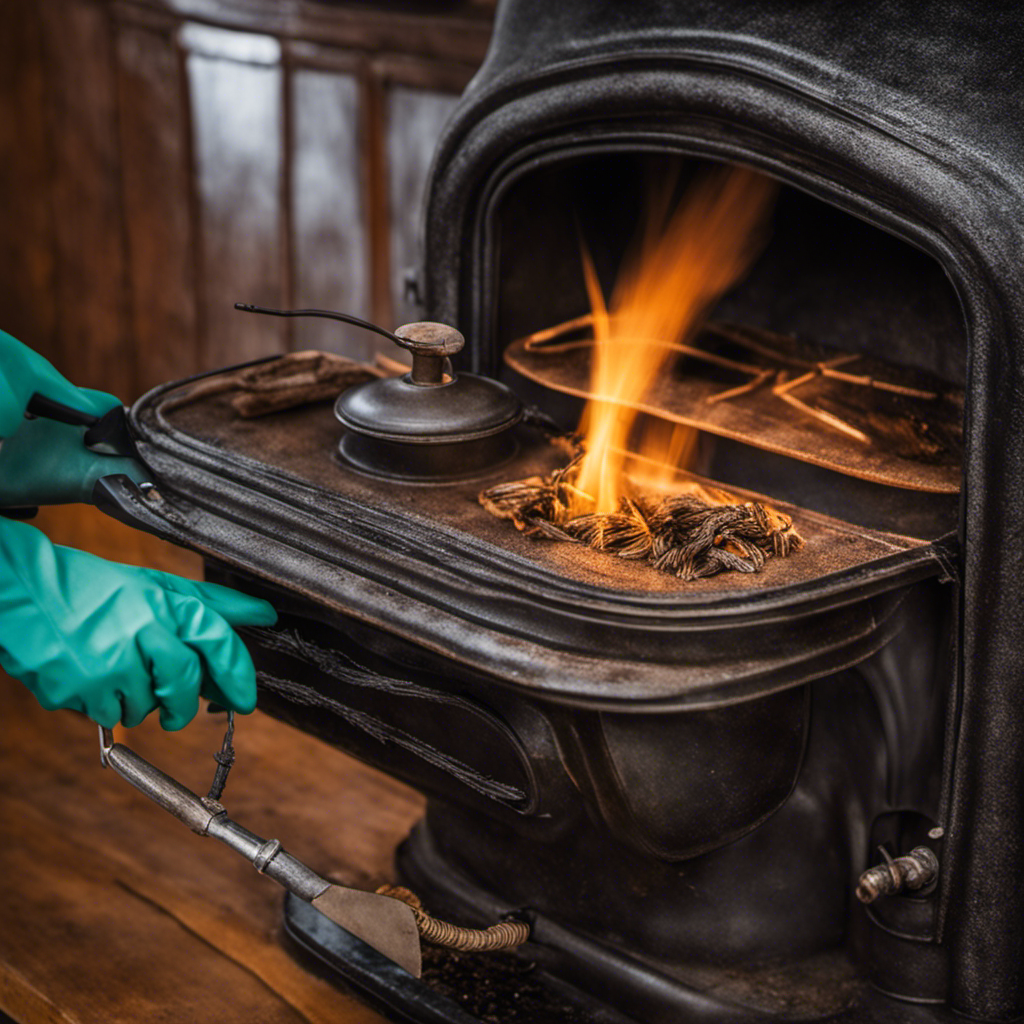
Testing and Maintaining Your Wood Stove
Maintaining your wood stove is essential for ensuring its longevity and optimal performance. As someone who’s been using wood stoves for many years, I’ve learned the importance of regular testing and troubleshooting. By following these techniques, you can identify and address any issues before they become major problems.
One of the first testing techniques I recommend is checking for air leaks. These can lead to inefficient burning and wasted fuel. To test for leaks, simply light a small piece of paper near the stove’s door and observe if the flame flickers or moves. If it does, you may need to replace the gasket or adjust the door latch.
Another important aspect of maintenance is cleaning the chimney regularly. A blocked or dirty chimney can lead to poor ventilation and increased risk of fire. I suggest using a chimney brush to remove any creosote buildup at least once a year.
When troubleshooting your wood stove, pay attention to unusual sounds or smells. A persistent smoke smell, for example, may indicate a problem with the draft control or chimney. In such cases, it’s best to consult a professional for further inspection and repairs.
Frequently Asked Questions
Can I Use Any Type of Wood to Fuel My Wood Stove?
Using any type of wood to fuel a wood stove isn’t recommended. It’s best to use seasoned wood for optimal performance and efficiency.
Seasoned wood has lower moisture content, which allows it to burn cleaner and produce more heat.
When comparing hardwood and softwood for wood stove fuel, hardwoods like oak and maple are denser and burn longer, while softwoods like pine and fir ignite more quickly.
Ultimately, using seasoned hardwoods is the preferred choice for a wood stove.
How Long Does It Take for the Stove to Heat up a Room?
When it comes to heating up a room with a wood stove, there are a few factors to consider.
The optimal room temperature for wood stove efficiency is around 70-75 degrees Fahrenheit.
The heating speed of a wood stove can vary depending on factors like the size of the room, insulation, and the type of wood being burned.
Generally, it takes about 30 minutes to an hour for a wood stove to start warming up a room, but this can vary.
Is It Necessary to Have a Professional Install the Stovepipe?
Is it necessary to have a professional install the stovepipe?
Well, I’ve had some experience with DIY installation of stovepipes, and let me tell you, it can be quite a challenge.
While it may save you some money, there are definitely pros and cons to consider.
On one hand, doing it yourself allows for more customization and control.
On the other hand, a professional installation ensures proper safety and compliance with building codes.
It ultimately depends on your comfort level and knowledge in this area.
Can I Use My Wood Stove to Cook Food?
Yes, you can definitely use a wood stove to cook food. Wood stoves are versatile and can be used for various cooking techniques such as boiling, simmering, and baking.
However, it’s important to take safety precautions when cooking on a wood stove. Make sure to use cookware that’s suitable for high heat and always keep an eye on the stove while cooking.
Additionally, ensure proper ventilation and follow any guidelines provided by the manufacturer to ensure a safe cooking experience.
How Often Should I Clean the Chimney of My Wood Stove?
When it comes to maintaining a wood stove, one crucial aspect is cleaning the chimney regularly. The frequency of chimney cleaning depends on various factors such as the type of wood you burn and the frequency of use. As a general guideline, it’s recommended to clean the chimney at least once a year. However, if you notice an excessive buildup of creosote or experience decreased efficiency, it’s wise to clean it more frequently.
Regular chimney maintenance ensures proper ventilation and reduces the risk of chimney fires.
Conclusion
After carefully gathering the necessary materials and following the step-by-step process, you’ll have successfully created your very own wood stove.
This functional piece not only provides warmth but also adds a touch of rustic charm to any space.
With proper testing and maintenance, your wood stove will continue to bring comfort and coziness to your home for years to come.
Embrace the satisfaction of mastering this ancient art of heating with your homemade wood stove.