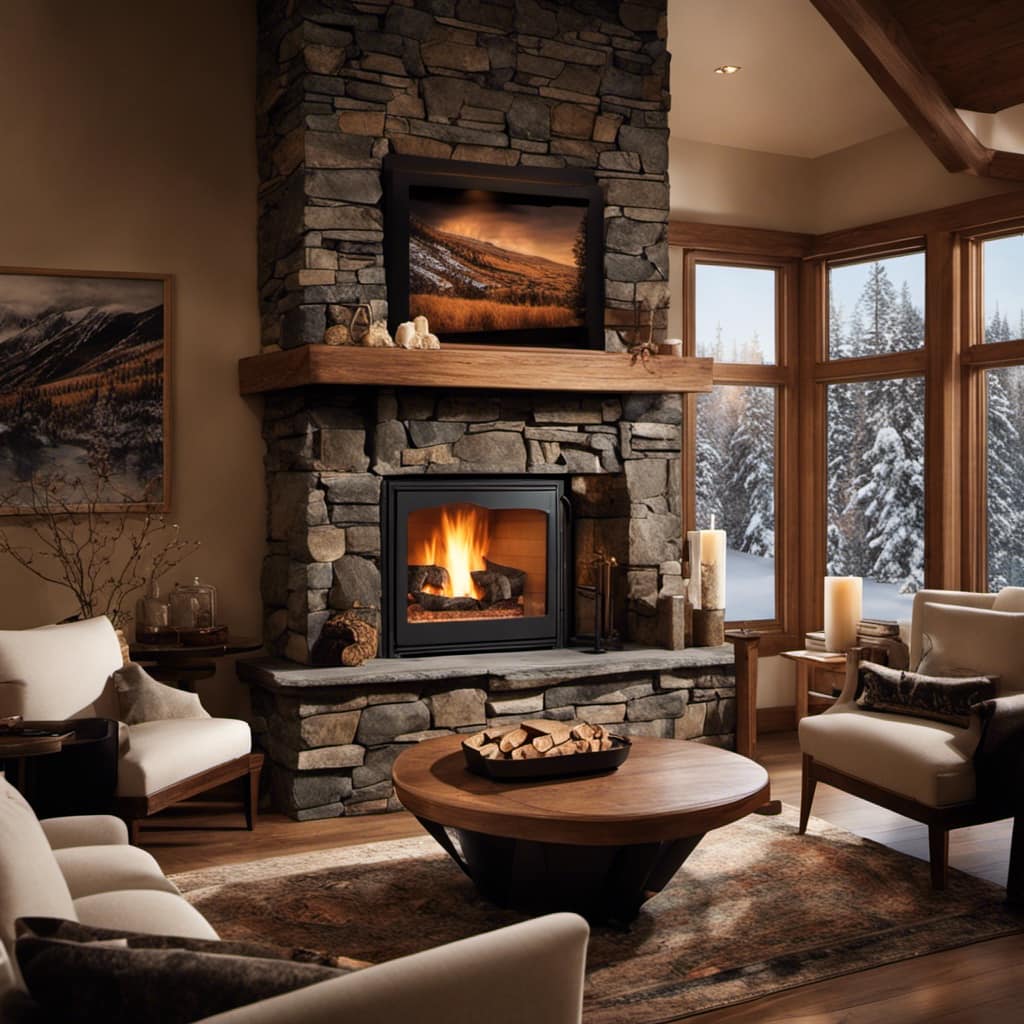
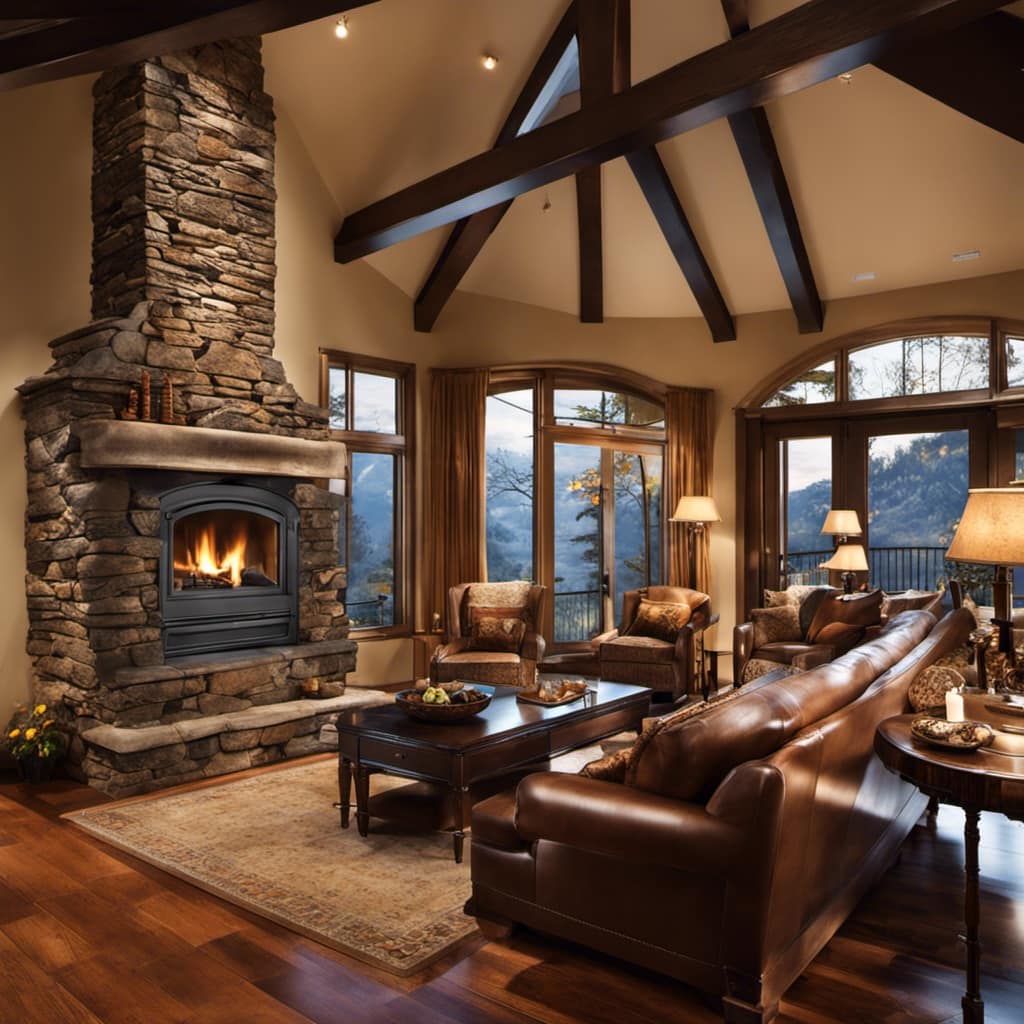
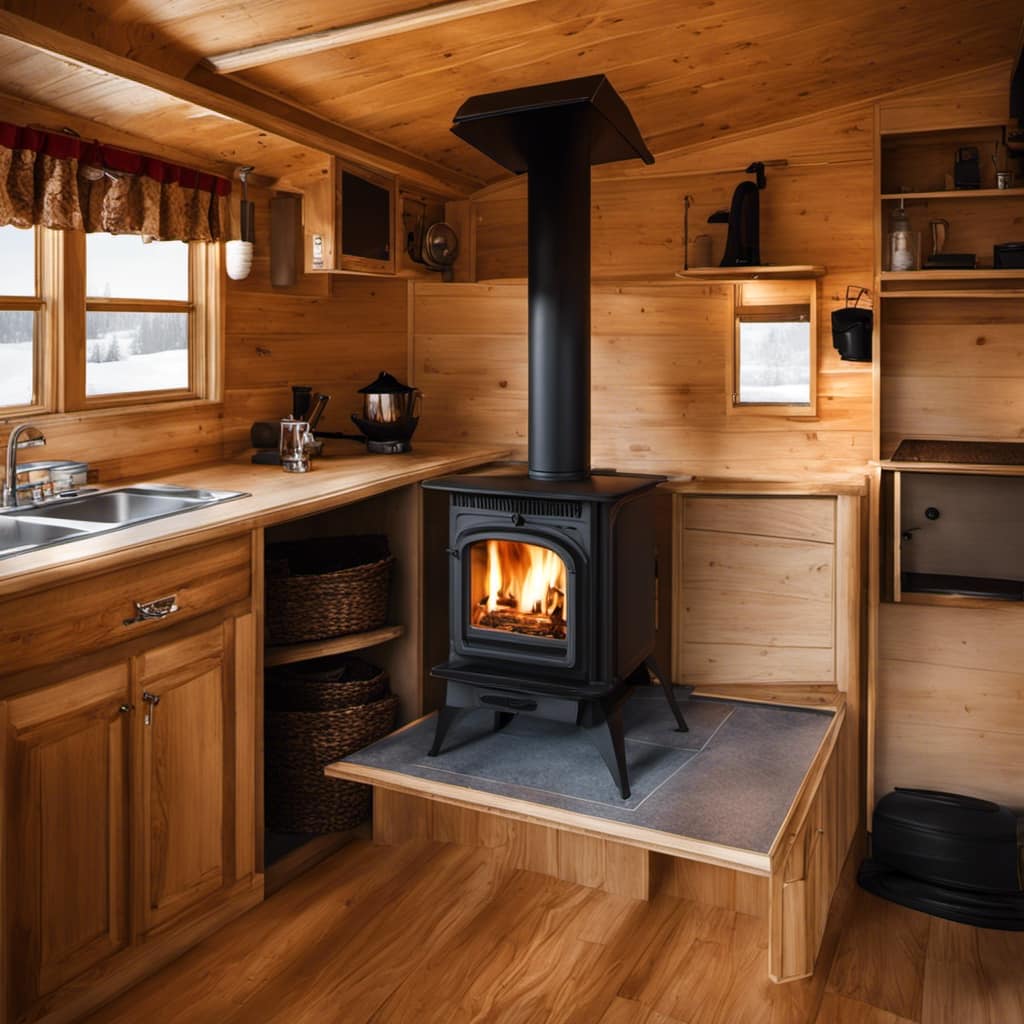
Connect with us

Wood Stove

How To Install A Wood Stove Insert

Published

on

Greetings! Ready to enhance the coziness of your home with a wood stove insert? Look no further! In this comprehensive guide, I’ll walk you through the process of incorporating a wood stove insert into your fireplace.

From assessing your chimney to connecting and sealing the flue pipe, I’ve got you covered. So grab your tools and let’s get started on transforming your fireplace into a warm and inviting haven.

Get ready to enjoy those chilly evenings in style!

Key Takeaways

  • Conduct a chimney inspection to ensure optimal performance of the wood stove.
  • Measure the dimensions of the fireplace opening and consider clearance requirements.
  • Gather fireproof materials and determine the required floor clearance.
  • Ensure a tight connection and proper sealing of the flue pipe.
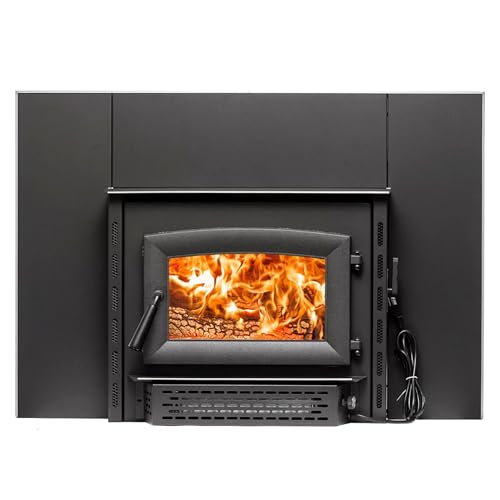
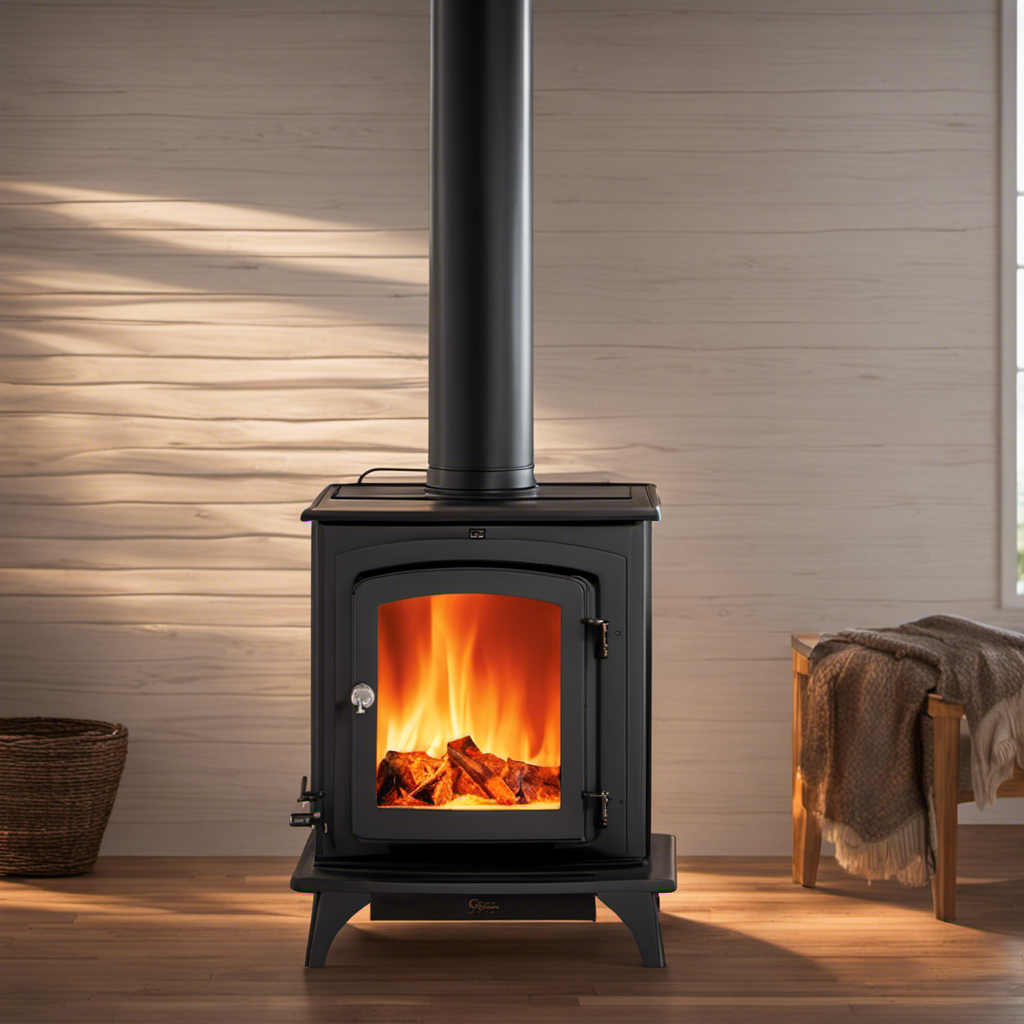
Assessing Your Fireplace and Chimney

I’ll check the condition of my fireplace and chimney before installing the wood stove insert.

truck camper wood stove

It’s important to evaluate the efficiency of the existing setup to ensure optimal performance of the wood stove. The first step is to conduct a chimney inspection.

Advertisement

I’ll start by examining the exterior of the chimney for any signs of damage or deterioration. Cracks, loose bricks, or missing mortar can all indicate potential problems.

Next, I’ll inspect the interior of the chimney by shining a flashlight up from the fireplace opening. I’ll look for any obstructions such as debris or animal nests. It’s important to ensure that the chimney is clear and free from any blockages.

Additionally, I’ll check the damper to ensure it’s functioning properly. A stuck or damaged damper can affect the efficiency of the wood stove.

wood stove outdoor

Finally, I’ll assess the fireplace itself. I’ll look for any cracks or gaps in the masonry that may need to be repaired.

Choosing the Right Wood Stove Insert

When it comes to selecting the perfect wood stove insert, it’s important to consider factors such as size, efficiency, and heating capacity. Here are some steps to guide you through the process:

Advertisement

Size:

  • Measure the dimensions of your fireplace opening to ensure the insert will fit properly.
  • Consider the clearance requirements around the insert to ensure it can be installed safely.

Efficiency:

wood stove fireplace ideas

  • Look for an insert with a high energy efficiency rating. This will ensure that it effectively heats your home while minimizing fuel consumption.
  • Consider features such as a secondary combustion system or a catalytic converter, which can increase the stove’s efficiency.

Heating Capacity:

  • Determine the square footage of the area you want to heat and choose an insert that’s suitable for that size.
  • Consider the BTU (British Thermal Unit) output of the stove to ensure it can provide enough heat for your space.

By considering these factors, you can choose a wood stove insert that’s the right size, highly efficient, and capable of heating your home effectively.

Once you’ve made your selection, it’s time to prepare the fireplace for installation.

Preparing the Fireplace for Installation

To ensure a successful installation, I need to thoroughly clean the fireplace and remove any debris or obstructions. First, I assess the fireplace safety by checking for any cracks or signs of damage. It’s important to ensure that the fireplace is structurally sound before proceeding with the installation. Next, I measure the dimensions of the fireplace opening to determine the proper fit for the wood stove insert. I carefully measure the width, height, and depth of the opening, making note of any irregularities or obstacles that may need to be addressed. Once the measurements are taken, I use these dimensions to cut the necessary pieces of insulation and mounting brackets. This step is crucial to ensure a secure and snug fit for the wood stove insert.

lopi wood stove

To convey a deeper understanding of the process, I have created a table below:

Step Description
1 Assess fireplace safety
2 Measure fireplace opening dimensions
3 Cut insulation and mounting brackets
4 Ensure secure and snug fit for insert

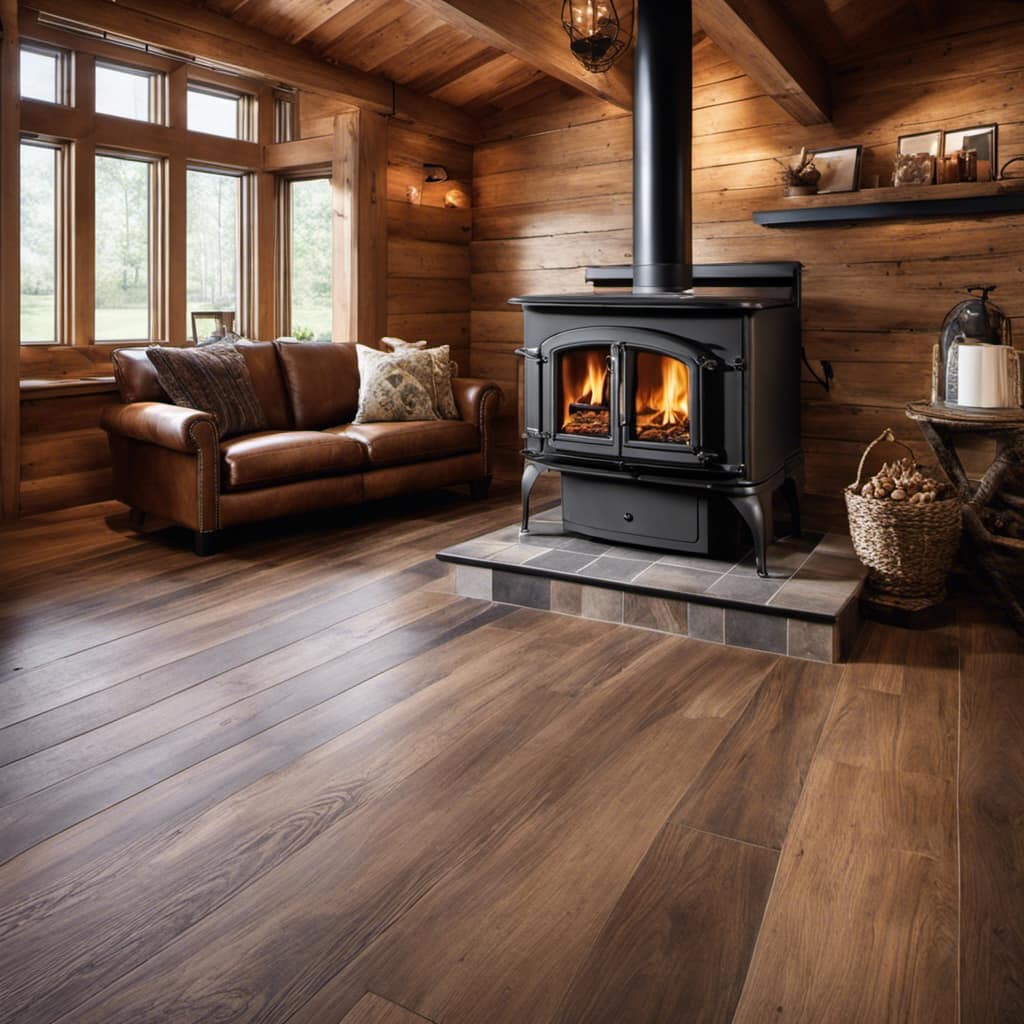
Installing the Hearth and Floor Protection

To ensure the safety and functionality of your wood stove insert, it’s crucial to properly install the hearth and floor protection.

Advertisement

First, gather fireproof materials such as fire-resistant tiles or a non-combustible hearth pad.

Next, determine the required floor clearance according to the manufacturer’s guidelines.

wood stoves for sale cheap

Lastly, consider the design and aesthetics of your hearth, making sure it complements your overall interior decor.

Fireproof Materials for Protection

I should use fireproof materials to protect the surrounding area when installing a wood stove insert. It’s crucial to prioritize safety during the installation process to prevent any accidents or fires. Using fireproof materials is essential for a successful and safe installation. Here are some key fireproof materials to consider:

  • Fireproof Clothing:

  • Wear fire-resistant clothing, such as flame-retardant jackets and pants, to protect yourself from potential sparks or burns.

    drolet wood stove

  • Fire Extinguisher Types:

  • Have a multipurpose fire extinguisher nearby, capable of handling different fire types like Class A (ordinary combustibles), Class B (flammable liquids), and Class C (electrical fires).

Proper Floor Clearance Requirements

The floor clearance requirements for a wood stove insert are crucial to follow for safety purposes. When installing a wood stove insert, it’s important to consider the type of flooring materials you’ve and adhere to local building codes.

Advertisement

First, check the manufacturer’s guidelines for the recommended floor clearance distance. This distance is usually specified to prevent any heat damage to the flooring.

morso wood stove

Next, determine the type of flooring materials you’ve and make sure they meet the necessary fire resistance standards. Common flooring materials like tile, stone, or concrete are generally suitable for wood stove inserts. However, if you’ve combustible flooring materials like carpet or wood, additional measures may be required, such as installing a non-combustible hearth pad or using an approved insulating material.

Always consult local building codes to ensure compliance and ensure a safe installation.

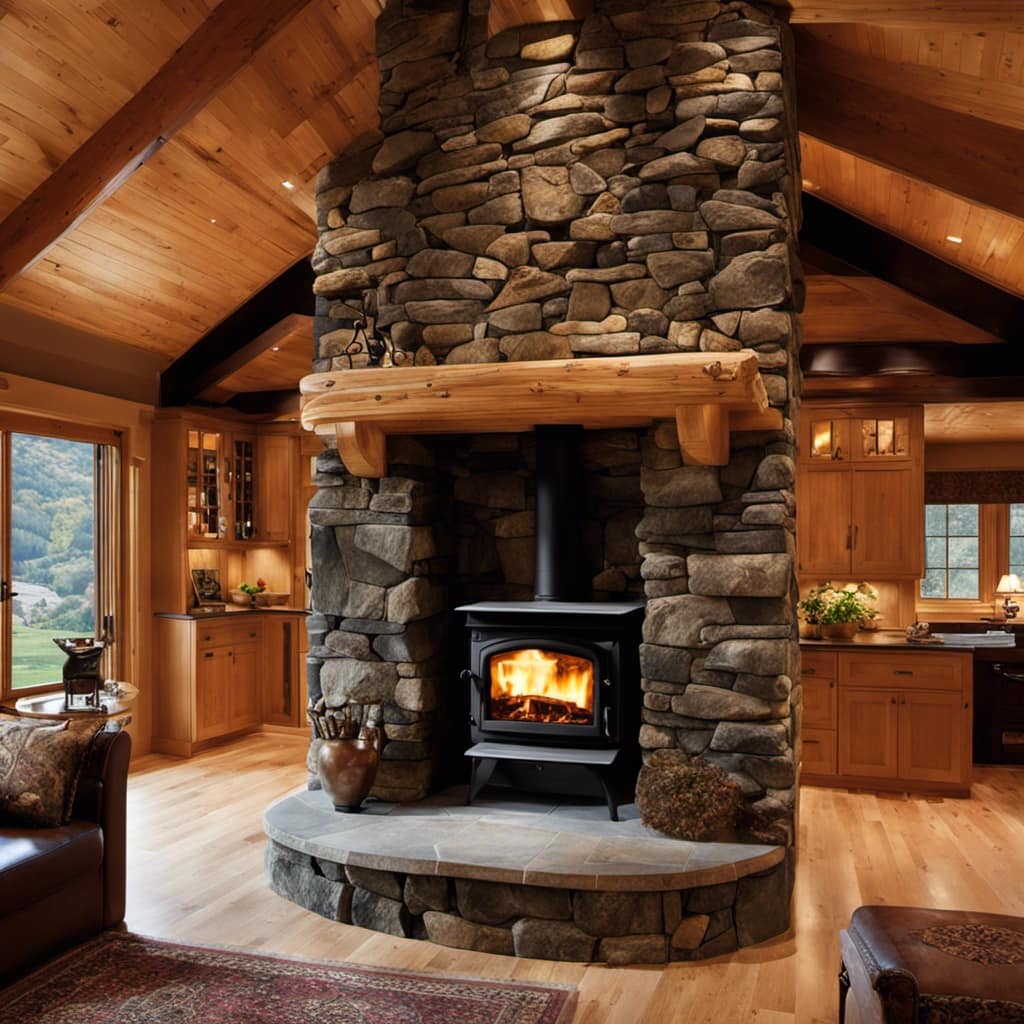
Hearth Design Considerations

When choosing a hearth design, it’s important to consider both functionality and aesthetics. Here are some considerations to keep in mind:

  • Hearth Design Options

    blaze king wood stove

  • Traditional: A classic choice, often made of brick or stone, with a raised platform for the wood stove insert.

  • Modern: Sleek and minimalist designs that incorporate materials like glass or metal for a contemporary look.

  • Sizing Considerations

  • Dimensions: Measure the space available in your room to ensure the hearth and wood stove insert will fit properly.

    lopi wood stove for sale craigslist

  • Clearance: Check the manufacturer’s guidelines for recommended clearances around the wood stove insert to prevent fire hazards.

Connecting and Sealing the Flue Pipe

To ensure proper ventilation, I’ll connect and seal the flue pipe tightly. This step is crucial in the installation process of a wood stove insert.

Advertisement

Here’s a step-by-step guide on how to connect and seal the flue pipe properly.

  1. Measure and cut the flue pipe: Start by measuring the distance between the wood stove insert and the chimney. Use those measurements to cut the flue pipe to the appropriate length. Make sure to use a pipe cutter to ensure clean and precise cuts.

    wood cook stove for sale

  2. Attach the flue pipe to the stove: Connect one end of the flue pipe to the outlet on the wood stove insert. Secure it tightly using screws or clamps to prevent any leaks or movement.

  3. Secure the other end of the flue pipe: Slide the other end of the flue pipe into the chimney opening. Use a chimney pipe adapter to ensure a tight fit. Seal the connection with high-temperature silicone or a metal flue pipe sealant.

  4. Inspect and test for leaks: Once the flue pipe is connected and sealed, visually inspect all the joints and connections. Look for any gaps or loose fittings. To test for leaks, light a small piece of paper and hold it near the joints. If the smoke gets sucked into the flue pipe, it means there’s a leak.

Securing the Wood Stove Insert in Place

To secure the wood stove insert in place, I start by anchoring it for stability. I use screws or brackets to attach the insert securely to the surrounding structure, ensuring it won’t shift or move.

blaze king

Next, I follow safety measures for installation, such as leaving proper clearance from combustible materials and using a high-temperature sealant to prevent any leaks.

Lastly, I make sure to position and align the insert correctly, ensuring it’s centered and level for optimal performance and safety.

Anchoring for Stability

I can ensure stability by properly anchoring the wood stove insert. To achieve this, there are several anchoring techniques and stability assessment steps that should be followed:

Advertisement
  • Anchoring Techniques:

    wood stove wiki

  • Use anchor brackets: These brackets are specifically designed to secure the stove insert to the floor or wall.

  • Floor bolts: These bolts go through the stove’s base and into the floor, providing a solid anchor point.

  • Stability Assessment:

  • Check for levelness: Use a level to ensure that the stove insert is sitting evenly on the floor or hearth.

    wood stove fireplace

  • Test for movement: Apply gentle pressure from different angles to see if the stove insert moves or wobbles.

By using these anchoring techniques and conducting a stability assessment, you can ensure that your wood stove insert is securely in place, minimizing the risk of accidents or damage.

Now, let’s move on to the next section where we’ll discuss the necessary safety measures for the installation process.

Safety Measures for Installation

When installing a wood stove, it’s important to follow safety measures to ensure a secure and hazard-free installation. Here are some key steps to keep in mind for a safe and successful installation.

wood burning stove small

First, make sure to choose the right location for your wood stove. It should be placed at least 36 inches away from any combustible materials, such as furniture or curtains.

Next, ensure proper ventilation by installing a chimney that meets local building codes. Regular chimney maintenance is crucial to prevent the buildup of creosote, which can lead to chimney fires. It’s recommended to have your chimney inspected and cleaned at least once a year.

Advertisement

Lastly, always remember to have a fire extinguisher nearby and install carbon monoxide detectors in your home for added safety.

Following these safety measures will help you enjoy your wood stove installation without any worries.

wood stove with blower

Proper Positioning and Alignment

When it comes to installing a wood stove insert, proper positioning and alignment are crucial. Not only does it ensure the stove’s efficiency, but it also enhances safety.

Here are some important steps to follow for proper positioning and alignment:

  1. Choose the right location:
  • Consider the stove’s proximity to combustible materials.
  • Ensure adequate clearance from walls, furniture, and curtains.
  1. Install proper ventilation:
  • Connect the stove to a chimney or flue system.
  • Ensure the chimney is in good condition and meets local codes.
  1. Insulation requirements:
  • Use appropriate insulation materials to protect nearby walls and floors from excessive heat.
  • Insulate the chimney to prevent heat loss and improve efficiency.

Testing and Adjusting the Wood Stove Insert

Before proceeding with the installation, it’s important to test and adjust the wood stove insert for optimal performance. This step will ensure that your stove operates efficiently and safely. Here are some testing procedures and troubleshooting tips to help you with this process.

First, check the air flow. Open the damper fully to allow maximum air intake. This will help create a strong fire.

Advertisement

jotul wood stove for sale craigslist

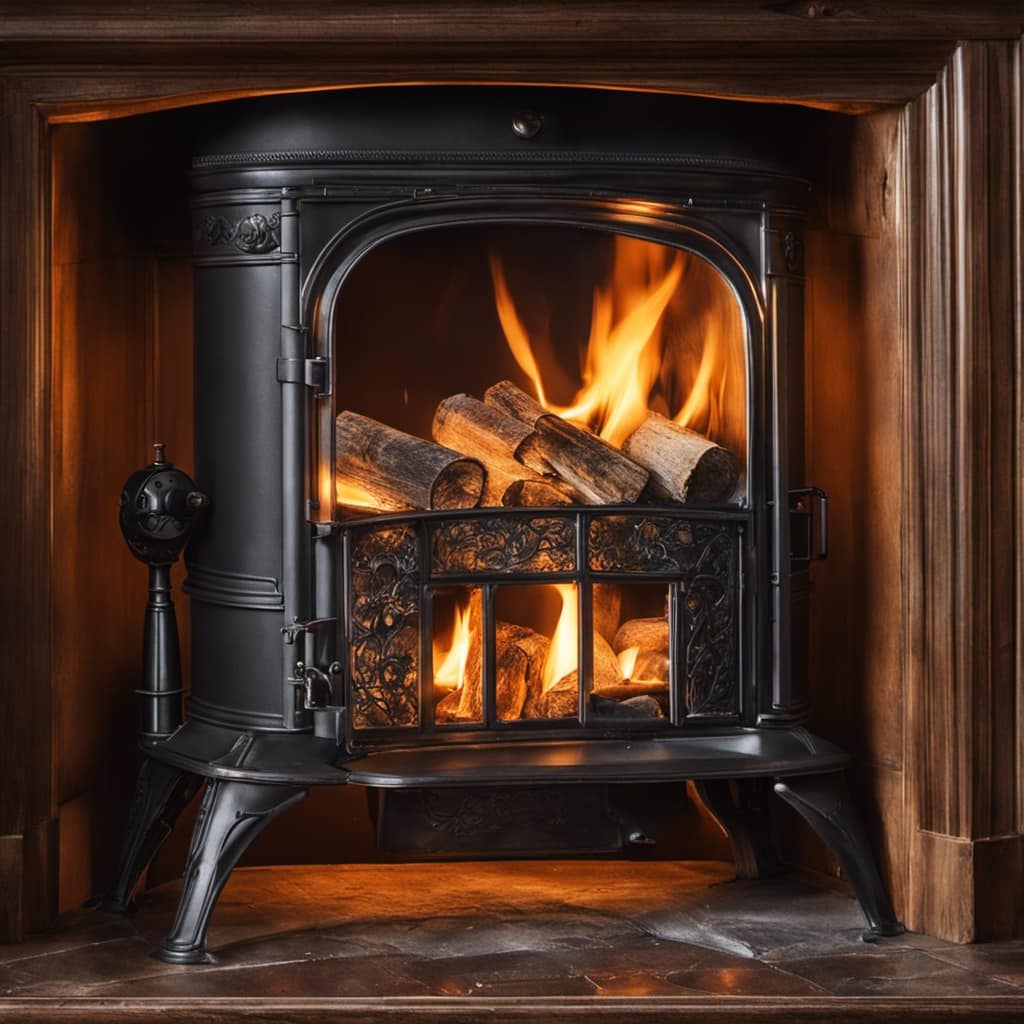
Next, light a small fire using dry kindling and newspaper. Observe the flame pattern. Ideally, the flames should be steady and well-distributed across the burn area. If you notice any uneven burning or excessive smoke, it may indicate a problem with the air supply or draft.

To troubleshoot, try adjusting the damper slightly to increase or decrease the air flow. This can help regulate the burn and improve combustion. If the problem persists, check for any blockages in the chimney or stovepipe. Clear out any debris or creosote buildup that could be obstructing the airflow.

Remember, maintaining and safely operating your wood stove insert is crucial for its longevity and your safety.

Now that you’ve successfully tested and adjusted the insert, let’s move on to the next section about maintaining and safely operating your wood stove insert.

log wood stove

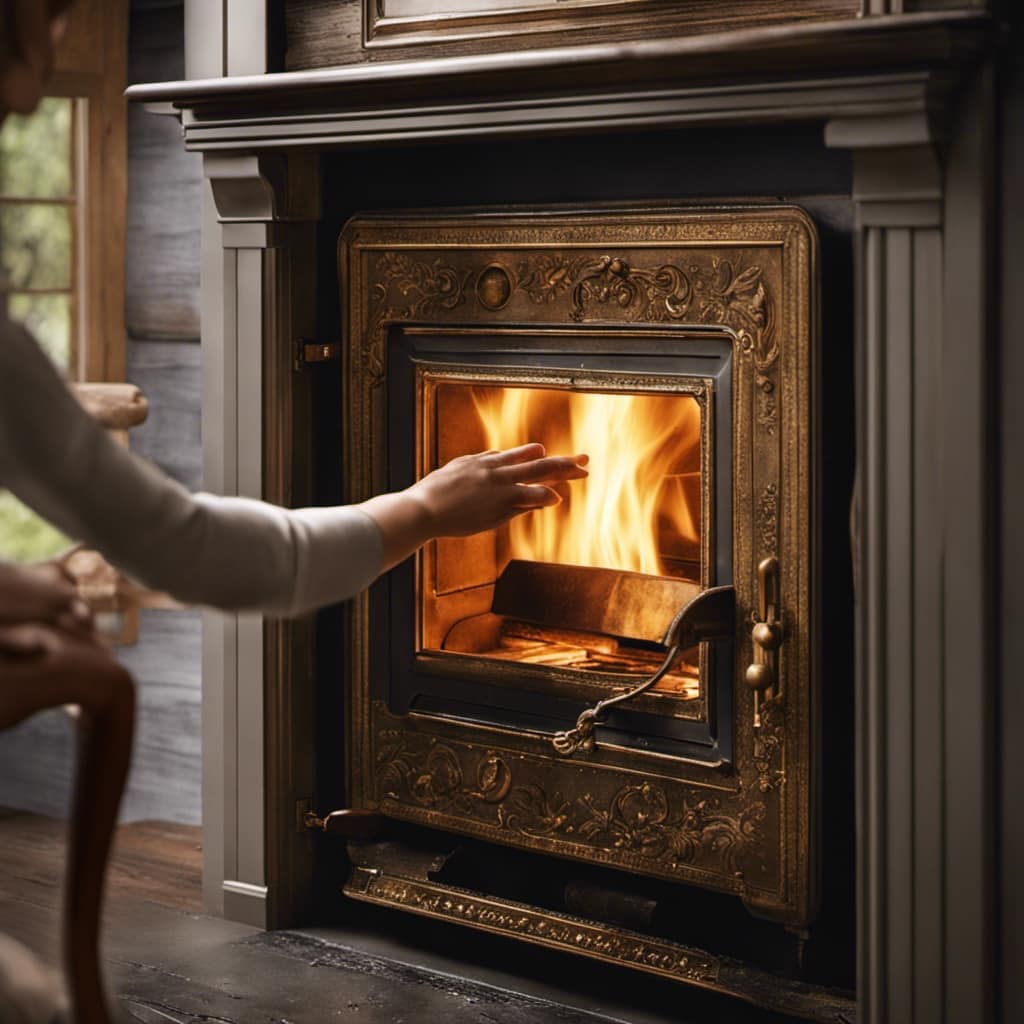
Maintaining and Safely Operating Your Wood Stove Insert

I need to regularly clean the chimney and inspect the stovepipe to ensure safe operation of my wood stove insert. Here are some safety precautions, cleaning, and maintenance steps that I follow to keep my wood stove insert in top condition:

Advertisement

Safety Precautions:

  • Wear protective gloves and goggles when cleaning the stove.
  • Make sure the stove is completely cool before starting any cleaning or maintenance tasks.

Cleaning:

  • Remove ashes and debris from the firebox using a metal scoop and brush.
  • Clean the glass window with a stove glass cleaner and a soft cloth.
  • Use a chimney brush to clean the chimney from the top down, removing any soot or creosote buildup.

Maintenance:

wood stove fireplace insert

  • Inspect the stovepipe for any cracks, leaks, or loose connections. Replace or repair as needed.
  • Check the gaskets and seals around the stove door and glass window. Replace if damaged.
  • Lubricate the stove’s hinges and moving parts with a high-temperature lubricant to ensure smooth operation.

Frequently Asked Questions

How Much Does a Wood Stove Insert Typically Cost?

Wood stove insert cost can vary depending on several factors. The type of wood stove insert you choose, its size, and the materials used will all impact the price.

Additionally, installation costs should be considered. On average, wood stove inserts can range from $1,000 to $5,000, not including installation.

However, it’s important to note that these prices are just estimates and can vary based on your location and specific needs.

Can a Wood Stove Insert Be Installed in a Fireplace With an Existing Chimney?

Installing a wood stove insert in a fireplace with an existing chimney is possible and has many benefits.

wood stove fireplace inserts near me

The installation process involves clearing out the existing fireplace, connecting the insert to the chimney, and ensuring proper ventilation.

Advertisement

The benefits of a wood stove insert include increased heating efficiency, reduced energy costs, and a cozy ambiance.

It’s important to consult a professional to ensure proper installation and to adhere to safety guidelines.

Is It Necessary to Have a Professional Install a Wood Stove Insert, or Can It Be Done as a DIY Project?

Installing a wood stove insert can be done as a DIY project, but it’s important to consider safety concerns. While it may seem tempting to save money by doing it yourself, a professional installation ensures proper ventilation, chimney connection, and compliance with local codes.

wood stoves for heating garage

They’ve the expertise to handle any obstacles that may arise during the process. Safety should always be the top priority when dealing with fire and heating appliances.

Are There Any Special Permits or Regulations That Need to Be Considered When Installing a Wood Stove Insert?

When it comes to wood stove insert installation, it’s important to consider any special permits or regulations that may be required. These regulations vary depending on your location, so it’s crucial to research and comply with local building codes.

Advertisement

Special permits may be needed to ensure proper ventilation, clearance from combustible materials, and compliance with safety standards.

It’s always a good idea to consult with a professional or local authorities to ensure that you’re meeting all necessary requirements.

vogelzang wood stove

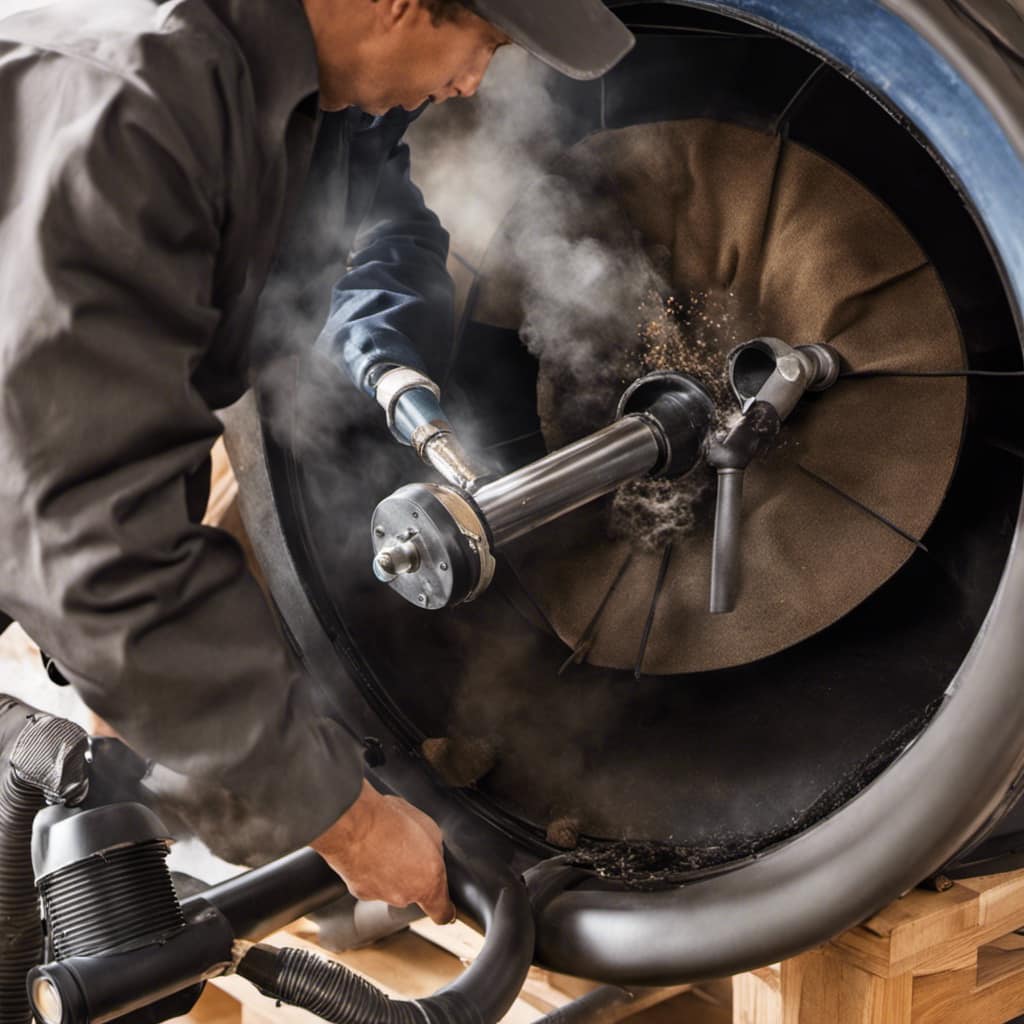
How Often Should the Chimney and Flue Pipe Be Cleaned and Inspected to Ensure Safe Operation of the Wood Stove Insert?

To ensure safe operation of a wood stove insert, it’s crucial to regularly clean and inspect the chimney and flue pipe. The frequency of cleaning and inspection depends on various factors, such as the type of wood used and the frequency of use.

Generally, it’s recommended to have the chimney and flue pipe cleaned and inspected at least once a year. Signs that indicate the need for cleaning or repair include excessive smoke, a strong odor, or a buildup of creosote.

Conclusion

In conclusion, installing a wood stove insert can be a rewarding and practical addition to your home. By carefully assessing your fireplace and chimney, choosing the right insert, and following the step-by-step installation process, you can enjoy the warmth and efficiency of a wood stove.

Advertisement

Remember, knowledge is the key that unlocks the door to a cozy and inviting atmosphere in your living space. So, let the flames of knowledge guide you on this exciting journey.

slow combustion wood stoves

Growing up surrounded by the vast beauty of nature, Sierra was always drawn to the call of the wild. While others sought the comfort of the familiar, she ventured out, embracing the unpredictable and finding stories in the heartbeat of nature.   At the epicenter of every remarkable venture lies a dynamic team—a fusion of diverse talents, visions, and passions. The essence of Best Small Wood Stoves is crafted and refined by such a trio: Sierra, Logan, and Terra. Their collective expertise has transformed the platform into a leading authority on small wood stoves, radiating warmth and knowledge in equal measure.

Continue Reading
Advertisement

Wood Stove

How Long Does It Take Wood To Ignite Aftee Being Put In A Wood Stove

Published

on

By

An image capturing the mesmerizing scene of a wood stove, with a bed of glowing embers beneath carefully stacked logs, as tendrils of thin smoke gracefully curl upwards, depicting the anticipation of wood slowly igniting

I must admit, the wait for wood to catch fire in a wood stove can seem never-ending. However, do not worry, as in this article, I will share some strategies and tips to speed up the process.

From understanding the temperature and moisture content of the wood to choosing the right type and preparing it efficiently, we’ll explore all the factors that affect wood ignition time.

So let’s dive in and get that fire blazing in no time!

Key Takeaways

  • Weather conditions and moisture content of the wood can affect the ignition time.
  • Properly seasoned wood with around 20% moisture content ignites more easily.
  • Smaller wood logs and softer woods tend to ignite faster than larger and harder woods.
  • Proper wood storage and preparation, such as keeping it off the ground, using fire starters, and maintaining airflow, can help ensure faster ignition in a wood stove.

Factors Affecting Wood Ignition Time

I’m curious about the factors that can affect the time it takes for wood to ignite in a wood stove.

One of the key factors is the weather conditions. Cold and damp weather can make it harder for the wood to catch fire, as moisture content in the wood can be high. It’s important to ensure that the wood is properly seasoned and has a moisture content of around 20% for optimal ignition.

Another factor to consider is the size of the wood logs. Smaller logs tend to ignite more quickly as they’ve a larger surface area exposed to the heat source.

Advertisement

Additionally, the type of wood being used can also affect ignition time, with softer woods igniting faster than harder woods.

Temperature and Moisture Content of Wood

The optimal moisture content for wood is around 20%, which ensures efficient ignition in a wood stove. The wood ignition process is influenced by various factors, and the moisture content plays a critical role in determining how quickly the wood will ignite.

When wood is too wet, it requires more energy to burn off the excess moisture before it can reach its ignition point. On the other hand, if the wood is too dry, it may ignite too quickly and burn too rapidly, leading to inefficient combustion and wasted energy.

Therefore, it’s essential to properly store wood to maintain its moisture content within the optimal range. Proper wood storage involves keeping the wood off the ground, covering it to protect it from rain or snow, and allowing for proper airflow to prevent excessive moisture buildup.

Type of Wood and Its Density

I prefer using hardwoods like oak or maple due to their density and their ability to burn longer and provide more heat. When it comes to wood species selection, it’s important to consider the impact of wood moisture content. Here are three key points to keep in mind:

Advertisement
  1. Moisture content affects combustion efficiency: Wet wood contains a higher moisture content, which leads to incomplete combustion and the production of more smoke and pollutants. Dry hardwoods, on the other hand, burn more efficiently and produce less smoke.

  2. Heat output is influenced by wood density: Hardwoods have a higher density compared to softwoods, resulting in a higher heat output. This means that hardwoods like oak and maple can provide more warmth and keep your space cozy for a longer period of time.

  3. Longer burn time with hardwoods: Due to their density, hardwoods burn at a slower rate, allowing for a longer burn time per log. This means less frequent refueling and a more consistent heat source.

Preparing Wood for Efficient Ignition

To ensure efficient ignition, I always make sure to properly split and dry my firewood. Proper wood storage is essential for achieving this. It’s important to store the firewood in a well-ventilated area, off the ground and protected from moisture. This allows the wood to dry properly and reduces the risk of it being damp or rotting.

When it comes to igniting the wood in a wood stove, using fire starters or kindling can greatly speed up the process. These small pieces of flammable material help create a hot and sustained flame, which in turn ignites the larger pieces of wood.

By incorporating these techniques, you can ensure a faster and more efficient ignition in your wood stove.

Now, let’s move on to some tips for faster wood ignition in a wood stove.

Tips for Faster Wood Ignition in a Wood Stove

Using kindling and ensuring proper airflow are key to achieving faster wood ignition in a wood stove. When it comes to stubborn wood that’s difficult to ignite, there are several ignition techniques that can be employed:

Advertisement
  1. Preparation: Properly seasoned wood with a moisture content below 20% is essential for efficient ignition. This ensures that the wood is dry enough to catch fire quickly.

  2. Kindling: Creating a bed of small, dry kindling underneath the larger logs helps to ignite the fire faster. Kindling acts as a fuel source that ignites easily and produces enough heat to catch the larger logs on fire.

  3. Airflow: Adequate airflow is crucial for wood ignition. By opening the damper or adjusting the air vents, you can ensure that enough oxygen is getting to the fire, promoting faster ignition.

While some may consider using accelerants to speed up wood ignition, it’s important to note that this can be dangerous and may result in uncontrollable fires or the release of harmful chemicals. It’s recommended to rely on proper ignition techniques and patience for a safe and efficient wood ignition process.

Frequently Asked Questions

Can I Use Treated Wood in My Wood Stove?

Using pressure treated wood in a wood stove is not recommended due to the chemicals it releases when burned. It is safer to use untreated wood or other alternatives for faster ignition.

What Is the Best Type of Wood to Use for Faster Ignition in a Wood Stove?

Fast burning woods like pine or fir can ignite in a wood stove within minutes. To ensure efficient wood stove usage, it’s important to choose dry, seasoned firewood and properly maintain the stove.

Are There Any Safety Precautions I Should Take When Igniting Wood in a Wood Stove?

When igniting wood in a wood stove, it is important to take safety precautions. Keep a fire extinguisher nearby and ensure proper ventilation. Additionally, the moisture content of the wood can affect its ignition time.

Can I Use Wood Chips or Sawdust for Ignition in a Wood Stove?

I can use wood chips or sawdust for ignition in a wood stove. They are effective fire starters for faster ignition. The small size and high surface area make them ignite quickly, reducing the time needed for the wood to catch fire.

Advertisement

How Does the Size of the Wood Affect Its Ignition Time in a Wood Stove?

Moisture content significantly affects wood ignition in a wood stove. Smaller pieces of wood ignite faster due to increased surface area. However, larger pieces provide longer burn times. Consider the advantages and disadvantages of each for efficient use in a wood stove.

Conclusion

After careful analysis of the factors affecting wood ignition time, it’s safe to say that wood doesn’t ignite instantly in a wood stove. Contrary to popular belief, wood requires time to reach its ignition point, which is influenced by factors such as temperature, moisture content, and wood density.

To expedite the process, it’s crucial to choose the right type of wood and ensure it’s properly prepared. So, if you were expecting an immediate burst of flames, you might’ve to wait a little longer.

Continue Reading

Wood Stove

Why Does Your Wood Stove Smoke

Published

on

By

An image capturing a rustic, cozy living room

Dealing with the smoke from your wood stove can be a real nuisance. But don’t worry, I’m here to provide some tips on how to manage it.

Understanding the root causes of this predicament is crucial. Insufficient airflow, improper wood selection, damaged chimney, inadequate maintenance, and incorrect installation are the major culprits.

Let’s delve into each of these factors to uncover the secrets behind why your wood stove may be producing that bothersome smoke.

Key Takeaways

  • Blocked vents disrupt combustion process and lead to incomplete burning and smoke generation.
  • Burning wet or high-moisture wood results in inefficient burning and increased creosote buildup.
  • Cracked or deteriorating chimney can cause leaks and smoke entry.
  • Inadequate stove maintenance, including dirty burners and clogged flue, can lead to smoke issues.

Insufficient Airflow

I’m having trouble with my wood stove smoking because there’s not enough airflow. A common cause of insufficient airflow is blocked vents. When the vents are blocked, the combustion process is disrupted, leading to incomplete burning of the wood and the generation of smoke.

To ensure efficient combustion and minimize smoke, it’s crucial to maintain clear and unobstructed vents. Blocked vents can result from a buildup of creosote or debris, so regular cleaning is essential.

Additionally, proper placement of the stove is crucial to ensure adequate airflow. Make sure that the stove is positioned away from any obstructions, such as furniture or curtains, that might impede the flow of air.

Advertisement

Improper Wood Selection

To prevent excessive smoke and poor combustion, it’s important to avoid burning wet wood or wood with high moisture content, as it can result in inefficient burning and increased creosote buildup. When burning seasoned firewood, which has a moisture content of around 20% or less, the wood burns more efficiently, producing less smoke and providing more heat output. Seasoned firewood has been properly dried for at least six months, allowing the moisture content to decrease significantly. This ensures that the wood burns cleanly and effectively in your wood stove. However, if you burn wood with high moisture content, it will create more smoke and reduce the overall efficiency of your stove. This can also lead to a higher risk of creosote buildup in your chimney, which can be dangerous and increase the chance of a chimney fire. Therefore, it’s crucial to always use dry, seasoned firewood to prevent excessive smoke and maintain proper combustion in your wood stove.

Now, let’s discuss another potential reason for excessive smoke: a damaged or leaky chimney.

Damaged or Leaky Chimney

A damaged or leaky chimney can cause smoke to enter your home, which can be hazardous to your health and safety. It’s important to address any issues with your chimney promptly to ensure the proper functioning of your wood stove.

Here are three signs of a damaged chimney that you should be aware of:

  1. Cracked or crumbling mortar: If you notice any cracks or crumbling in the mortar joints of your chimney, it could indicate water damage or structural issues. This can lead to leaks and smoke entering your home.

  2. Rusty or deteriorating chimney cap: The chimney cap plays a crucial role in keeping out rain, snow, debris, and animals. If it’s rusty or deteriorating, it may not be able to perform its function effectively, allowing smoke to escape into your living space.

  3. Smoke stains or odors: If you notice smoke stains on the walls or ceilings near your chimney or detect a persistent smoky odor in your home, it could be a sign of a leaky chimney. This should be addressed promptly to prevent further damage and potential health risks.

When faced with a damaged chimney, there are various repair options available, such as chimney relining, chimney crown repair, and chimney flashing repair. It’s important to consult with a professional chimney technician to determine the best course of action for your specific situation.

Advertisement

Inadequate Stove Maintenance

One of the main causes of smoke in your home can be the result of inadequate stove maintenance. A dirty stove and a clogged flue are two common culprits that can lead to smoke issues. When the stove isn’t properly cleaned, a buildup of soot and debris can occur on the burners, causing incomplete combustion and the production of smoke.

Additionally, a clogged flue prevents the proper ventilation of smoke, leading to its accumulation inside your home. Regular cleaning and maintenance of your stove, including cleaning the burners and ensuring the flue is clear, is crucial in preventing smoke issues.

It’s recommended to schedule annual professional maintenance to ensure your stove is in optimal condition and to avoid the inconvenience and potential health hazards associated with smoke in your home.

Incorrect Stove Installation

I regret not hiring a professional for my stove installation, as it has caused numerous issues and potential hazards. When it comes to installing a wood stove, proper positioning and sizing are crucial factors that shouldn’t be taken lightly.

Here are three key reasons why improper stove positioning and incorrect flue size can lead to problems:

Advertisement
  1. Inadequate clearance: Placing the stove too close to combustible materials can increase the risk of fire. It’s essential to follow the manufacturer’s guidelines for proper clearances to ensure the safe operation of the stove.

  2. Inefficient heating: Incorrect positioning can hinder the stove’s ability to distribute heat effectively throughout the room. This can result in uneven temperatures and wasted energy, leading to discomfort and higher heating costs.

  3. Insufficient draft: Using an incorrect flue size can impede the stove’s ability to expel smoke and gases properly. This can lead to backdrafting, where smoke enters the room instead of being directed outside. Aside from the health hazards, backdrafting can damage the stove and cause indoor air quality issues.

To avoid these problems, it’s essential to consult a professional for the proper installation of your wood stove. They’ll ensure that the stove is positioned correctly and the flue size is appropriate for efficient and safe operation.

Frequently Asked Questions

Can Smoking Occur if There Is Sufficient Airflow in the Wood Stove?

Yes, smoking can still occur in a wood stove even with sufficient airflow. Factors like improper wood placement, damp or unseasoned wood, or a clogged chimney can all contribute to smoking issues. Proper troubleshooting can resolve these problems and improve wood stove performance.

What Are Some Common Wood Types That Should Be Avoided to Prevent Smoking in a Wood Stove?

To prevent smoking in a wood stove, it is important to avoid using wood types like pine, as they contain high levels of resin. Additionally, properly seasoning firewood is crucial to reduce smoke production.

How Can I Identify if My Chimney Is Damaged or Leaking?

To identify chimney damage or leaks, conduct a thorough chimney inspection. Look for cracks, loose bricks, or crumbling mortar. Additionally, consider installing a smoke detector near the stove to quickly detect any smoke issues.

Besides Regular Cleaning, What Other Maintenance Practices Can Help Prevent Smoking in a Wood Stove?

Other maintenance practices, such as ensuring proper airflow and avoiding certain wood types, can help prevent smoking in a wood stove. Identifying chimney damage or leaks and checking for correct stove installation are also crucial.

Advertisement

What Are Some Signs of Incorrect Stove Installation That May Lead to Smoking?

Installing a wood stove improperly can lead to frustrating smoke issues. One key sign is if the chimney height is too short. Another is using unseasoned wood, which can cause excessive smoke.

What Are Some Wood Stove Brands That Have Smoke-Reducing Features?

Looking for the best wood stove brands with smoke-reducing features? Look no further. With increasing concerns about air pollution, several brands are innovating their wood stoves to minimize smoke emissions. Some notable options include Vermont Castings, Jøtul, and Blaze King. These brands prioritize efficiency and clean burning, ensuring you can enjoy the warmth of a wood stove while minimizing environmental impact.

Conclusion

In conclusion, when your wood stove smokes, it’s often due to factors such as:

  • Insufficient airflow
  • Improper wood selection
  • A damaged or leaky chimney
  • Inadequate stove maintenance
  • Incorrect installation

To prevent this, you should:

  • Ensure proper ventilation
  • Use seasoned and dry wood
  • Inspect and repair your chimney regularly
  • Maintain your stove diligently
  • Ensure professional installation

By addressing these issues, you can enjoy a smoke-free and efficient wood stove experience, creating a cozy and inviting atmosphere in your home.

Continue Reading

Wood Stove

How To Build A Wood Stove From A Jerry Can

Published

on

By

An image showcasing the step-by-step process of transforming a jerry can into a wood stove

I have always been fascinated by the concept of transforming ordinary objects into useful tools.

So when I came across an old jerry can in my garage, I knew I had the perfect opportunity to create my own wood stove.

In this article, I’ll guide you through the process of transforming a jerry can into a functional and efficient wood stove, complete with ventilation, legs, and a base.

Get ready to unleash your inner DIY enthusiast and start enjoying the warmth of your homemade wood stove.

Key Takeaways

  • Consider the capacity and dimensions of the jerry can
  • Compare different materials for jerry cans
  • Prepare and clean the jerry can properly
  • Take safety precautions and use the right tools when modifying the jerry can

Selecting the Right Jerry Can for Your Wood Stove

I’m trying to figure out which jerry can is the best option for my wood stove.

When it comes to choosing the right size jerry can for your wood stove, it’s important to consider the capacity and dimensions. A larger can will hold more fuel, but it may be too bulky for your space. On the other hand, a smaller can may require more frequent refills.

Advertisement

Additionally, it’s crucial to compare different materials for jerry cans to ensure optimal wood stove performance. Metal cans are durable and resistant to heat, but they can also be heavy. Plastic cans, on the other hand, are lightweight and easier to handle, but may not withstand high temperatures as well.

Ultimately, finding the perfect jerry can for your wood stove is about balancing capacity, dimensions, and material for efficient and safe operation.

Preparing and Cleaning the Jerry Can

Before starting to use the jerry can, it’s crucial to properly clean and prepare it by removing any dirt or residue, and then ensuring it’s completely dry. Here is the cleaning process and safety precautions to follow:

  1. Rinse the jerry can with warm water and a mild detergent to remove any dirt or debris. Use a sponge or brush to scrub the inside and outside of the can thoroughly.

  2. Rinse the can again with clean water to remove any soap residue. Make sure to rinse it multiple times to ensure all the soap is gone.

  3. After rinsing, allow the jerry can to air dry completely. This is important to prevent any moisture from causing rust or corrosion.

By following these cleaning steps, you can ensure that your jerry can is ready for modification.

Now, let’s discuss cutting open and modifying the jerry can for ventilation.

Advertisement

Cutting Open and Modifying the Jerry Can for Ventilation

I’ll explain how to use a few small holes in the jerry can to provide adequate ventilation for the wood stove. When modifying the jerry can for ventilation, it is important to take safety precautions and use the right tools. Here is a table outlining the necessary steps:

Step Safety Precautions Tools Needed
1 Wear protective gloves and goggles Drill
2 Work in a well-ventilated area Marker
3 Ensure the jerry can is empty and clean Metal file
4 Mark the desired ventilation holes on the can Safety glasses
5 Use the drill to create the holes Protective gloves
6 Smooth the edges of the holes with the metal file Goggles
7 Clean any metal shavings from the can Clean cloth

Adding Legs and a Base to the Wood Stove

I can attach some sturdy legs and a stable base to the wood stove to ensure it stands securely on any surface. Achieving stove stability is crucial to prevent accidents and maintain proper functioning.

When choosing materials for the legs and base, it’s important to consider their strength, durability, and heat resistance. Here are three essential elements to consider:

  1. Material Selection: Opt for materials that can withstand high temperatures, such as stainless steel or cast iron. These materials are known for their strength and ability to withstand the intense heat generated by the wood stove.

  2. Design and Construction: The design of the legs should provide sufficient support and stability. Consider a tripod or four-leg design for optimal balance. Additionally, ensure the legs are securely attached to the stove body to prevent any wobbling or instability.

  3. Base Size and Shape: The base of the wood stove should be wide and flat enough to distribute the weight evenly, ensuring stability on various surfaces. A larger base will provide better stability, especially when using the stove on uneven or soft ground.

Testing and Using Your DIY Wood Stove

I’ve successfully tested and now use my DIY wood stove to cook meals while camping. It’s a simple yet effective solution for outdoor cooking. However, before using it, I took several testing techniques and safety precautions to ensure its efficiency and my own well-being.

Firstly, I conducted a leak test to ensure there were no air or gas leaks that could potentially cause a fire hazard. This involved pressurizing the stove and checking for any signs of leakage. I also tested its heat distribution by placing a pot of water on the stove and monitoring how evenly the heat was dispersed.

Advertisement

To further ensure safety, I implemented safety precautions such as maintaining a safe distance between the stove and any flammable objects, using heat-resistant gloves when handling the stove, and having a fire extinguisher nearby.

Using my DIY wood stove has been a game-changer for my camping trips. Not only does it provide a reliable cooking source, but it also allows me to enjoy the natural surroundings without relying on traditional campfire cooking methods. By following proper testing techniques and safety precautions, I can confidently cook my meals and enjoy the great outdoors.

Frequently Asked Questions

How Long Does It Take to Build a Wood Stove From a Jerry Can?

It takes about 2 hours to build a wood stove from a jerry can. The benefits of using a wood stove include cost-effective heating and a sustainable fuel source. Regular cleaning and maintenance ensure optimal performance.

Can I Use Any Type of Wood for the Base of the Wood Stove?

I can use different types of wood for the base of the wood stove, but it’s important to consider safety precautions when using it indoors. Proper ventilation and non-flammable materials are crucial.

Is It Safe to Use the Wood Stove Indoors?

Oh, using a wood stove indoors, what a brilliant idea! Let me enlighten you on the potential health hazards and share some precise tips for safely using one. Shall we begin?

Advertisement

Can I Paint the Jerry Can After Modifying It?

Yes, you can paint the modified jerry can using various painting techniques. It is important to choose a paint that can withstand high temperatures and adhere well to metal surfaces. Make sure to consider alternative fuel sources when painting for safety.

What Tools Do I Need to Build a Wood Stove From a Jerry Can?

To build a wood stove from a jerry can, I need a few tools like a jigsaw, drill, and metal file. Safety precautions are crucial, and alternative materials can be used if necessary.

Can I Use a Wood Stove Insert in a DIY Jerry Can Wood Stove?

When considering building a wood stove fireplace, it’s crucial to factor in the cost of materials and construction. However, if you’re planning to use a wood stove insert in a DIY Jerry Can Wood Stove, the cost of building a wood stove fireplace may decrease significantly. This alternative method combines affordability and practicality, making it an excellent choice for those seeking an alternative heating solution.

Can Duraflame Logs Be Used in a Wood Stove Made from a Jerry Can?

Can Duraflame logs be used in a wood stove made from a jerry can? Many DIY enthusiasts wonder about using Duraflame logs in a wood stove. While Duraflame logs are commonly used in traditional fireplaces, their use in a jerry can wood stove may not be ideal. It’s important to consider the safety and compatibility aspects of using duraflame logs in wood stoves specifically designed for them.

Conclusion

After carefully selecting the right jerry can, preparing and modifying it for ventilation, and adding sturdy legs and a stable base, your DIY wood stove is ready for testing and use.

Advertisement

With its compact design and efficient functionality, this wood stove provides a practical and cost-effective heating solution for outdoor activities or emergency situations.

Embrace the warmth and convenience of this homemade creation, bringing comfort and coziness wherever you go.

Continue Reading

Trending