Connect with us

Wood Stove

How To Cool Down A Wood Stove Quickly

Published

on

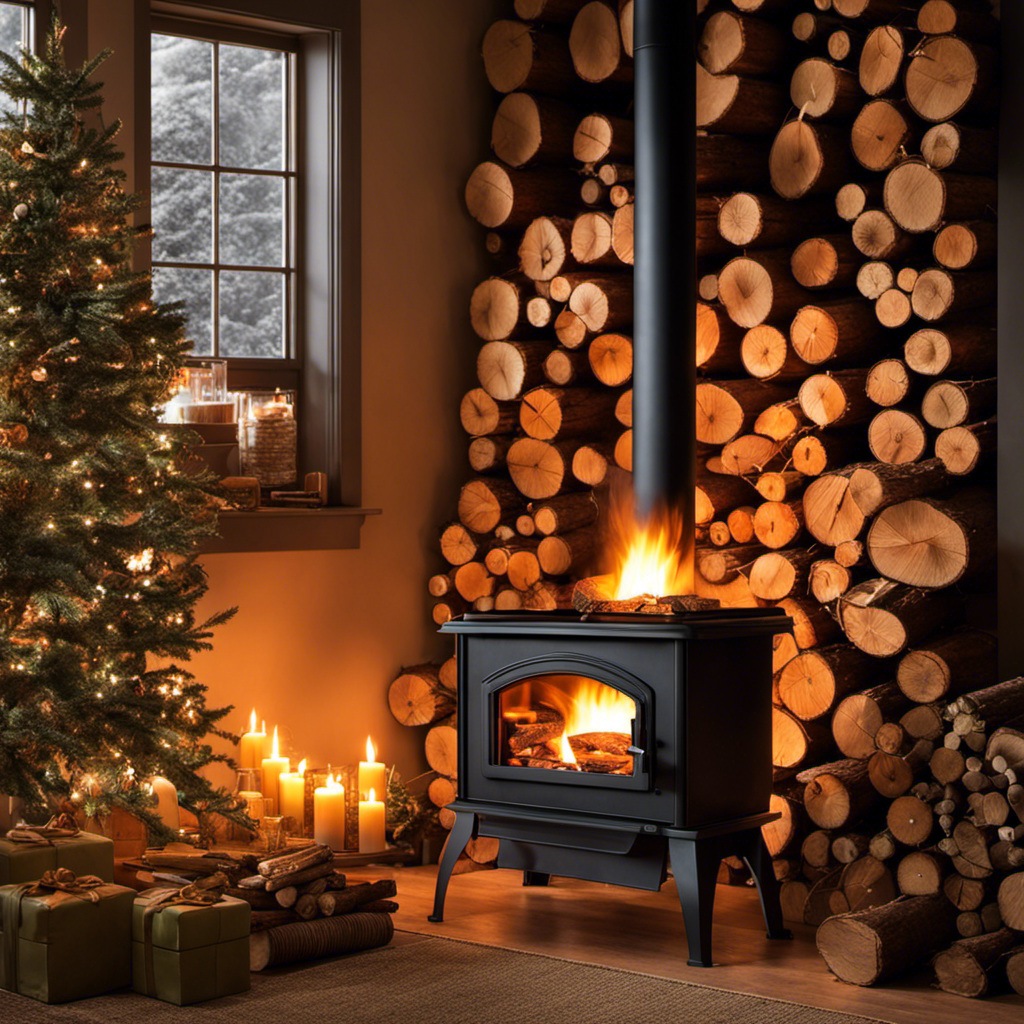
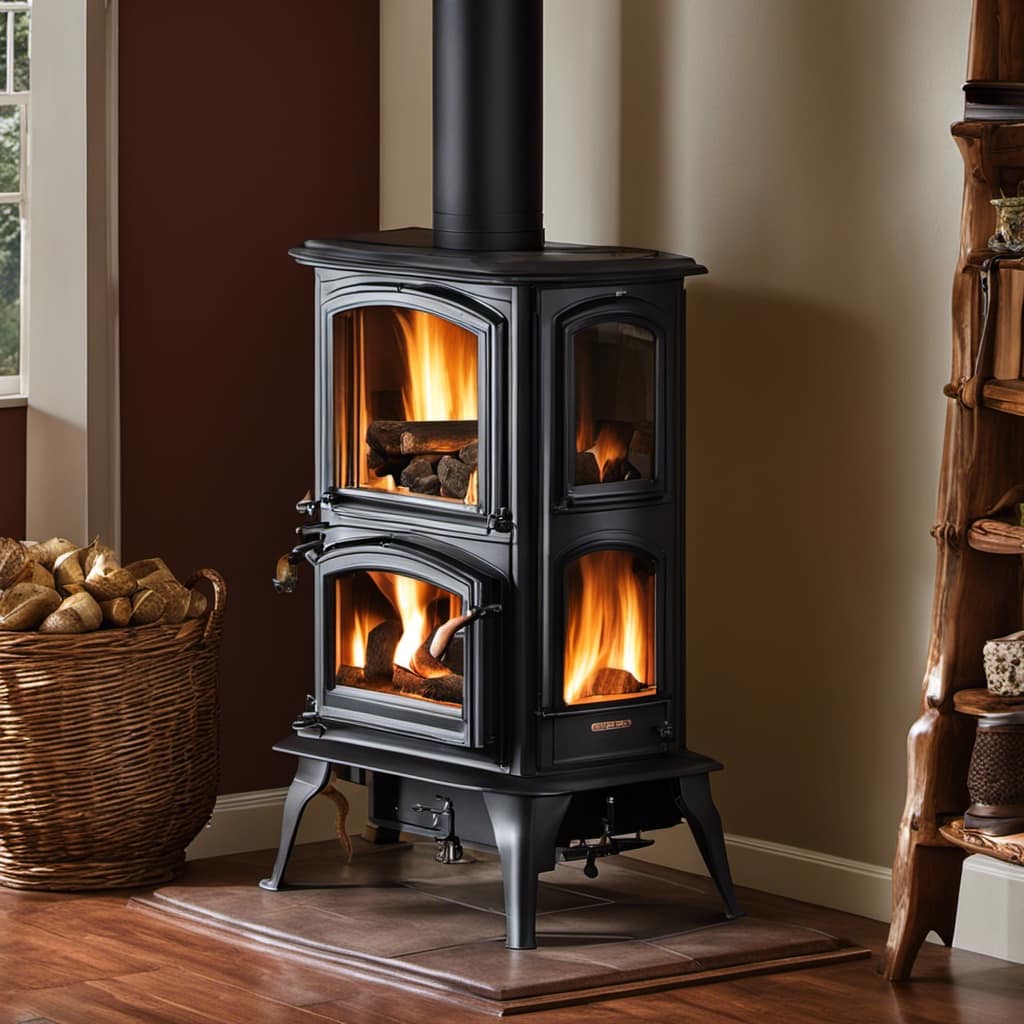
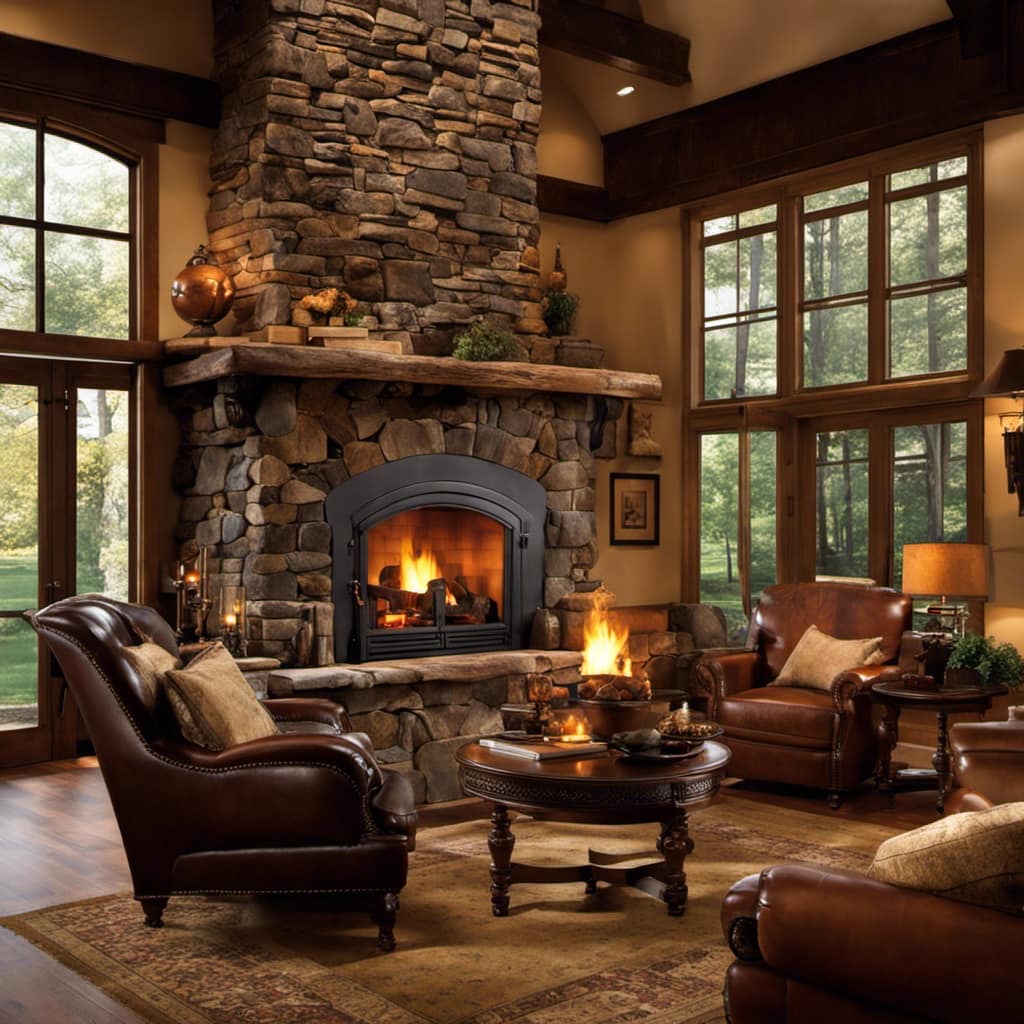
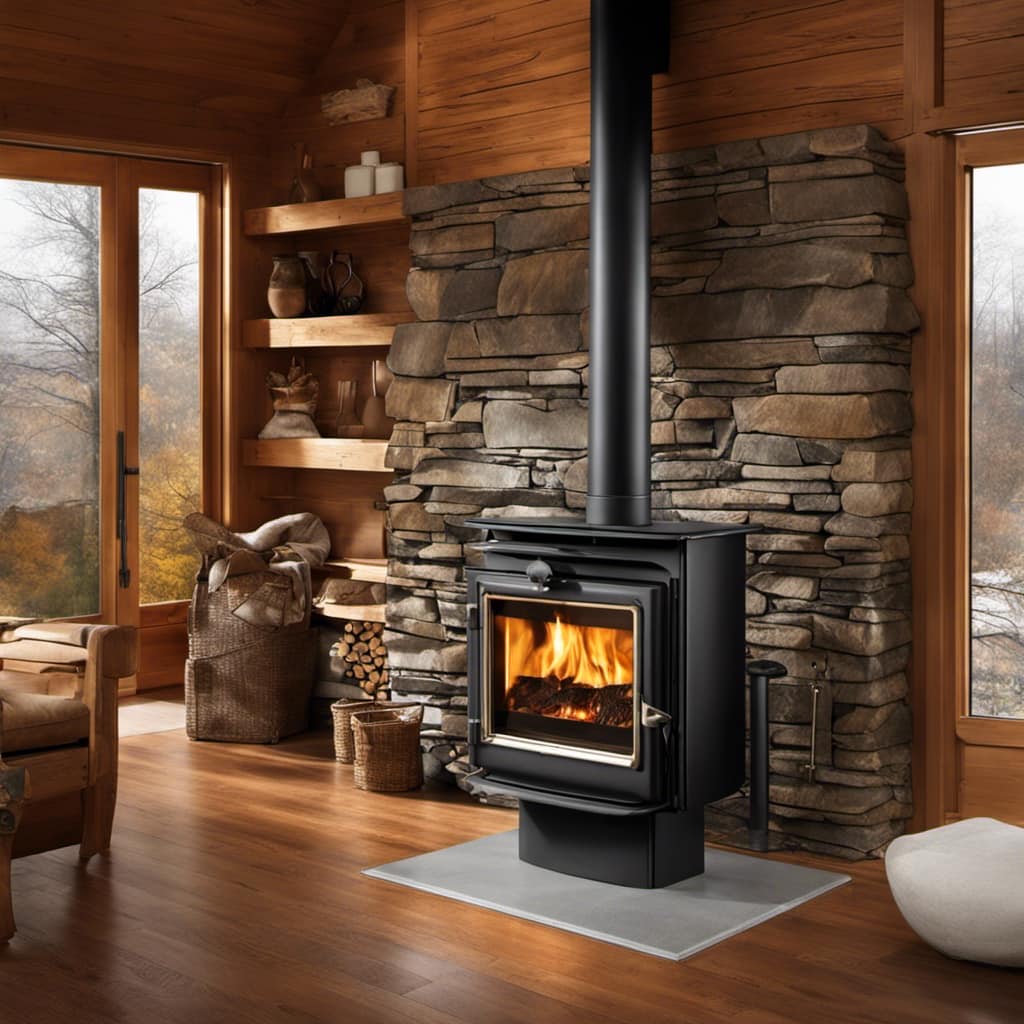
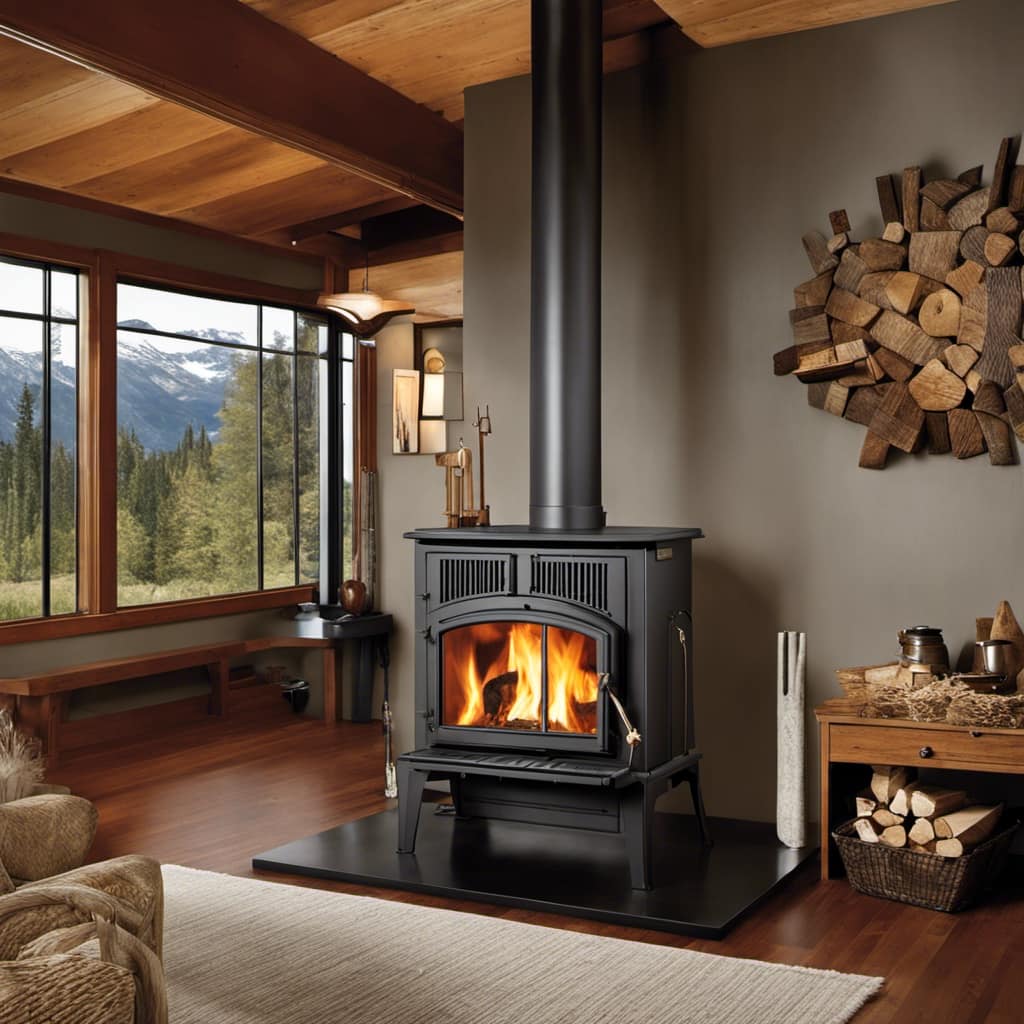
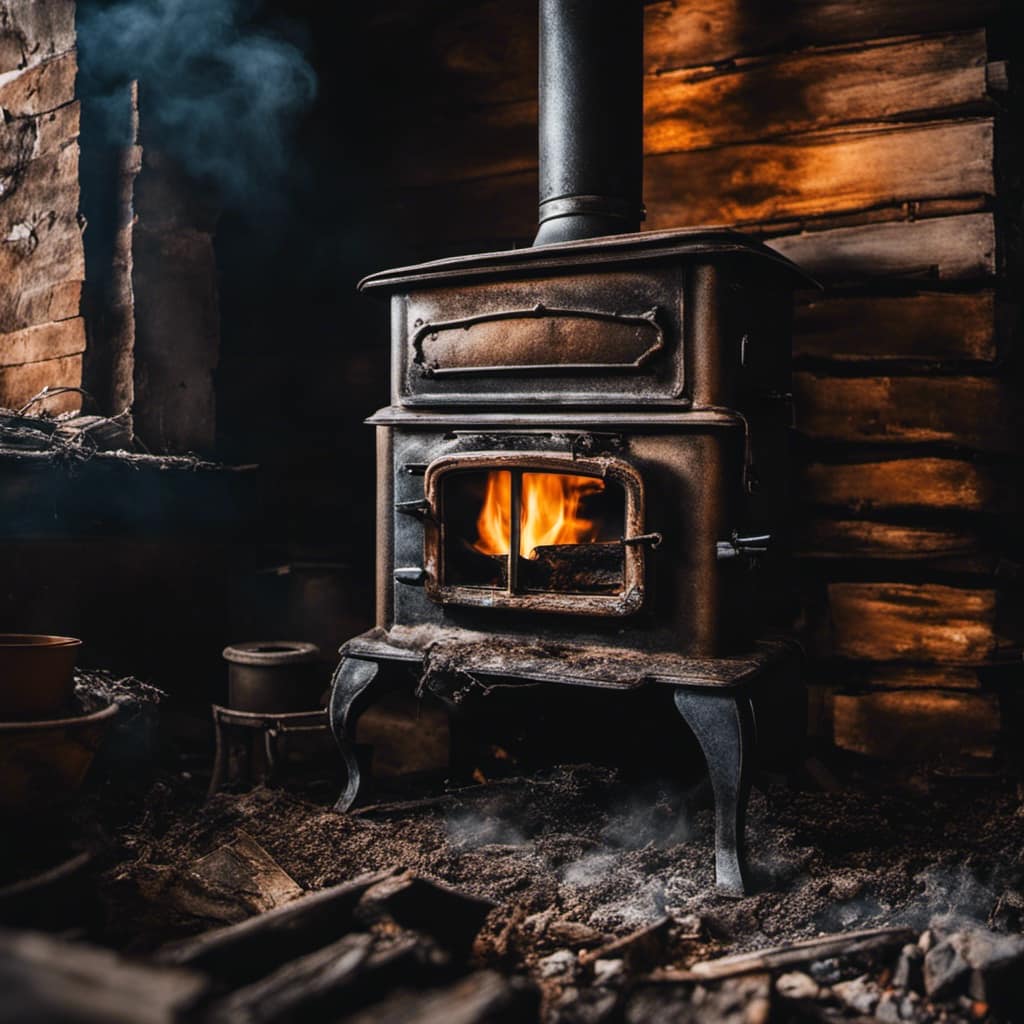
Positioned before the blazing wood stove, I was enveloped by an intense heat that seemed to fill the room, making me sweat profusely. It was clear to me that I had to quickly find a way to reduce the heat before things became dangerously out of control.

In this article, I will share with you some effective techniques to rapidly cool down a wood stove. By following these steps, you’ll be able to bring the temperature under control, ensuring the safety of your home and loved ones.

Key Takeaways

  • Regular cleaning and maintenance, including cleaning the stove and chimney, is essential to prevent overheating.
  • Checking the stove’s gaskets and seals for wear and tear is important to avoid excess air intake.
  • Removing excess fuel and ashes improves efficiency and allows for better airflow.
  • Opening doors and windows for ventilation helps maintain good air quality and prevents overheating.

Understanding the Danger of Overheating

I need to be aware of the danger of overheating when using a wood stove. Understanding the signs and importance of regular maintenance is crucial for ensuring the safe operation of a wood stove.

One of the first signs of overheating is excessive heat radiating from the stove. If the stove becomes too hot to touch, it’s a clear indication that it’s overheating. Another sign is the presence of smoke or a strong smell of burning wood. This can indicate that the stove isn’t functioning properly and is generating excessive heat.

wood stove for 800 sq ft

Regular maintenance is essential in preventing overheating. It’s important to regularly clean the stove and chimney to remove any buildup of creosote, which can lead to a fire hazard. Additionally, checking the stove’s gaskets and seals for wear and tear is important, as damaged seals can allow excess air into the stove, causing it to burn hotter than necessary.
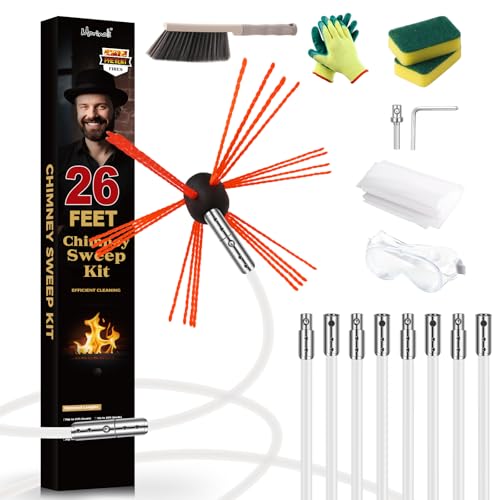
Advertisement

Checking the Airflow and Adjusting the Damper

To ensure efficient cooling, I need to check the airflow and make necessary adjustments to the damper. This is an essential step in troubleshooting airflow issues and maintaining the proper functioning of a wood stove.

Here are four key things to consider when checking the damper position:

  1. Inspect the damper: Start by visually inspecting the damper to ensure it isn’t obstructed or damaged. Look for any debris, creosote buildup, or signs of wear and tear that could affect its operation.

    wood stoked oven food truck

  2. Adjust the damper: If the damper is fully closed, open it slightly to allow for proper airflow. On the other hand, if the damper is fully open, you may need to close it a bit to regulate the amount of air flowing into the stove.

  3. Test the airflow: Light a small piece of newspaper near the stove’s air intake and observe the direction of the flame. If the flame is drawn into the stove, it indicates good airflow. If the flame is pushed away, it suggests restricted airflow.

  4. Clean the damper: Regularly clean the damper to remove any creosote or debris that may accumulate over time. This will help maintain optimal airflow and prevent any potential issues with cooling.

Utilizing Heat Resistant Gloves and Tools

Wearing heat resistant gloves and using appropriate tools is crucial for ensuring safety and preventing burns when handling hot components of the stove. Heat resistant gloves provide a protective barrier between your hands and the hot surfaces, allowing you to handle them without the risk of burns. These gloves are made from materials that can withstand high temperatures, offering you peace of mind while working with the stove.

slow combustion wood stoves

In addition to heat resistant gloves, there are specific cooling tools that can aid in the process. One such tool is a stove rake, which allows you to safely move and rearrange the burning logs. This helps to distribute the heat more evenly and promotes faster cooling. Another useful tool is a stove thermometer, which can provide you with accurate readings of the stove’s temperature. By monitoring the temperature, you can gauge how quickly the stove is cooling down.

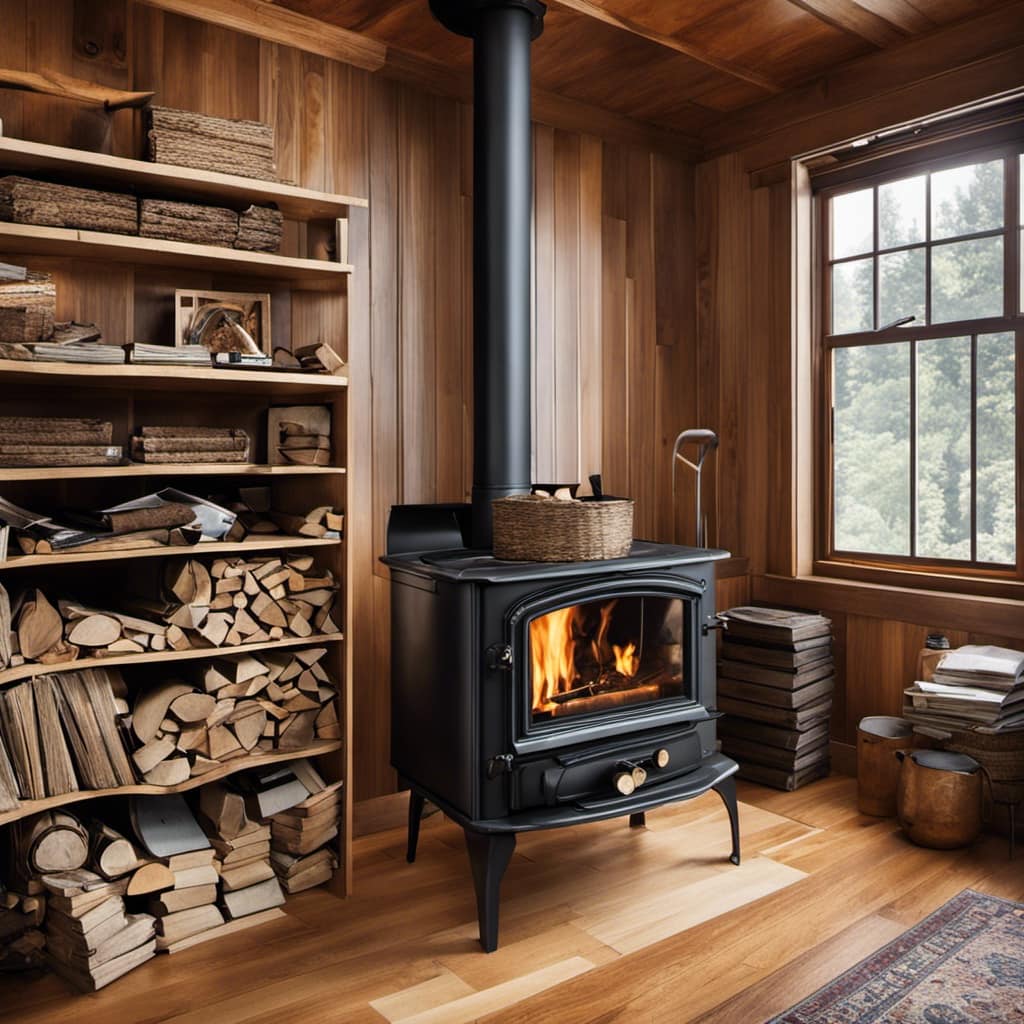
Removing Excess Fuel and Ashes

Removing excess fuel and ashes from the stove is an important step in maintaining its efficiency and preventing potential hazards. Here are four reasons why you should regularly remove excess fuel and clean the stove surface:

Advertisement
  1. Improved efficiency: When there’s an excessive amount of fuel in the stove, it can lead to incomplete combustion and reduced heat output. By removing excess fuel, you allow for better airflow and a more efficient burn.

  2. Reduced fire risk: Accumulated ashes can pose a fire risk if they come into contact with hot surfaces or embers. Regularly cleaning the stove surface eliminates this risk and ensures a safer environment.

    wood stove fireplace for sale

  3. Minimized smoke production: Excess fuel and ashes can obstruct the airflow, resulting in increased smoke production. By removing these obstructions, you can enjoy a cleaner burn with less smoke and better air quality.

  4. Prolonged stove lifespan: Excessive fuel and ash buildup can cause corrosion and damage to the stove over time. Keeping the stove surface clean and free from excess fuel ensures its longevity and saves you money on repairs or replacements.

Opening Doors and Windows for Ventilation

I always make sure to open doors and windows to provide proper ventilation when using the stove. Ventilation is crucial when it comes to using a wood stove as it offers numerous benefits and ensures safety. Proper ventilation helps in maintaining good air quality by removing any pollutants or gases that may be released during the burning process. This is especially important for wood stoves, as they can produce carbon monoxide, a colorless and odorless gas that can be harmful or even fatal if inhaled in high concentrations.

By opening doors and windows, fresh air can enter the room, allowing for the proper exchange of air and preventing the buildup of harmful gases. This also helps in preventing the formation of condensation and reducing the chances of mold growth. Additionally, ventilation helps in regulating the temperature in the room, preventing overheating and creating a comfortable environment.

wood burning sauna stove

However, it’s important to follow some safety measures when opening doors and windows for ventilation. Make sure that there are no flammable materials near the stove that could catch fire due to the increased airflow. Also, be cautious of any drafts that may occur, as they can affect the combustion process and may even extinguish the fire.

Using a Fire-Resistant Blanket or Mat

Using a fire-resistant blanket or mat is an effective way to enhance fire safety and protect your surroundings. These blankets and mats are designed to withstand high temperatures and prevent the spread of fire.

Not only do they provide an added layer of protection, but they also help retain heat, making them a valuable addition to any fire safety plan.

Advertisement

Fire Safety Precautions

To keep myself safe, I always make sure to have a fire extinguisher nearby when using a wood stove. Fire prevention is crucial when it comes to using any heating appliance, and having the right fire extinguisher can be a lifesaver. Here are four types of fire extinguishers that are commonly used for wood stove fires:

wood stove jotul

  1. ABC Dry Chemical: This extinguisher is suitable for most fires, including those caused by wood, paper, and flammable liquids.

  2. Class K: Designed specifically for kitchen fires, this extinguisher is effective against grease and oil fires that can occur when cooking on a wood stove.

  3. Carbon Dioxide (CO2): This type of extinguisher is ideal for electrical fires that may result from faulty wiring near the wood stove.

  4. Water Mist: As the name suggests, this extinguisher sprays a fine mist of water, making it safe to use on wood stove fires.

    wood stove pizza truck

By having a fire extinguisher readily available, you can prevent small fires from turning into major disasters.

Now, let’s explore the heat retention benefits of a wood stove.

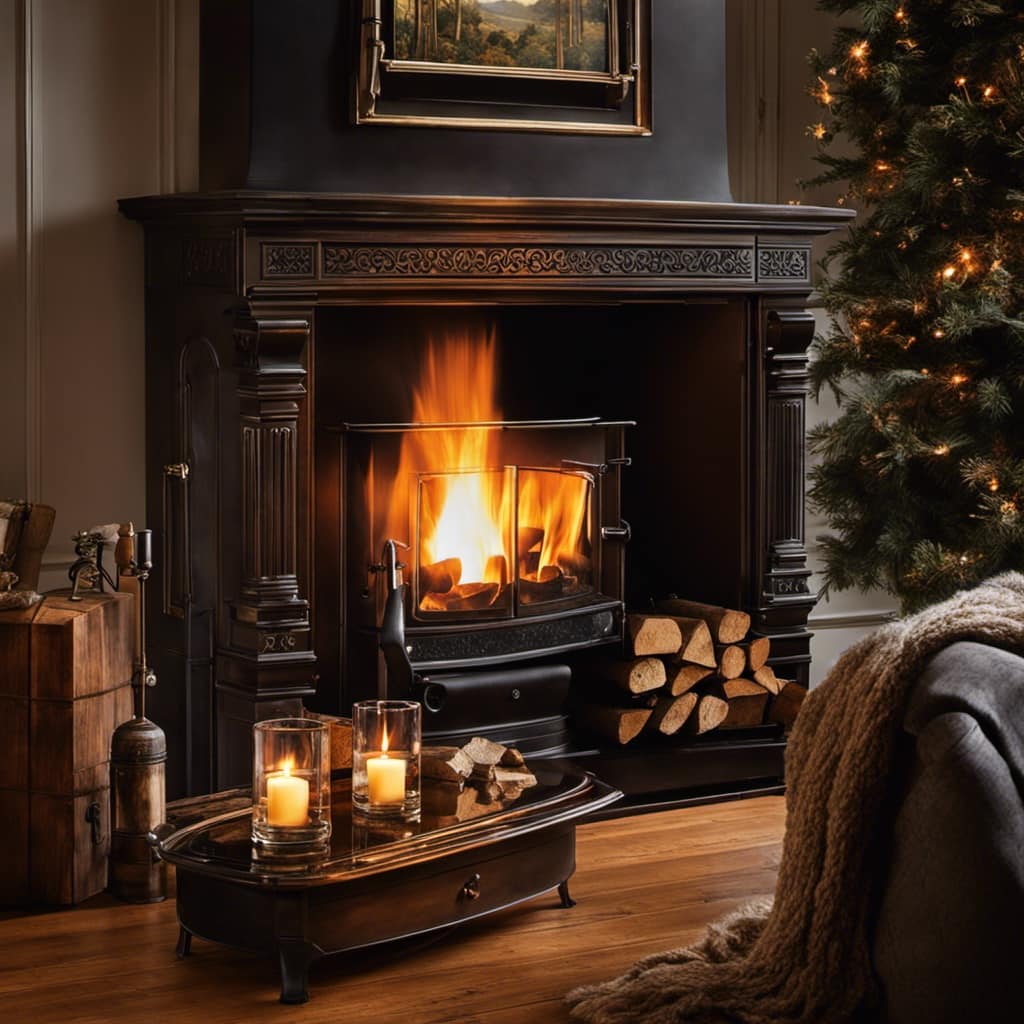
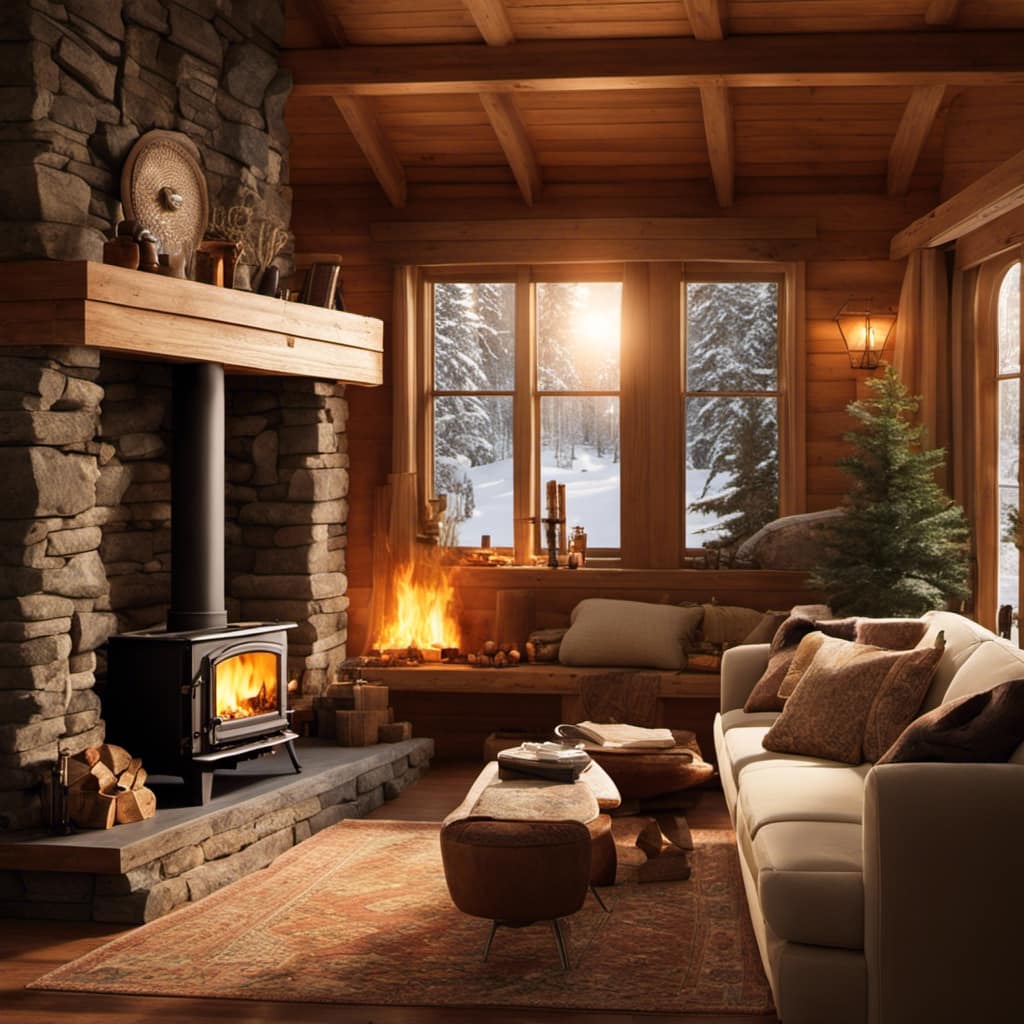
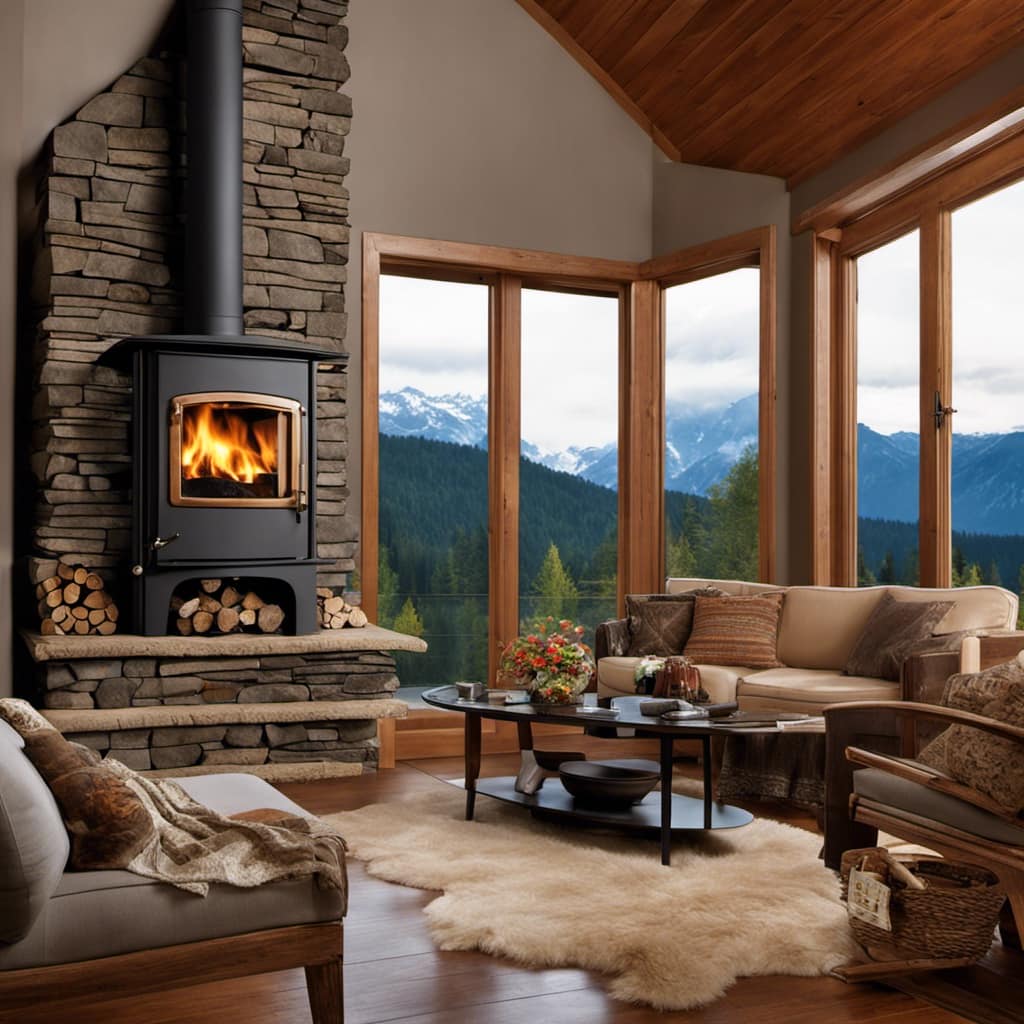
Heat Retention Benefits

Having a wood stove in my home allows for long-lasting heat retention, keeping the entire space warm and cozy for hours. This is because wood stoves are designed to effectively trap and radiate heat. However, there are also techniques to enhance heat retention and maximize the stove’s efficiency. Insulating the stove is one such technique. This can be done by using fire bricks or refractory cement to line the inside of the stove. These materials absorb and store heat, releasing it slowly over time. Another method is to use a heat-powered stove fan, which helps distribute the heat more evenly throughout the room. Additionally, proper maintenance and regular cleaning of the stove can ensure optimal heat retention. By implementing these heat retention techniques and insulating the stove, one can enjoy a cozy and warm home throughout the winter months.

Heat Retention Techniques Insulating the Stove
Use fire bricks or refractory cement to line the inside of the stove Helps absorb and store heat, releasing it slowly over time
Utilize a heat-powered stove fan Helps distribute heat evenly throughout the room
Regular maintenance and cleaning Ensures optimal heat retention

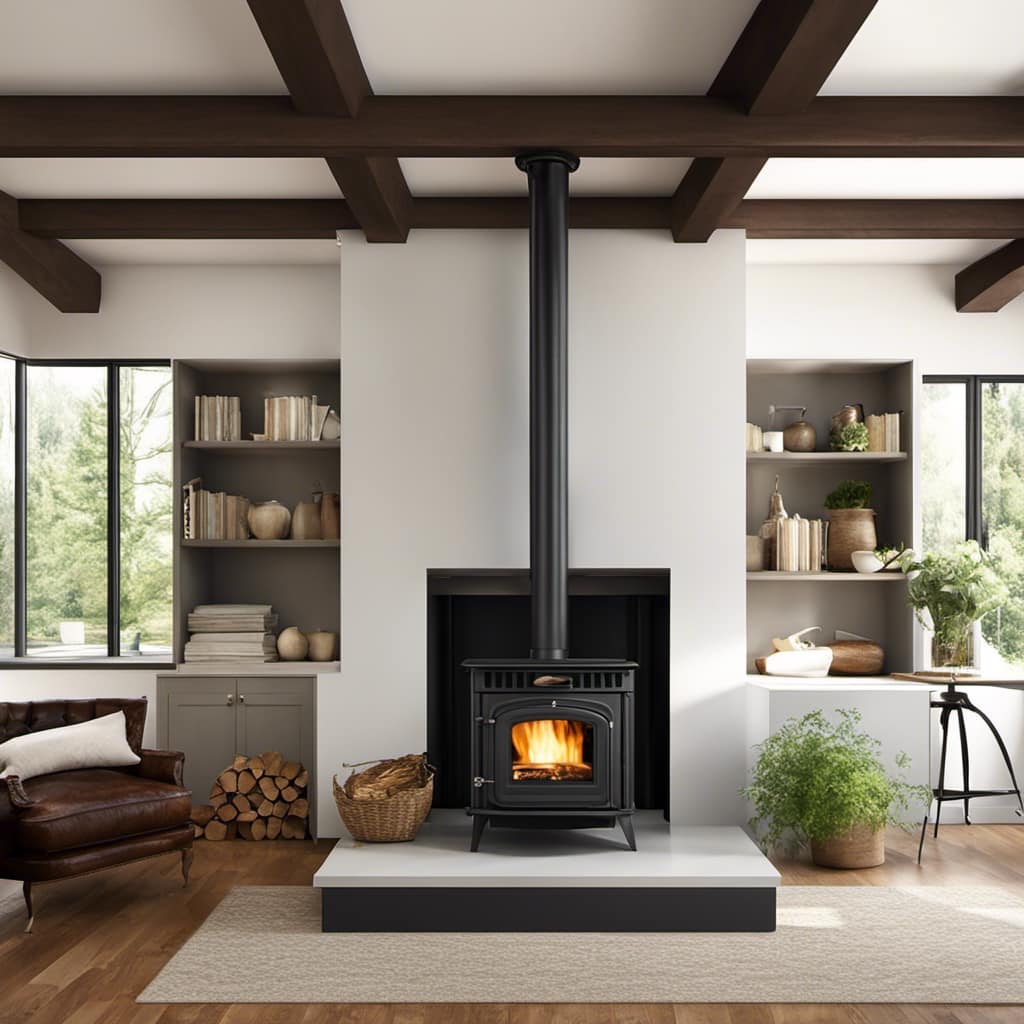
Easy Installation Process

I found the installation process for my wood stove to be surprisingly straightforward and hassle-free. Here are some installation tips that can help you have a smooth experience and find the right wood stove for your needs:

wood stove fireplace glass

  1. Measure the space: Before purchasing a wood stove, make sure to measure the area where you plan to install it. This will ensure that you choose a stove that fits perfectly.

  2. Ventilation requirements: Wood stoves require proper ventilation to operate safely. Be sure to check the installation guidelines and follow them closely to ensure proper ventilation.

  3. Clearances: Wood stoves need to be installed with specific clearances to combustible materials. Make sure to leave enough space around the stove to prevent any fire hazards.

  4. Seek professional help: If you’re unsure about the installation process, it’s always better to seek professional help. They can guide you through the process and ensure everything is done correctly.

    hampton wood stove

With the wood stove successfully installed, the next step is to learn how to cool it down effectively.

Cooling Down the Stove With Water or Ice

Using water or ice to cool down the stove is an effective method. When it comes to cooling methods for a wood stove, this is one of the simplest and most accessible options. It’s important to note that this method should only be used for minor cooling needs and not for situations where the stove is dangerously overheated.

Advertisement

To cool down the stove using water or ice, follow these safety measures. First, make sure the stove is turned off and completely cool to the touch before attempting any cooling method. Then, place a pan or bucket of cold water on top of the stove. You can also fill a spray bottle with water and mist the surface of the stove. Alternatively, if you’ve ice packs or bags of ice, you can place them on top of the stove to help lower the temperature.

It is crucial to remember that seeking professional help is necessary for complex issues with your wood stove. If you’re experiencing major cooling problems or if the stove consistently overheats, it’s best to consult with a professional technician who can diagnose and fix the issue properly. Ignoring complex issues or attempting to fix them yourself can lead to further damage or even pose a safety risk.

wood stove fan

Seeking Professional Help for Complex Issues

When it comes to complex issues, seeking professional help is often the best course of action. Expert advice can provide valuable insights and guidance for troubleshooting, helping to identify the root cause of the problem.

Hiring skilled technicians ensures that the issue is addressed correctly and effectively, ultimately leading to the resolution of complicated problems.

Expert Advice for Troubleshooting

As an expert in wood stoves, I recommend checking the air intake and adjusting it accordingly if you’re trying to cool down your stove quickly. Here are some troubleshooting techniques to help you resolve common heat-related issues:

Advertisement
  1. Clean the air vents: Over time, debris can accumulate and block the air vents, reducing airflow and causing the stove to overheat. Regularly clean the vents to maintain proper airflow.

    wood stove fans on top of stove

  2. Adjust the damper: The damper controls the amount of air entering the stove. If the stove is too hot, try closing the damper slightly to reduce the air supply and cool down the fire.

  3. Use smaller logs: Burning large logs can generate excessive heat. Opt for smaller logs to moderate the temperature and prevent overheating.

  4. Check the gaskets: Damaged or worn-out gaskets can cause air leaks, leading to increased heat output. Inspect and replace any faulty gaskets to maintain optimal stove performance.

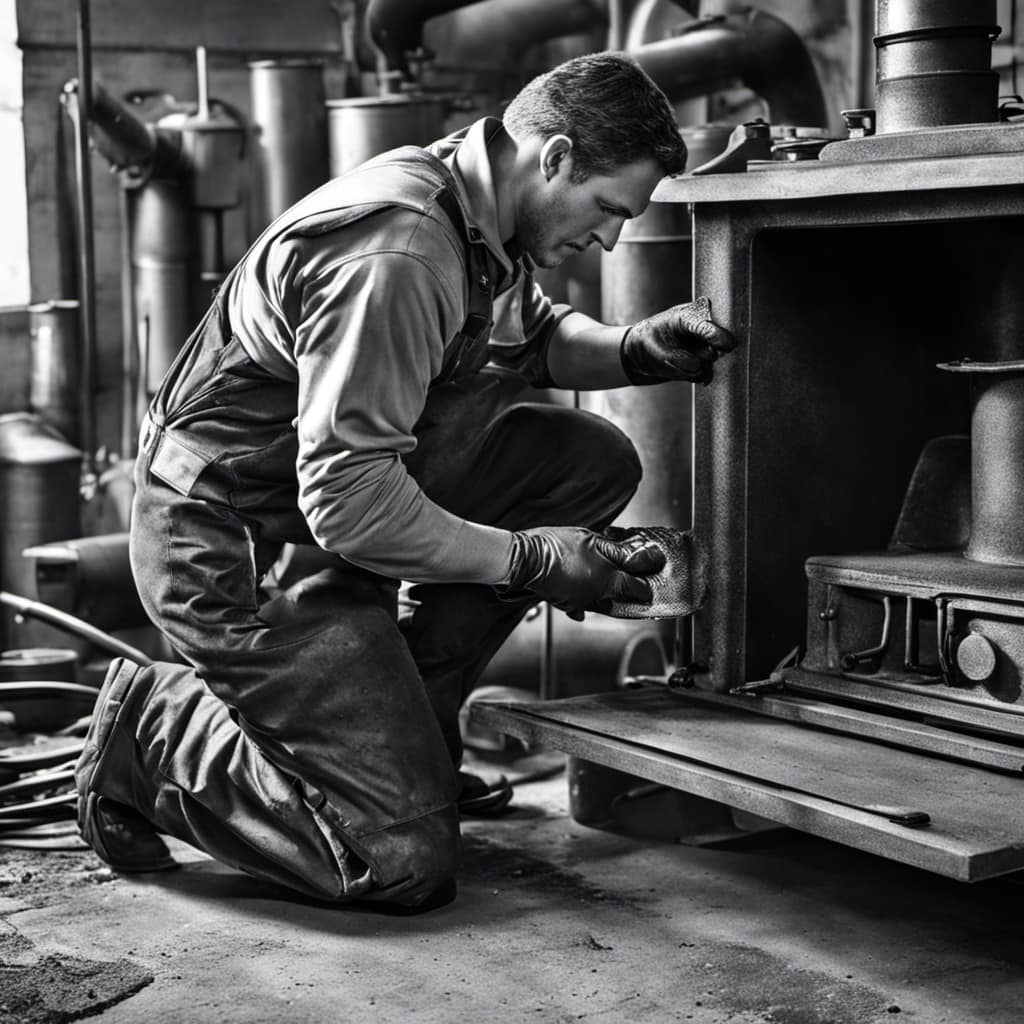
Hiring Skilled Technicians

I find it essential to hire skilled technicians when maintaining and repairing my wood stove. When it comes to the safety and efficiency of my heating system, I don’t want to take any chances.

wood stove jotul

Skilled technicians have the expertise and experience to ensure that all repairs and maintenance are done correctly. They can identify any underlying issues and provide professional assistance to prevent further problems.

Whether it’s cleaning the chimney, replacing worn-out parts, or troubleshooting complex issues, skilled technicians are equipped with the necessary knowledge and tools to get the job done right.

By entrusting the care of my wood stove to these professionals, I can have peace of mind knowing that it’s in good hands.

Now, let’s delve into resolving complicated problems that may arise with a wood stove.

Advertisement

wood stove wiki

Resolving Complicated Problems

Resolving complicated problems with my wood stove can be challenging, but with the help of skilled technicians, I can trust that they’ll find effective solutions. When faced with technical difficulties, it’s important to address them promptly to ensure the safe and efficient operation of your wood stove.

Here are four steps to help resolve any issues you may encounter:

  1. Identify the problem: Carefully assess the situation and determine what specifically is causing the complication. This will help narrow down the potential solutions.

  2. Seek professional assistance: If the problem is beyond your expertise, it’s crucial to contact a skilled technician who specializes in wood stove repairs. They have the knowledge and experience to diagnose and address complex issues.

    used wood burning stove

  3. Explore alternative cooling methods: While waiting for the problem to be resolved, consider using alternative cooling methods to maintain a comfortable temperature in your home. This can include using fans, opening windows to create cross ventilation, or utilizing portable air conditioning units.

  4. Follow preventive maintenance: To minimize the occurrence of technical difficulties, it’s important to regularly clean and maintain your wood stove. This includes cleaning the flue, inspecting the chimney, and ensuring proper air circulation.

Frequently Asked Questions

How Long Does It Take for a Wood Stove to Cool Down Naturally?

To safely cool down a wood stove without using water and protect it from overheating, it’s important to understand how long it takes for a wood stove to cool down naturally. The cooling time can vary depending on factors such as the size of the stove, the amount of wood burned, and the ventilation in your space.

Generally, it can take several hours for a wood stove to cool down naturally. However, there are methods that can help expedite the cooling process if needed.

regency wood stove

Can I Use a Regular Blanket or Towel to Cover the Wood Stove While It Cools Down?

Well, covering a wood stove with a regular blanket or towel while it cools down isn’t recommended. It’s like putting a band-aid on a broken bone – it won’t do much good.

Advertisement

The best way to cool down a wood stove naturally is to let it cool on its own. Opening the damper and keeping the stove door closed will allow the heat to dissipate slowly. This ensures a safe and efficient cooldown process.

Is It Safe to Pour Water Directly Onto the Hot Wood Stove to Cool It Down?

Pouring water on a hot wood stove isn’t safe. It can cause the stove to crack or even explode due to the rapid change in temperature.

However, there are alternative methods to cool it down quickly. One option is to use a fire-resistant cover specifically designed for wood stoves. These covers are made from heat-resistant materials and can help dissipate the heat more gradually, allowing the stove to cool down safely.

truck camper wood stove

It’s important to always prioritize safety when handling a hot wood stove.

What Are the Potential Consequences of Not Cooling Down a Wood Stove Properly?

The potential dangers of not properly cooling down a wood stove can be quite serious. If the stove isn’t cooled down properly, it can remain hot for a long period of time, posing a risk of burns and fires.

Advertisement

Additionally, the intense heat can damage the surrounding materials and structures, leading to costly repairs.

To avoid these risks, it’s important to follow safety precautions and allow the stove to cool down gradually before attempting any further actions.

wood stove pipe

Can I Use a Fan to Speed up the Cooling Down Process of a Wood Stove?

Yes, using a fan can be an effective method to cool down a wood stove quickly. By placing a fan near the stove, it helps to circulate the air and distribute the heat more evenly.

This increased airflow helps to dissipate the heat faster, allowing the stove to cool down more quickly.

However, it’s important to note that the fan should be used in conjunction with other cooling methods, such as opening windows or doors, to ensure proper ventilation and safety.

Advertisement

Conclusion

In conclusion, it’s crucial to take immediate action when a wood stove overheats to prevent any potential accidents or damage. By following the steps outlined in this article, such as adjusting the damper, removing excess fuel and ashes, and utilizing heat-resistant tools, you can quickly cool down your wood stove and ensure its safe operation.

wood stove fan repair

Remember, it’s better to err on the side of caution and seek professional help for complex issues. Stay cool and keep your wood stove running smoothly like a well-oiled machine!

Growing up surrounded by the vast beauty of nature, Sierra was always drawn to the call of the wild. While others sought the comfort of the familiar, she ventured out, embracing the unpredictable and finding stories in the heartbeat of nature.   At the epicenter of every remarkable venture lies a dynamic team—a fusion of diverse talents, visions, and passions. The essence of Best Small Wood Stoves is crafted and refined by such a trio: Sierra, Logan, and Terra. Their collective expertise has transformed the platform into a leading authority on small wood stoves, radiating warmth and knowledge in equal measure.

Continue Reading
Advertisement

Wood Stove

How Long Does It Take Wood To Ignite Aftee Being Put In A Wood Stove

Published

on

By

An image capturing the mesmerizing scene of a wood stove, with a bed of glowing embers beneath carefully stacked logs, as tendrils of thin smoke gracefully curl upwards, depicting the anticipation of wood slowly igniting

I must admit, the wait for wood to catch fire in a wood stove can seem never-ending. However, do not worry, as in this article, I will share some strategies and tips to speed up the process.

From understanding the temperature and moisture content of the wood to choosing the right type and preparing it efficiently, we’ll explore all the factors that affect wood ignition time.

So let’s dive in and get that fire blazing in no time!

Key Takeaways

  • Weather conditions and moisture content of the wood can affect the ignition time.
  • Properly seasoned wood with around 20% moisture content ignites more easily.
  • Smaller wood logs and softer woods tend to ignite faster than larger and harder woods.
  • Proper wood storage and preparation, such as keeping it off the ground, using fire starters, and maintaining airflow, can help ensure faster ignition in a wood stove.

Factors Affecting Wood Ignition Time

I’m curious about the factors that can affect the time it takes for wood to ignite in a wood stove.

One of the key factors is the weather conditions. Cold and damp weather can make it harder for the wood to catch fire, as moisture content in the wood can be high. It’s important to ensure that the wood is properly seasoned and has a moisture content of around 20% for optimal ignition.

Another factor to consider is the size of the wood logs. Smaller logs tend to ignite more quickly as they’ve a larger surface area exposed to the heat source.

Advertisement

Additionally, the type of wood being used can also affect ignition time, with softer woods igniting faster than harder woods.

Temperature and Moisture Content of Wood

The optimal moisture content for wood is around 20%, which ensures efficient ignition in a wood stove. The wood ignition process is influenced by various factors, and the moisture content plays a critical role in determining how quickly the wood will ignite.

When wood is too wet, it requires more energy to burn off the excess moisture before it can reach its ignition point. On the other hand, if the wood is too dry, it may ignite too quickly and burn too rapidly, leading to inefficient combustion and wasted energy.

Therefore, it’s essential to properly store wood to maintain its moisture content within the optimal range. Proper wood storage involves keeping the wood off the ground, covering it to protect it from rain or snow, and allowing for proper airflow to prevent excessive moisture buildup.

Type of Wood and Its Density

I prefer using hardwoods like oak or maple due to their density and their ability to burn longer and provide more heat. When it comes to wood species selection, it’s important to consider the impact of wood moisture content. Here are three key points to keep in mind:

Advertisement
  1. Moisture content affects combustion efficiency: Wet wood contains a higher moisture content, which leads to incomplete combustion and the production of more smoke and pollutants. Dry hardwoods, on the other hand, burn more efficiently and produce less smoke.

  2. Heat output is influenced by wood density: Hardwoods have a higher density compared to softwoods, resulting in a higher heat output. This means that hardwoods like oak and maple can provide more warmth and keep your space cozy for a longer period of time.

  3. Longer burn time with hardwoods: Due to their density, hardwoods burn at a slower rate, allowing for a longer burn time per log. This means less frequent refueling and a more consistent heat source.

Preparing Wood for Efficient Ignition

To ensure efficient ignition, I always make sure to properly split and dry my firewood. Proper wood storage is essential for achieving this. It’s important to store the firewood in a well-ventilated area, off the ground and protected from moisture. This allows the wood to dry properly and reduces the risk of it being damp or rotting.

When it comes to igniting the wood in a wood stove, using fire starters or kindling can greatly speed up the process. These small pieces of flammable material help create a hot and sustained flame, which in turn ignites the larger pieces of wood.

By incorporating these techniques, you can ensure a faster and more efficient ignition in your wood stove.

Now, let’s move on to some tips for faster wood ignition in a wood stove.

Tips for Faster Wood Ignition in a Wood Stove

Using kindling and ensuring proper airflow are key to achieving faster wood ignition in a wood stove. When it comes to stubborn wood that’s difficult to ignite, there are several ignition techniques that can be employed:

Advertisement
  1. Preparation: Properly seasoned wood with a moisture content below 20% is essential for efficient ignition. This ensures that the wood is dry enough to catch fire quickly.

  2. Kindling: Creating a bed of small, dry kindling underneath the larger logs helps to ignite the fire faster. Kindling acts as a fuel source that ignites easily and produces enough heat to catch the larger logs on fire.

  3. Airflow: Adequate airflow is crucial for wood ignition. By opening the damper or adjusting the air vents, you can ensure that enough oxygen is getting to the fire, promoting faster ignition.

While some may consider using accelerants to speed up wood ignition, it’s important to note that this can be dangerous and may result in uncontrollable fires or the release of harmful chemicals. It’s recommended to rely on proper ignition techniques and patience for a safe and efficient wood ignition process.

Frequently Asked Questions

Can I Use Treated Wood in My Wood Stove?

Using pressure treated wood in a wood stove is not recommended due to the chemicals it releases when burned. It is safer to use untreated wood or other alternatives for faster ignition.

What Is the Best Type of Wood to Use for Faster Ignition in a Wood Stove?

Fast burning woods like pine or fir can ignite in a wood stove within minutes. To ensure efficient wood stove usage, it’s important to choose dry, seasoned firewood and properly maintain the stove.

Are There Any Safety Precautions I Should Take When Igniting Wood in a Wood Stove?

When igniting wood in a wood stove, it is important to take safety precautions. Keep a fire extinguisher nearby and ensure proper ventilation. Additionally, the moisture content of the wood can affect its ignition time.

Can I Use Wood Chips or Sawdust for Ignition in a Wood Stove?

I can use wood chips or sawdust for ignition in a wood stove. They are effective fire starters for faster ignition. The small size and high surface area make them ignite quickly, reducing the time needed for the wood to catch fire.

Advertisement

How Does the Size of the Wood Affect Its Ignition Time in a Wood Stove?

Moisture content significantly affects wood ignition in a wood stove. Smaller pieces of wood ignite faster due to increased surface area. However, larger pieces provide longer burn times. Consider the advantages and disadvantages of each for efficient use in a wood stove.

Conclusion

After careful analysis of the factors affecting wood ignition time, it’s safe to say that wood doesn’t ignite instantly in a wood stove. Contrary to popular belief, wood requires time to reach its ignition point, which is influenced by factors such as temperature, moisture content, and wood density.

To expedite the process, it’s crucial to choose the right type of wood and ensure it’s properly prepared. So, if you were expecting an immediate burst of flames, you might’ve to wait a little longer.

Continue Reading

Wood Stove

Why Does Your Wood Stove Smoke

Published

on

By

An image capturing a rustic, cozy living room

Dealing with the smoke from your wood stove can be a real nuisance. But don’t worry, I’m here to provide some tips on how to manage it.

Understanding the root causes of this predicament is crucial. Insufficient airflow, improper wood selection, damaged chimney, inadequate maintenance, and incorrect installation are the major culprits.

Let’s delve into each of these factors to uncover the secrets behind why your wood stove may be producing that bothersome smoke.

Key Takeaways

  • Blocked vents disrupt combustion process and lead to incomplete burning and smoke generation.
  • Burning wet or high-moisture wood results in inefficient burning and increased creosote buildup.
  • Cracked or deteriorating chimney can cause leaks and smoke entry.
  • Inadequate stove maintenance, including dirty burners and clogged flue, can lead to smoke issues.

Insufficient Airflow

I’m having trouble with my wood stove smoking because there’s not enough airflow. A common cause of insufficient airflow is blocked vents. When the vents are blocked, the combustion process is disrupted, leading to incomplete burning of the wood and the generation of smoke.

To ensure efficient combustion and minimize smoke, it’s crucial to maintain clear and unobstructed vents. Blocked vents can result from a buildup of creosote or debris, so regular cleaning is essential.

Additionally, proper placement of the stove is crucial to ensure adequate airflow. Make sure that the stove is positioned away from any obstructions, such as furniture or curtains, that might impede the flow of air.

Advertisement

Improper Wood Selection

To prevent excessive smoke and poor combustion, it’s important to avoid burning wet wood or wood with high moisture content, as it can result in inefficient burning and increased creosote buildup. When burning seasoned firewood, which has a moisture content of around 20% or less, the wood burns more efficiently, producing less smoke and providing more heat output. Seasoned firewood has been properly dried for at least six months, allowing the moisture content to decrease significantly. This ensures that the wood burns cleanly and effectively in your wood stove. However, if you burn wood with high moisture content, it will create more smoke and reduce the overall efficiency of your stove. This can also lead to a higher risk of creosote buildup in your chimney, which can be dangerous and increase the chance of a chimney fire. Therefore, it’s crucial to always use dry, seasoned firewood to prevent excessive smoke and maintain proper combustion in your wood stove.

Now, let’s discuss another potential reason for excessive smoke: a damaged or leaky chimney.

Damaged or Leaky Chimney

A damaged or leaky chimney can cause smoke to enter your home, which can be hazardous to your health and safety. It’s important to address any issues with your chimney promptly to ensure the proper functioning of your wood stove.

Here are three signs of a damaged chimney that you should be aware of:

  1. Cracked or crumbling mortar: If you notice any cracks or crumbling in the mortar joints of your chimney, it could indicate water damage or structural issues. This can lead to leaks and smoke entering your home.

  2. Rusty or deteriorating chimney cap: The chimney cap plays a crucial role in keeping out rain, snow, debris, and animals. If it’s rusty or deteriorating, it may not be able to perform its function effectively, allowing smoke to escape into your living space.

  3. Smoke stains or odors: If you notice smoke stains on the walls or ceilings near your chimney or detect a persistent smoky odor in your home, it could be a sign of a leaky chimney. This should be addressed promptly to prevent further damage and potential health risks.

When faced with a damaged chimney, there are various repair options available, such as chimney relining, chimney crown repair, and chimney flashing repair. It’s important to consult with a professional chimney technician to determine the best course of action for your specific situation.

Advertisement

Inadequate Stove Maintenance

One of the main causes of smoke in your home can be the result of inadequate stove maintenance. A dirty stove and a clogged flue are two common culprits that can lead to smoke issues. When the stove isn’t properly cleaned, a buildup of soot and debris can occur on the burners, causing incomplete combustion and the production of smoke.

Additionally, a clogged flue prevents the proper ventilation of smoke, leading to its accumulation inside your home. Regular cleaning and maintenance of your stove, including cleaning the burners and ensuring the flue is clear, is crucial in preventing smoke issues.

It’s recommended to schedule annual professional maintenance to ensure your stove is in optimal condition and to avoid the inconvenience and potential health hazards associated with smoke in your home.

Incorrect Stove Installation

I regret not hiring a professional for my stove installation, as it has caused numerous issues and potential hazards. When it comes to installing a wood stove, proper positioning and sizing are crucial factors that shouldn’t be taken lightly.

Here are three key reasons why improper stove positioning and incorrect flue size can lead to problems:

Advertisement
  1. Inadequate clearance: Placing the stove too close to combustible materials can increase the risk of fire. It’s essential to follow the manufacturer’s guidelines for proper clearances to ensure the safe operation of the stove.

  2. Inefficient heating: Incorrect positioning can hinder the stove’s ability to distribute heat effectively throughout the room. This can result in uneven temperatures and wasted energy, leading to discomfort and higher heating costs.

  3. Insufficient draft: Using an incorrect flue size can impede the stove’s ability to expel smoke and gases properly. This can lead to backdrafting, where smoke enters the room instead of being directed outside. Aside from the health hazards, backdrafting can damage the stove and cause indoor air quality issues.

To avoid these problems, it’s essential to consult a professional for the proper installation of your wood stove. They’ll ensure that the stove is positioned correctly and the flue size is appropriate for efficient and safe operation.

Frequently Asked Questions

Can Smoking Occur if There Is Sufficient Airflow in the Wood Stove?

Yes, smoking can still occur in a wood stove even with sufficient airflow. Factors like improper wood placement, damp or unseasoned wood, or a clogged chimney can all contribute to smoking issues. Proper troubleshooting can resolve these problems and improve wood stove performance.

What Are Some Common Wood Types That Should Be Avoided to Prevent Smoking in a Wood Stove?

To prevent smoking in a wood stove, it is important to avoid using wood types like pine, as they contain high levels of resin. Additionally, properly seasoning firewood is crucial to reduce smoke production.

How Can I Identify if My Chimney Is Damaged or Leaking?

To identify chimney damage or leaks, conduct a thorough chimney inspection. Look for cracks, loose bricks, or crumbling mortar. Additionally, consider installing a smoke detector near the stove to quickly detect any smoke issues.

Besides Regular Cleaning, What Other Maintenance Practices Can Help Prevent Smoking in a Wood Stove?

Other maintenance practices, such as ensuring proper airflow and avoiding certain wood types, can help prevent smoking in a wood stove. Identifying chimney damage or leaks and checking for correct stove installation are also crucial.

Advertisement

What Are Some Signs of Incorrect Stove Installation That May Lead to Smoking?

Installing a wood stove improperly can lead to frustrating smoke issues. One key sign is if the chimney height is too short. Another is using unseasoned wood, which can cause excessive smoke.

What Are Some Wood Stove Brands That Have Smoke-Reducing Features?

Looking for the best wood stove brands with smoke-reducing features? Look no further. With increasing concerns about air pollution, several brands are innovating their wood stoves to minimize smoke emissions. Some notable options include Vermont Castings, Jøtul, and Blaze King. These brands prioritize efficiency and clean burning, ensuring you can enjoy the warmth of a wood stove while minimizing environmental impact.

Conclusion

In conclusion, when your wood stove smokes, it’s often due to factors such as:

  • Insufficient airflow
  • Improper wood selection
  • A damaged or leaky chimney
  • Inadequate stove maintenance
  • Incorrect installation

To prevent this, you should:

  • Ensure proper ventilation
  • Use seasoned and dry wood
  • Inspect and repair your chimney regularly
  • Maintain your stove diligently
  • Ensure professional installation

By addressing these issues, you can enjoy a smoke-free and efficient wood stove experience, creating a cozy and inviting atmosphere in your home.

Continue Reading

Wood Stove

How To Build A Wood Stove From A Jerry Can

Published

on

By

An image showcasing the step-by-step process of transforming a jerry can into a wood stove

I have always been fascinated by the concept of transforming ordinary objects into useful tools.

So when I came across an old jerry can in my garage, I knew I had the perfect opportunity to create my own wood stove.

In this article, I’ll guide you through the process of transforming a jerry can into a functional and efficient wood stove, complete with ventilation, legs, and a base.

Get ready to unleash your inner DIY enthusiast and start enjoying the warmth of your homemade wood stove.

Key Takeaways

  • Consider the capacity and dimensions of the jerry can
  • Compare different materials for jerry cans
  • Prepare and clean the jerry can properly
  • Take safety precautions and use the right tools when modifying the jerry can

Selecting the Right Jerry Can for Your Wood Stove

I’m trying to figure out which jerry can is the best option for my wood stove.

When it comes to choosing the right size jerry can for your wood stove, it’s important to consider the capacity and dimensions. A larger can will hold more fuel, but it may be too bulky for your space. On the other hand, a smaller can may require more frequent refills.

Advertisement

Additionally, it’s crucial to compare different materials for jerry cans to ensure optimal wood stove performance. Metal cans are durable and resistant to heat, but they can also be heavy. Plastic cans, on the other hand, are lightweight and easier to handle, but may not withstand high temperatures as well.

Ultimately, finding the perfect jerry can for your wood stove is about balancing capacity, dimensions, and material for efficient and safe operation.

Preparing and Cleaning the Jerry Can

Before starting to use the jerry can, it’s crucial to properly clean and prepare it by removing any dirt or residue, and then ensuring it’s completely dry. Here is the cleaning process and safety precautions to follow:

  1. Rinse the jerry can with warm water and a mild detergent to remove any dirt or debris. Use a sponge or brush to scrub the inside and outside of the can thoroughly.

  2. Rinse the can again with clean water to remove any soap residue. Make sure to rinse it multiple times to ensure all the soap is gone.

  3. After rinsing, allow the jerry can to air dry completely. This is important to prevent any moisture from causing rust or corrosion.

By following these cleaning steps, you can ensure that your jerry can is ready for modification.

Now, let’s discuss cutting open and modifying the jerry can for ventilation.

Advertisement

Cutting Open and Modifying the Jerry Can for Ventilation

I’ll explain how to use a few small holes in the jerry can to provide adequate ventilation for the wood stove. When modifying the jerry can for ventilation, it is important to take safety precautions and use the right tools. Here is a table outlining the necessary steps:

Step Safety Precautions Tools Needed
1 Wear protective gloves and goggles Drill
2 Work in a well-ventilated area Marker
3 Ensure the jerry can is empty and clean Metal file
4 Mark the desired ventilation holes on the can Safety glasses
5 Use the drill to create the holes Protective gloves
6 Smooth the edges of the holes with the metal file Goggles
7 Clean any metal shavings from the can Clean cloth

Adding Legs and a Base to the Wood Stove

I can attach some sturdy legs and a stable base to the wood stove to ensure it stands securely on any surface. Achieving stove stability is crucial to prevent accidents and maintain proper functioning.

When choosing materials for the legs and base, it’s important to consider their strength, durability, and heat resistance. Here are three essential elements to consider:

  1. Material Selection: Opt for materials that can withstand high temperatures, such as stainless steel or cast iron. These materials are known for their strength and ability to withstand the intense heat generated by the wood stove.

  2. Design and Construction: The design of the legs should provide sufficient support and stability. Consider a tripod or four-leg design for optimal balance. Additionally, ensure the legs are securely attached to the stove body to prevent any wobbling or instability.

  3. Base Size and Shape: The base of the wood stove should be wide and flat enough to distribute the weight evenly, ensuring stability on various surfaces. A larger base will provide better stability, especially when using the stove on uneven or soft ground.

Testing and Using Your DIY Wood Stove

I’ve successfully tested and now use my DIY wood stove to cook meals while camping. It’s a simple yet effective solution for outdoor cooking. However, before using it, I took several testing techniques and safety precautions to ensure its efficiency and my own well-being.

Firstly, I conducted a leak test to ensure there were no air or gas leaks that could potentially cause a fire hazard. This involved pressurizing the stove and checking for any signs of leakage. I also tested its heat distribution by placing a pot of water on the stove and monitoring how evenly the heat was dispersed.

Advertisement

To further ensure safety, I implemented safety precautions such as maintaining a safe distance between the stove and any flammable objects, using heat-resistant gloves when handling the stove, and having a fire extinguisher nearby.

Using my DIY wood stove has been a game-changer for my camping trips. Not only does it provide a reliable cooking source, but it also allows me to enjoy the natural surroundings without relying on traditional campfire cooking methods. By following proper testing techniques and safety precautions, I can confidently cook my meals and enjoy the great outdoors.

Frequently Asked Questions

How Long Does It Take to Build a Wood Stove From a Jerry Can?

It takes about 2 hours to build a wood stove from a jerry can. The benefits of using a wood stove include cost-effective heating and a sustainable fuel source. Regular cleaning and maintenance ensure optimal performance.

Can I Use Any Type of Wood for the Base of the Wood Stove?

I can use different types of wood for the base of the wood stove, but it’s important to consider safety precautions when using it indoors. Proper ventilation and non-flammable materials are crucial.

Is It Safe to Use the Wood Stove Indoors?

Oh, using a wood stove indoors, what a brilliant idea! Let me enlighten you on the potential health hazards and share some precise tips for safely using one. Shall we begin?

Advertisement

Can I Paint the Jerry Can After Modifying It?

Yes, you can paint the modified jerry can using various painting techniques. It is important to choose a paint that can withstand high temperatures and adhere well to metal surfaces. Make sure to consider alternative fuel sources when painting for safety.

What Tools Do I Need to Build a Wood Stove From a Jerry Can?

To build a wood stove from a jerry can, I need a few tools like a jigsaw, drill, and metal file. Safety precautions are crucial, and alternative materials can be used if necessary.

Can I Use a Wood Stove Insert in a DIY Jerry Can Wood Stove?

When considering building a wood stove fireplace, it’s crucial to factor in the cost of materials and construction. However, if you’re planning to use a wood stove insert in a DIY Jerry Can Wood Stove, the cost of building a wood stove fireplace may decrease significantly. This alternative method combines affordability and practicality, making it an excellent choice for those seeking an alternative heating solution.

Can Duraflame Logs Be Used in a Wood Stove Made from a Jerry Can?

Can Duraflame logs be used in a wood stove made from a jerry can? Many DIY enthusiasts wonder about using Duraflame logs in a wood stove. While Duraflame logs are commonly used in traditional fireplaces, their use in a jerry can wood stove may not be ideal. It’s important to consider the safety and compatibility aspects of using duraflame logs in wood stoves specifically designed for them.

Conclusion

After carefully selecting the right jerry can, preparing and modifying it for ventilation, and adding sturdy legs and a stable base, your DIY wood stove is ready for testing and use.

Advertisement

With its compact design and efficient functionality, this wood stove provides a practical and cost-effective heating solution for outdoor activities or emergency situations.

Embrace the warmth and convenience of this homemade creation, bringing comfort and coziness wherever you go.

Continue Reading

Trending