Are you aware that a chimney pipe that is not properly sealed for a wood stove can lead to wasted energy and raise the chances of fire hazards?
In this article, I’ll guide you through the process of sealing your wood stove chimney pipe to ensure maximum efficiency and safety.
From assessing the condition of the pipe to applying high-temperature sealant, I’ll provide you with precise and detailed steps to help you get the job done right.
Let’s get started and protect your home!

Key Takeaways
- Assess the condition of the chimney pipe and identify any damage or leaks.
- Gather the necessary tools and materials, including high-temperature silicone sealant.
- Clean and prepare the chimney pipe using a wire brush and chimney brush.
- Apply high-temperature sealant to the joints, ensuring no gaps or cracks that could allow smoke or fumes to escape.

Single Burn Rate Stove
Heats up to 900 sq. ft.
As an affiliate, we earn on qualifying purchases.
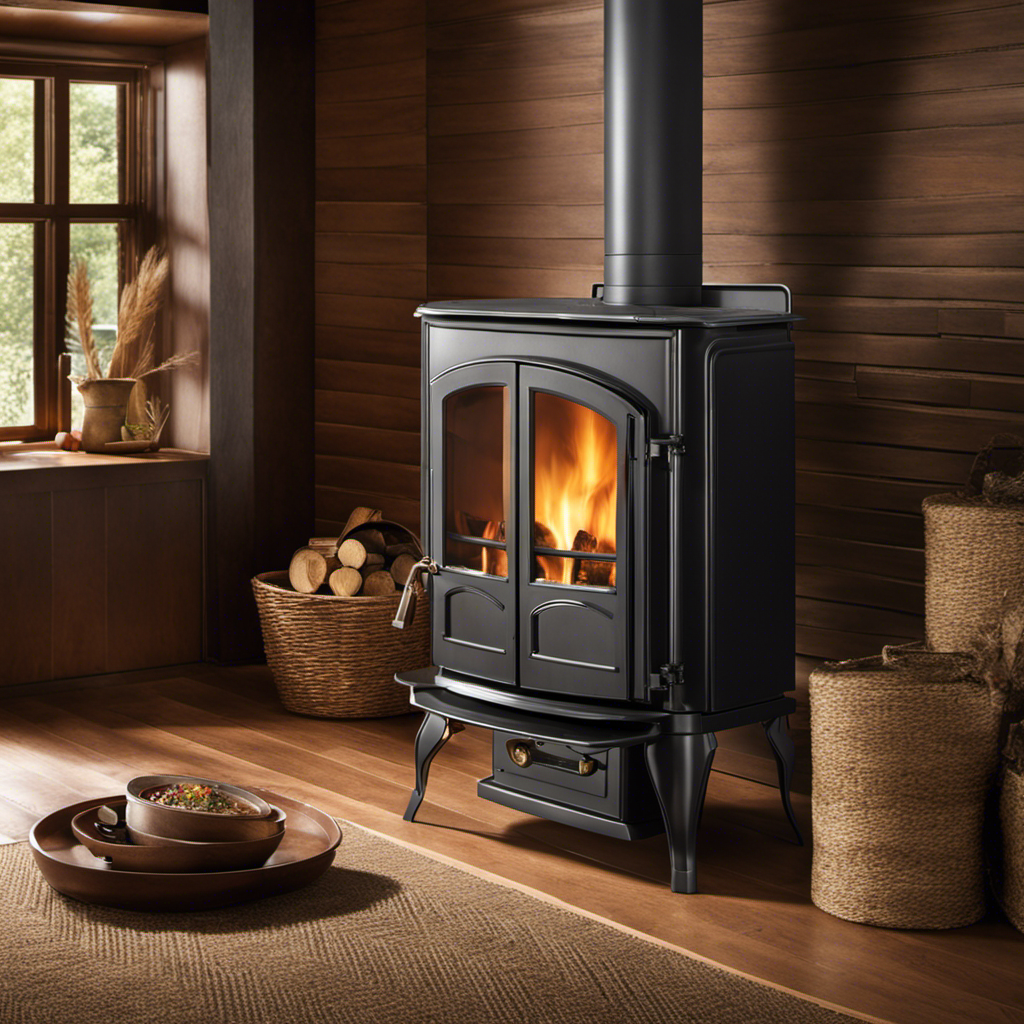
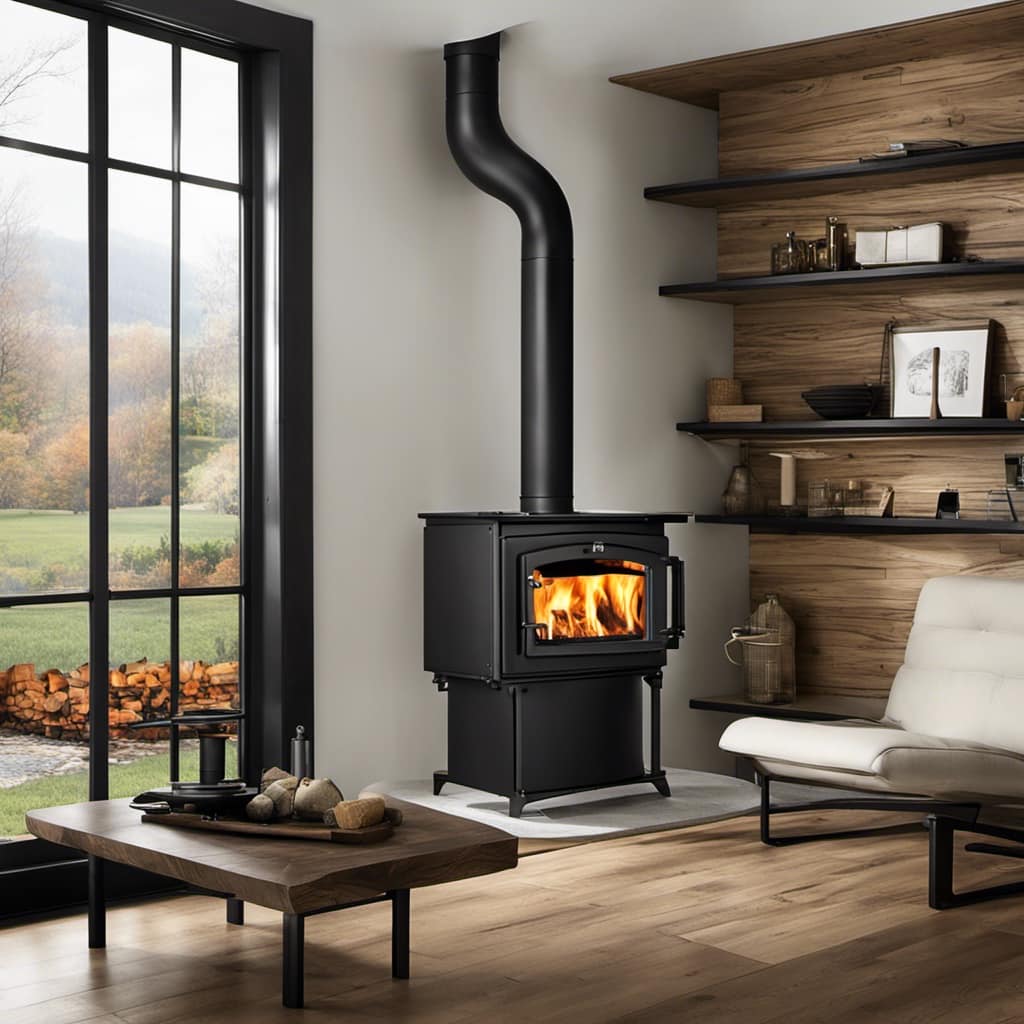
Assessing the Chimney Pipe Condition
I’m inspecting the chimney pipe to determine its current condition.
The first step in sealing a wood stove chimney pipe is to evaluate any damage and identify leaks. To do this, I carefully examine the pipe for any signs of wear and tear, such as cracks, rust, or loose joints. I also check for any gaps or openings that could potentially allow smoke or gases to escape.
It’s important to be thorough in this process to ensure a proper seal. If I spot any damage or leaks, I make a note of it and plan to address it during the sealing process. This initial assessment is crucial in determining the necessary repairs and ensuring a safe and efficient operation of the wood stove.

Guide Gear Outdoor Wood Burning Stove; Portable with Chimney Pipe for Cooking and Camping
OUTDOOR WOOD STOVE – We designed our camp stove for use outside. Perfect for use during camping trips...
As an affiliate, we earn on qualifying purchases.
Gathering the Necessary Tools and Materials
To do this, I’ll need a high-temperature silicone sealant and a wire brush. Choosing the right sealant is crucial for effectively sealing the wood stove chimney pipe. Look for a sealant specifically designed for high temperatures, as regular sealants may not withstand the heat.

Safety precautions during sealing are essential to protect yourself and ensure a successful sealing job. Here are four key points to keep in mind:
- Wear protective gloves and goggles to shield yourself from any chemicals or debris.
- Make sure the wood stove is completely cool before starting the sealing process to avoid burns.
- Use a wire brush to clean the chimney pipe thoroughly, removing any rust, dirt, or loose particles.
- Apply the high-temperature silicone sealant evenly and generously to all the joints and connections, ensuring a tight seal.
Following these precautions and using the right sealant will help maintain the safety and efficiency of your wood stove chimney pipe.

US STOVE 750 SQ FT STOVE, 75% EFFICIENT
Heats up to 750 square feet of living space
As an affiliate, we earn on qualifying purchases.
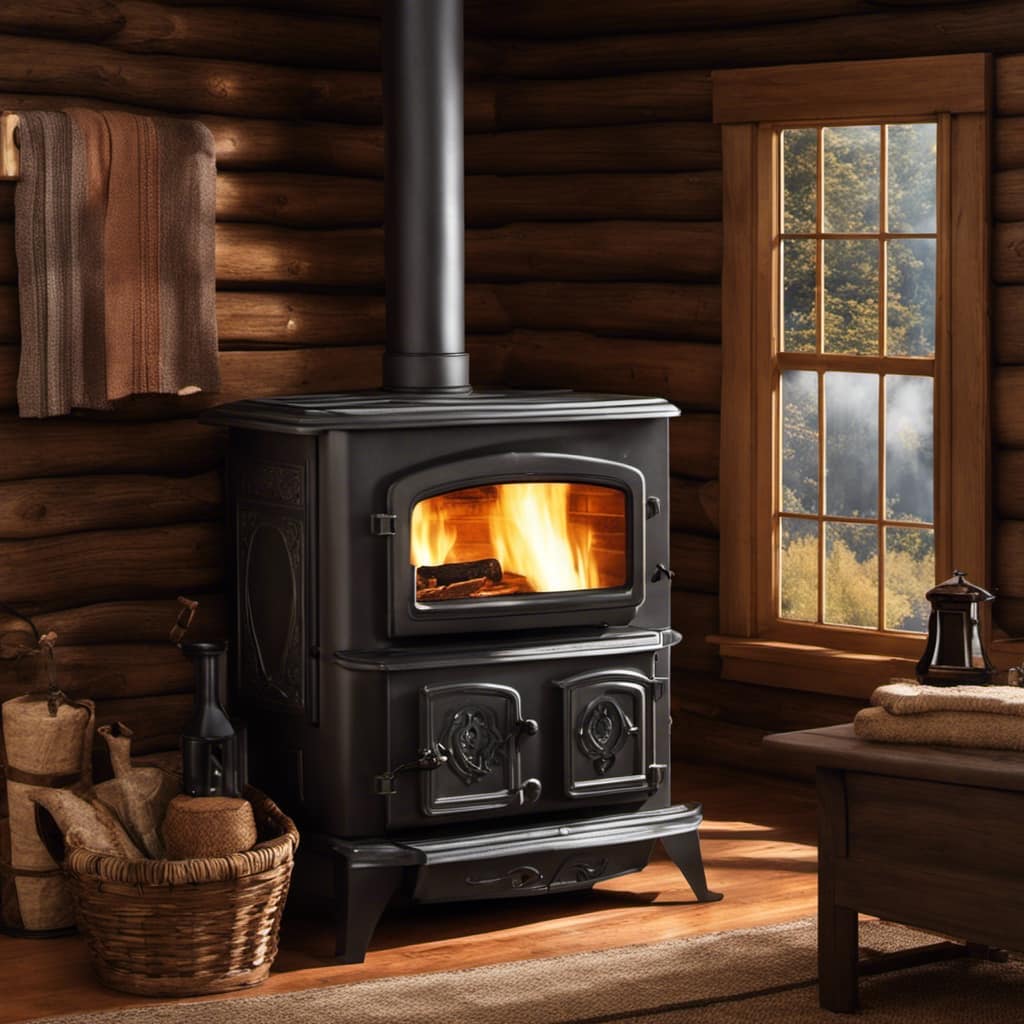
Cleaning and Preparing the Chimney Pipe
Cleaning and preparing the chimney pipe is an important step in ensuring its proper functioning and safety. Regular maintenance is crucial to remove creosote buildup and prevent chimney fires.
To clean the chimney pipe effectively, follow these steps:
-
Gather the necessary tools: chimney brush, extension rods, drop cloth, flashlight, and safety goggles.
-
Inspect the chimney: Look for any visible damage or blockages, such as bird nests or debris.
-
Set up a safe workspace: Lay the drop cloth around the fireplace area to catch any debris.
-
Clean the chimney: Attach the chimney brush to the extension rods and insert it into the chimney. Move the brush up and down vigorously to dislodge the creosote buildup.
By cleaning the chimney pipe regularly, you can prevent chimney fires and ensure the safe operation of your wood stove.
Now, let’s move on to the next step of applying high-temperature sealant to the joints.

YRenZ Upgraded Portable Wood Stove for Camping, Compact Tent Stove with Large Firebox, High Airtightness for Outdoor Cooking & Heating
【Upgraded Tent Camping Wood Stove】: Compact yet powerful wood stove for tents and outdoor use, with high airtightness,...
As an affiliate, we earn on qualifying purchases.
Applying High-Temperature Sealant to the Joints
Now that the chimney pipe is clean, I can move on to applying high-temperature sealant to the joints for added safety and efficiency. Proper ventilation is crucial when sealing the wood stove chimney pipe to ensure the escape of harmful gases.
Here are four important safety precautions to keep in mind during this process:
-
Wear protective gloves and goggles to prevent any contact with the sealant, as it can cause skin irritation.
-
Ensure the area is well-ventilated by opening windows or using fans to circulate fresh air.
-
Use a high-temperature sealant specifically designed for wood stove chimney pipes to withstand the intense heat generated.
-
Apply the sealant evenly and generously to the joints, ensuring there are no gaps or cracks where smoke or fumes could escape.

Inspecting and Testing the Sealed Chimney Pipe
After applying the high-temperature sealant, I carefully inspect and test the sealed joints for any signs of leaks or gaps.
Inspecting and testing the sealed chimney pipe is a crucial step to ensure its effectiveness and safety.
To begin, I visually examine each joint, looking for any visible cracks or openings.
I also run my hand along the joints, feeling for any irregularities that could indicate potential leaks.

Next, I use a smoke test to further assess the integrity of the seal.
By lighting a smoke pellet or incense stick near the joints, I observe if there’s any smoke escaping.
Additionally, I employ a pressure test by using a manometer to measure the pressure within the pipe.
Any significant drop in pressure could indicate a leak.
Through these testing methods, I can confidently identify and address any potential leaks in the sealed chimney pipe.
Frequently Asked Questions
How Often Should the Wood Stove Chimney Pipe Be Inspected and Sealed?
I inspect and seal my wood stove chimney pipe annually. Regular maintenance is essential to ensure safety and efficiency. It helps prevent chimney fires, improves airflow, and reduces the risk of carbon monoxide leaks.
Can I Use Regular Sealant Instead of High-Temperature Sealant?
I wouldn’t recommend using regular sealant instead of high-temperature sealant for sealing a wood stove chimney pipe. Regular sealant may not withstand the high temperatures and could pose a safety risk.
What Are the Signs of a Damaged Chimney Pipe That Needs to Be Replaced Instead of Sealed?
When it comes to signs of a damaged chimney pipe, it’s important to keep an eye out for things like cracks, rust, or excessive soot buildup. If these issues persist, it may be time to consider replacing the chimney pipe instead of sealing it.

Is It Necessary to Remove the Chimney Pipe From the Wood Stove Before Sealing It?
No, it is not necessary to remove the chimney pipe from the wood stove before sealing it. By sealing the chimney pipe without removing it, you can ensure a secure and efficient connection.
Are There Any Safety Precautions to Consider When Working With High-Temperature Sealant on a Wood Stove Chimney Pipe?
When working with high-temperature sealant on a wood stove chimney pipe, it is important to take safety precautions. Ensure proper ventilation to prevent fumes, wear protective gear, and follow the manufacturer’s instructions for safe application.
Conclusion
In conclusion, properly sealing your wood stove chimney pipe is crucial for ensuring the safety and efficiency of your heating system.
By assessing the condition of the pipe, gathering the necessary tools and materials, cleaning and preparing the pipe, and applying high-temperature sealant to the joints, you can prevent any potential leaks or damage.
Remember to inspect and test the sealed chimney pipe regularly to maintain its effectiveness.
Don’t compromise on safety – take the necessary steps to seal your wood stove chimney pipe today.