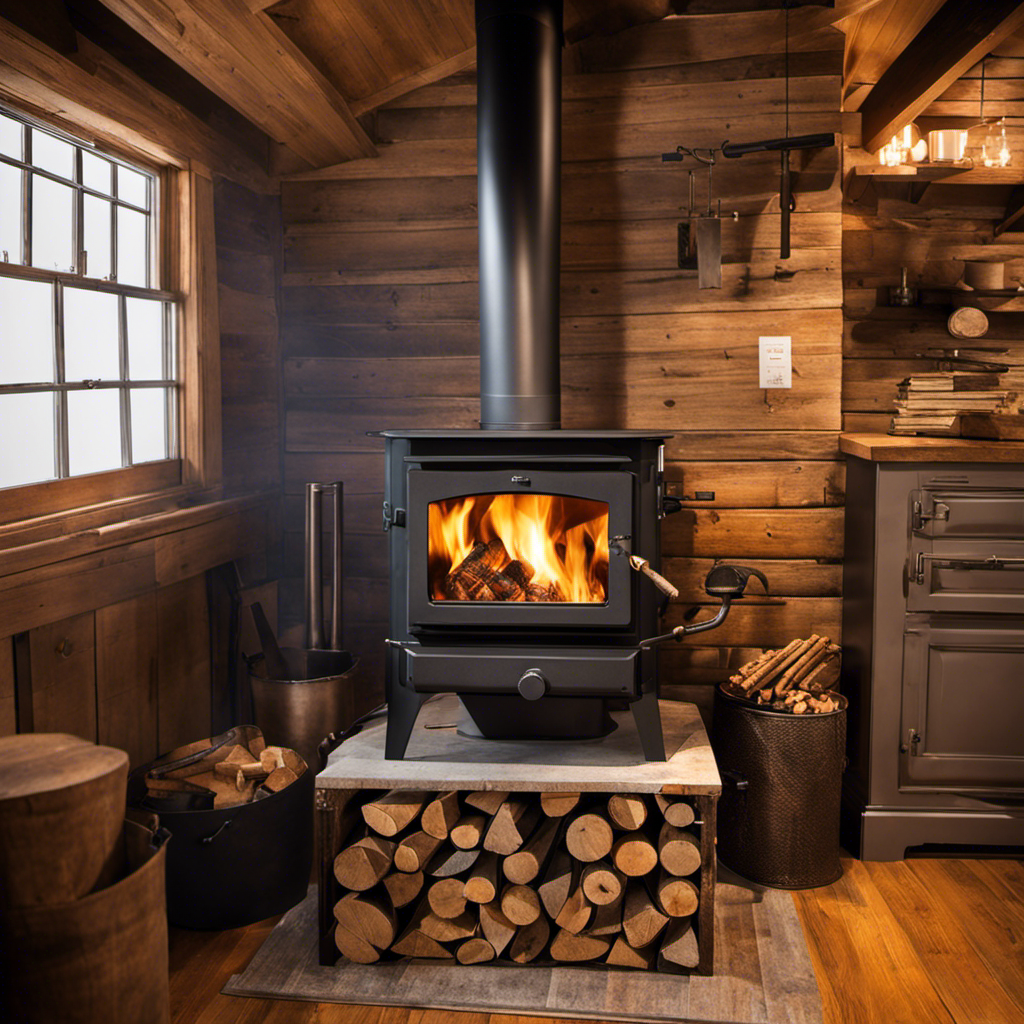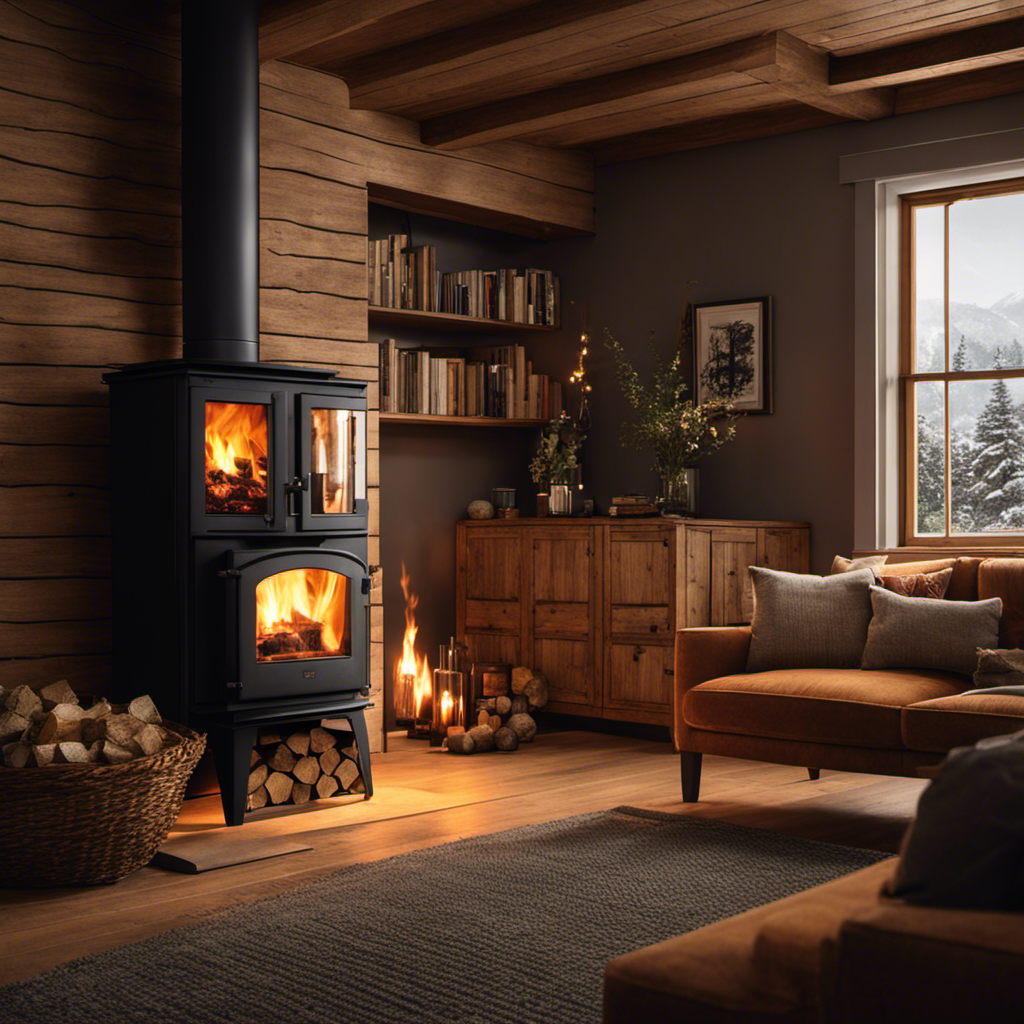
I’ve always cherished the comforting warmth that a wood stove offers, yet I’ve recently decided to switch to a pellet stove due to its user-friendly nature and improved efficiency.
I quickly realized that I could save time and money by utilizing the existing wood stove pipe through the roof.
In this article, I’ll guide you through the step-by-step process of installing a pipe for a pellet stove using an existing wood stove pipe.
With the right tools and materials, you’ll be enjoying the benefits of your pellet stove in no time.
Key Takeaways
- Visually inspect the existing wood stove pipe for damage before installation.
- Gather all necessary tools and materials before starting the installation process.
- Prepare the roof by assessing its condition and ensuring it can support the pipe’s weight.
- Connect the pellet stove pipe to the existing wood stove pipe using high-temperature silicone sealant and stainless steel clamps.

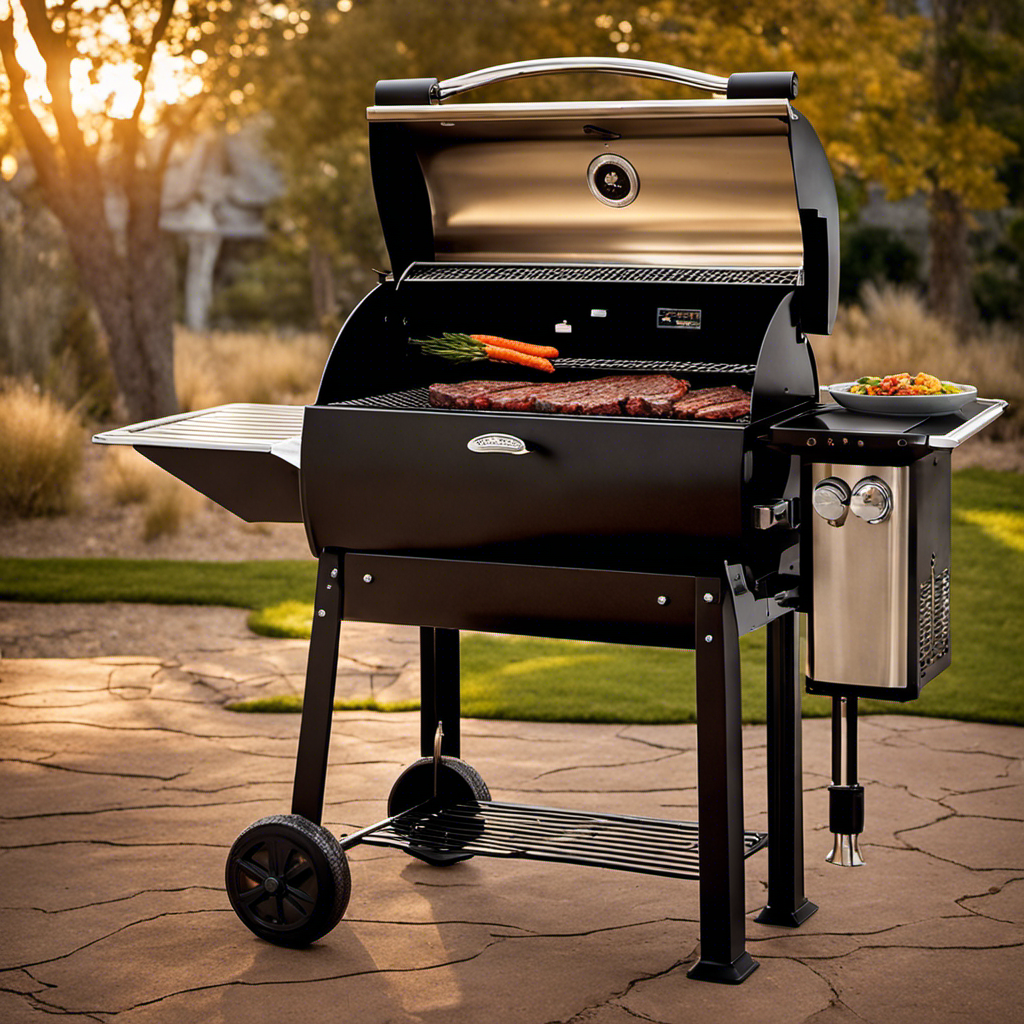
Duravent 3 Inch PelletVent Stainless Steel Double Wall Vent Pipe Kit – Pellet Stove Exhaust for Indoor Heater, Horizontal Venting System with Cleanout Tee Cap
- Complete Vent Kit: Includes pipes, elbows, caps, and accessories
- For Pellet and Multi-Fuel Stoves: Suitable for 3-inch pellet and multi-fuel heaters
- Stainless Steel Construction: Corrosion-resistant inner liner for durability
As an affiliate, we earn on qualifying purchases.
As an affiliate, we earn on qualifying purchases.
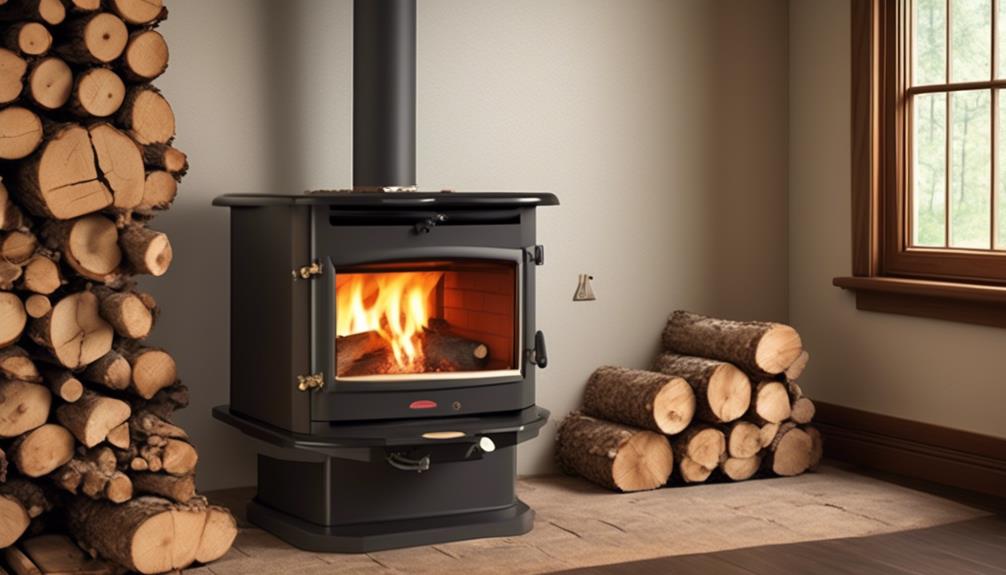
Assessing the Existing Wood Stove Pipe
Before you start installing the pellet stove, it’s important to assess the condition of the existing wood stove pipe. Evaluating the condition of the pipe ensures that it is safe and suitable for use with the pellet stove.
Start by visually inspecting the pipe for any signs of damage, such as corrosion or cracks. If the pipe appears to be in good condition, proceed to measuring its length. Use a tape measure to determine the height of the pipe from the stove to the roof. Accurate measurements are crucial for determining the length of the new pellet stove pipe needed to connect to the existing wood stove pipe.
Once you have assessed the condition and measured the length of the pipe, you can move on to gathering the necessary tools and materials for the installation process.
Gathering the Necessary Tools and Materials
To get started, you’ll need a few tools and materials for the project. Here’s what you’ll need:
- A reciprocating saw: This tool will be essential for cutting the existing wood stove pipe to the desired length.
- High-temperature silicone sealant: This will ensure a tight and secure connection between the new pipe and the existing one.
- A ladder: You’ll need a sturdy ladder to safely access the roof and perform the installation.
Now that you have gathered the necessary tools and materials, it’s time to move on to preparing the roof for pipe installation.
This step involves assessing the roof for proper positioning, measuring and marking the area where the pipe will penetrate, and ensuring that the roof is structurally sound to support the weight of the pipe. It’s crucial to take these precautions to ensure a successful installation process.
Preparing the Roof for Pipe Installation
Now that you’ve gathered the necessary tools and materials, let’s assess the roof for proper positioning and ensure it can support the weight of the new pipe.
Conducting a thorough roof inspection is crucial to avoid any potential issues during the installation process. Start by examining the area where the pellet stove pipe will penetrate the roof. Look for any existing roof vents, chimneys, or other obstructions that may hinder the installation. Additionally, check for any signs of damage or deterioration in the roof structure.
It’s essential to take safety precautions during this process, such as wearing appropriate protective gear and using a secure ladder.
Once the roof inspection is complete and you have determined that the roof is suitable for the installation, we can move on to connecting the pellet stove pipe to the existing wood stove pipe seamlessly.
Connecting the Pellet Stove Pipe to the Existing Wood Stove Pipe
Once you’ve completed the roof inspection and determined it’s suitable, it’s time to seamlessly connect the pellet stove pipe to the existing wood stove pipe. This step is crucial for proper pellet stove ventilation and ensuring the safe operation of your stove. Here’s how to do it:
- Ensure both the pellet stove pipe and the wood stove pipe are clean and free of any debris.
- Use a high-temperature silicone sealant to create an airtight connection between the two pipes.
- Secure the pipes together using stainless steel pipe clamps for added stability.
By following these steps, you can ensure that the pellet stove pipe is securely connected to the existing wood stove pipe, allowing for efficient and safe ventilation.
Now, let’s move on to securing the pipe through the roof by properly flashing and sealing it.
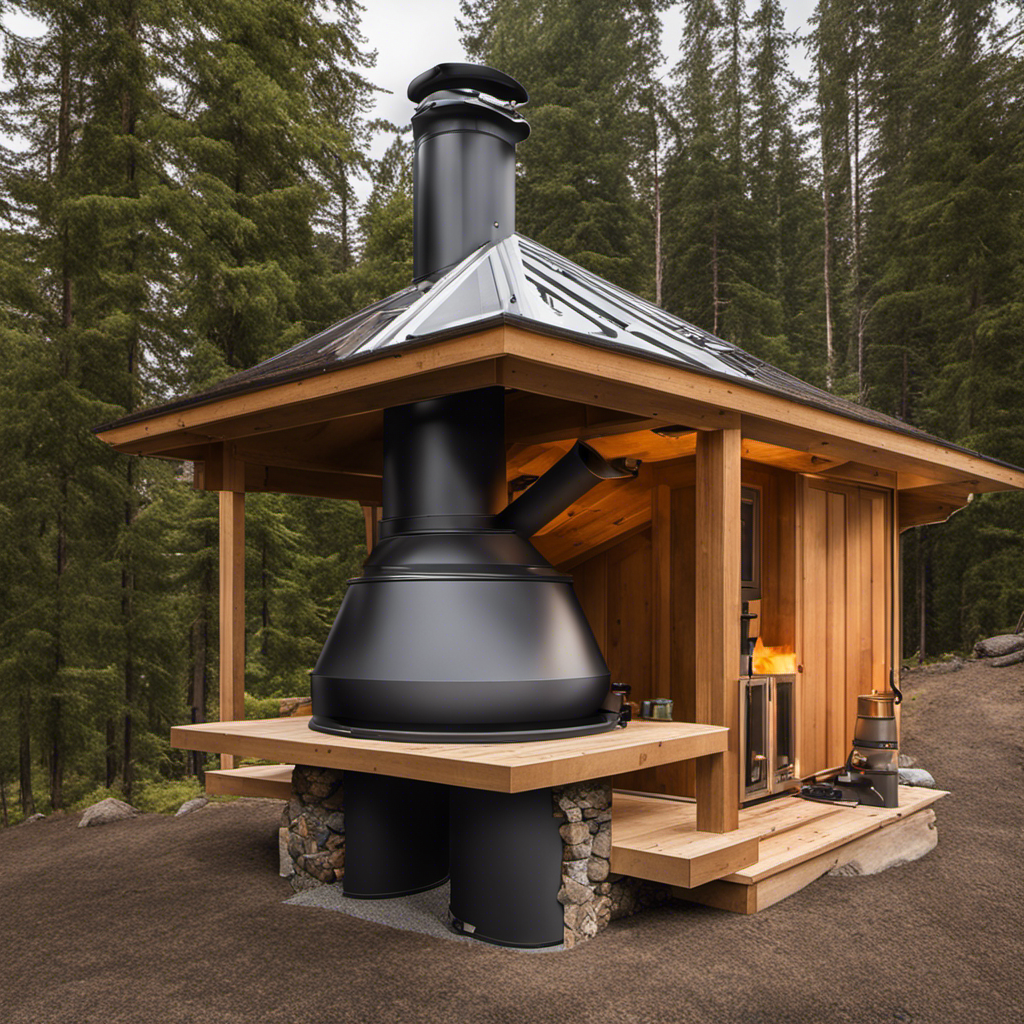
Securing the Pipe Through the Roof
After cleaning both pipes and creating an airtight connection, make sure to secure them with stainless steel clamps for added stability before moving on to securing the pipe through the roof.
To ensure a proper installation, it is crucial to address the roof penetration and weatherproofing. Begin by determining the location where the pipe will penetrate the roof. Use a drill to create a pilot hole, and then enlarge it to the appropriate size for the pipe. Install a roof flashing around the pipe to prevent any water leakage. Apply roofing sealant to the edges of the flashing for additional weatherproofing.
Transitioning into the next section, insulating and sealing the pipe will further enhance the efficiency and safety of the installation.
Insulating and Sealing the Pipe
To ensure maximum efficiency and safety, it’s important to insulate and seal the pipe immediately after addressing the roof penetration and weatherproofing. Proper insulation and sealing techniques are crucial in preventing heat loss, reducing the risk of fire, and ensuring optimal performance of the pellet stove.
Here are some key methods to consider:
-
Use high-quality insulation materials, such as fiberglass or mineral wool, to wrap around the pipe. This helps to minimize heat transfer and maintain a consistent temperature inside the pipe.
-
Apply a high-temperature silicone sealant around the pipe joints and connections to create an airtight seal. This prevents any air leakage and ensures that no exhaust gases escape into the surrounding areas.
-
Install a chimney cap or rain cap to protect the pipe from moisture, debris, and animals.
By properly insulating and sealing the pipe, you can enhance the efficiency and safety of your pellet stove installation.
Now, let’s move on to testing the pellet stove to ensure proper ventilation.
Testing the Pellet Stove to Ensure Proper Ventilation
Before testing, it’s crucial to ensure that the pellet stove is properly connected and all ventilation components are in place.
To test the pellet stove performance and troubleshoot ventilation issues, there are a few steps you can follow.
First, check if the stove is receiving power and that the control panel is functioning properly.
Next, verify that the air intake and exhaust vents are clear of any obstructions.
Inspect the vent pipes for any signs of damage or leaks.
It’s also important to measure the draft pressure using a manometer to ensure it falls within the recommended range.
Finally, run the pellet stove and monitor the flame pattern and color. If the flame is weak or irregular, it may indicate a ventilation issue that needs to be addressed.
Frequently Asked Questions
What Is the Average Cost of Installing a Pipe for a Pellet Stove Using an Existing Wood Stove Pipe Through the Roof?
The average cost of installing a pipe for a pellet stove using an existing wood stove pipe through the roof can vary depending on factors such as labor costs, materials needed, and the complexity of the installation. Additionally, the installation time will also depend on the specific circumstances and the skill level of the installer.
Can I Install a Pellet Stove Pipe Through the Roof if I Don’t Have an Existing Wood Stove Pipe?
Yes, I can install a pellet stove pipe through the roof without an existing wood stove pipe. The installation process involves gathering the necessary tools and carefully following the manufacturer’s instructions for a safe and efficient installation.
How Long Does It Typically Take to Install a Pipe for a Pellet Stove Using an Existing Wood Stove Pipe Through the Roof?
Installing a pipe for a pellet stove using an existing wood stove pipe through the roof requires proper sealing techniques. It is crucial to avoid common mistakes during installation to ensure safety and efficiency.
Are There Any Specific Safety Precautions I Should Take When Installing a Pellet Stove Pipe Through the Roof?
When installing a pellet stove pipe through the roof, safety precautions are crucial. Proper installation includes ensuring proper clearance from combustible materials, using proper support brackets, and sealing all joints to prevent leaks.
Can I Install a Pellet Stove Pipe Through a Metal Roof?
Yes, you can install a pellet stove pipe through a metal roof. Proper insulation, such as double-walled pipe and high-temperature insulation, is recommended. To avoid roof damage, use a roof flashing kit and ensure a secure and watertight seal.
Conclusion
In conclusion, successfully installing a pellet stove pipe through an existing wood stove pipe is a meticulous process. It requires careful assessment, proper tools, and precise execution.
By following the steps outlined in this article, you can ensure a seamless connection between the two pipes. This guarantees efficient ventilation for your pellet stove.
Remember to insulate and seal the pipe thoroughly to prevent any leakage. With the right approach, your pellet stove will provide warmth and comfort. It will also maintain the safety and functionality of your home.