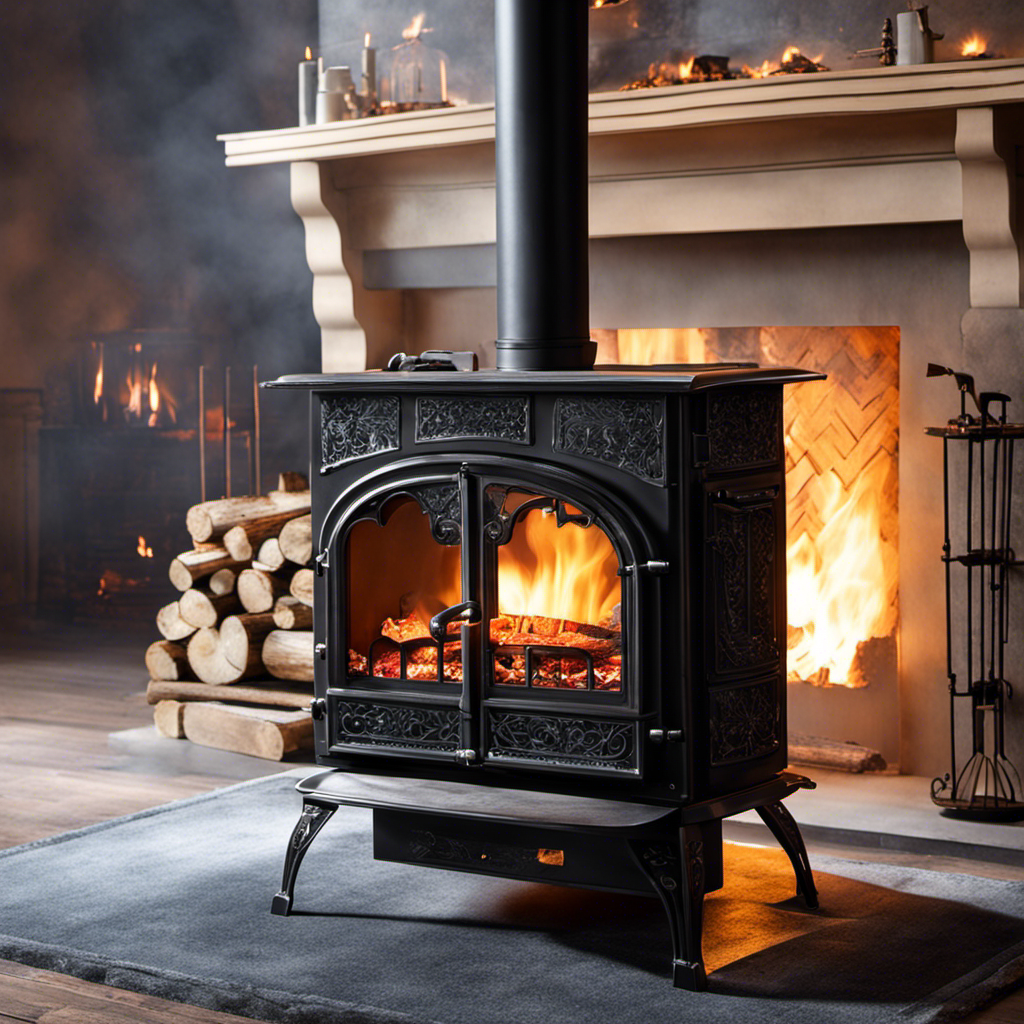
If you observe that the door of your wood stove is not closing tightly, it could indicate that you need to replace the gasket.
In this article, I’ll guide you through the process of replacing the wood stove door gasket step by step.
By following these instructions, you’ll be able to ensure a tight seal and improve the efficiency of your wood stove.
So let’s get started and make your wood stove more effective and energy-efficient!
Key Takeaways
- Regularly evaluate the condition of the wood stove door gasket to ensure optimal performance and prevent energy loss.
- Gather the necessary tools and materials, including a flathead screwdriver and a new gasket made specifically for wood stoves.
- Carefully remove the old gasket from the wood stove door, using patience and finesse to remove any residue.
- Install the new gasket onto the wood stove door by cleaning the groove, applying high-temperature adhesive, and ensuring proper alignment and a flush fit.
Assessing the Condition of the Existing Gasket
I can feel the heat escaping from the wood stove door, indicating that the gasket may need to be replaced.
As an experienced wood stove user, I know that evaluating the lifespan of a gasket is crucial in maintaining the efficiency of the stove. Over time, gaskets can deteriorate due to high temperatures, constant use, or improper maintenance.
There are several signs to look for when assessing the condition of the gasket. Firstly, check for any visible wear and tear, such as fraying or cracks in the gasket material.
Secondly, pay attention to the seal around the door. If you notice any gaps or leaks when the stove is in use, it’s a clear indicator that the gasket is no longer functioning properly.

Lastly, if the gasket feels brittle or hardened, it has likely reached the end of its lifespan.
Regularly evaluating the gasket’s condition is essential for ensuring the stove’s optimal performance and preventing energy loss.
Gathering the Necessary Tools and Materials
To complete the task, I’ll need a few tools and materials, such as a flathead screwdriver and a new gasket.
Before replacing the gasket on my wood stove door, I need to prepare the door itself. This involves cleaning the surface thoroughly to ensure proper adhesion of the new gasket.
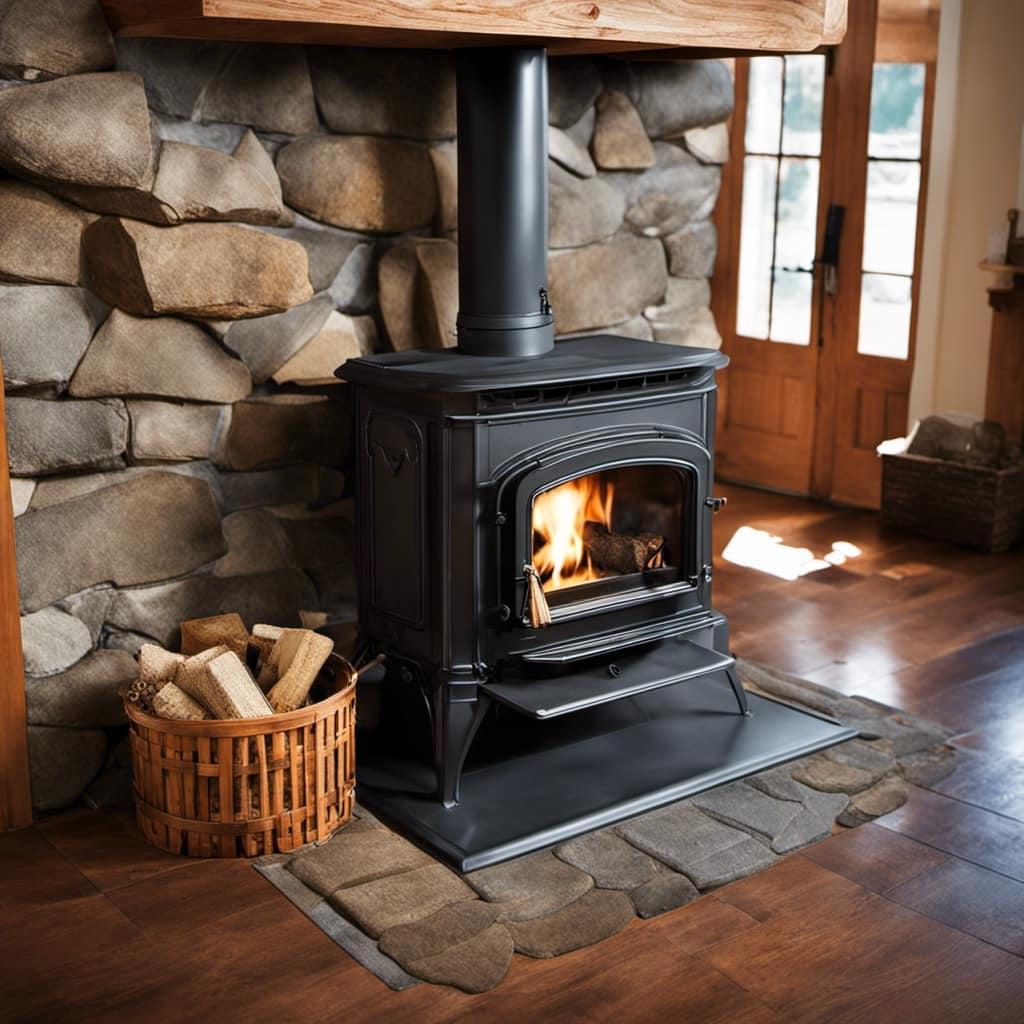
I’ll also need to measure the dimensions of the old gasket so that I can purchase the correct gasket material. It’s important to choose a gasket that’s made specifically for wood stoves to ensure optimal performance and longevity.
Once I’ve gathered all the necessary tools and materials, I can proceed with removing the old gasket from the wood stove door.
Removing the Old Gasket From the Wood Stove Door
After cleaning the surface thoroughly, I carefully peel away the worn-out seal. It takes some patience and finesse, but eventually, the old gasket residue comes off, leaving a clean surface to work with.
Removing the gasket residue is an important step in ensuring a proper seal for the new gasket. Here are some tips to help you through this process:
- Use a putty knife or scraper to gently scrape off any remaining gasket material.
- Wipe the surface with a cloth dampened with rubbing alcohol to remove any adhesive residue.
- For stubborn residue, you can use a commercial adhesive remover or a mixture of vinegar and water.
- Be cautious not to scratch or damage the wood stove door surface while removing the residue.
- Finally, thoroughly clean the surface with a mild detergent and warm water to prepare it for the new gasket installation.
Installing the New Gasket Onto the Wood Stove Door
The new gasket fits snugly into the groove on the wood stove door, ensuring a tight seal.
When installing the new gasket, it’s important to follow proper techniques to ensure a successful replacement.
Start by cleaning the groove thoroughly to remove any debris or residue from the old gasket.
Apply a small amount of high-temperature adhesive to the groove, spreading it evenly.
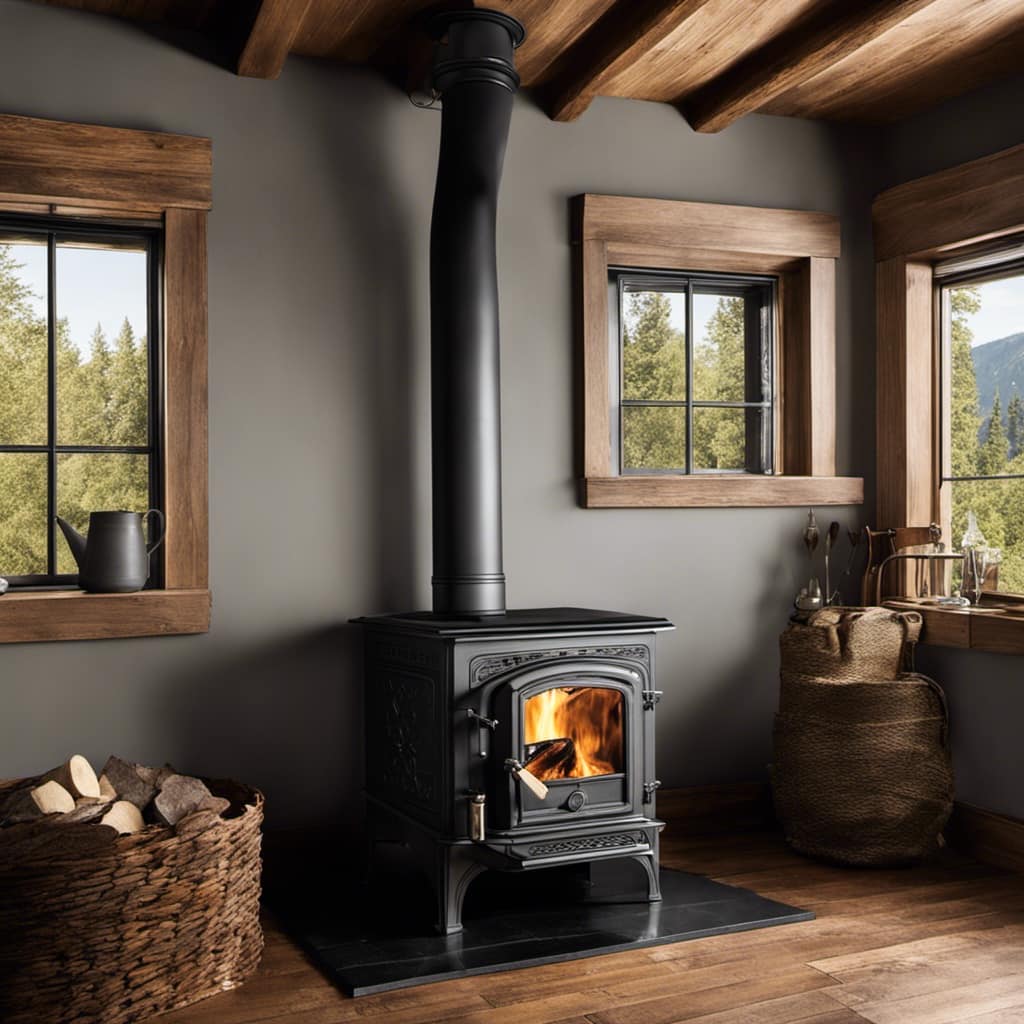
Then, carefully press the new gasket into the groove, making sure it’s aligned properly and sits flush.
Troubleshooting common issues during installation includes checking for any gaps or uneven sections in the gasket, which could lead to air leaks.
Once the new gasket is securely installed, it’s time to move on to testing the newly replaced gasket for proper sealing.
Testing the Newly Replaced Gasket for Proper Sealing
I can check the newly installed gasket by running my hand along the edges to feel for any air leaks. It’s important to properly test the gasket to ensure a tight seal, as a faulty seal can lead to heat loss and reduced efficiency. Here are some tips to ensure a tight seal when testing a newly replaced wood stove door gasket:
-
Clean the surfaces: Before installing the gasket, make sure to clean the stove door and the mating surface thoroughly. Any debris or residue can interfere with the sealing process.
-
Apply pressure evenly: When closing the stove door, apply even pressure to ensure the gasket compresses evenly along the entire perimeter. Uneven pressure can result in gaps and air leaks.
-
Check for gaps: After closing the door, visually inspect the gasket for any visible gaps. If you notice any, adjust the gasket or replace it if necessary.
-
Monitor for smoke or odors: Light a small fire in the stove and monitor for any smoke or odors escaping from around the door. If you detect any, it’s a sign of a faulty seal that needs to be addressed.
-
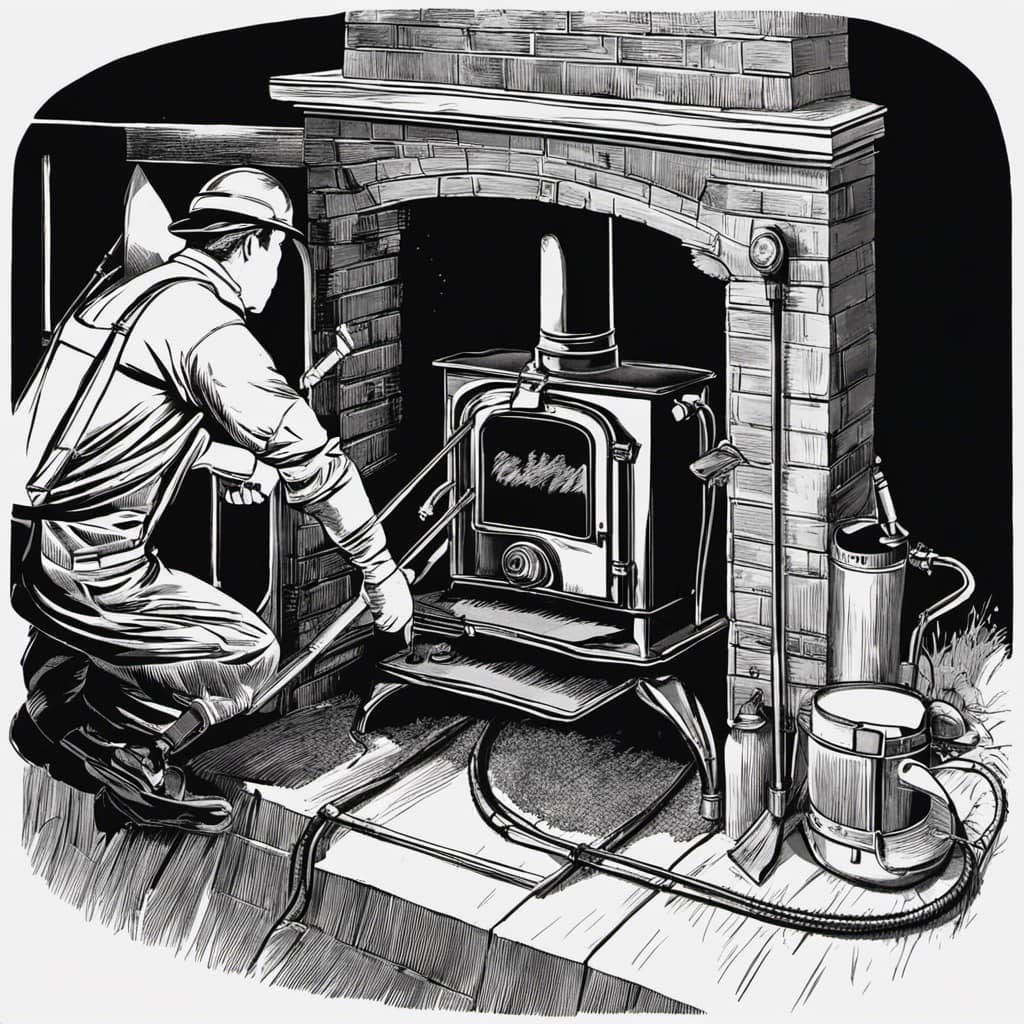
Regular maintenance: Periodically check the gasket for wear and tear, and replace it if needed. This will ensure a consistently tight seal and optimal stove performance.
Frequently Asked Questions
How Do I Know if My Wood Stove Door Gasket Needs to Be Replaced?
If my wood stove door gasket is worn out, signs like smoke leakage and difficulty in maintaining a proper fire indicate the need for replacement. It’s crucial to maintain a properly sealed door for safety and efficiency.
Can I Use Any Type of Adhesive to Install the New Gasket Onto the Wood Stove Door?
Yes, you can use different types of adhesive to install the new gasket onto the wood stove door. However, it is important to choose the right adhesive that is heat resistant and suitable for the specific type of gasket material.
Is It Necessary to Remove the Entire Wood Stove Door in Order to Replace the Gasket?
No, it is not necessary to remove the entire wood stove door to replace the gasket. There are alternative methods for gasket installation that do not require door removal.
How Often Should I Replace the Gasket on My Wood Stove Door?
I replace the gasket on my wood stove door every 1-2 years. To install a new one, I remove the old gasket, clean the surface, and carefully attach the new gasket. You can buy wood stove door gaskets online or at hardware stores.
Can I Reuse the Old Gasket if It Is Still in Good Condition?
No, it is not recommended to reuse the old gasket even if it is in good condition. It is best to replace it with a new one to ensure proper sealing and prevent any potential issues.
Conclusion
In conclusion, replacing the wood stove door gasket is a simple and essential task for maintaining the efficiency of your wood stove.
By assessing the condition of the existing gasket, gathering the necessary tools and materials, removing the old gasket, and installing the new one properly, you can ensure a secure and efficient seal.

Remember to test the newly replaced gasket for proper sealing to ensure the optimal performance of your wood stove.
So, don’t wait, give your wood stove the attention it deserves and enjoy the warmth it provides.


