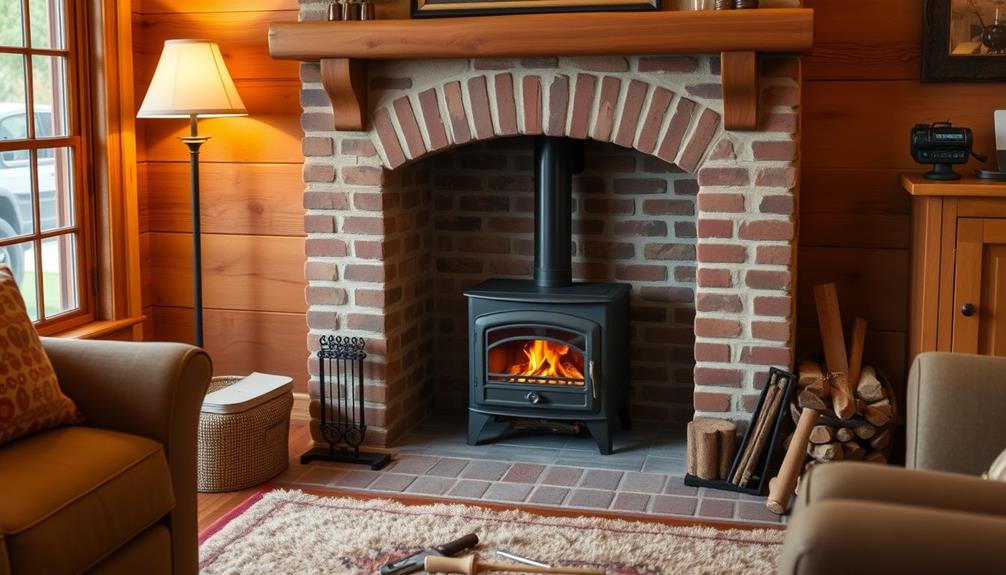

I have an easy fix for those dealing with leaks in their wood stove doors. In just a few simple steps, I will demonstrate how to install a gasket that will help retain heat and keep the cold air out.
No need to call a professional or spend a fortune on repairs. With the right tools and a little bit of patience, you’ll have your wood stove door sealed up tight in no time.
Let’s get started!
Key Takeaways
- Inspect the gasket for wear and tear and replace if necessary.
- Remove the old gasket using a scraper or putty knife and clean the surface.
- Choose the right gasket material based on heat resistance, durability, and compatibility.
- Apply high-temperature adhesive to the door surface and firmly press the new gasket onto it, using a clamp to hold it in place while it dries.

Wood Stove Gaskets, Gasket Rope Replacement for Woodstoves and Fireplaces Door Seal, High Temperature Resistant Fiberglass Gasket Kit, Size 1/2"(12mm), Length 72", Grey Color
- Tightly Woven Gasket Material: Prevents dust and smoke escape
- High-Temperature Resistant: Withstands up to 1100°F
- Graphite Impregnated Gasket: Enhances durability and sealing
As an affiliate, we earn on qualifying purchases.
As an affiliate, we earn on qualifying purchases.
Assessing the Condition of Your Gasket
I need to check the condition of my gasket to see if it needs replacing. To do this, I’ll follow these steps:
-
Start by opening the wood stove door and inspecting the gasket. Look for signs of wear and tear, such as fraying, cracking, or gaps in the seal.
-
Run your fingers along the gasket to feel for any areas that are damaged or worn down. Pay close attention to the corners and edges, as these areas are more prone to damage.
-
If you notice any signs of damage, it’s important to replace the gasket as soon as possible. A damaged gasket can prevent the door from sealing properly, leading to heat loss and decreased efficiency.
-
To replace the damaged gasket, carefully remove the old gasket using a scraper or putty knife. Make sure to remove any adhesive residue as well.
-
Once the old gasket is removed, clean the surface where the new gasket will be installed. Use a wire brush or sandpaper to remove any dirt or debris.
-
Finally, apply a high-temperature adhesive to the surface and press the new gasket firmly into place. Allow the adhesive to dry completely before closing the wood stove door.
Gathering the Necessary Tools and Materials
Before starting the installation process, it’s important to gather all of the necessary tools and materials. Here’s what you’ll need:
- Scraper: This tool will help you remove any old gasket residue from the wood stove door surface.
- Putty knife: Use this to carefully scrape off any stubborn gasket remnants.
- Wire brush: This will help you thoroughly clean the door surface, ensuring a strong bond with the new gasket.
- Sandpaper: Use a fine-grit sandpaper to smooth out any rough spots on the door surface.
Once you have these tools ready, don’t forget the most important item – the new gasket. Choosing the right gasket material is crucial for a successful installation. Consider factors such as heat resistance, durability, and compatibility with your wood stove.
With all the necessary tools and materials gathered, you’re now ready to move on to the next step: removing the old gasket from your wood stove door.
Removing the Old Gasket From Your Wood Stove Door
After gathering all the necessary tools and materials, it’s time to use a scraper and a putty knife to carefully remove the old gasket from your wood stove door.
Start by cleaning the stove door and ensuring it’s free from any debris or residue. This will provide a clean surface for the new gasket to adhere to.
Next, take the scraper and gently scrape away any loose or deteriorated gasket material. Be careful not to scratch or damage the door surface.
Once the loose material is removed, use the putty knife to carefully pry off the remaining gasket. Take your time and work slowly to avoid damaging the door.
Once the old gasket is completely removed, clean the area again to ensure a clean and smooth surface for the new gasket.
Now, it’s time to choose the right gasket adhesive. Look for a high-temperature adhesive specifically designed for wood stoves.
Apply a thin, even layer of adhesive to the door surface, making sure to cover the entire area where the gasket will be placed.
Allow the adhesive to dry according to the manufacturer’s instructions.
With the old gasket removed and the door cleaned and prepped, you’re now ready to install the new gasket onto your wood stove door.
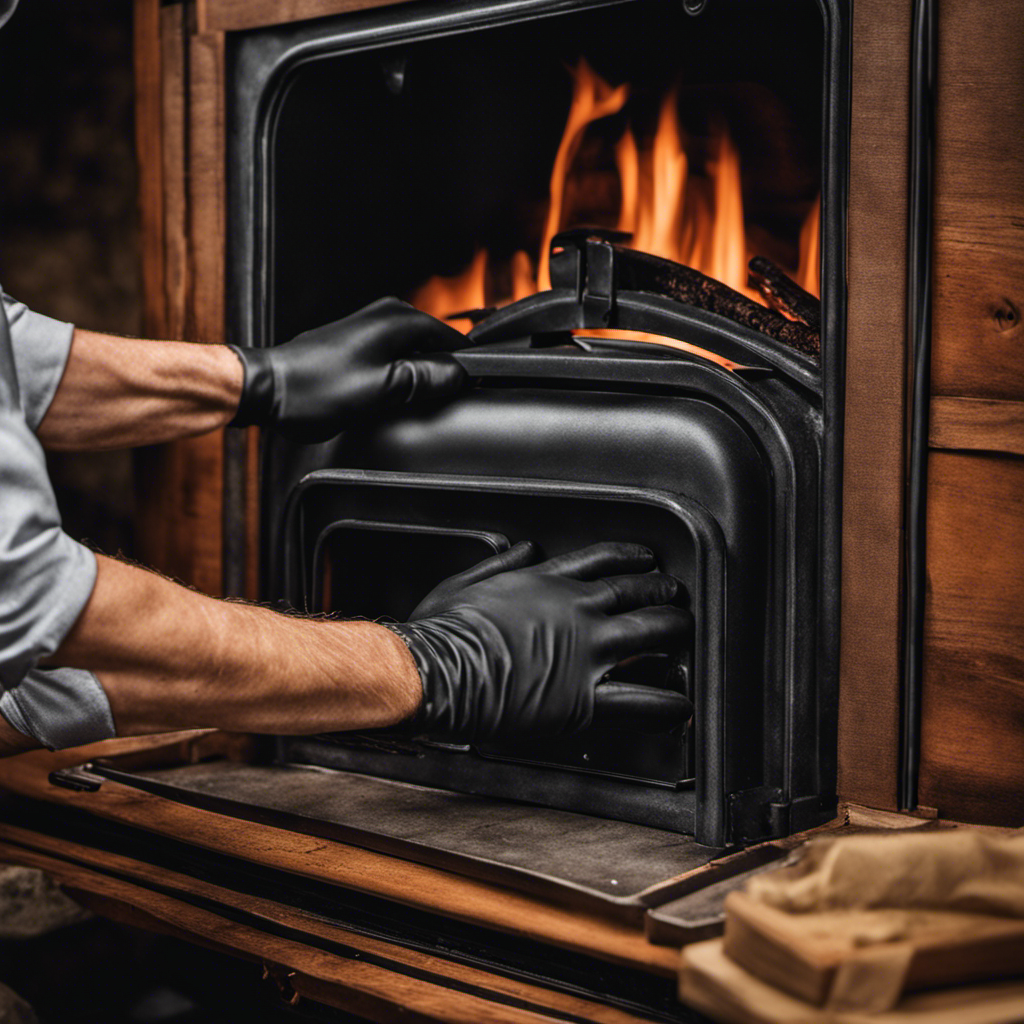
Installing the New Gasket on Your Wood Stove Door
To install the new gasket on your wood stove door, carefully position it along the edge and secure it with adhesive and a clamp. Here’s a step-by-step guide on how to do it:
-
Clean the door surface: Remove any debris or old adhesive from the door surface using a brush or scraper.
-
Apply adhesive: Apply a thin, even layer of high-temperature adhesive along the edge of the door where the gasket will be placed.
-
Attach the gasket: Press the gasket firmly onto the adhesive, making sure it’s aligned along the edge of the door. Use a clamp to hold it in place while the adhesive dries.
Installing a gasket on your wood stove door offers several benefits, such as:
-
Improved efficiency: The gasket creates a tight seal, preventing air leaks and ensuring efficient combustion.
-
Enhanced safety: A properly sealed door reduces the risk of smoke or gases escaping into your living space.
-
Longer lifespan: By preventing heat loss, the gasket helps to prolong the lifespan of your wood stove.
Testing and adjusting the gasket for proper seal is the next crucial step to ensure optimal performance.
Testing and Adjusting the Gasket for Proper Seal
I will now test and adjust the gasket for a proper seal to ensure optimal performance. To do this, follow these step-by-step instructions:
-
Start by visually inspecting the gasket for any visible signs of damage or wear. If you notice any issues, replace the gasket before proceeding.
-
Close the wood stove door and latch it securely. This will create a closed environment for testing the gasket seal.
-
Light a small piece of paper and hold it near the edges of the closed door. Move the flame slowly around the door perimeter, paying close attention to areas where smoke may escape.
-
Observe the smoke movement. If you see smoke escaping from any particular area, it indicates a potential gasket installation issue. Note the location in the table below.
| Location | Smoke Escape? | Possible Issue |
|---|---|---|
| Top | Yes | Adjust tension |
| Bottom | No | Proper seal |
| Sides | Yes | Tighten screws |
Frequently Asked Questions
How Often Should the Gasket on a Wood Stove Door Be Replaced?
The gasket on a wood stove door should be replaced every 1-2 years. To choose the right gasket material, consider heat resistance and durability. Maintain the gasket by cleaning it regularly and checking for any signs of wear or damage.
Can I Use Any Type of Gasket Material for My Wood Stove Door?
You can’t use any type of gasket material for a wood stove door. Different types have pros and cons. Some popular options are fiberglass rope, graphite impregnated rope, and ceramic rope.
What Is the Average Lifespan of a Gasket on a Wood Stove Door?
The average lifespan of a gasket on a wood stove door varies, but it typically needs replacement every few years. It’s crucial to ensure a proper seal to maximize efficiency and prevent heat loss.
Are There Any Safety Precautions I Should Take When Installing a New Gasket on My Wood Stove Door?
When installing a new gasket on a wood stove door, it is important to take safety measures. Follow these gasket installation tips to ensure a secure and efficient seal for your stove.
Can I Use Adhesive Other Than High-Temperature Adhesive to Attach the New Gasket to My Wood Stove Door?
I can use alternative adhesives for attaching the gasket to my wood stove door, but it’s best to use high-temperature adhesive. It ensures a secure bond and withstands the heat.
Conclusion
In conclusion, by following these precise step-by-step instructions, you can easily install a new gasket on your wood stove door.
With just a few tools and materials, you’ll be able to remove the old gasket and replace it with a new one, ensuring a proper seal.
Once done, you’ll be amazed at how tightly the gasket seals, keeping your wood stove operating efficiently and effectively, like a fortress guarding against the cold.