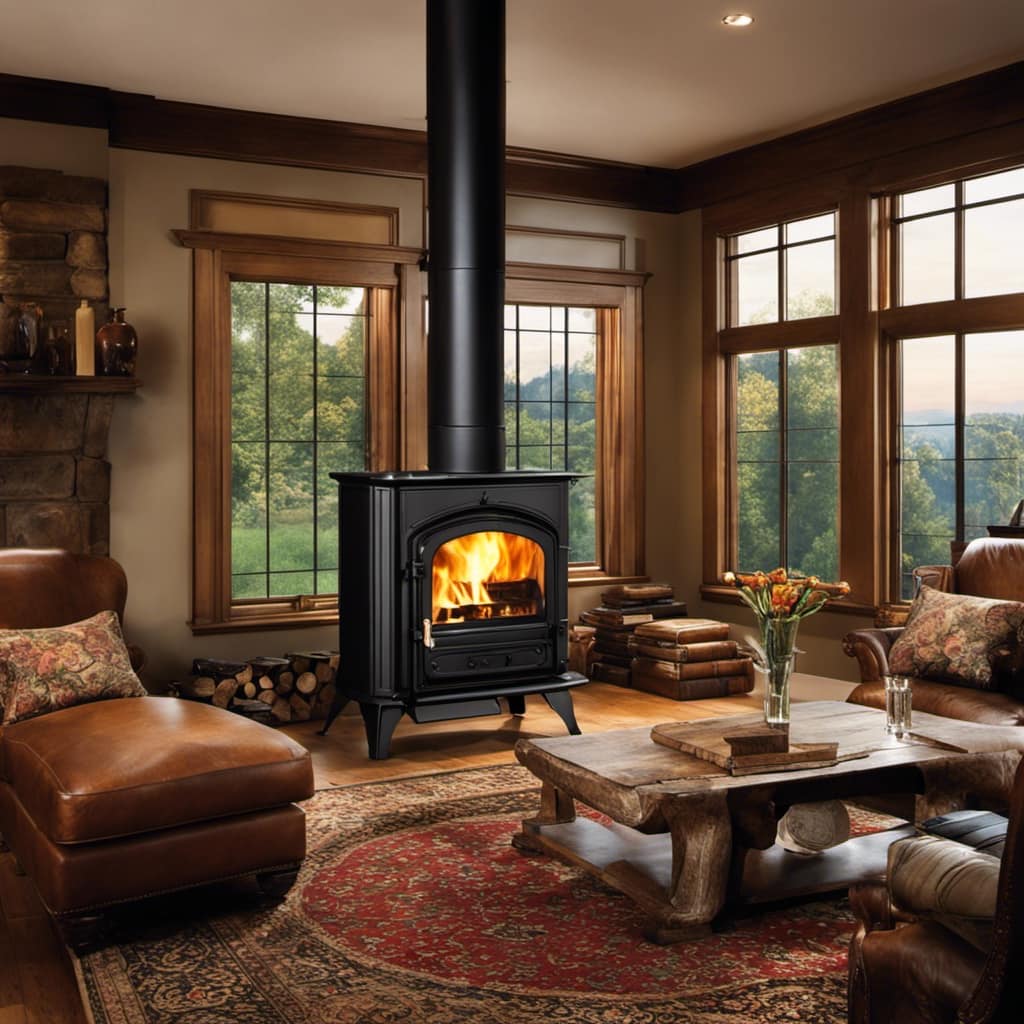
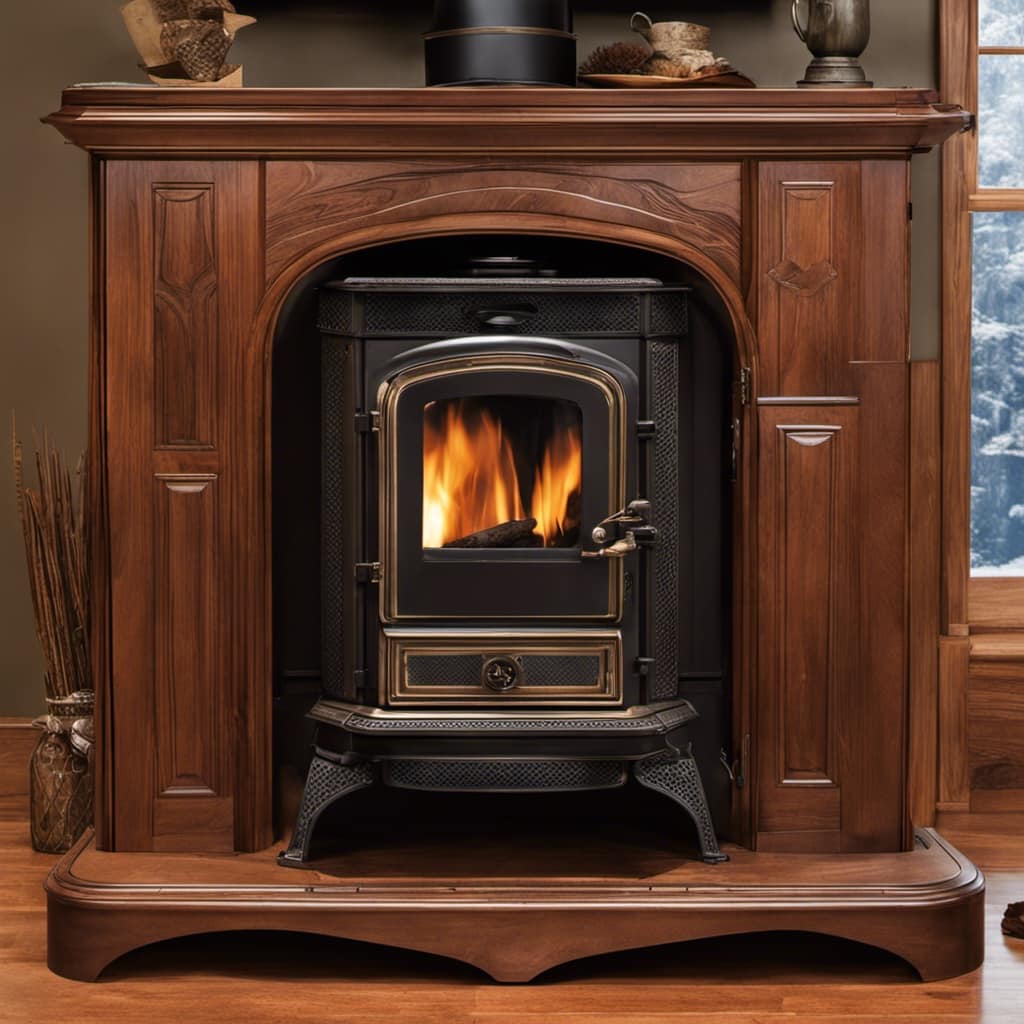
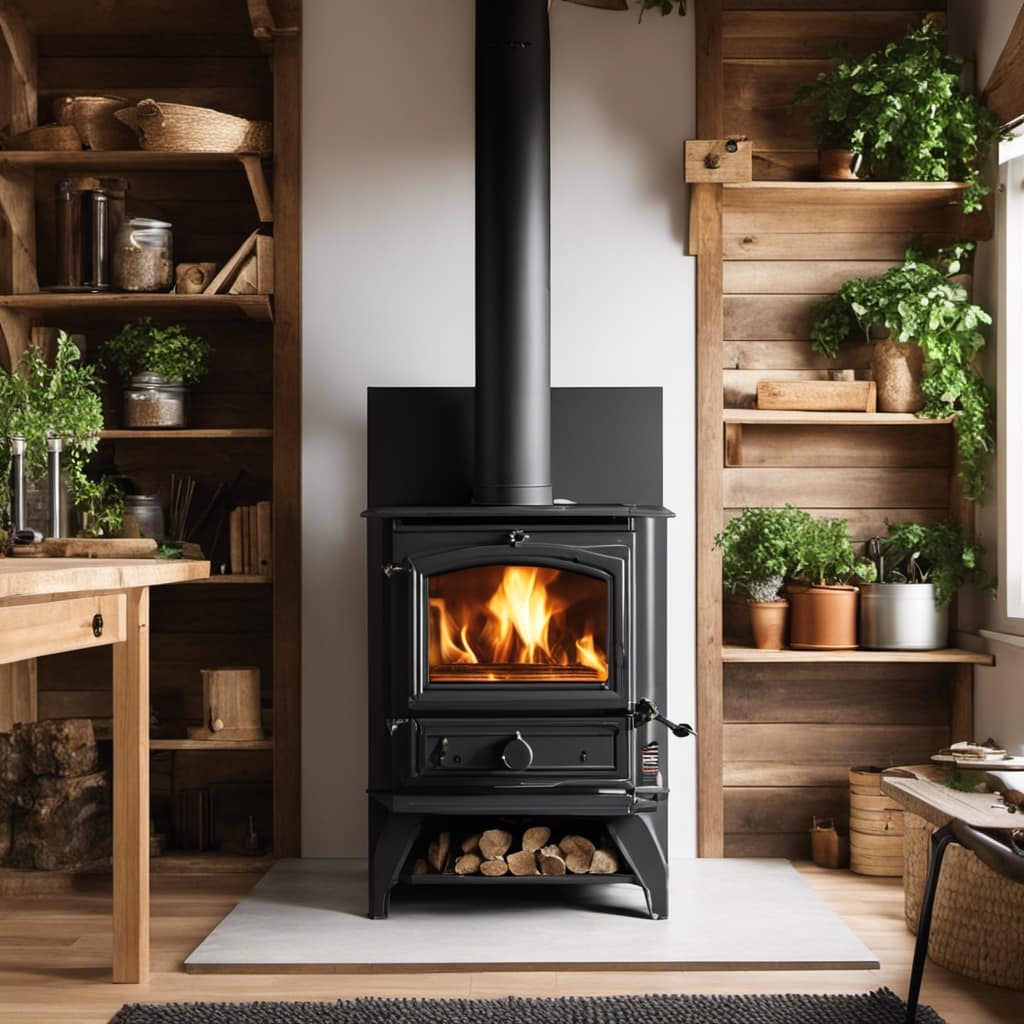
Hey! Have you ever been in a situation where you needed to cook or stay warm outdoors with limited resources? I have the ideal solution for you: a survival wood stove.
In this article, I’ll guide you through the process of making your own stove using materials you can easily find in nature. From gathering the necessary materials to testing and using your stove, I’ve got you covered.
Get ready to become the ultimate survivalist with your very own homemade wood stove!
Key Takeaways
- Source the necessary tools: metal bucket, drill with a large bit, metal file, and pliers
- Select dry and seasoned firewood, such as oak, maple, or birch
- Use hardwoods for longer burning and more heat
- Insulate the stove body with fire-resistant materials and ensure secure connections between sections

Hot Tent Stove,AVOFOREST Wood Burning Stove,Small Wood Stove with 7 Stainless Chimney Pipes for Outdoor Heating & Cooking, Ice Fishing, Hunting
- Detachable Chimney Sections: 7 sections for customizable height
- Adjustable Flame Control: Damper manages flame size and burn rate
- Viewing Glass Window: High flame-retardant silicone for observation
As an affiliate, we earn on qualifying purchases.
As an affiliate, we earn on qualifying purchases.
Gathering the Necessary Materials
To make a survival wood stove, I’ll need to gather the necessary materials. First, I need to source the tools required for this project. The main tools I’ll need are a metal bucket, a drill with a large bit, a metal file, and a pair of pliers. These tools will help me in creating the necessary vents and holes in the metal bucket to ensure proper airflow for the wood stove.
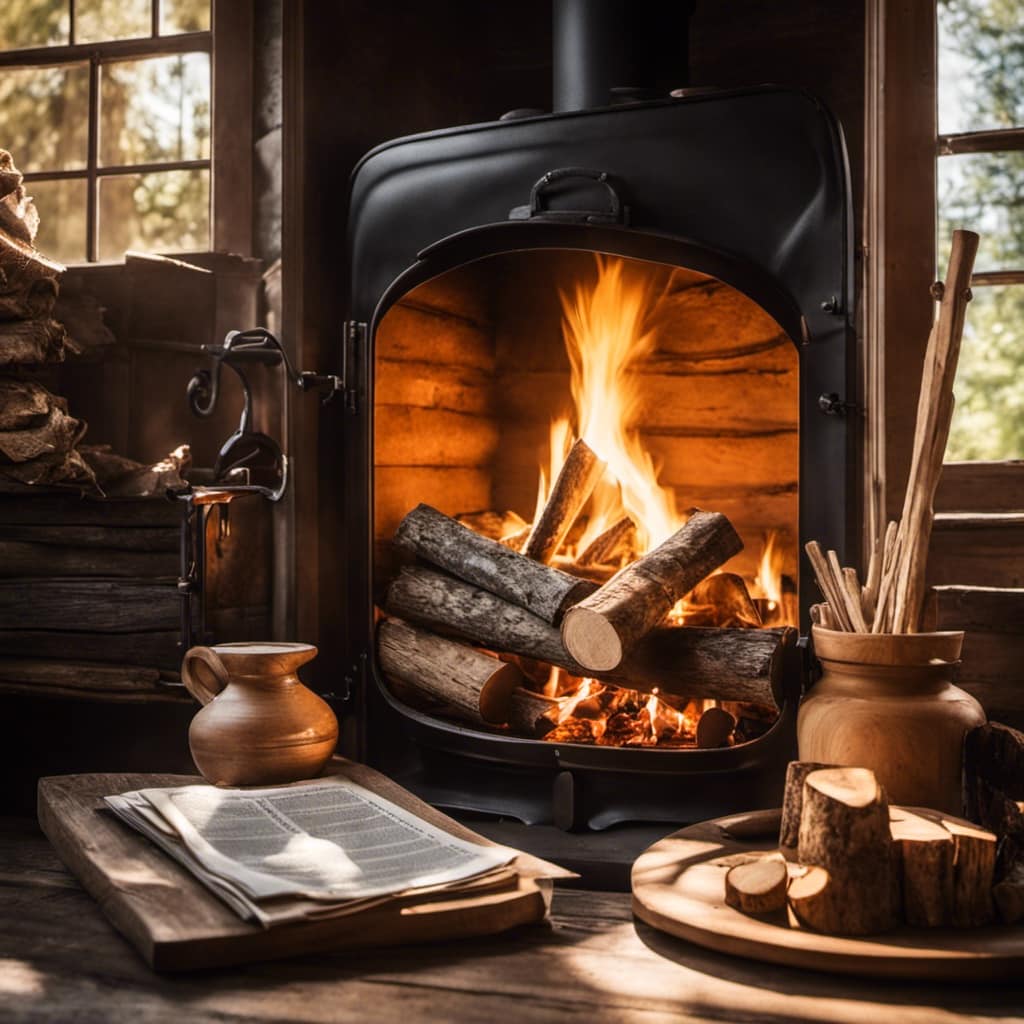
Next, I need to select the right firewood. It’s important to choose dry and seasoned firewood as it burns more efficiently and produces less smoke. Hardwoods like oak, maple, and birch are ideal for a wood stove as they burn longer and provide more heat. It’s also important to gather firewood that’s properly sized, with pieces that are no larger than the size of your forearm. This will ensure that the wood fits properly inside the stove and burns evenly.
Preparing the Stove Base
I’m getting ready by clearing the area and finding a suitable spot for the stove base.
When it comes to preparing the stove base for your survival wood stove, there are a few things to consider. Firstly, you mightn’t always have access to a traditional stove base, so it’s good to know some alternative options.
One option is to use a metal baking sheet or a large piece of sheet metal as a base. This will provide a heat-resistant surface and protect the ground from any potential damage.
Another alternative is to use a layer of bricks or stones as a base. Just make sure they’re stable and level.
Speaking of leveling, it’s essential to have a level stove base for safety and efficiency. To achieve this, use a spirit level to check the surface and make adjustments as needed.
Once the base is leveled, you can confidently proceed with setting up your survival wood stove.
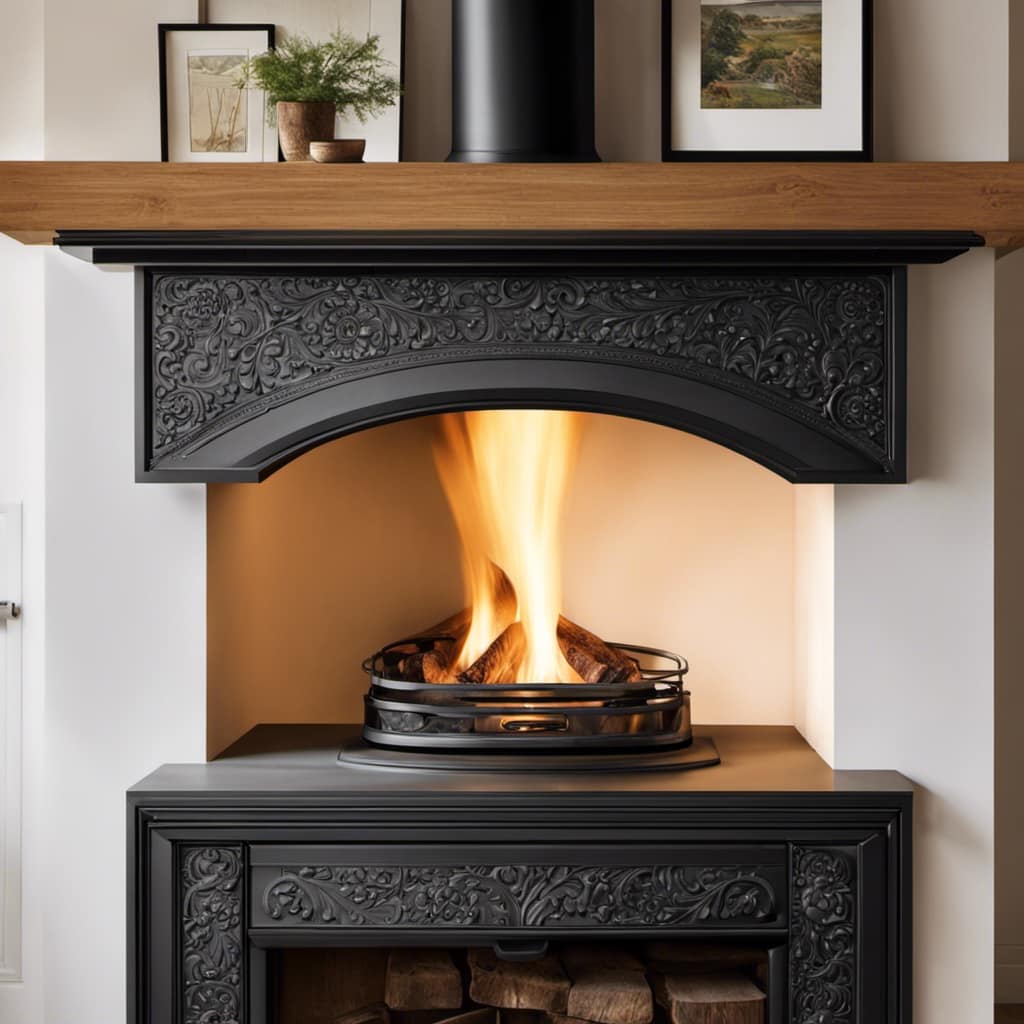
Constructing the Stove Body
Assembling the stove body requires connecting the different sections securely to ensure stability and proper functionality. Here are the key steps to follow:
-
Insulating the stove body: To prevent heat loss and improve efficiency, it’s important to insulate the stove body. Use fire-resistant insulation materials such as ceramic fiber blanket or rockwool to line the inside of the stove.
-
Choosing the right size and shape: Consider the amount of space you’ve available for the stove and the intended use. A smaller stove is more portable, while a larger one can accommodate bigger pots and pans.
-
Connecting the sections: Use bolts, screws, or clamps to connect the stove sections securely. Make sure to tighten them properly, but avoid over-tightening, as it may damage the stove body.
-
Testing for stability: Once the sections are connected, check for any wobbling or instability. Adjust the connections if needed to ensure a sturdy and safe stove body.
Now that the stove body is assembled, let’s move on to adding ventilation and airflow for efficient burning.
Adding Ventilation and Airflow
Now that the stove body is complete, I need to ensure proper ventilation and airflow for efficient burning. Improving efficiency is crucial to make the most out of your survival wood stove.
One common problem is inadequate airflow, which can lead to incomplete combustion and wasted fuel. To troubleshoot this, check if the air intake vents are clear of any obstructions like debris or ash buildup. Additionally, consider adding a chimney to enhance the draft and remove smoke effectively.
Another way to improve efficiency is by using a heat reflector behind the stove to direct heat towards your cooking or heating area. By addressing these airflow issues, you can maximize the performance of your survival wood stove.
Now, let’s move on to testing and using your stove to ensure it functions properly.
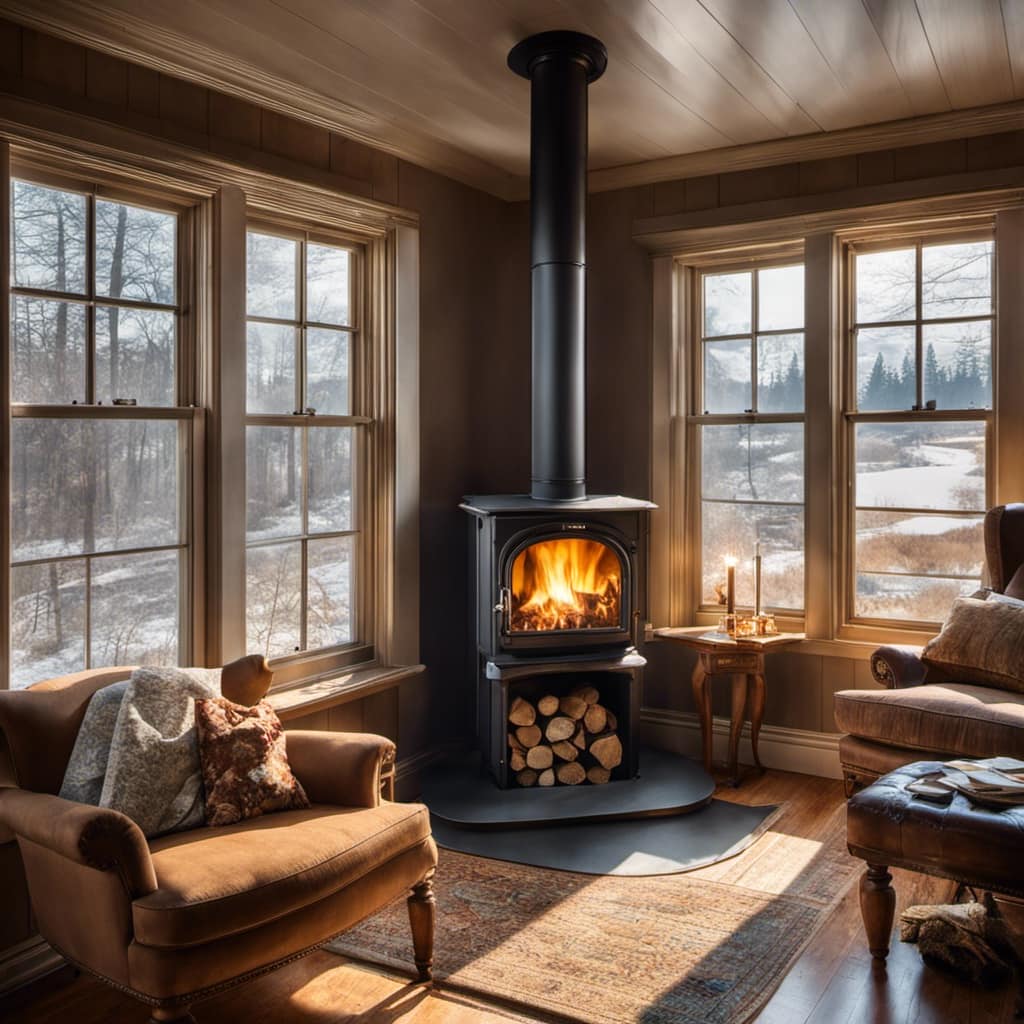
Testing and Using Your Survival Wood Stove
To ensure proper functionality, I’ll test and use my survival wood stove.
Here are some safety precautions and tips for maximizing heat efficiency with a wood stove:
-
Clear the area around the stove: Make sure there are no flammable materials nearby and maintain a safe distance to prevent accidents.
-
Proper ventilation: Ensure there’s sufficient airflow to prevent the buildup of dangerous gases like carbon monoxide. Open a window or use a chimney for ventilation.
-
Use dry wood: Wet or green wood produces more smoke and less heat. Opt for dry, seasoned wood to maximize heat efficiency and reduce smoke emissions.
-
Control the airflow: Adjust the stove’s intake and damper to regulate the airflow. This will help maintain a steady burn and efficient heat production.
By following these safety precautions and tips, you can enjoy the warmth and comfort of your survival wood stove while minimizing any potential risks or inefficiencies.
Stay safe and warm!
Frequently Asked Questions
Can I Use Any Type of Wood for My Survival Wood Stove?
I can use different types of wood for my survival wood stove. Certain woods like oak and hickory burn longer and produce more heat, while softwoods like pine ignite quickly. It’s important to choose the right wood for efficient heating.
How Long Does It Take for the Stove to Heat up and Start Producing Heat?
It generally takes around 15-30 minutes for a survival wood stove to heat up and start producing heat. The ideal temperature for starting a fire is around 300-400 degrees Fahrenheit. Factors like the type of wood and ventilation can affect the heating time.
Can I Cook Food on My Survival Wood Stove?
Yes, you can cook food on a survival wood stove. There are various cooking techniques you can use, and you can also explore alternative fuel options to ensure you have a reliable source of heat for cooking.
Is It Safe to Use My Survival Wood Stove Indoors?
Using a survival wood stove indoors is not safe. Indoor safety precautions are important for preventing fire and carbon monoxide poisoning. Consider alternative heating options that are designed for indoor use.
How Do I Clean and Maintain My Survival Wood Stove?
Cleaning and maintaining a survival wood stove is essential for its longevity. Regularly remove ashes, debris, and soot buildup. Use a wire brush for stubborn stains. Check for any loose or damaged parts. DIY maintenance tips can extend the life of your stove.
Conclusion
In conclusion, now that you’ve gathered the necessary materials, prepared the stove base, constructed the stove body, and added ventilation and airflow, it’s time to put your survival wood stove to the test.
Will it ignite with ease?
Will it provide the warmth and cooking capabilities you need in the wild?
Stay tuned to find out!