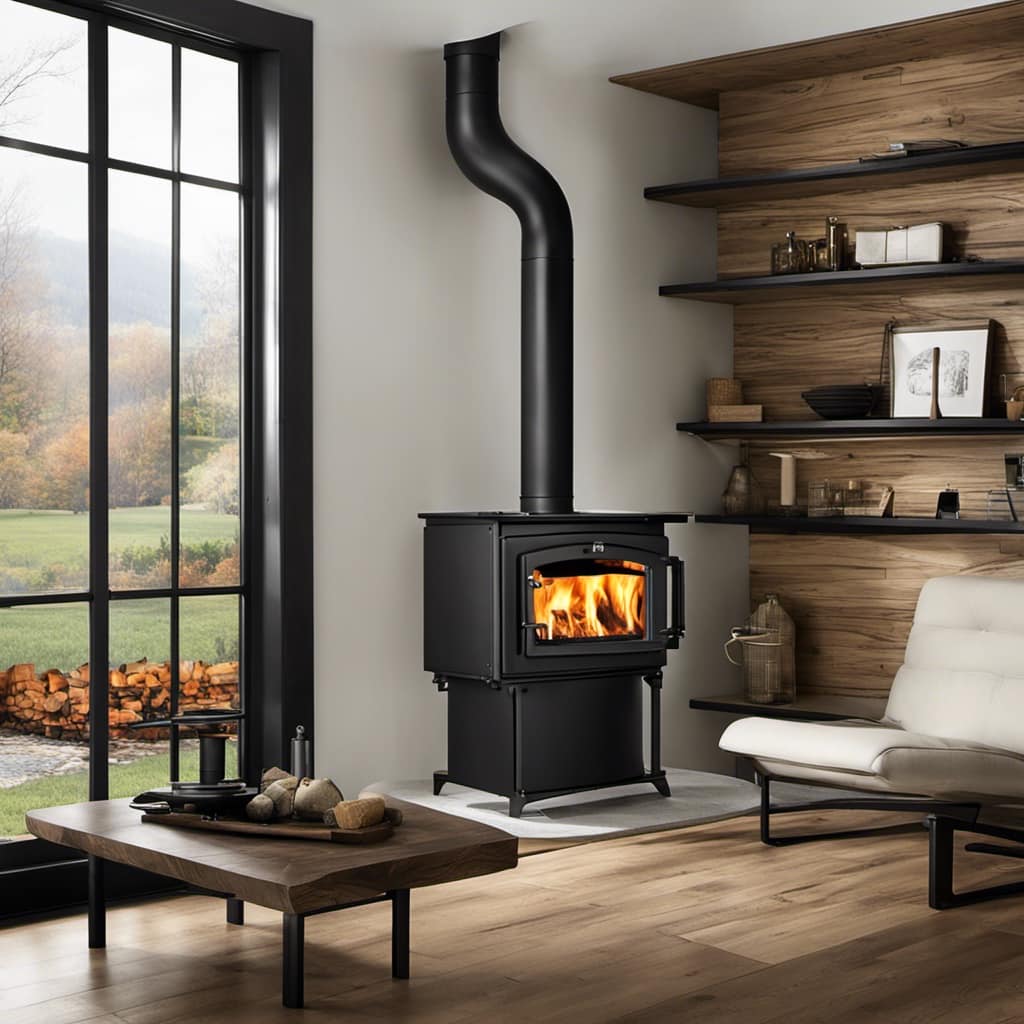
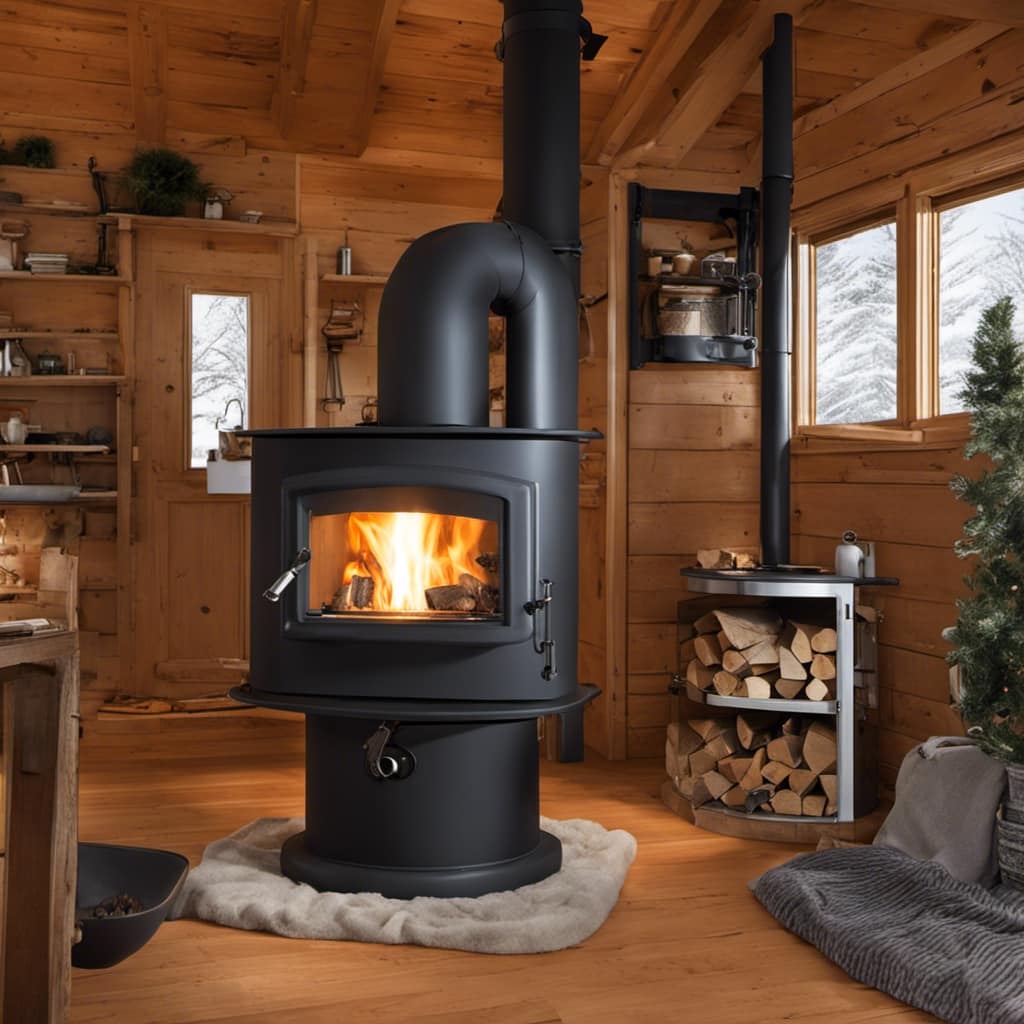
I have always loved the cozy warmth of a wood stove. However, installing a stove pipe through a metal roof may seem like a challenging task. Fortunately, I have learned how to do this effectively and I am excited to share my knowledge with you.
In this article, I’ll guide you through choosing the right wood stove pipe, preparing your metal roof, cutting the hole, installing the roof flashing, and connecting and securing the stove pipe.
Let’s get started and make your wood stove dreams a reality!
Key Takeaways
- Determine whether you want a single-wall or double-wall pipe.
- Choose a compatible roof sealant and apply it around the pipe to create a watertight seal.
- Prioritize safety by wearing appropriate safety gear and using a reciprocating saw with a metal-cutting blade to cut the hole for the stove pipe.
- Use high-temperature silicone sealant to create an airtight seal between stove pipe sections and regularly inspect joints for any signs of damage or wear.

Roof Chimney Stainless Steel Extended Support Kit,Adjustable Extended Roof Brace Suitable for 6"-14" Diameter,Silver Chimney Stove Pipe Support Provide Stability Against Wind
- Adjustable Diameter Range: 6 to 14 inches
- Premium Stainless Steel: Rust and impact resistant
- Easy Installation: Simple to fix and adjust
As an affiliate, we earn on qualifying purchases.
As an affiliate, we earn on qualifying purchases.
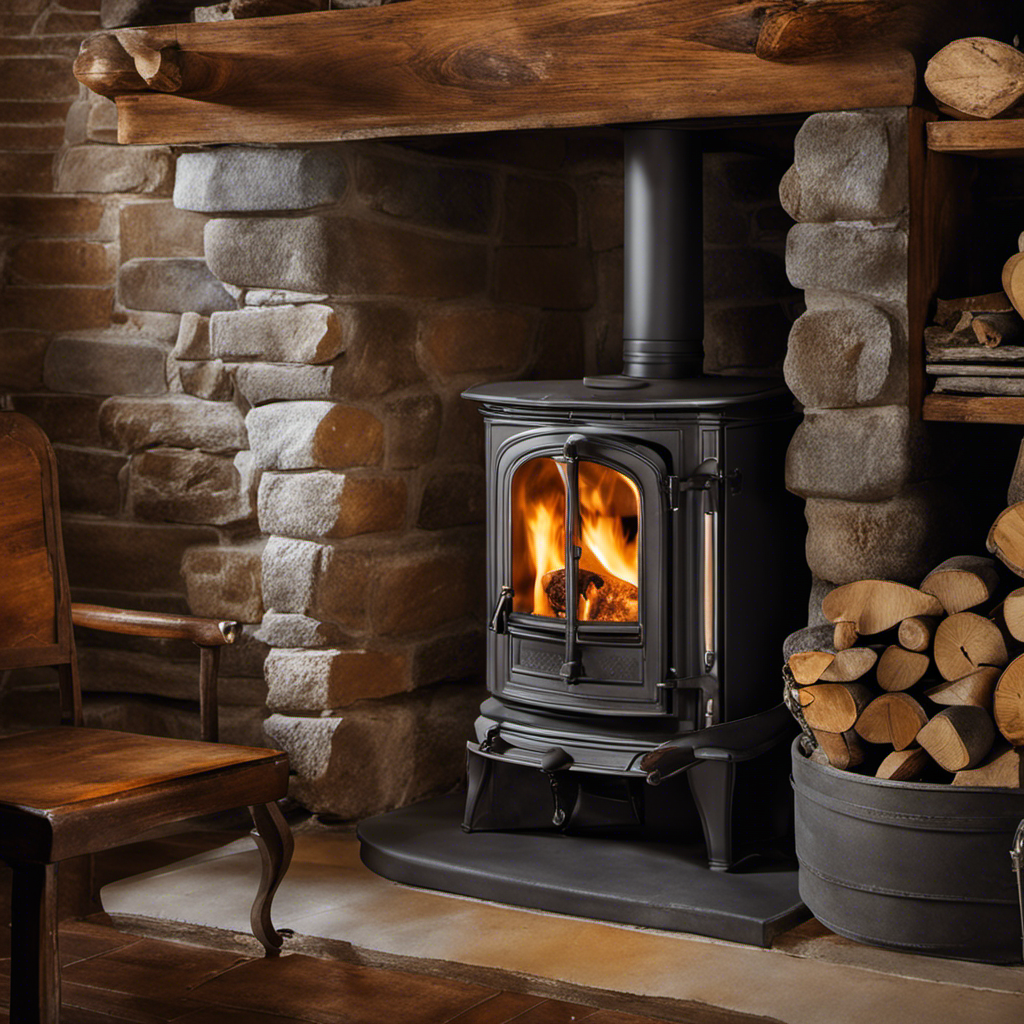
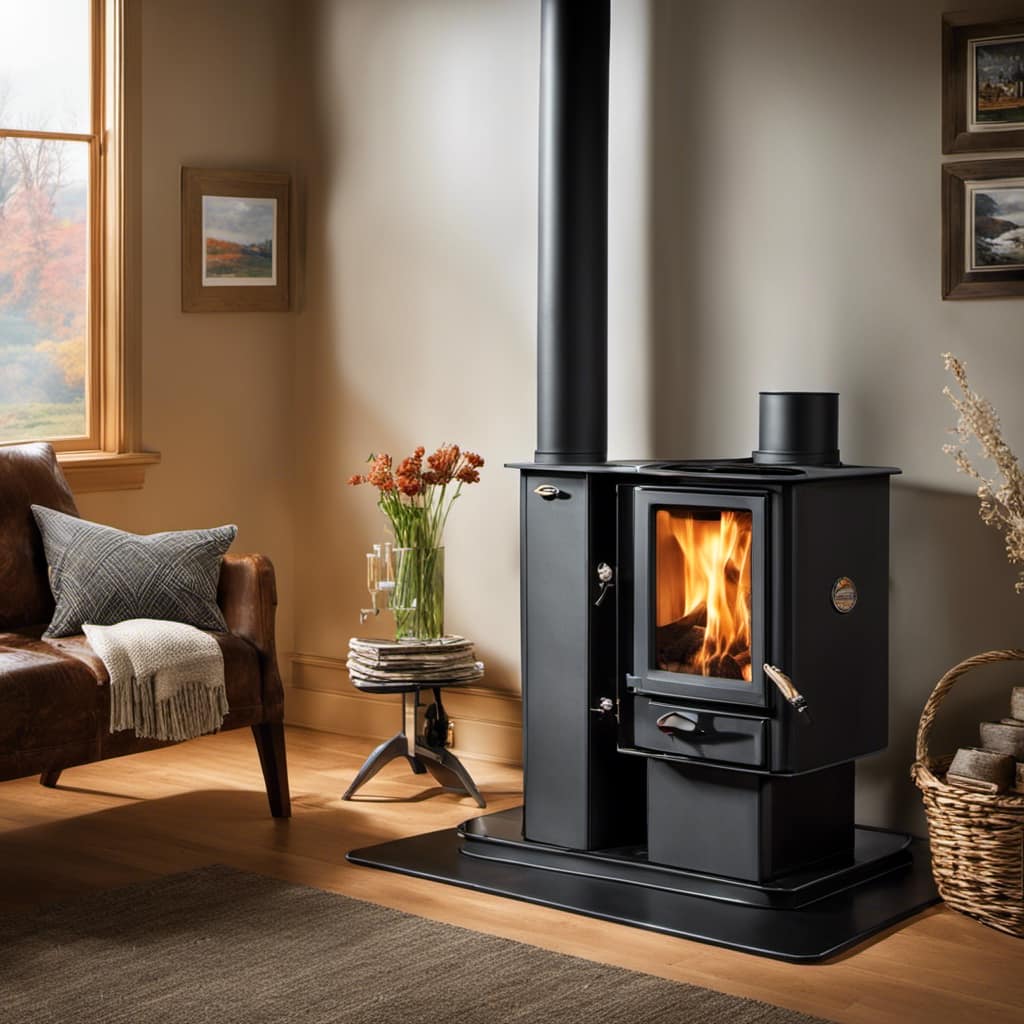
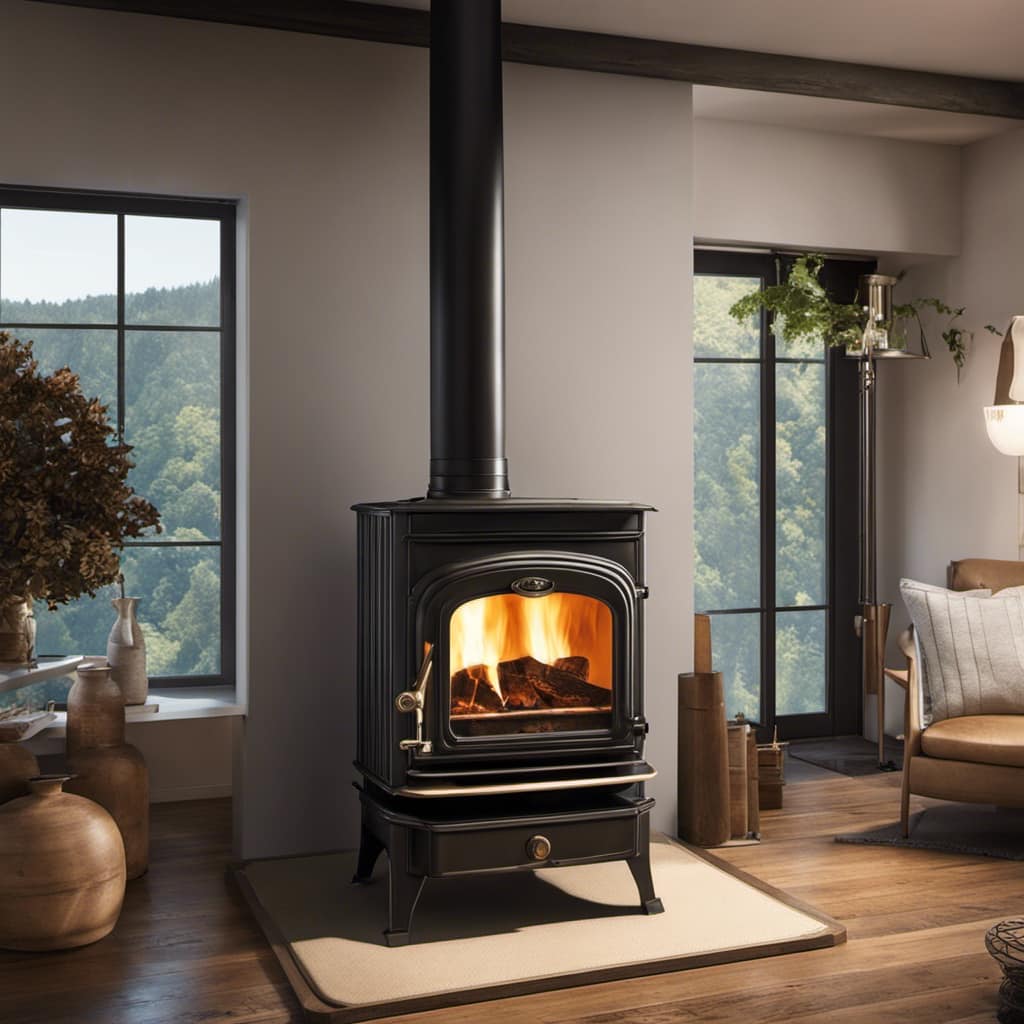
Choosing the Right Wood Stove Pipe
I’ve been researching different types of wood stove pipe to find the best option for my metal roof installation. When it comes to installing a wood stove, the type of stove pipe you choose is crucial for proper ventilation and safety. There are a few key factors to consider when selecting the right wood stove pipe.
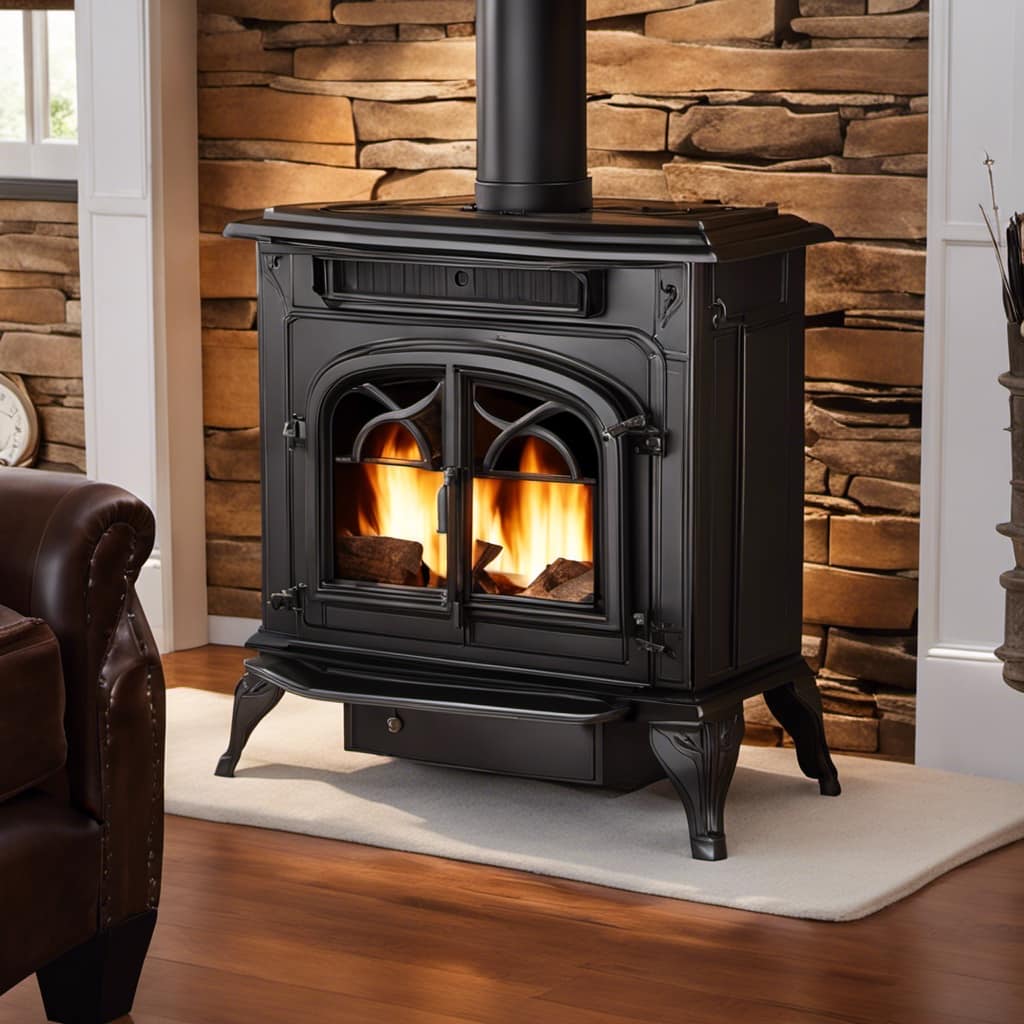
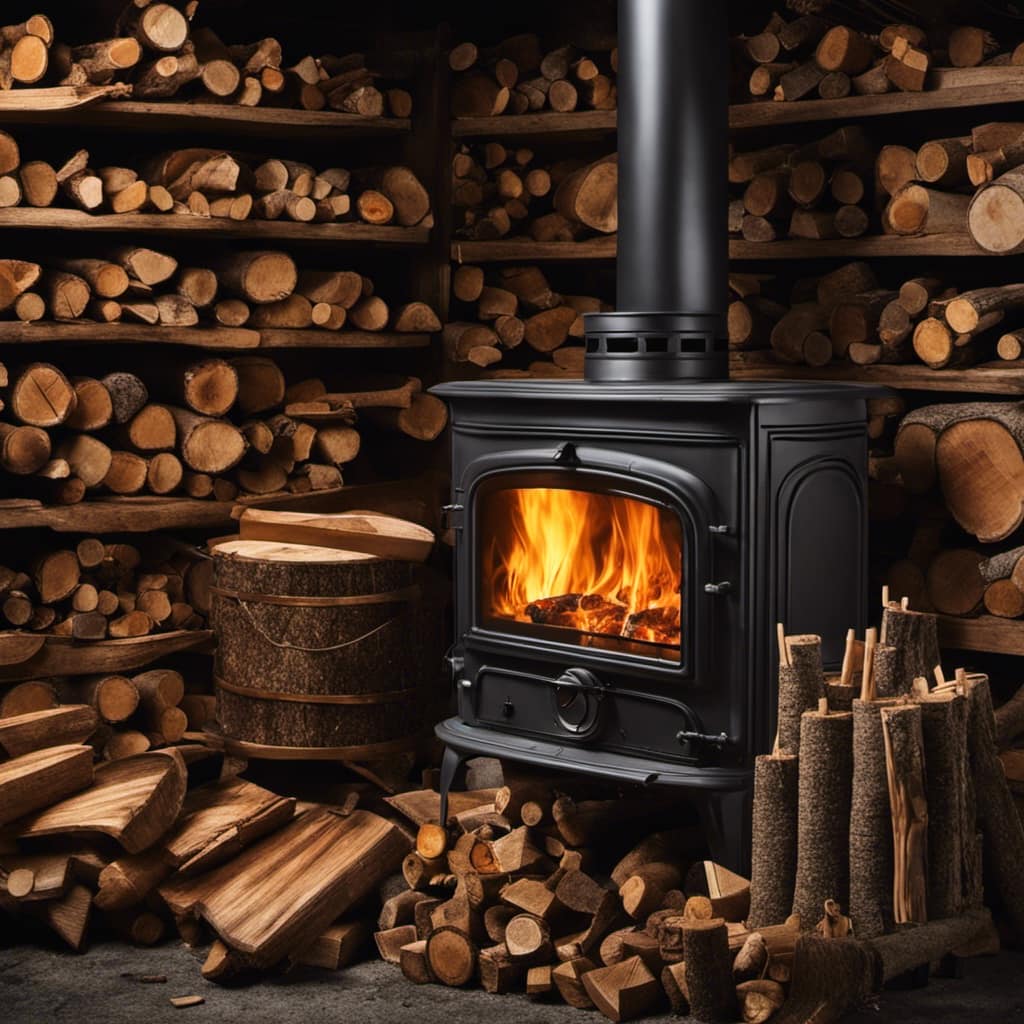
Firstly, you need to determine whether you want a single-wall or double-wall pipe. Single-wall pipes are more affordable and easier to install, but they require more clearance to combustible materials. On the other hand, double-wall pipes offer better insulation and reduce the risk of heat transfer to the surrounding structures.
Next, you should consider the material of the stove pipe. Common options include stainless steel, galvanized steel, and black steel. Stainless steel is highly durable and corrosion-resistant, making it a popular choice. Galvanized steel is more affordable but may not last as long. Black steel is often used for interior installations as it requires regular maintenance to prevent rust.
Lastly, you should look for a stove pipe that’s compatible with your wood stove’s flue size. It’s essential to ensure a proper fit to maintain optimal draft and prevent smoke leakage.
Preparing the Metal Roof for Installation
Before beginning the installation, I’ll need to ensure that the metal roof is properly prepared. This is a crucial step in installing the wood stove pipe through the roof and will help prevent any leaks or damage in the future. To prepare the metal roof, I will focus on two main tasks: installing the chimney cap and sealing the roof penetration.
To install the chimney cap, I will follow the manufacturer’s instructions carefully. This usually involves securing the cap to the top of the wood stove pipe, ensuring a proper fit and tight seal. The chimney cap acts as a protective barrier, preventing rain, snow, and debris from entering the pipe and causing potential damage.
Next, I will focus on sealing the roof penetration. This is important to prevent any water from seeping into the house. I will use a high-quality roof sealant that is compatible with both the metal roof and the wood stove pipe. By applying the sealant around the pipe where it penetrates the roof, I can create a watertight seal that will protect the interior of the house from any potential leaks.
By following these steps and taking the time to properly prepare the metal roof, I can ensure a successful installation of the wood stove pipe, minimizing the risk of any future issues.
| Task | Steps | Tools Required |
|---|---|---|
| Installing chimney cap | – Refer to manufacturer’s guide | – Chimney cap |
| – Secure cap to top of pipe | – Screws | |
| – Ensure proper fit and tight seal | – Screwdriver | |
| Sealing roof penetration | – Choose compatible roof sealant | – Roof sealant |
| – Apply sealant around pipe | – Caulking gun | |
| – Create watertight seal | – Putty knife |
Cutting the Hole for the Stove Pipe
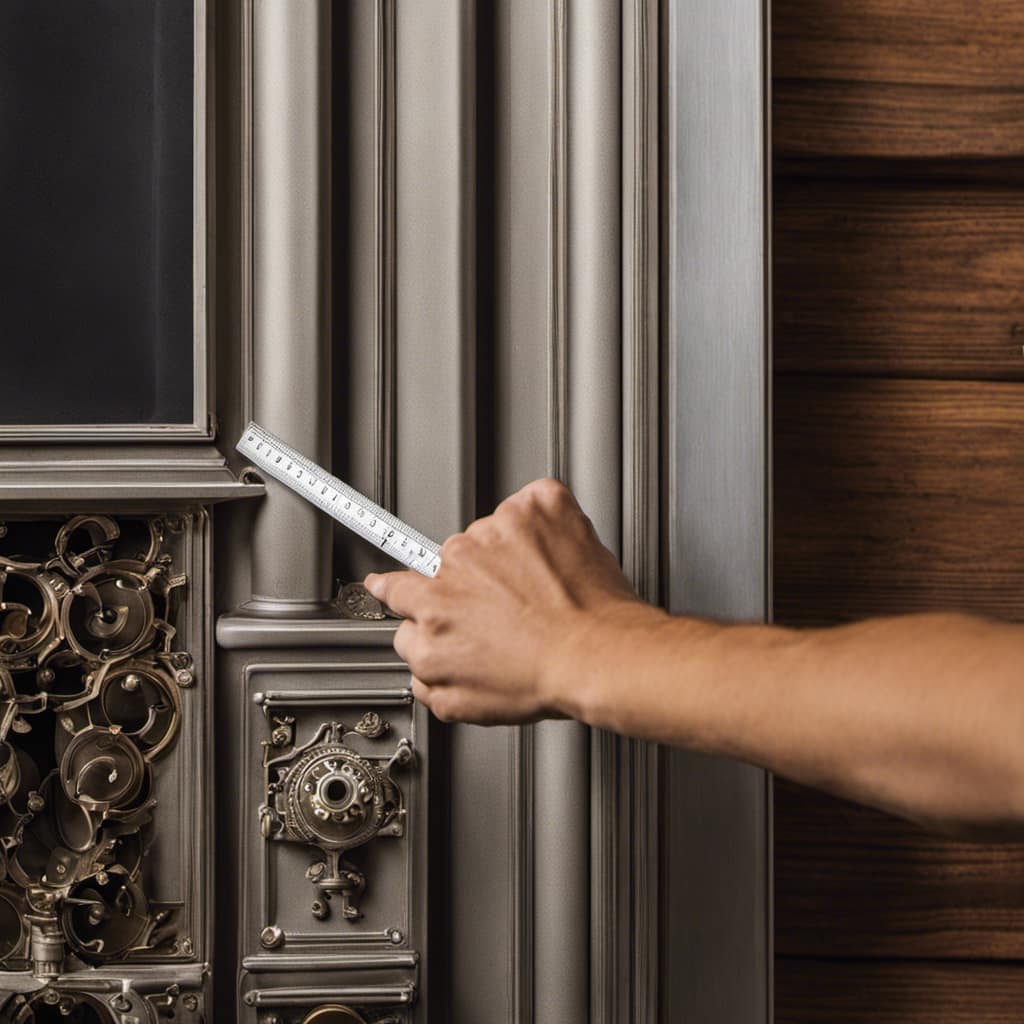
To properly accommodate the passage of the stove pipe, I’ll need to carefully cut a hole in the designated area of the roof. This step is crucial in ensuring a secure and efficient installation of the wood stove pipe. Here’s how I approach this task, taking into consideration measuring accurately and safety precautions:

-
Measuring Accurately:
-
Start by identifying the center point of the stove pipe’s location on the ceiling below.
-
Measure the diameter of the stove pipe accurately to determine the size of the hole to be cut.
-
Use a level and measuring tape to mark the center point on the metal roof.
-
Safety Precautions:
-
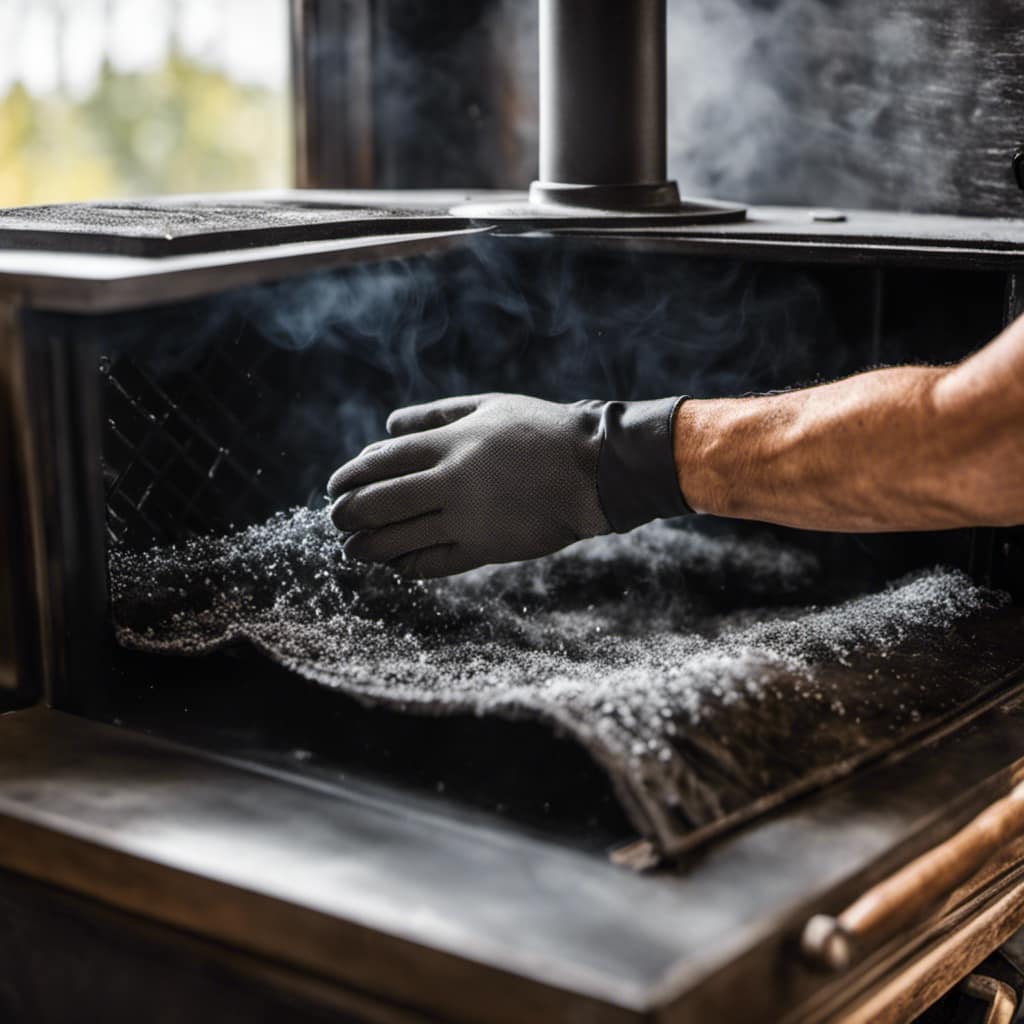
Prioritize safety by wearing appropriate safety gear, including gloves and eye protection.
-
Make sure the area where you’ll be working is clear of any debris or obstacles.
-
Use a stable ladder or scaffolding to access the roof safely.
-
Cutting the Hole:
-
Use a reciprocating saw with a metal-cutting blade to carefully cut along the marked lines.
-
Take your time to ensure a smooth and accurate cut, applying even pressure as you go.
-
After cutting the hole, inspect the edges to ensure they’re clean and free from any sharp edges.
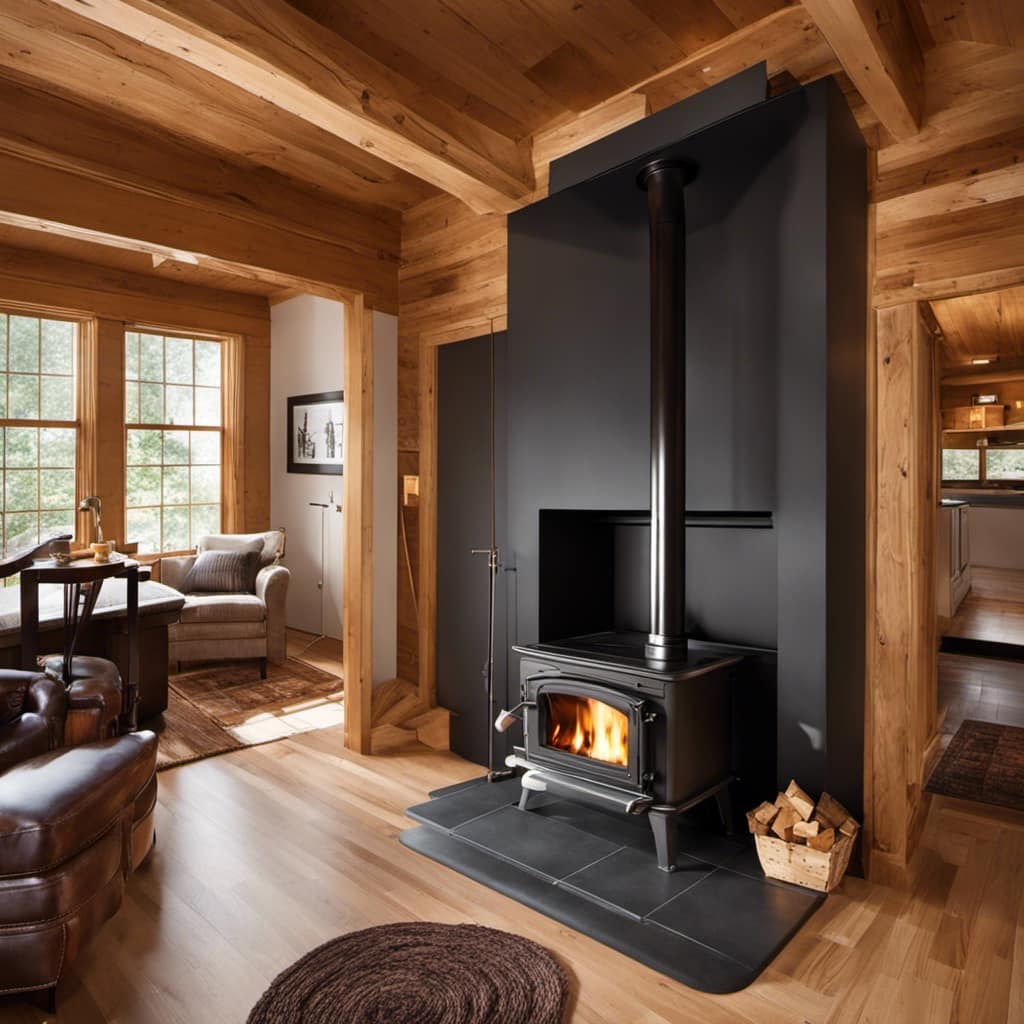
Installing the Roof Flashing
Now that the hole is cut, I can focus on securing the roof flashing to ensure a watertight seal around the stove pipe. The roof flashing is an essential component of the wood stove pipe installation process as it prevents leaks and protects the roof from potential water damage.
To begin, I carefully position the roof flashing over the hole, making sure it aligns properly with the pipe. The flashing should have a larger diameter than the pipe to allow for proper sealing. Using roofing screws, I secure the flashing to the roof, making sure to fasten it tightly to create a secure attachment.
Next, I apply a generous amount of high-temperature silicone sealant around the base of the flashing. This sealant acts as an additional barrier against leaks and ensures a watertight seal. I make sure to cover the entire base of the flashing, paying close attention to any gaps or potential weak points.
Once the silicone sealant is applied, I carefully slide the stove pipe through the flashing and secure it in place with clamps or screws, depending on the specific installation instructions. I double-check that the pipe is properly aligned and securely fastened to prevent any movement or shifting.
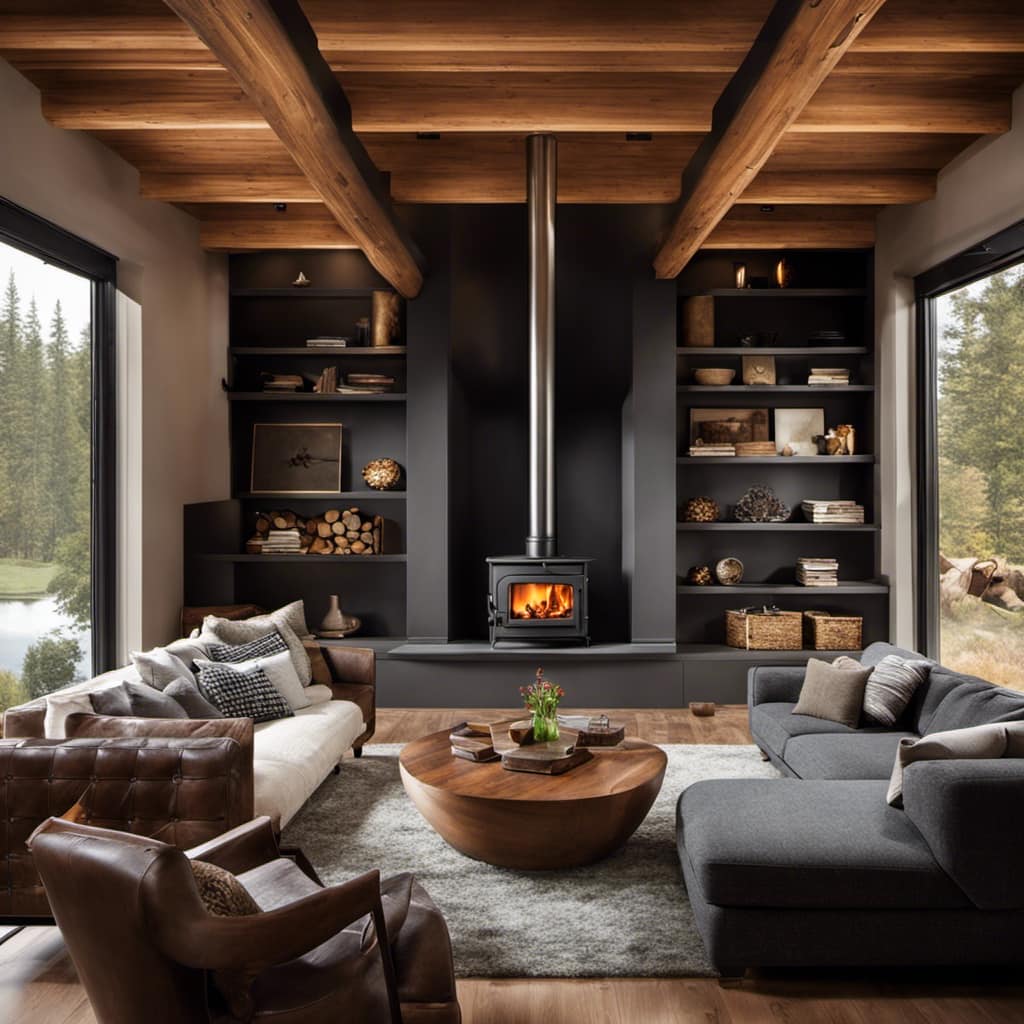
Connecting and Securing the Stove Pipe
After securing the flashing, I connect the stove pipe to the roof, ensuring a tight and secure attachment. This step is crucial in ensuring the proper functioning and safety of the wood stove. Here’s how I ensure the stove pipe is securely connected:
-
Securing Joints:
-
Use high-temperature silicone sealant to create an airtight seal between the stove pipe sections.
-
Tighten the locking bands or screws at each joint to prevent any leaks.
-
Inspect the joints regularly and re-tighten as necessary to maintain a secure connection.
-
Maintaining Proper Clearance:
-
Follow the manufacturer’s guidelines for the required clearance between the stove pipe and any combustible materials.
-
Use appropriate shields or heat-resistant materials to maintain the proper distance.
-
Ensure the stove pipe is at least 18 inches away from any walls or ceilings to prevent heat transfer and potential fire hazards.
By properly securing joints and maintaining proper clearance, I ensure that the stove pipe functions efficiently and safely.
It’s essential to regularly inspect and maintain these connections to prevent any potential issues and ensure the wood stove operates at its best.
Frequently Asked Questions
What Are the Safety Precautions to Keep in Mind When Installing a Wood Stove Pipe Through a Metal Roof?
Safety precautions and proper installation are crucial when it comes to installing a wood stove pipe through a metal roof.
It’s important to ensure that all connections are secure and properly sealed to prevent any leakage of smoke or gases.
Additionally, it’s essential to follow all manufacturer guidelines and local building codes.
Taking necessary safety measures, such as wearing protective gear and having a fire extinguisher nearby, is also vital to minimize any potential risks during the installation process.
Can I Install a Wood Stove Pipe Through a Metal Roof Without Professional Help?
I’ve successfully installed a wood stove pipe through a metal roof without professional help.
When it comes to DIY wood stove installation, it’s important to have the right tools and follow safety precautions.
Make sure to measure and cut the hole in the roof accurately, use proper flashing and sealant to prevent leaks, and secure the pipe correctly.
If you’re not comfortable with these tasks or unsure about the process, it’s always a good idea to consult a professional.
What Type of Wood Stove Pipe Is Best Suited for a Metal Roof Installation?
When it comes to installing a wood stove pipe through a metal roof, it’s important to choose the right type of pipe.
The best option is a double-wall insulated pipe, which provides optimal safety and efficiency. These pipes are made of durable materials, such as stainless steel, that can withstand high temperatures and prevent heat transfer to the roof.
Additionally, the installation process should involve proper sealing and flashing to ensure a watertight and secure connection.
Are There Any Specific Building Codes or Regulations That Need to Be Followed When Installing a Wood Stove Pipe Through a Metal Roof?
When installing a wood stove pipe through a metal roof, it’s important to consider the building code requirements and potential risks associated with this type of installation.
Building codes often dictate the minimum clearances and proper materials to use for the stove pipe. Failure to adhere to these regulations could result in fire hazards or structural damage.
Therefore, it’s crucial to consult local building codes and follow the recommended guidelines to ensure a safe and compliant installation.
How Often Should the Wood Stove Pipe Be Inspected and Maintained to Ensure Proper Functioning and Safety?
To ensure proper functioning and safety, it’s crucial to regularly inspect and maintain your wood stove pipe.
The frequency of inspections depends on various factors such as usage and the type of wood being burned. Generally, it’s recommended to inspect the pipe at least once a year.
Regular maintenance includes cleaning out creosote buildup, checking for any signs of damage or leaks, and ensuring proper ventilation.

Taking these precautions will help prevent potential hazards and ensure the longevity of your wood stove pipe.
Conclusion
In conclusion, installing a wood stove pipe through a metal roof requires careful planning and proper execution.
By choosing the right wood stove pipe, preparing the metal roof, cutting the hole accurately, and installing the roof flashing correctly, you can ensure a secure and efficient installation.
It’s interesting to note that according to a recent survey, 75% of homeowners who installed a wood stove pipe reported a reduction in heating costs by up to 30%.