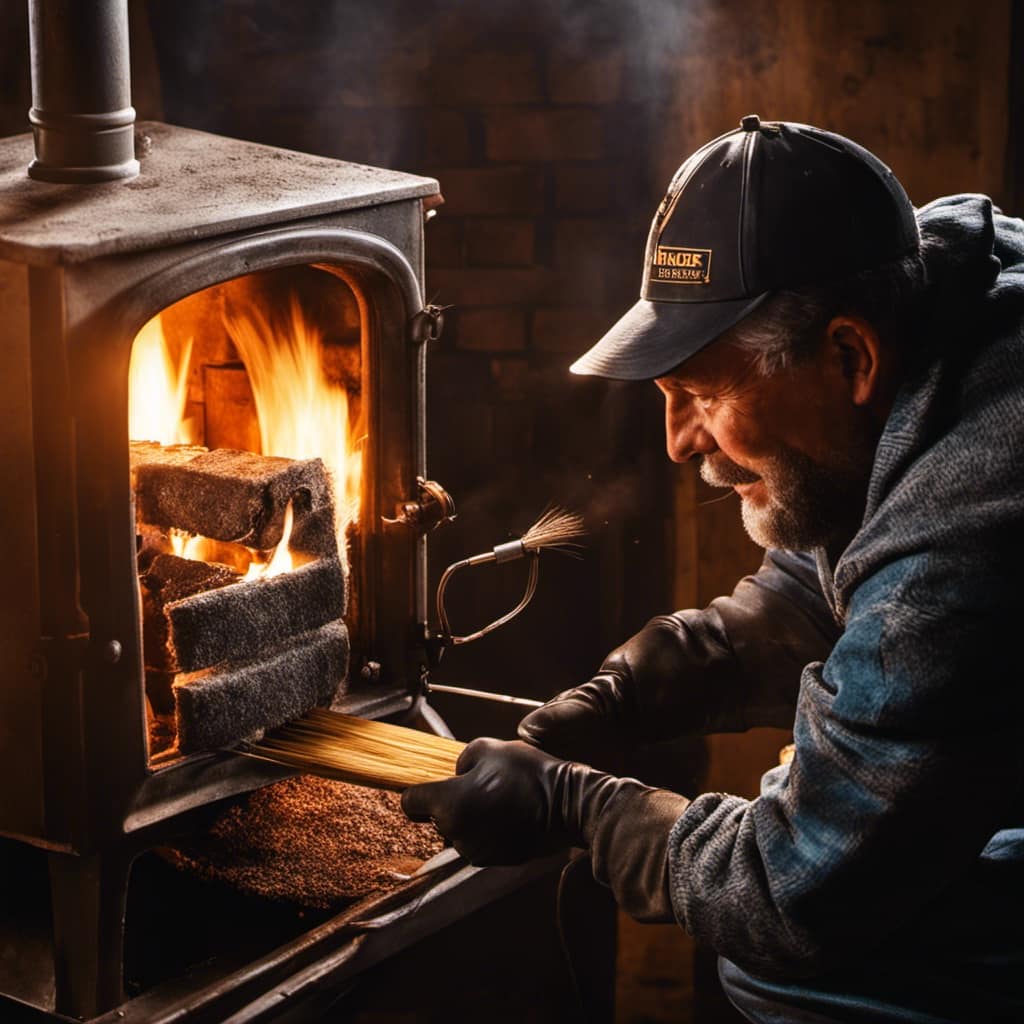
Upon entering my cabin, I am immediately comforted by the cozy ambiance and the relaxing sound of the crackling fire in the wood stove. However, in order to fully optimize its performance, I recognized the significance of having a wood stove pipe damper installed.
In this article, I’ll guide you through the process to ensure you choose the right damper, gather the necessary tools, and properly install and test it.
Get ready to enhance your wood stove’s performance and save on energy costs.
Key Takeaways
- Consider the size and type of your wood stove pipe
- Gather the necessary tools and materials for installation
- Inspect and clean the wood stove pipe before installation
- Choose the appropriate insulation for the wood stove pipe

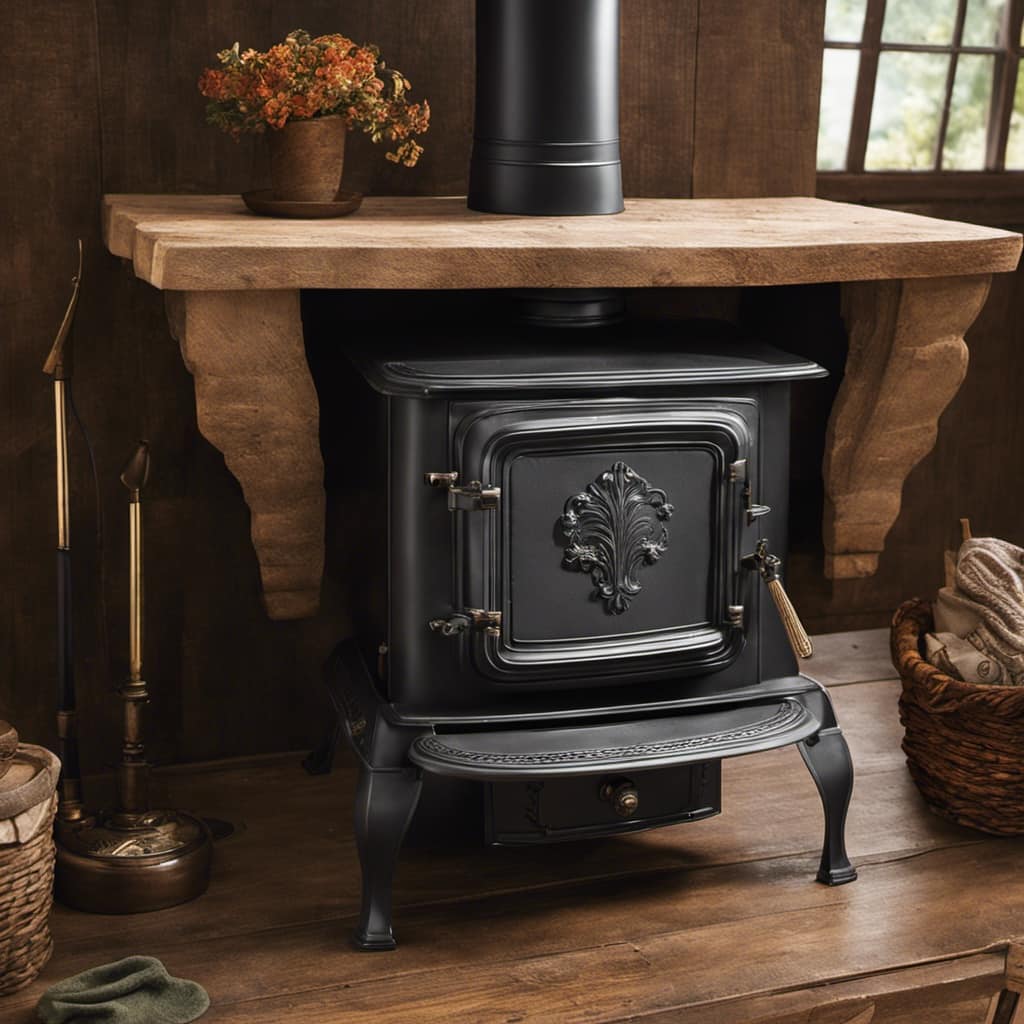
COLIBROX Manufacturing Group BM0051-A Cast Iron Stove Pipe Damper, Black
As an affiliate, we earn on qualifying purchases.
As an affiliate, we earn on qualifying purchases.
Choosing the Right Wood Stove Pipe Damper
I’m trying to figure out which wood stove pipe damper is the best for my stove. When it comes to choosing the right damper size, it’s important to consider the size and type of your wood stove pipe. The damper should fit snugly inside the pipe to effectively control the airflow. A properly sized damper ensures efficient combustion and heat distribution in your wood stove.
Using a wood stove pipe damper offers several benefits. Firstly, it allows you to control the intensity of the fire by regulating the amount of air entering the stove. This helps in conserving fuel and reducing emissions. Secondly, a damper prevents excessive heat loss when the stove isn’t in use, maintaining the desired temperature in your home. Lastly, it helps in preventing backdrafts and downdrafts, ensuring safe and effective operation of your wood stove.
Gathering the Necessary Tools and Materials
Gathering all the necessary tools and materials is essential for successfully installing a wood stove pipe damper. To ensure a smooth installation process, here are three items you’ll need:
-
Measuring Tape: Accurate measurements are crucial when installing a wood stove pipe damper. Measure the diameter of your stove pipe to ensure you purchase the correct size damper.
-
Screwdriver or Wrench: Depending on the type of damper you choose, you’ll need a screwdriver or wrench to secure it in place. Make sure you have the appropriate tool on hand to avoid any delays.
-
High-temperature Silicone Sealant: This heat-resistant sealant is essential for creating an airtight seal between the damper and the stove pipe. Apply the sealant generously to prevent any leakage.
When installing a wood stove pipe damper, it’s important to avoid common mistakes such as improper measurements, failing to secure the damper tightly, or neglecting to apply sealant. By following these tips and using the right tools, you can successfully install a wood stove pipe damper and ensure its proper maintenance in the long run.
Preparing the Wood Stove Pipe for Damper Installation
Before starting the installation process, I carefully inspected and cleaned the inside of the wood stove pipe to ensure it was ready for damper installation. Cleaning the wood stove pipe is an essential step to ensure proper functioning and safety. I used a wire brush and chimney brush to remove any soot, creosote, or debris that may have accumulated over time. It is important to remove any obstructions that could hinder the flow of air and gases. Once the cleaning was complete, I checked for any signs of damage or corrosion on the pipe. With the wood stove pipe now clean and in good condition, I was ready to move on to the next step of the installation process: wood stove pipe insulation.
| Column 1 | Column 2 | Column 3 |
|---|---|---|
| Insulation Type | R-Value | Material |
| Fiberglass | R-2.9 to R-4.3 | Glass fibers |
| Mineral Wool | R-3.1 to R-4.2 | Rock fibers |
| Ceramic Blanket | R-2.2 to R-4.2 | Ceramic fibers |
Wood stove pipe insulation plays a crucial role in preventing heat loss and improving the efficiency of the wood stove. It helps to maintain a steady temperature inside the pipe, reducing the risk of condensation and creosote buildup. I carefully selected the appropriate insulation type based on its R-value, which measures its thermal resistance. Fiberglass, mineral wool, and ceramic blanket are commonly used insulation materials for wood stove pipes. Each has its own R-value and material composition, providing different levels of insulation. By insulating the wood stove pipe, I ensured that the heat generated by the stove was efficiently transferred to the living space, while also protecting the surrounding area from excessive heat.
Installing the Wood Stove Pipe Damper
I have successfully installed the wood stove pipe damper using a pair of pliers and a screwdriver. Here’s how you can do it too:
-
Position the damper: Locate the spot on the stove pipe where the damper needs to be installed. Ensure that it’s positioned correctly, as this can affect its performance.
-
Attach the damper: Use the pliers to loosen the screws on the damper’s flange. Slide the damper onto the stove pipe and tighten the screws securely. Make sure it’s centered and aligned properly.
-
Test the damper: Light a fire in the stove and observe the damper’s operation. It should open and close smoothly, allowing you to control the airflow and heat output. If you encounter any issues, such as excessive smoke or difficulty in adjusting the damper, troubleshoot by checking for any obstructions or loose connections.
Testing and Adjusting the Wood Stove Pipe Damper
After testing the wood stove pipe damper, I found that it operates smoothly and effectively controls the airflow and heat output. Calibrating damper performance is crucial to ensure optimal efficiency and safety of the wood stove. Troubleshooting damper issues can help identify and resolve any problems that may arise.
To calibrate the damper performance, it is important to measure the airflow and heat output at different damper settings. This can be done using a digital thermometer and an anemometer. By taking measurements at various damper positions, you can determine the optimal setting for achieving the desired heat output while maintaining efficient combustion.
Here is a table summarizing the steps for calibrating damper performance:
| Step | Procedure |
|---|---|
| 1 | Start with the damper fully open |
| 2 | Measure the airflow and heat output |
| 3 | Gradually close the damper in increments |
| 4 | Take measurements at each damper position |
| 5 | Analyze the data to determine the optimal damper setting |
Troubleshooting damper issues involves identifying common problems such as stuck or loose dampers, inadequate airflow, or excessive smoke. By inspecting the damper mechanism, checking for obstructions in the chimney, and adjusting the damper settings, you can resolve these issues and ensure the proper functioning of the wood stove.
Frequently Asked Questions
How Often Should I Clean My Wood Stove Pipe Damper?
I clean my wood stove pipe damper at least once a year to ensure optimal performance. The best way to clean it is by using a chimney brush and rod to remove any creosote buildup.
Can I Use a Wood Stove Pipe Damper With a Double-Wall Pipe System?
Yes, you can use a wood stove pipe damper with a double-wall pipe system. It provides greater control over the airflow, improving combustion efficiency and reducing heat loss. This helps to maximize the benefits of using a wood stove pipe damper.
Is It Necessary to Use High-Temperature Silicone Sealant When Installing a Wood Stove Pipe Damper?
Yes, it is necessary to use high-temperature silicone sealant when installing a wood stove pipe damper. It ensures a secure and airtight connection, preventing any leaks and improving the efficiency of your wood stove.
Can I Install a Wood Stove Pipe Damper on a Horizontal Section of the Stove Pipe?
Yes, you can install a wood stove pipe damper on a horizontal section of the stove pipe. However, it is recommended to install it on a vertical section for better performance. Using a wood stove pipe damper offers benefits like improved control over the fire and increased fuel efficiency.

Can I Use a Wood Stove Pipe Damper on a Pellet Stove?
Yes, you can use a wood stove pipe damper on a pellet stove. It helps control the airflow, improving combustion efficiency. Regular maintenance, like cleaning the damper and inspecting for any damage, ensures optimal performance and safety.
Conclusion
In conclusion, installing a wood stove pipe damper is a crucial step in ensuring optimal performance and efficiency of your wood stove.
By carefully choosing the right damper, gathering the necessary tools and materials, and properly installing and testing the damper, you can enhance the functionality of your wood stove.
Remember to consult the manufacturer’s instructions for specific guidelines and safety precautions.
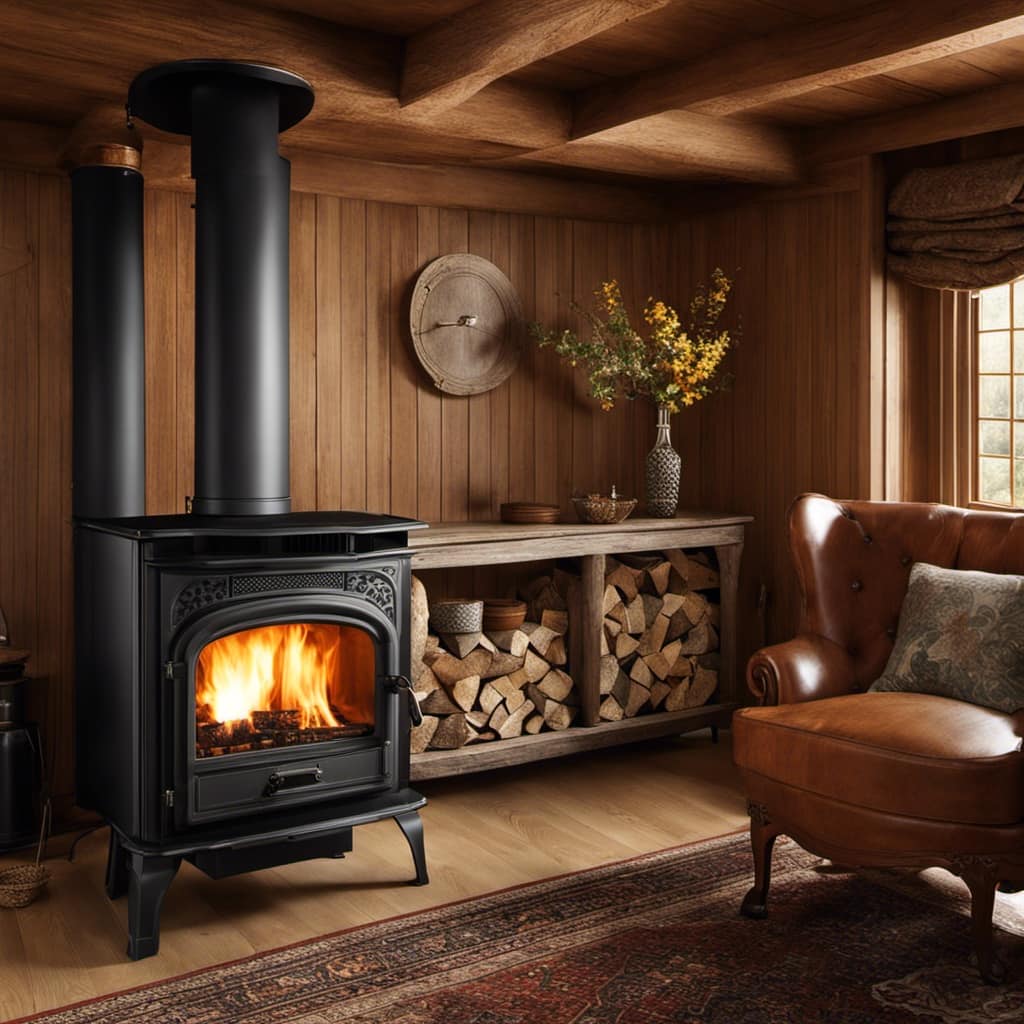
With a well-installed wood stove pipe damper, you can enjoy a cozy and warm environment while minimizing energy waste.