Connect with us

Wood Stove

How To Clean Wood Stove Heat Exchanger

Published

on

I comprehend your worries: the thought of cleaning the heat exchanger in your wood stove may appear daunting. Nonetheless, trust me, it’s simpler than it looks.

In this guide, I’ll walk you through step-by-step instructions on how to effectively clean your wood stove’s heat exchanger. With the right tools and a little bit of time, you can ensure optimal performance and efficiency of your wood stove.

Let’s get started!

Key Takeaways

  • The heat exchanger is a crucial component in the efficient functioning of a wood stove.
  • Regularly cleaning the heat exchanger prevents blockages and ensures optimal heat transfer.
  • Inspecting the exchanger for damage or corrosion helps identify potential issues early on.
  • Using dry and seasoned wood minimizes creosote and soot formation.

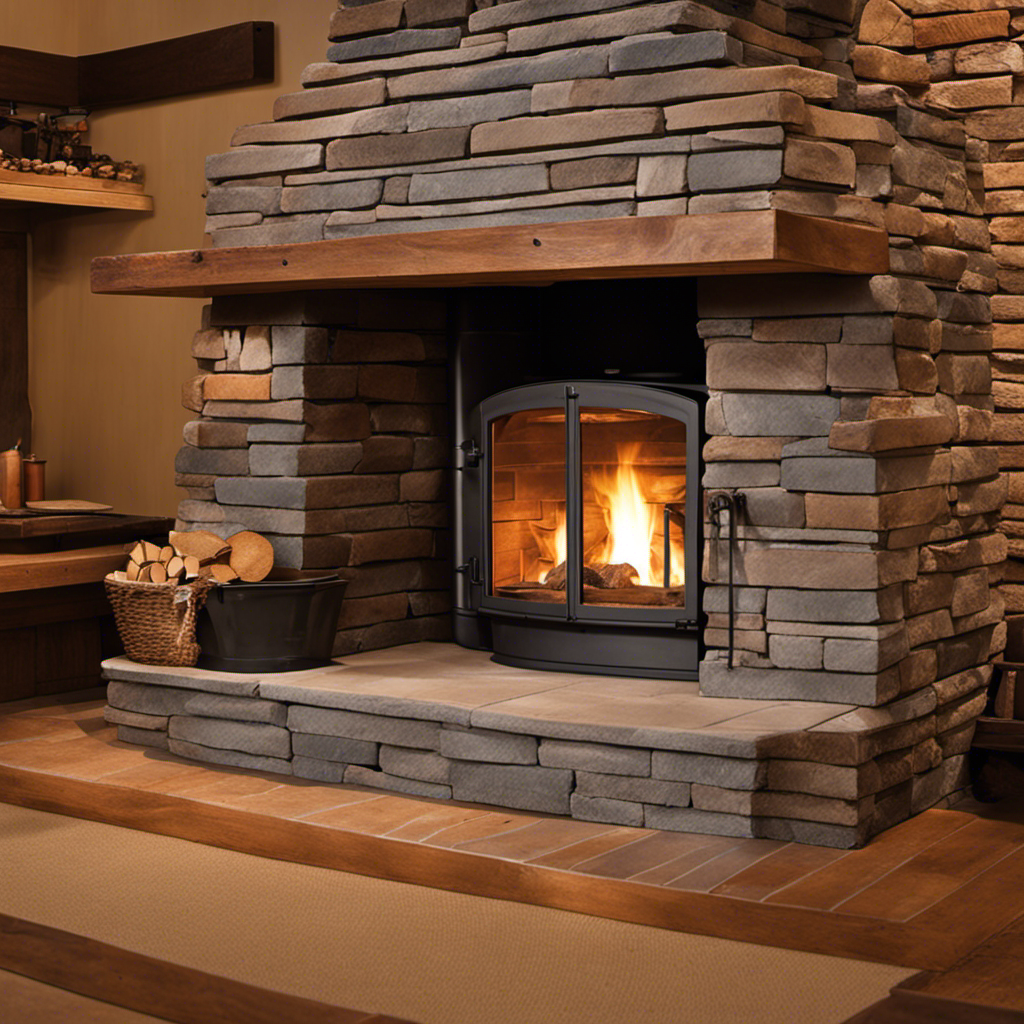
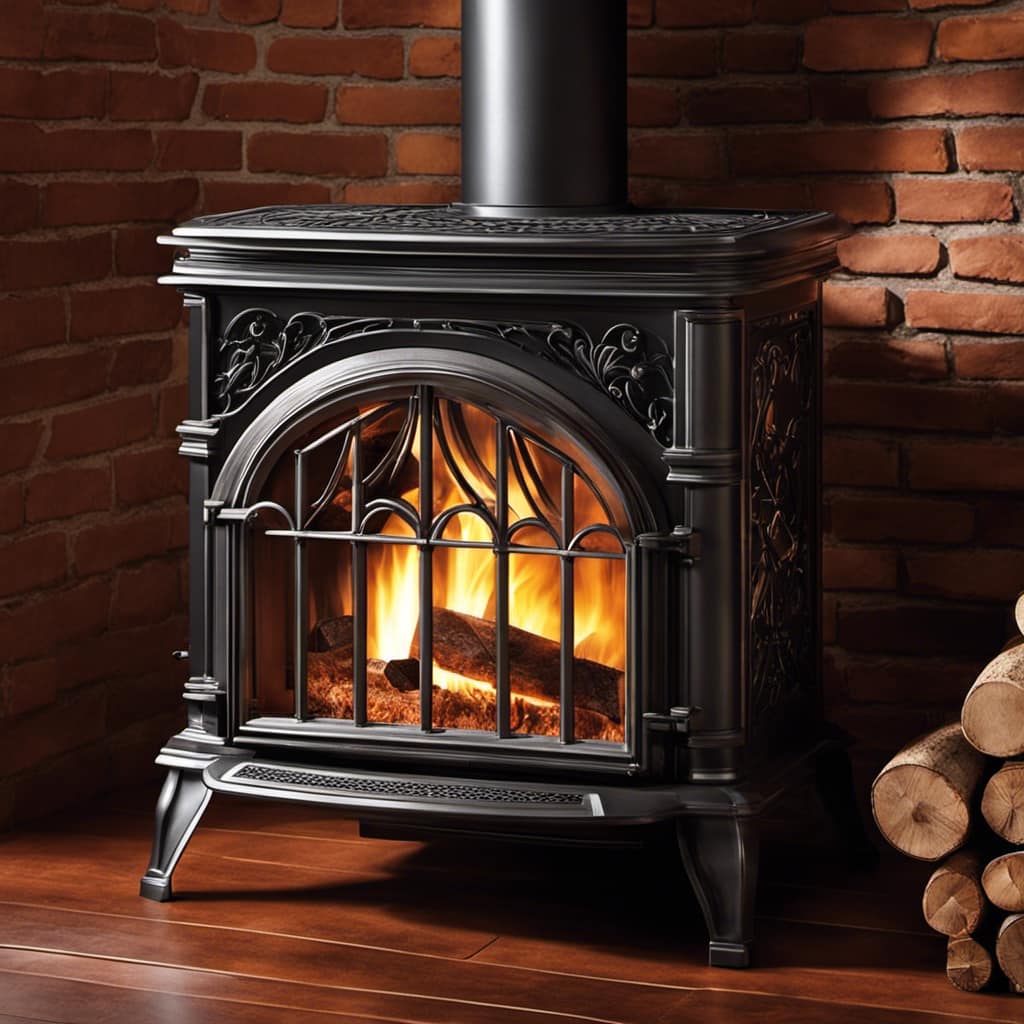
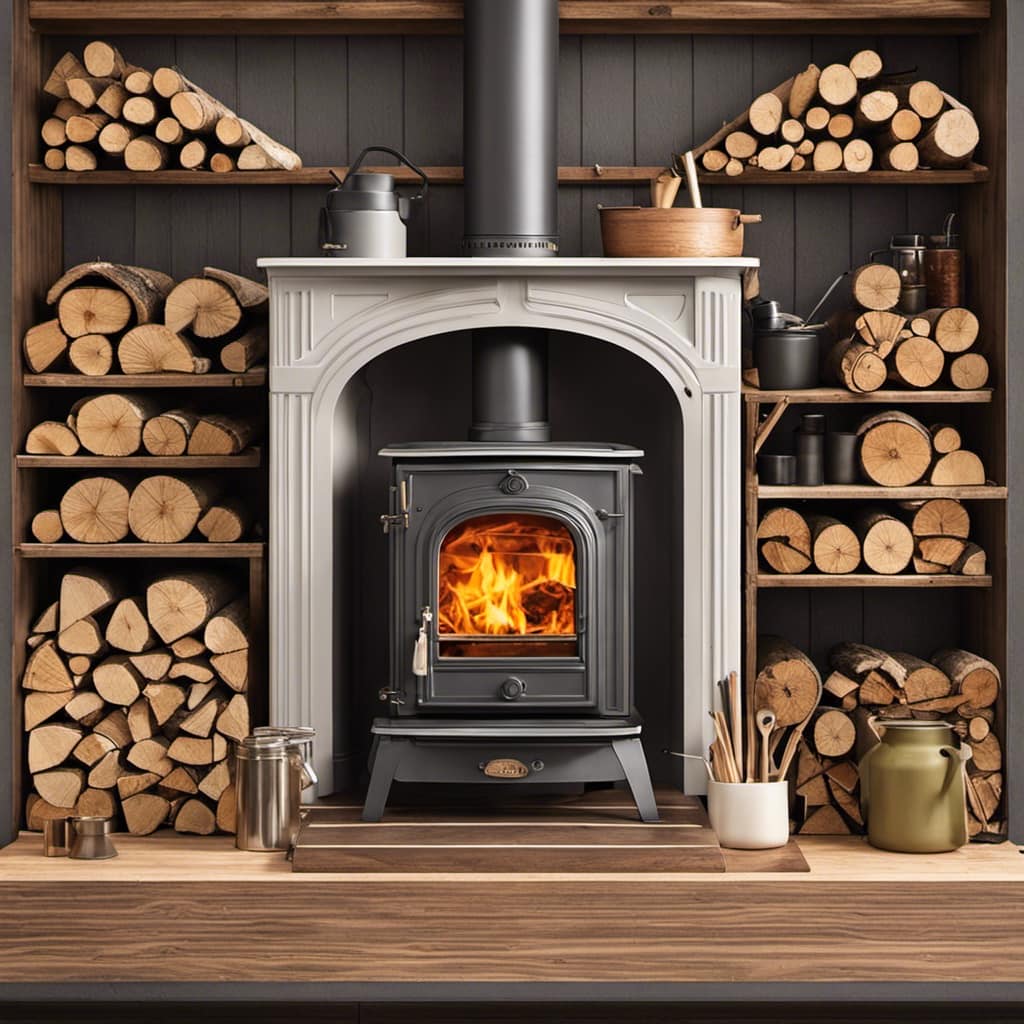
Understanding the Heat Exchanger in Your Wood Stove

I find it important to understand the heat exchanger in my wood stove. The heat exchanger is a crucial component in the efficient functioning of the stove. Its design allows it to transfer the heat generated from burning wood to the surrounding air.

jotul wood stove for sale craigslist

The heat exchanger consists of a series of tubes or fins that are in direct contact with the firebox. As the hot gases pass through the exchanger, they heat up the metal surfaces, which in turn transfer the heat to the air circulating around it.

Advertisement

This process helps to increase the heat output of the stove and maximize its efficiency. By utilizing a heat exchanger, I can enjoy the benefits of a more efficient and cost-effective heating system in my home.

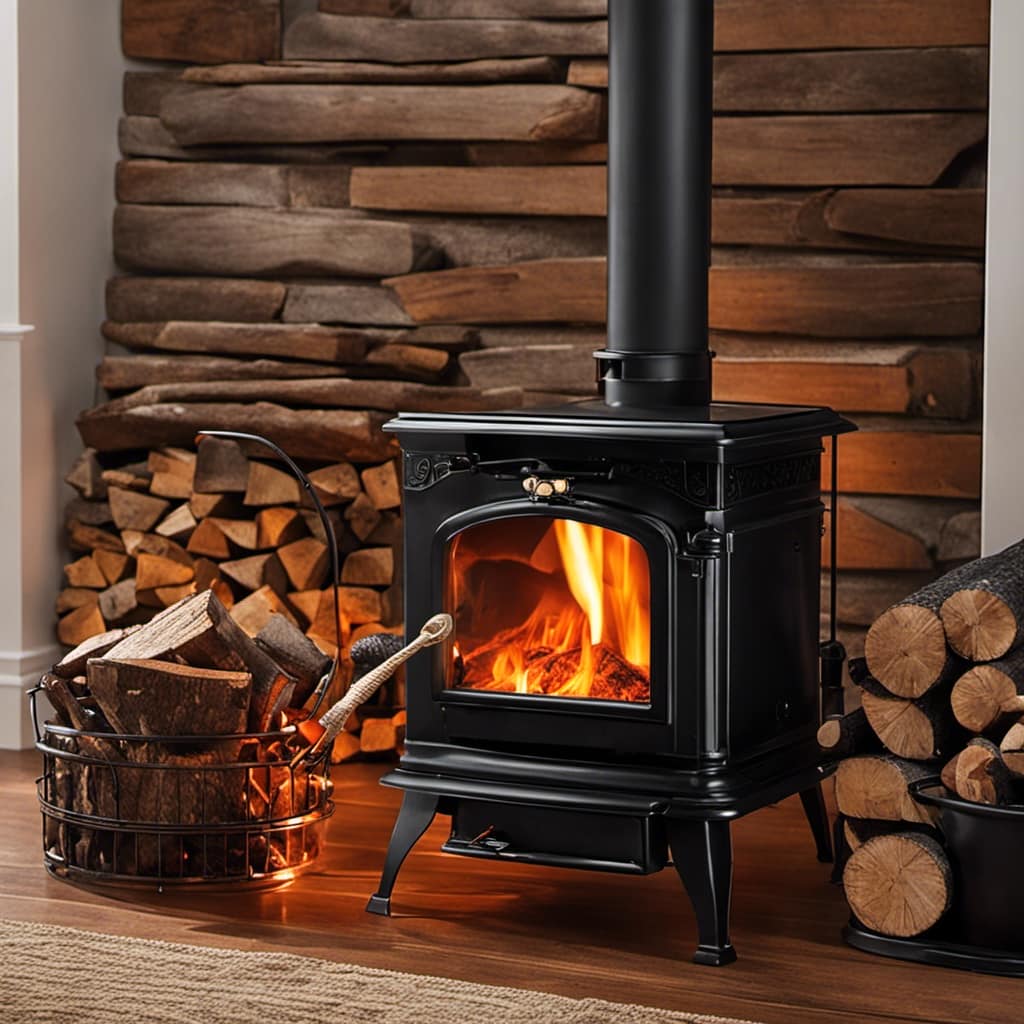
Gathering the Necessary Tools and Supplies

To get started, I’ll need a few tools and supplies.

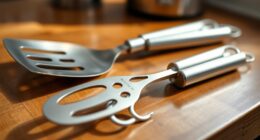
Cleaning a wood stove heat exchanger requires specific techniques and equipment. First, I’ll need a wire brush or chimney sweep brush to remove any built-up soot and debris from the heat exchanger surfaces. A vacuum cleaner with a brush attachment will also come in handy to suck up loose particles.

wood stove pipe installers near me

Next, I’ll need a scraper or putty knife to gently scrape off any stubborn residue. It’s important to avoid using abrasive materials that could damage the heat exchanger.

Additionally, I’ll need a soft cloth or sponge and a mild detergent solution to wipe down the surfaces and remove any remaining dirt.

Advertisement

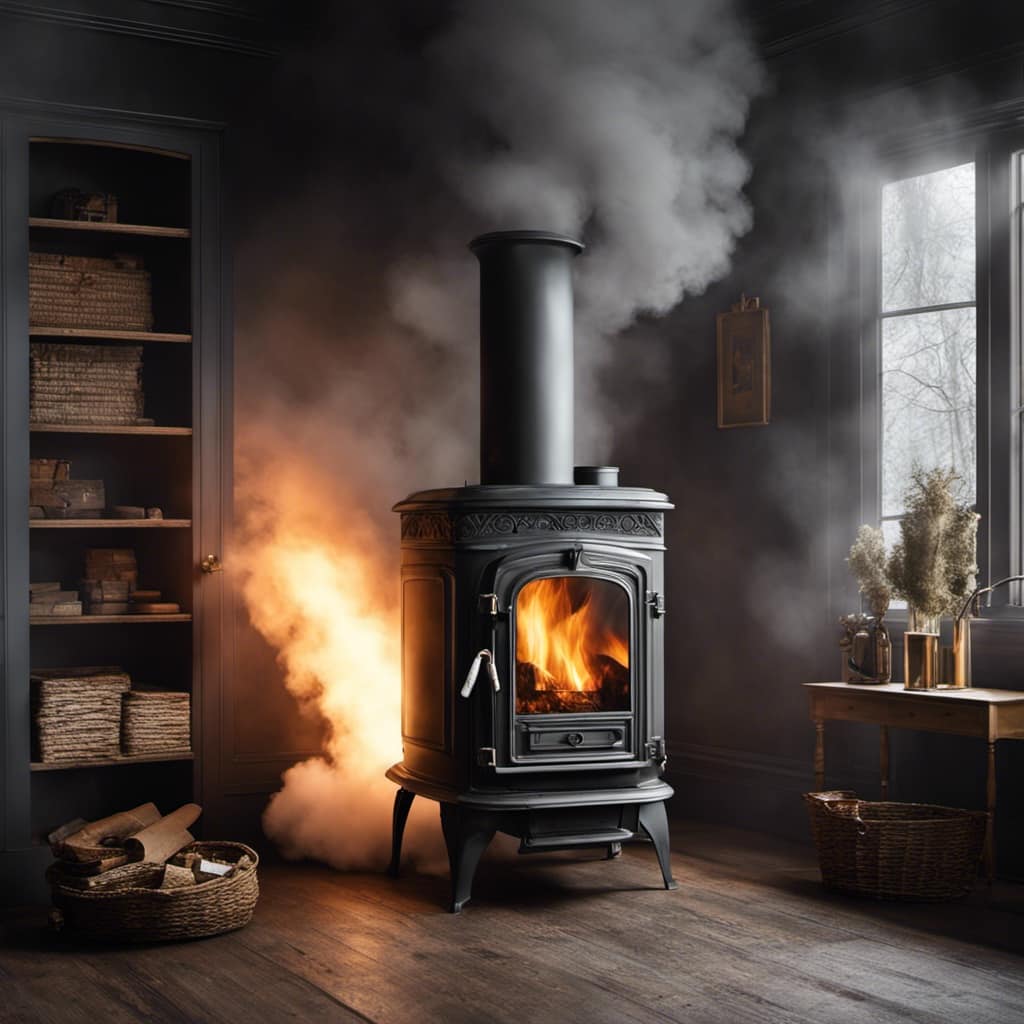
Common issues to look out for during the cleaning process include clogged or blocked passages, rust or corrosion, and damaged seals.

Regular maintenance and cleaning will help ensure optimal performance and prevent any potential problems.

wood stove insert cleaning

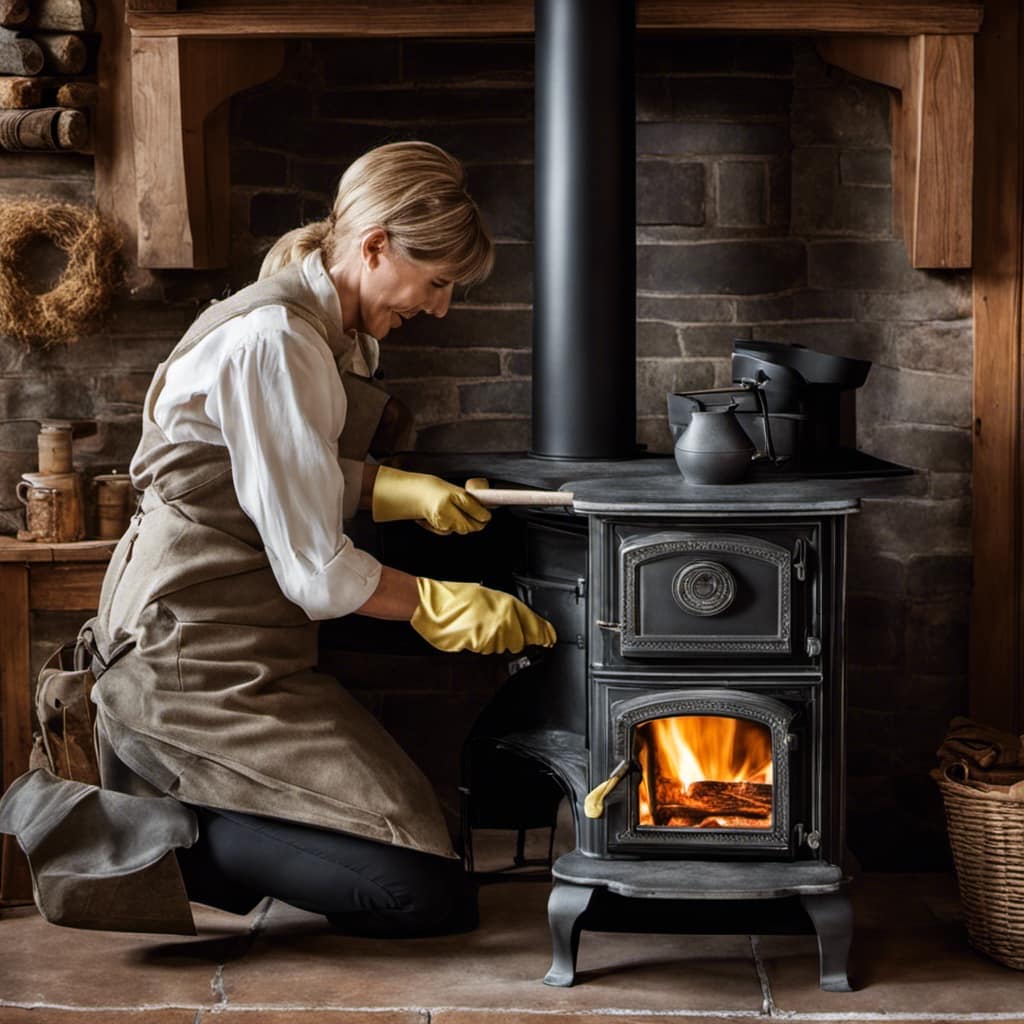
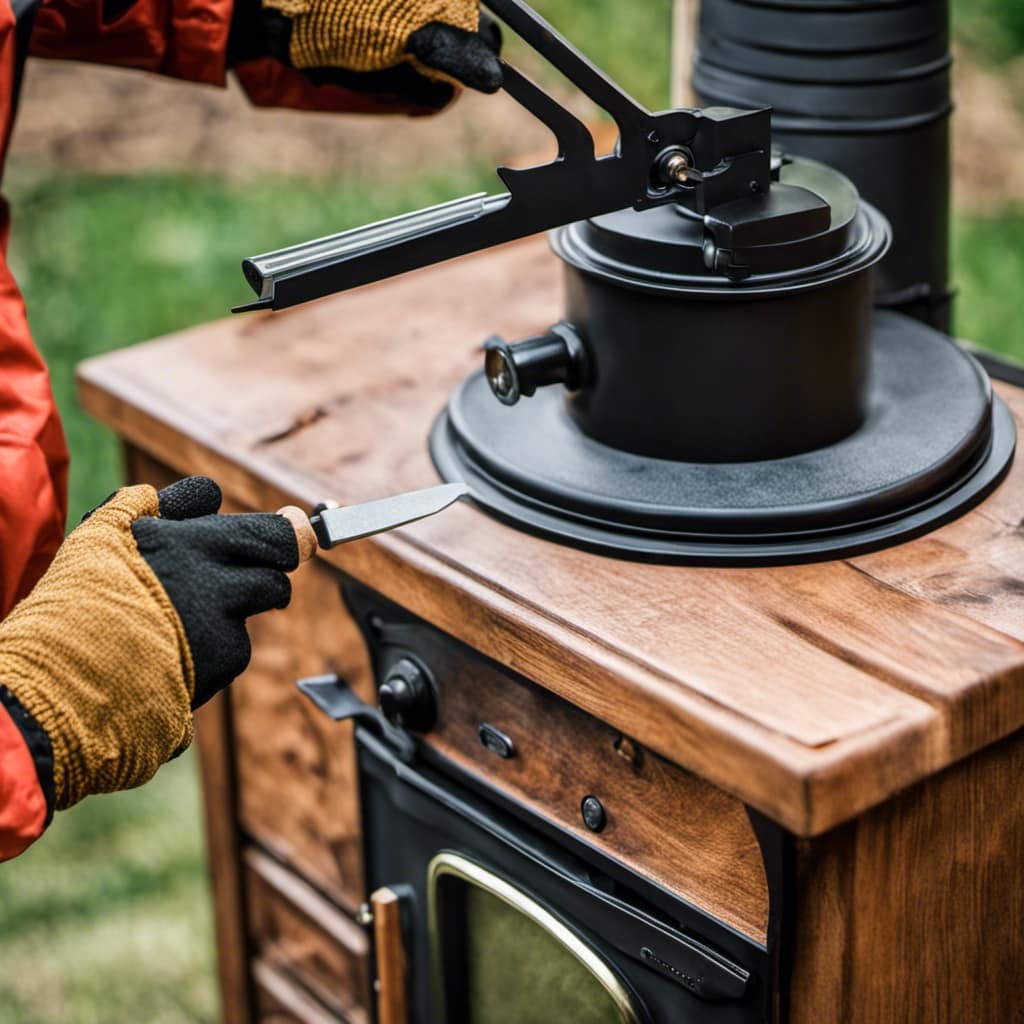
Step-by-Step Guide to Removing and Cleaning the Heat Exchanger

Removing and cleaning the heat exchanger requires a careful and systematic step-by-step approach.

Start by turning off the wood stove and allowing it to cool completely.

Once cool, remove the front panel of the stove to access the heat exchanger.

Advertisement

Use a screwdriver to remove any screws holding the heat exchanger in place.

small wood stove for shed

Carefully detach the heat exchanger from the stove, taking note of any connections or attachments that need to be disconnected.

Once removed, use a soft brush or vacuum to remove any loose debris or ash from the heat exchanger.

For more stubborn build-up, mix a solution of warm water and mild detergent and use a cloth or brush to gently scrub the heat exchanger.

Rinse thoroughly and allow to dry completely before reattaching to the wood stove.

Advertisement

wood stove fans and blowers

This regular heat exchanger maintenance will help improve the efficiency and longevity of your wood stove.

Now, let’s move on to some tips for proper maintenance and prevention of build-up.

Tips for Proper Maintenance and Prevention of Build-up

Regular maintenance and prevention techniques are essential for the efficient and long-lasting performance of my heating system. To ensure the proper functioning of my wood stove heat exchanger, I follow these preventive measures:

  1. Regular cleaning: I clean the heat exchanger at least once a year to remove any build-up of soot or creosote. This prevents blockages and ensures optimal heat transfer.

    wood stove factory

  2. Inspection: I inspect the heat exchanger regularly for any signs of damage or corrosion. This helps me identify potential issues early on and take necessary actions.

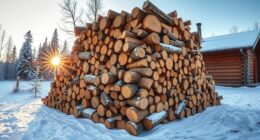
  3. Proper fuel selection: I use dry and seasoned wood to minimize the formation of creosote and soot. This reduces the chances of clogging and improves the overall efficiency of the heat exchanger.

By following these preventive measures, I can troubleshoot common issues and maintain the performance of my wood stove heat exchanger.

After thorough cleaning, I’ll now move on to the next step of reinstalling and testing the cleaned heat exchanger.

Advertisement

englander 2400 sq. ft. wood burning stove

Reinstalling and Testing the Cleaned Heat Exchanger

After completing the thorough cleaning, I carefully reinstall the newly cleaned heat exchanger and proceed to test its functionality.

When reassembling the heat exchanger, it’s crucial to follow proper reinstallation techniques to ensure optimal performance. Firstly, I align the heat exchanger with the mounting brackets and secure it tightly using the appropriate screws.

Next, I reconnect the inlet and outlet pipes, ensuring a tight seal to prevent any air or heat leakage. Once the heat exchanger is securely in place, I turn on the wood stove and observe its operation.

In case of any issues, common troubleshooting steps can be taken. These include checking for air blockages or obstructions in the pipes, inspecting the gaskets for signs of wear or damage, and verifying the proper functioning of the blower motor.

quadra fire wood stove

Frequently Asked Questions

Can I Clean the Heat Exchanger Without Removing It From the Wood Stove?

Yes, you can clean the heat exchanger without removing it from the wood stove. There are various cleaning techniques and maintenance tips available to effectively clean the heat exchanger and ensure its optimal performance.

Advertisement

How Often Should I Clean the Heat Exchanger?

Cleaning the wood stove heat exchanger is crucial for optimal performance. Regular maintenance ensures efficiency and prevents build-up. It is recommended to clean it at least once a year using appropriate cleaning techniques to remove soot and debris.

Are There Any Specific Cleaning Solutions I Should Use for the Heat Exchanger?

There are a few specific cleaning solutions that can be used for the heat exchanger, such as vinegar or a commercial stove cleaner. However, alternative cleaning methods like baking soda and water can also be effective.

What Are the Signs That Indicate the Heat Exchanger Needs Cleaning?

Regular maintenance is crucial to prevent heat exchanger damage. Signs of a dirty exchanger include reduced heat output and increased fuel consumption. To clean, turn off stove, let it cool, remove exchanger, and use a brush or vacuum to remove built-up debris.

wood stoves for heating

Can I Use a Pressure Washer to Clean the Heat Exchanger?

I wouldn’t recommend using a pressure washer to clean the heat exchanger. It can cause damage and is not safe. There are alternative cleaning methods that are more suitable, such as using a brush and vacuum.

Conclusion

In conclusion, maintaining and cleaning the heat exchanger in your wood stove is crucial for its optimal performance. By following the step-by-step guide and using the necessary tools and supplies, you can effectively remove and clean the heat exchanger.

Advertisement

Regular maintenance and prevention of build-up will ensure its efficiency and longevity. Remember to reinstall and test the cleaned heat exchanger to ensure it’s functioning properly.

Taking care of your wood stove heat exchanger will guarantee a cozy and warm environment for your home.

wood burning stove

Growing up surrounded by the vast beauty of nature, Sierra was always drawn to the call of the wild. While others sought the comfort of the familiar, she ventured out, embracing the unpredictable and finding stories in the heartbeat of nature.   At the epicenter of every remarkable venture lies a dynamic team—a fusion of diverse talents, visions, and passions. The essence of Best Small Wood Stoves is crafted and refined by such a trio: Sierra, Logan, and Terra. Their collective expertise has transformed the platform into a leading authority on small wood stoves, radiating warmth and knowledge in equal measure.

Continue Reading
Advertisement

Wood Stove

When Does A Wood Stove Fan Come On

Published

on

By

An image capturing the cozy ambiance of a dimly lit living room with a wood stove, where a flickering flame casts a warm glow

I’m aware that you’re on the other side, shaking, anxiously anticipating the moment the wood stove fan activates and begins to distribute the heat you’ve been craving. Relax, don’t worry, for I possess the solutions you seek.

In this article, I’ll dive into the factors that determine when a wood stove fan comes on, from temperature requirements to fan design.

So sit back, relax, and get ready to optimize the efficiency of your cozy wood stove experience.

Key Takeaways

  • The temperature inside the wood stove is a key factor in activating the fan.
  • The layout of the room and the placement of the stove can impact the speed of fan activation.
  • Understanding the specific temperature thresholds for fan activation allows homeowners to regulate fan speed based on temperature.
  • Fan design, including blade angle and motor speed, as well as proper fan placement, play a crucial role in determining when the fan will come on.

Factors Affecting Wood Stove Fan Activation

I’ve noticed that the temperature inside the wood stove is a key factor affecting when the fan comes on. The wood stove fan activation speed depends on how hot the stove gets. When the temperature rises, the fan starts to spin, pushing the warm air out into the room.

However, the impact of room layout on wood stove fan activation is also important. If the stove is placed in a central location in the room, the warm air can circulate more easily, allowing the fan to activate quicker. On the other hand, if the stove is tucked away in a corner, the warm air may take longer to reach the fan, resulting in a slower activation speed.

Understanding Temperature Requirements for Wood Stove Fans

Understanding the temperature requirements for wood stove fans is crucial in order to effectively control their activation speed. By knowing the specific temperature thresholds at which the fans turn on and off, homeowners can regulate the fan speed to their desired level. To better illustrate this, let’s take a look at the table below that outlines the temperature thresholds and corresponding fan speed regulation:

Advertisement
Temperature Range (°F) Fan Speed Regulation
Below 100 Off
100-200 Low
200-300 Medium
300-400 High
Above 400 Maximum

As the temperature increases within each range, the fan speed progressively adjusts to provide optimal air circulation. Understanding these temperature requirements allows homeowners to maintain a comfortable environment while efficiently utilizing their wood stove. Now, let’s delve into the role of fan design in activation timing.

The Role of Fan Design in Activation Timing

Adjusting the blade angle and optimizing the motor speed are key factors in determining when the wood stove fan starts circulating air. Fan placement plays a crucial role in its activation timing, as it needs to be strategically positioned to effectively distribute heat throughout the room.

Here are three important considerations for fan placement:

  1. Proximity to the heat source: Placing the fan too far from the wood stove can delay its activation, as it takes longer for the rising heat to reach the fan. Positioning it closer to the stove ensures quicker circulation.

  2. Clearance from obstacles: The fan should be placed in a position where it has ample space to draw in the hot air and distribute it evenly. Avoid obstructing the airflow with furniture or other objects.

  3. Noise reduction: To minimize noise, consider placing the fan on a stable surface or using vibration-absorbing materials. This will help maintain a peaceful and comfortable environment.

Optimizing Efficiency: When to Expect the Wood Stove Fan to Start

Finding the perfect balance between heat output and energy consumption is crucial for optimizing efficiency, so understanding when to expect the wood stove fan to start and coordinating its activation with the rising heat is essential. Maximizing performance and adjusting fan speed are key factors in achieving this balance.

To help you better understand when the wood stove fan comes on, I have created a table outlining the different activation temperatures for various fan models:

Advertisement
Fan Model Activation Temperature
Model A 150°F
Model B 180°F
Model C 200°F

By knowing the activation temperature of your specific fan model, you can anticipate when it will start circulating the warm air throughout your space. This allows you to adjust the fan speed accordingly and maximize the performance of your wood stove.

Troubleshooting: Why Isn’t My Wood Stove Fan Coming On?

I can’t figure out why my wood stove fan isn’t coming on, even though I’ve checked all the connections. It’s frustrating because I rely on the fan to circulate the warm air throughout the room.

After some research and troubleshooting, I’ve identified a few possible causes and steps to address the issue:

  1. Power supply: Ensure that the fan is receiving power by checking the switch and the outlet. Sometimes a loose connection or a blown fuse can prevent the fan from turning on.

  2. Motor malfunction: Examine the motor for any signs of damage or overheating. If the motor is faulty, it may need to be repaired or replaced.

  3. Temperature control: Check the temperature settings on your wood stove. Some fans are designed to turn on only when the stove reaches a certain temperature. Adjust the settings accordingly.

Frequently Asked Questions

Can a Wood Stove Fan Be Used With Any Type of Wood Stove?

A wood stove fan can be used with most types of wood stoves. However, it is important to consider the specific design and compatibility of each stove. Using a fan can improve heat distribution, but may also require additional maintenance and monitoring.

How Long Does It Typically Take for a Wood Stove Fan to Start Working After the Fire Is Lit?

When the fire is lit, it usually takes a wood stove fan a few minutes to start working. To improve its efficiency, make sure the blades are clean and troubleshoot common issues like loose wiring or a faulty motor.

Advertisement

Are There Any Safety Precautions I Should Take When Using a Wood Stove Fan?

When using a wood stove fan, it’s important to consider safety precautions. Proper placement is crucial to maximize the benefits of the fan, but be mindful of the drawbacks like noise and potential fire hazards.

Can I Manually Control the Activation of My Wood Stove Fan?

Yes, you can manually control the activation of your wood stove fan. It offers the benefit of adjusting the airflow and heat distribution in your space. This allows for greater comfort and efficiency.

Are There Any Maintenance or Cleaning Tasks That Need to Be Performed Regularly to Ensure the Proper Functioning of a Wood Stove Fan?

To ensure the proper functioning of a wood stove fan, regular maintenance tasks and cleaning are necessary. These tasks help keep the fan running efficiently and prevent any issues that may arise over time.

Conclusion

In conclusion, the activation of a wood stove fan is dependent on several factors, including temperature requirements and fan design. By understanding these factors and optimizing efficiency, you can expect the fan to start at the appropriate time, maximizing the performance of your wood stove.

However, if your fan isn’t coming on, troubleshooting may be necessary to identify and resolve any issues. Remember, a well-functioning wood stove fan is essential for distributing heat effectively and creating a cozy atmosphere.

Advertisement
Continue Reading

Wood Stove

What Do You Set A Wood Stove On

Published

on

By

An image showcasing a sturdy, heat-resistant hearth pad beneath a gleaming wood stove

I have observed a diverse range of wood stove setups, but trust me, proper installation is crucial. The last outcome you would desire is putting your floors at risk or potentially causing a fire.

That’s why I’m here to give you the lowdown on the best options for setting your wood stove. From traditional hearths to heat-resistant pads and raised platforms, I’ll guide you through all the considerations for a safe and stylish wood stove setup.

Let’s get started!

Key Takeaways

  • Incorporate fireplace mantels or decorative tiles for a focal point and display area.
  • Use heat-resistant pads and mats to protect the floor from heat transfer and create a safer environment.
  • Consider using raised platforms or stands to provide a sturdy and level surface for the wood stove.
  • Use non-combustible flooring materials like fireproof tiles or concrete slabs to provide a safe foundation for the wood stove.

Traditional Hearth Options

I really like the look of a traditional hearth option for my wood stove. It adds a touch of elegance and warmth to the room.

One popular choice is to incorporate fireplace mantels and decorative tiles into the design. Fireplace mantels can provide a focal point and a place to display cherished items like family photos or decorative pieces. They come in a variety of styles and materials, allowing you to personalize your wood stove area.

Decorative tiles can be used to create a beautiful backdrop for your wood stove. They come in different colors, patterns, and textures, allowing you to create a design that complements your overall decor.

Advertisement

Transitioning into the next section, heat-resistant pads and mats are essential to protect the floor and surrounding area from the heat generated by the wood stove.

Heat-Resistant Pads and Mats

I need to buy a few heat-resistant pads and mats to ensure the safety of my wood stove and surrounding area. Fireproof insulation pads and mats provide a protective barrier between the stove and the floor, preventing heat transfer and reducing the risk of fire. These products are specifically designed to withstand high temperatures and provide an added layer of protection to your home.

Along with fireproof insulation, proper ventilation is crucial for wood stove safety. Adequate air circulation helps prevent the buildup of harmful gases and ensures efficient combustion.

By investing in heat-resistant pads and mats, you can create a safer environment for your wood stove and enjoy the warmth and ambiance it brings.

Now, let’s discuss the importance of raised platforms and stands for wood stoves.

Advertisement

Raised Platforms and Stands

To ensure the stability and safety of my wood stove, I can consider using raised platforms or stands. These can provide a sturdy and level surface for the stove, reducing the risk of accidents and ensuring proper airflow.

DIY wood stove stands are a popular option for those who want to save money and customize their setup. They can be built using materials like cinder blocks, concrete pavers, or even repurposed pallets.

Another creative alternative to raised platforms is using heat-resistant tiles or bricks to create a protective base for the stove. These not only offer stability but also add a decorative touch to the room.

Ultimately, the choice of whether to use a raised platform or explore other alternatives depends on personal preference and the specific requirements of the wood stove setup.

Non-Combustible Flooring Materials

The non-combustible flooring materials provide an added layer of safety and peace of mind when using a wood stove. Fireproof tiles and concrete slabs are excellent options for creating a safe foundation for your wood stove. These materials are designed to withstand high temperatures and prevent the spread of fire.

Advertisement

Fireproof tiles, made from materials such as porcelain or ceramic, are resistant to heat and can handle the weight of a wood stove. Concrete slabs, on the other hand, are durable and provide a stable base for your stove. They’re also easy to clean and maintain.

When choosing between fireproof tiles and concrete slabs, consider factors such as cost, aesthetics, and ease of installation.

Transitioning into the next section, let’s now discuss considerations for mobile or temporary wood stove setups.

Considerations for Mobile or Temporary Wood Stove Setups

For mobile or temporary wood stove setups, it’s important to carefully plan and prepare the area where the stove will be placed, ensuring proper ventilation and clearance from combustible materials. Here are some key considerations for setting up a portable wood stove outdoors:

  • Choose a suitable location: Look for an area that’s away from flammable materials such as dry leaves or overhanging branches. Consider the wind direction to avoid smoke blowing into your living space.

  • Use a fireproof base: Place the wood stove on a non-combustible base, such as a fireproof hearth pad or a sheet of metal. This will protect the ground from heat damage and reduce the risk of accidental fires.

  • Provide adequate ventilation: Ensure that there’s enough airflow around the stove to prevent overheating and to allow efficient combustion. Consider using a chimney or stove pipe to direct the smoke away from the area.

Frequently Asked Questions

Can I Place a Wood Stove Directly on a Carpet or Rug?

No, placing a wood stove directly on a carpet or rug is not recommended. Wood stove clearance regulations require a non-combustible surface underneath to prevent fire hazards. It is best to consult the manufacturer’s guidelines for proper installation.

Advertisement

Are There Any Regulations or Codes Regarding the Clearance Distance Between a Wood Stove and Surrounding Walls or Furniture?

There are specific regulations and codes governing the clearance distance between a wood stove and surrounding walls or furniture. It’s important to follow these guidelines for safe wood stove placement options.

Can I Use a Wood Stove on a Wooden Floor Without Causing Any Damage or Fire Hazards?

I wouldn’t recommend using a wood stove on a wooden floor without taking proper precautions. Wood stove maintenance and safety precautions are essential to prevent damage or fire hazards.

Is It Necessary to Have a Hearth or Platform Specifically Designed for a Wood Stove, or Can I Use Any Heat-Resistant Material?

Using an alternative material for a wood stove platform may seem tempting, but it’s important to prioritize safety. A hearth specifically designed for a wood stove offers numerous benefits, including preventing fire hazards and protecting the floor.

What Are Some Alternative Options for Setting up a Wood Stove in a Temporary or Mobile Location?

Portable wood stove options for temporary locations include using a heat-resistant platform or a metal stand. Safety precautions include ensuring proper ventilation, keeping flammable materials away, and monitoring the stove closely to prevent accidents.

Conclusion

After considering various options for setting up a wood stove, it’s crucial to prioritize safety and ensure that the chosen surface is non-combustible.

Advertisement

Whether it’s a traditional hearth, heat-resistant pads, raised platforms, or non-combustible flooring materials, each option provides a secure foundation for your wood stove.

Just like a sturdy foundation supports a towering tree, the right setup for your wood stove will keep it steady and safe, allowing you to enjoy the warmth and comfort it provides.

Continue Reading

Wood Stove

How To Install Wood Stove Double Wall Pipe

Published

on

By

An image showcasing a step-by-step process of installing a wood stove double wall pipe

Seeking an upgrade for your home’s heating setup? Considering the installation of a double-wall pipe for your wood stove? Your search ends here.

In this guide, I’ll walk you through the process step by step. We’ll cover everything from choosing the right pipe size to troubleshooting any issues that may arise.

With the right tools and a little know-how, you’ll have your wood stove up and running in no time. Let’s get started!

Key Takeaways

  • Consider clearance distance and follow guidelines and codes for accurate measurement
  • Use the correct tools and materials and properly seal all connections during installation
  • Clean and inspect the wood stove before installation to ensure optimal condition
  • Insulate and securely connect the double wall pipe sections, checking for gaps or loose fittings

Choosing the Right Double Wall Pipe Size

Which double wall pipe size should I choose for my wood stove installation?

When selecting the correct diameter for your double wall pipe, it’s crucial to consider the clearance distance. The clearance distance refers to the amount of space required between the pipe and any combustible material. This distance ensures proper ventilation and minimizes the risk of fire hazards.

To measure the clearance distance, you’ll need to follow the manufacturer’s guidelines and local building codes. It’s essential to accurately measure the distance to determine the appropriate pipe size. Additionally, take into account the size of your wood stove and the overall layout of your installation.

Advertisement

Gathering the Necessary Tools and Materials

I’ll start gathering all the necessary tools and materials for the wood stove installation. It’s important to have everything on hand before beginning the installation process. Here are some tips for maintaining a wood stove double wall pipe and common mistakes to avoid during installation.

First, ensure you have the correct size double wall pipe for your wood stove. Measure the diameter of the stove’s flue collar to determine the appropriate size.

Next, gather a tape measure, level, screwdriver, drill, chimney brush, and high-temperature sealant. These tools will assist in properly installing and maintaining the double wall pipe.

When installing the double wall pipe, ensure that it’s securely fastened and that all connections are properly sealed. Common mistakes to avoid include using too much sealant, which can create a blockage, and not properly aligning the sections of pipe, which can cause leaks.

Regular maintenance of the double wall pipe is crucial for its longevity. Clean the pipe regularly using a chimney brush to remove any creosote buildup. Additionally, inspect the pipe for any signs of damage or deterioration.

Advertisement

Preparing the Wood Stove for Installation

After gathering all the necessary tools and materials, I’ve prepared the wood stove for installation by cleaning it thoroughly and ensuring it’s in proper working condition. Cleaning the wood stove is an essential step to remove any buildup of soot, creosote, or debris that could potentially cause a fire hazard.

I carefully inspected the stove, checking for any signs of damage or wear, and repaired or replaced any components as needed. Additionally, I measured the clearance requirements, ensuring that the stove is positioned at a safe distance from combustible materials. This step is crucial to prevent any risk of fire or damage to surrounding structures.

With the wood stove now clean and in optimal condition, it’s time to move on to connecting the double wall pipe sections.

Connecting the Double Wall Pipe Sections

I’m currently connecting the double wall pipe sections, ensuring a secure and seamless fit for optimal functionality. As I work on this crucial step in the wood stove installation process, I want to highlight the importance of proper insulation for double wall pipe sections and the significance of proper sealing in double wall pipe connections. Here are some key points to consider:

  • Insulation: Proper insulation is essential to prevent heat loss and maintain the efficiency of the wood stove. It helps to minimize condensation and ensures that the pipe maintains a consistent temperature.

  • Sealing: A tight seal between the double wall pipe sections is crucial to prevent any leakage of exhaust gases. It ensures that the fumes are directed safely out of the house and prevents any potential health hazards.

  • Gaskets: Using high-quality gaskets is essential for achieving a proper seal. These gaskets help to create a tight connection between the sections and prevent any air or gas leakage.

  • Clamps: Securely fastening the double wall pipe sections using clamps adds an extra layer of stability and ensures a tight fit, minimizing any potential movement or disconnection.

  • Inspection: After connecting the double wall pipe sections, it’s important to thoroughly inspect the joints and connections to ensure there are no gaps or loose fittings.

By paying attention to these details, we can ensure that the double wall pipe installation is properly sealed and insulated, promoting safety and optimal performance.

Advertisement

Transitioning into the next section, let’s now discuss the crucial step of testing and troubleshooting the double wall pipe installation.

Testing and Troubleshooting the Double Wall Pipe Installation

As I test and troubleshoot the double wall pipe installation, I’ll carefully inspect for any leaks or issues that may arise. Testing for leaks is crucial to ensure that the wood stove operates safely and efficiently.

To do this, I’ll conduct a thorough visual examination of the pipe joints, looking for any signs of condensation or smoke leakage. Additionally, I’ll perform a smoke test by lighting a small amount of smoke-producing material near the pipe joints and observing for any signs of smoke escaping. This will help me identify and address any potential areas of concern.

Furthermore, during the troubleshooting process, I’ll also ensure proper ventilation by checking that the pipe is correctly connected to the chimney and that there are no obstructions or blockages in the flue.

Frequently Asked Questions

How Often Should I Clean My Double Wall Pipe?

I clean my double wall pipe at least once a year to maintain optimal performance. Regular cleaning is essential to prevent creosote buildup and ensure proper airflow. Here are some maintenance tips to keep your pipe in top condition.

Advertisement

Can I Use Single Wall Pipe Instead of Double Wall Pipe?

Using single wall pipe instead of double wall pipe is like using a paper plate instead of a sturdy ceramic one. It may be cheaper, but it lacks the durability and safety features needed for proper wood stove installation.

Is It Necessary to Use a Chimney Cap With a Double Wall Pipe?

It is necessary to use a chimney cap with a double wall pipe. The pros of double wall pipe include increased safety and efficiency. However, there are cons such as higher cost and more complex installation.

Can I Install a Wood Stove Double Wall Pipe in an Existing Fireplace?

Installing a wood stove double wall pipe in an existing fireplace offers numerous benefits. The double wall design enhances safety and efficiency, reducing the risk of fires and increasing heat output.

What Is the Average Lifespan of a Double Wall Pipe?

The average lifespan of a double wall pipe depends on various factors such as usage, maintenance schedule, and quality of materials. Regular inspections and proper cleaning can help extend its lifespan.

Conclusion

Well, congratulations! You have successfully installed your wood stove double wall pipe. Now, you can sit back, relax, and enjoy the cozy warmth it brings to your home.

Advertisement

Just remember to always follow the manufacturer’s instructions and guidelines to ensure safe and efficient operation. So go ahead, bask in the glory of your handy work and revel in the satisfaction of a job well done.

Happy heating!

Continue Reading

Trending