As a property owner, I’ve learned the significance of securing a wood stove door effectively. Achieving a secure closure is crucial for maintaining the desired warmth indoors and stopping hazardous smoke and gases from leaking into the living space.
That’s why I’m excited to share with you a step-by-step guide on how to change your wood stove door gasket. By following these instructions and gathering the necessary tools and materials, you’ll be able to maintain a safe and efficient wood stove.
Let’s get started!
Key Takeaways
- Regularly check and replace the gasket if necessary to ensure a properly sealed wood stove door.
- Properly cleaning the stove door and removing old gasket residue is essential for installing a new gasket.
- Use a heat-resistant adhesive and ensure the new gasket is the correct size for a tight seal.
- Follow maintenance tips to prolong the lifespan of the wood stove door gasket, including avoiding slamming the door shut and keeping the gasket clean and dry.
Understanding the Importance of a Properly Sealed Wood Stove Door
I’ve just learned about the importance of properly sealing my wood stove door.
A properly sealed wood stove door offers numerous benefits, including increased energy efficiency, improved safety, and reduced emissions.
When the door is tightly sealed, it prevents air leakage, ensuring that the fire burns efficiently and heat is distributed evenly throughout the room. This not only helps to save on heating costs but also minimizes the risk of carbon monoxide poisoning.
However, if you find that your wood stove door seal is faulty, there are a few troubleshooting tips you can try.
First, check for any visible signs of wear or damage on the gasket. If necessary, replace it with a new one. Additionally, make sure the latch is properly aligned and tight to ensure a proper seal.
Regular maintenance and a properly sealed wood stove door are essential for optimal performance and safety.
Gathering the Necessary Tools and Materials
Before starting the project, gather the three tools and materials needed: a screwdriver, a new gasket, and a cleaning solution.
Changing a wood stove door gasket requires careful preparation and precise measurements. Here are the steps to follow:
-
Choosing the right gasket: Select a gasket that’s suitable for high temperatures and is compatible with your wood stove model. Look for gaskets made of fiberglass or ceramic fiber.
-
Proper measurement techniques: Measure the length of the old gasket using a measuring tape. Ensure you measure from one end of the gasket to the other, excluding any gaps or overlaps. It’s essential to get an accurate measurement to ensure a tight seal.
-
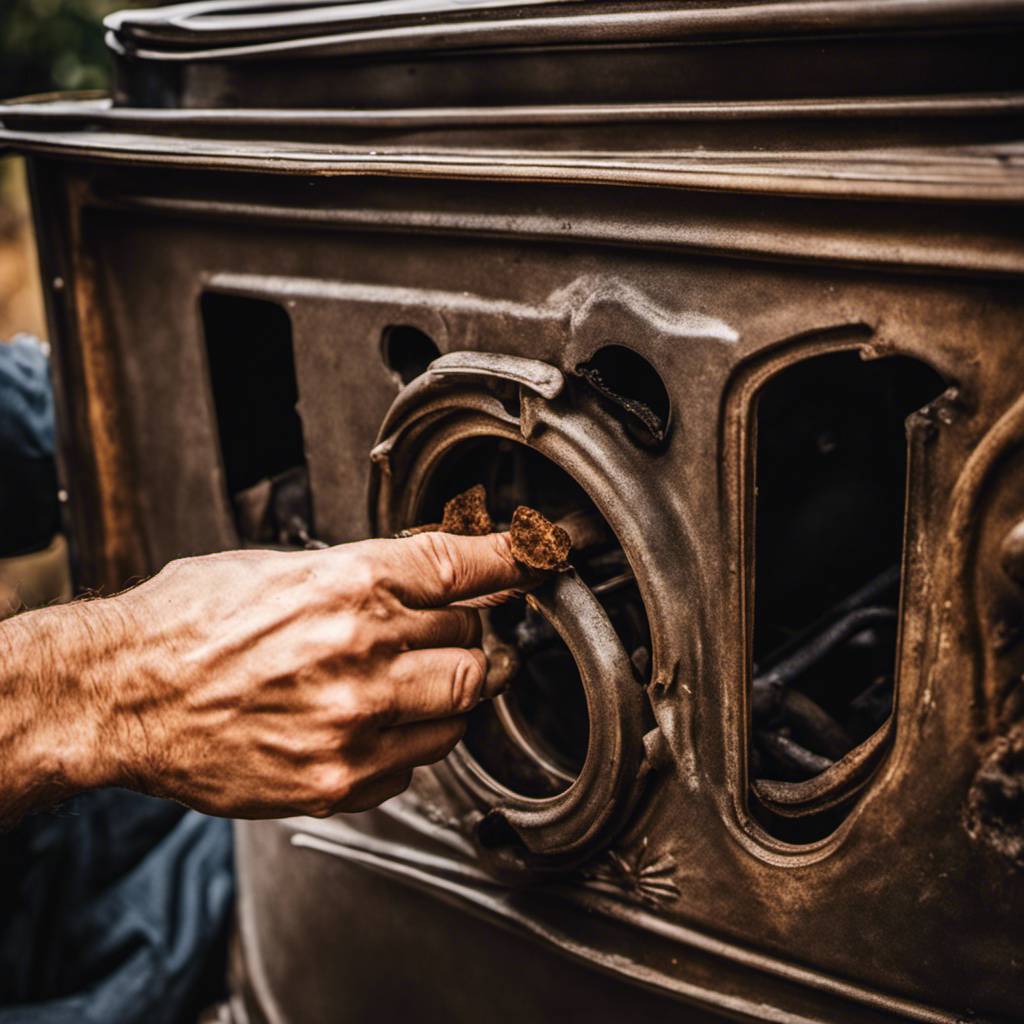
Removing the old gasket: Use a screwdriver to loosen and remove the screws holding the old gasket in place. Carefully peel off the old gasket and clean any residue left behind using a cleaning solution.
-
Installing the new gasket: Begin by applying a thin layer of adhesive to the channel where the gasket will fit. Then, starting from one end, press the new gasket firmly into the channel. Ensure it’s evenly distributed and fits snugly.
-
Testing the seal: Once the new gasket is in place, close the wood stove door and check for any gaps or leaks. Adjust the gasket if necessary to achieve a proper seal.
Removing the Old Gasket and Cleaning the Stove Door
After removing the old gasket, I carefully cleaned the stove door with a cleaning solution. It’s vital to ensure that the door is free from any residue before installing the new gasket.
To remove gasket residue, I used a scraper to gently scrape off any remaining pieces. Then, I applied a solvent to a clean cloth and wiped the door thoroughly. This helped to dissolve any stubborn residue.
Once the door was clean, I proceeded to choose the right adhesive for the new gasket. It’s crucial to select an adhesive that’s heat resistant and specifically designed for stove applications. I carefully read the manufacturer’s instructions to ensure proper application and allowed sufficient drying time before closing the door.
Installing the New Gasket and Ensuring a Tight Seal
To ensure a tight seal, I carefully positioned the new gasket along the edge of the stove door, using the adhesive to secure it in place.
- Ensure the gasket is the correct size for your stove door.
- Clean the surface of the stove door thoroughly before installing the new gasket.
- Apply a thin, even layer of adhesive along the edge of the stove door.
- Press the gasket firmly into place, starting from one corner and working your way around.
- Allow the adhesive to dry completely before closing the stove door.
Troubleshooting common issues with wood stove door gasket installation:
- If the gasket is too long or too short, trim it carefully to fit.
- If the adhesive doesn’t hold the gasket in place, try using a different adhesive.
- If the gasket doesn’t create a tight seal, adjust the positioning and press it firmly into place.
Tips for prolonging the lifespan of your wood stove door gasket:
- Avoid slamming the stove door shut, as this can damage the gasket.
- Regularly clean the gasket to remove any buildup of ash or debris.
- Inspect the gasket for signs of wear or damage, and replace as needed.
- Keep the stove door gasket dry to prevent mold or mildew growth.
- Follow the manufacturer’s recommendations for maintenance and care.
Maintaining and caring for your wood stove door gasket is crucial for optimal performance and energy efficiency. By properly installing the gasket and following these tips, you can ensure a tight seal and prolong the lifespan of your wood stove door gasket.
Maintaining and Caring for Your Wood Stove Door Gasket
I always make sure to regularly clean the wood stove door gasket to prevent any buildup of ash or debris.
One of the common issues with wood stove door gaskets is that they can become worn out and lose their effectiveness over time.
To extend the lifespan of your wood stove door gasket, there are a few key tips to keep in mind.
Firstly, avoid slamming the door shut as this can cause unnecessary wear and tear on the gasket.
Secondly, check for any signs of damage or wear regularly and replace the gasket if necessary.
Additionally, make sure to keep the gasket clean by wiping it down with a damp cloth and removing any accumulated ash or debris.
Frequently Asked Questions
How Often Should I Replace the Wood Stove Door Gasket?
I replace my wood stove door gasket every 1-2 years. Signs of a worn out gasket include air leakage, reduced heat output, and difficulty in maintaining a fire. Regular replacement ensures optimal performance and efficiency.
Can I Use Any Type of Adhesive to Attach the New Gasket?
Yes, you can use various types of adhesive to attach the new gasket to the wood stove door. It is important to choose an adhesive that is suitable for high temperatures and can withstand the intense heat produced by the wood stove.
Can I Still Use My Wood Stove While the Gasket Is Being Replaced?
Yes, you can still use your wood stove while the gasket is being replaced, but there are potential risks. Take precautions to avoid injury or damage. Alternatively, consider using alternative heating options until the gasket is replaced.
Is It Necessary to Clean the Stove Door Before Installing the New Gasket?
Yes, it is necessary to clean the stove door before installing the new gasket. This ensures proper adhesion and prevents any debris from interfering with the sealing. Don’t forget this crucial step!
Can I Reuse the Old Gasket if It Is Still in Good Condition?
No, it is not recommended to reuse the old gasket even if it is in good condition. It is best to install a new gasket to ensure proper sealing. Alternative gasket materials may be used, but consult the stove manufacturer for compatibility.
Conclusion
In conclusion, changing the wood stove door gasket is a simple yet essential task for maintaining the efficiency and safety of your wood stove.
By understanding the importance of a properly sealed door, gathering the necessary tools and materials, and following the step-by-step process of removing the old gasket and installing a new one, you can ensure a tight seal and optimal performance of your wood stove.
Remember to regularly maintain and care for your wood stove door gasket to prolong its lifespan.


