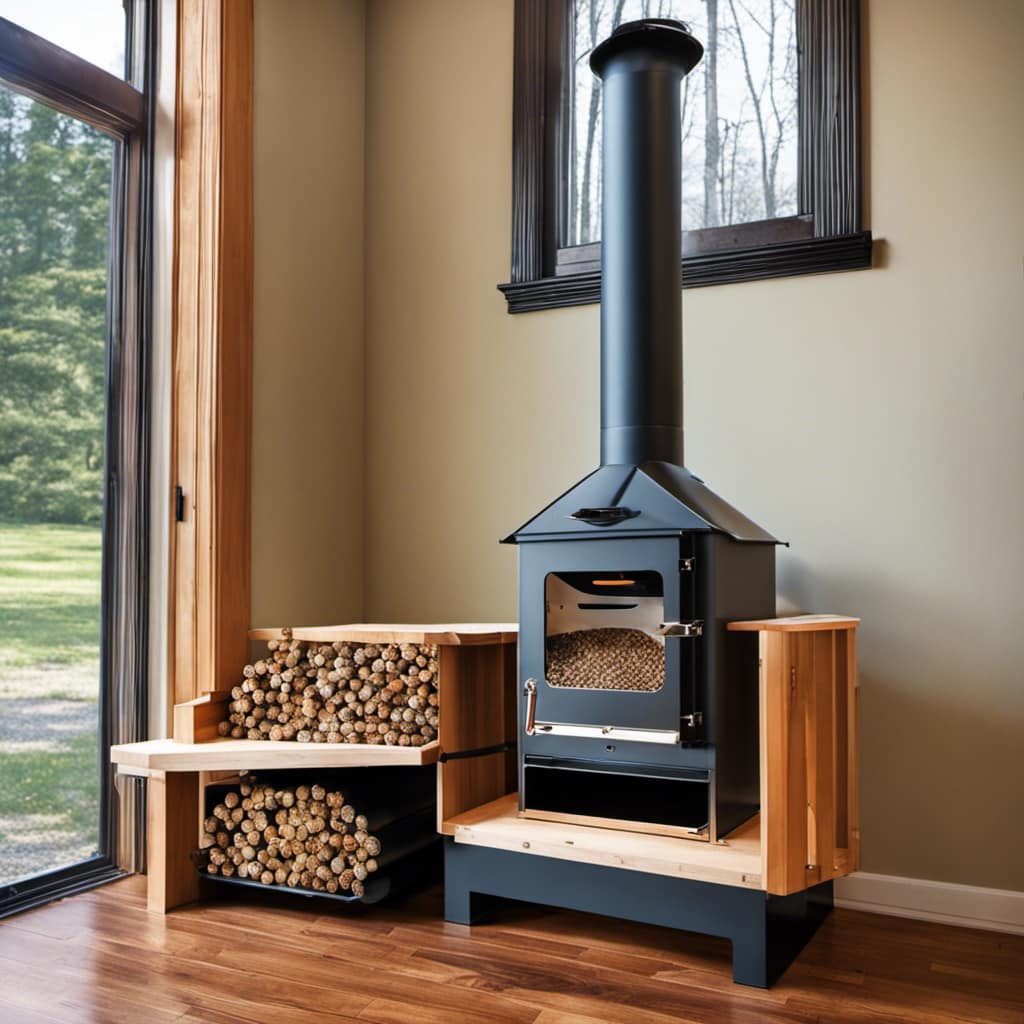
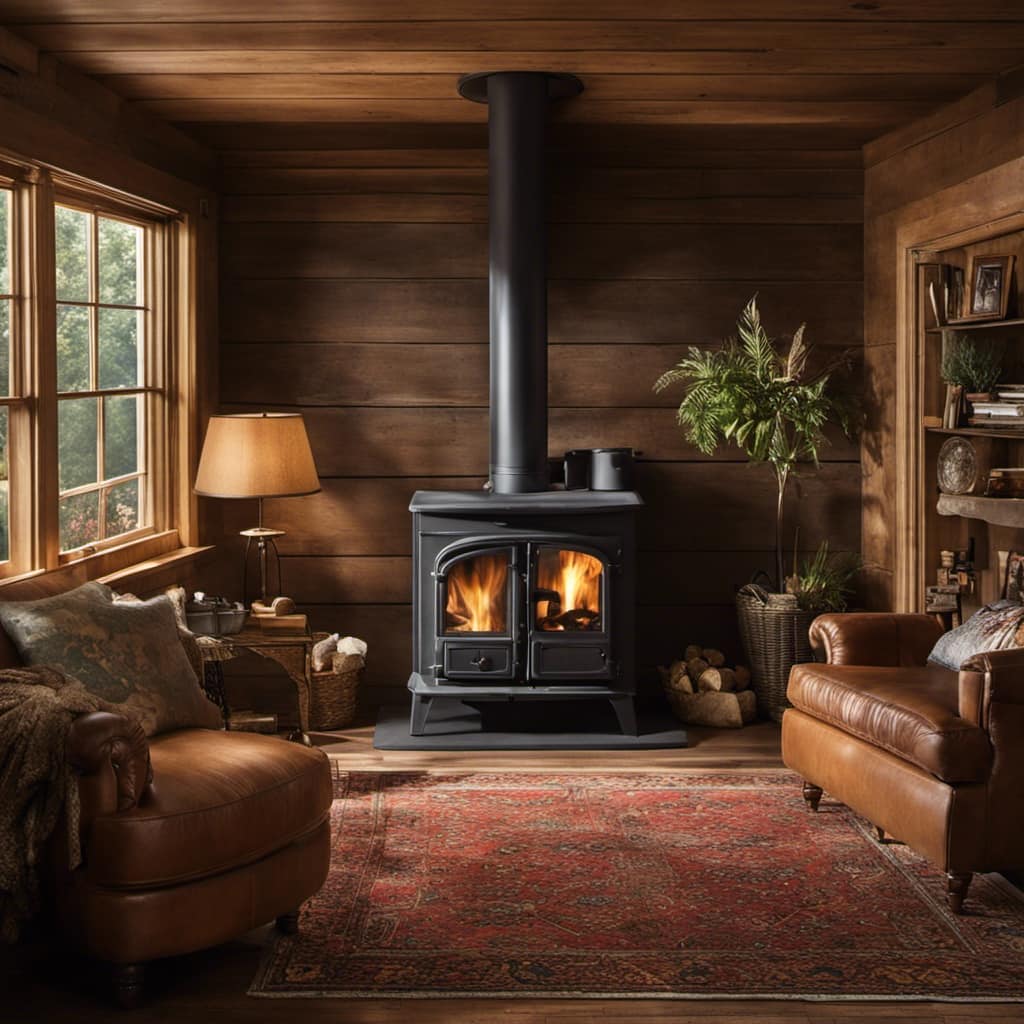
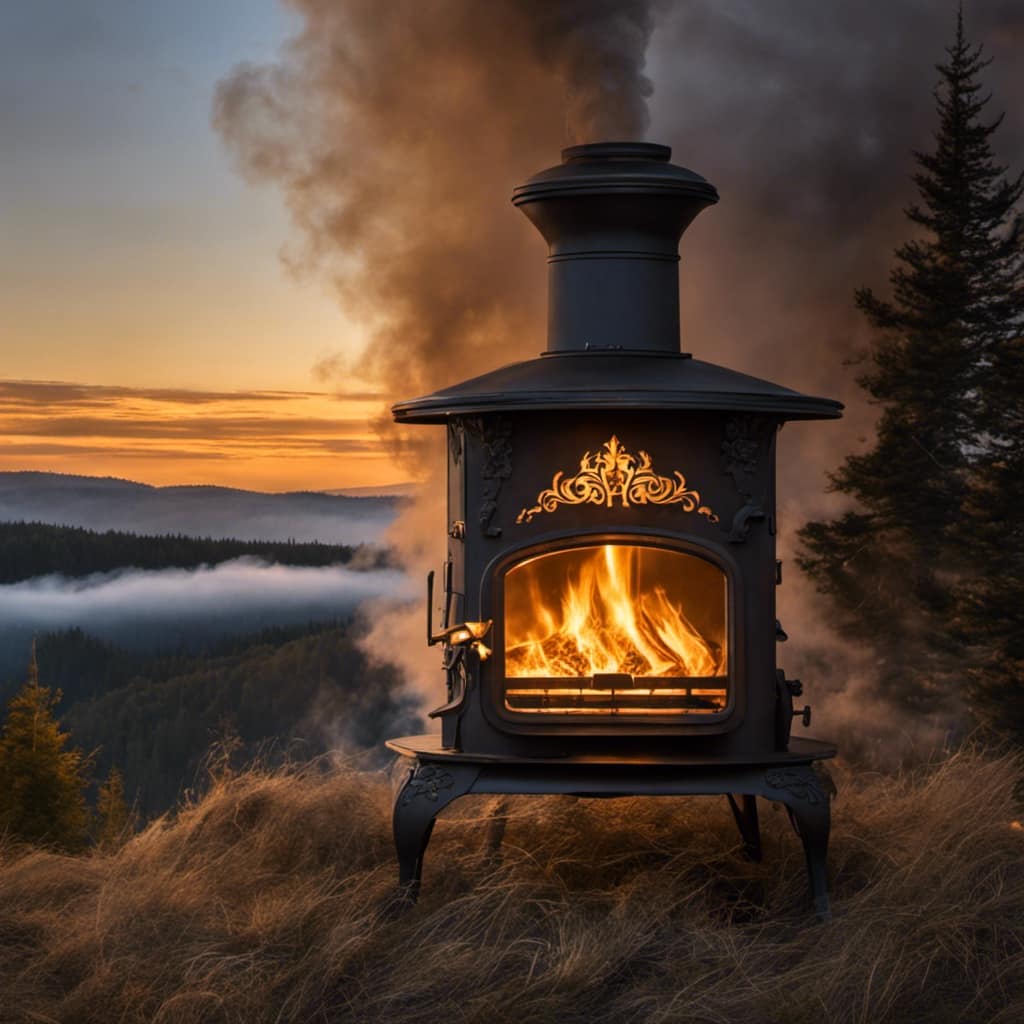
Connect with us

Wood Stove

How Often To Clean Wood Stove Chimney

Published

on

I envisioned cozy nights spent by the fire, listening to the soft crackling of a wood stove. It hadn’t occurred to me, though, that it would also require regular upkeep of the chimney. Nevertheless, this slight hassle is a small price to pay for safety and efficiency, don’t you think?

In this article, I’ll guide you through the ins and outs of cleaning your wood stove chimney. From understanding the factors to consider, to the recommended cleaning schedule, and even the signs that your chimney needs attention, I’ve got you covered.

Let’s keep those fires burning safely!

Key Takeaways

  • The type of wood burned and its moisture content affects creosote buildup in a wood stove chimney.
  • Regular chimney inspections and cleanings are recommended to ensure safe and efficient operation.
  • The frequency of chimney cleaning depends on the wood type and moisture content, with higher moisture content requiring more frequent cleaning.
  • Signs that indicate the need for chimney cleaning include excessive smoke, foul odors, poor draft, soot accumulation, and the presence of nesting materials or animal sounds.
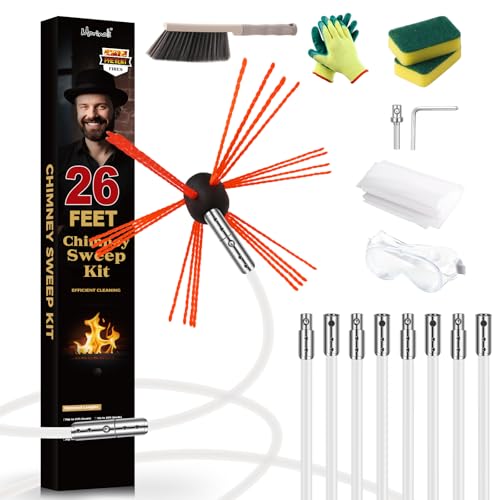
Factors to Consider

When considering how often to clean my wood stove chimney, I take into account factors such as the type of wood I burn and the frequency of use. These factors play a crucial role in determining the frequency of chimney cleaning.

wood stove accessories

The type of wood burned affects how quickly creosote builds up in the chimney. Hardwoods like oak and maple produce less creosote compared to softwoods like pine and cedar. Additionally, the frequency of use also impacts the accumulation of creosote. If I use my wood stove daily during the winter, it’s recommended to clean the chimney at least once a year. However, if I use it less frequently, cleaning every two or three years may be sufficient.

Advertisement

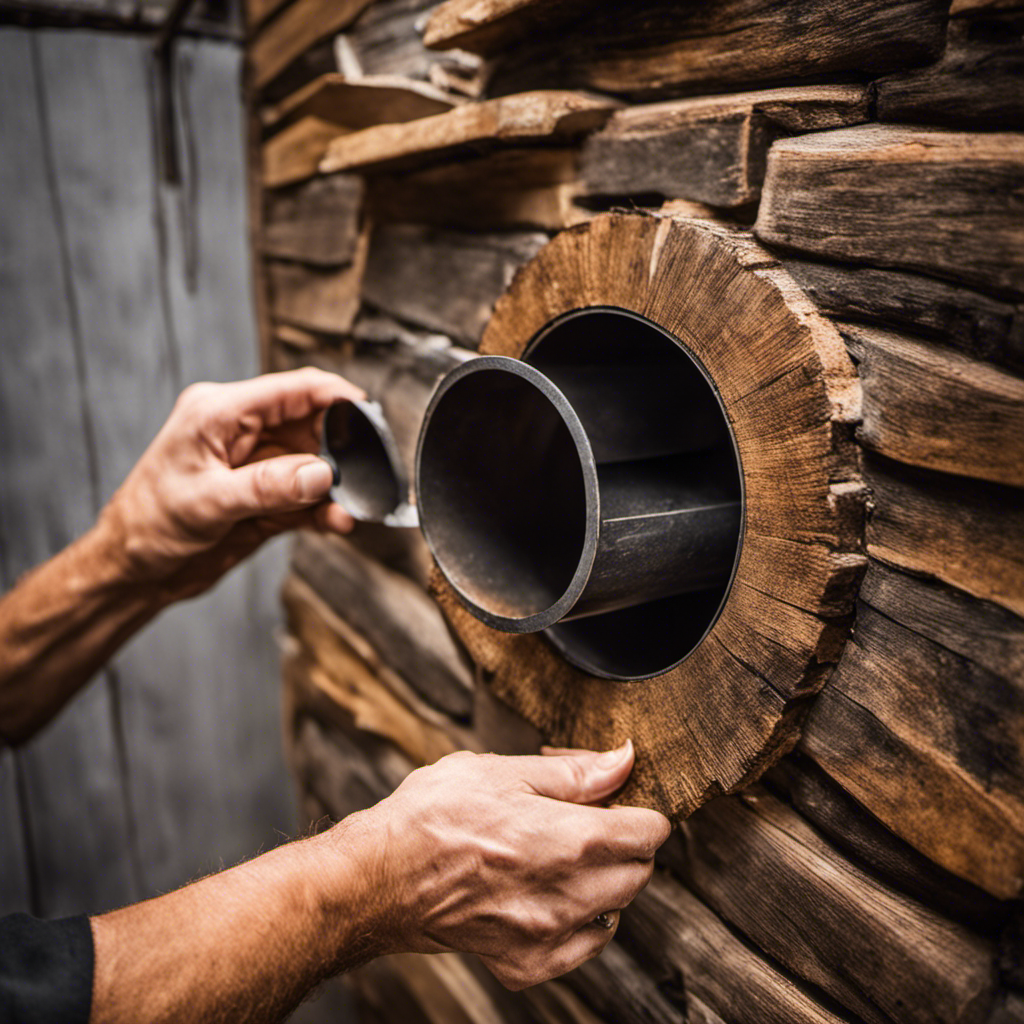
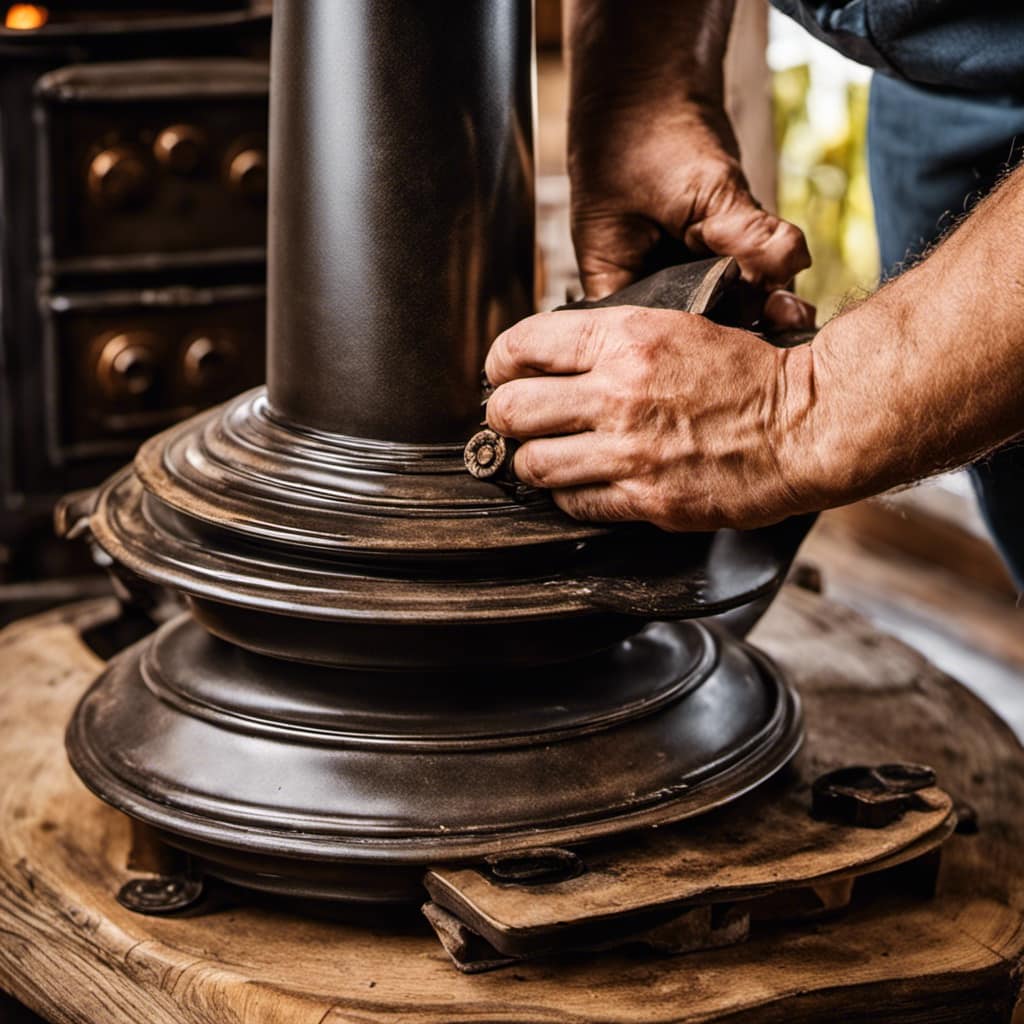
When it comes to cleaning techniques, there are a few options to consider. The traditional method involves using a chimney brush to physically remove the creosote buildup. This requires accessing the chimney from the roof or through the stovepipe. Another technique is chemical cleaning, which involves using creosote-dissolving products that break down the buildup. This method is often used as a supplement to mechanical cleaning. It’s important to follow the manufacturer’s instructions and safety precautions when using chemical cleaners.

I should make sure to regularly maintain my wood stove chimney to avoid any potential issues. As a responsible homeowner, I understand the importance of keeping my chimney clean and well-maintained.

Here are some recommendations for cleaning and maintaining a wood stove chimney:

wood stove inserts for fireplaces

  • Schedule regular chimney inspections: It’s recommended to have a professional chimney sweep inspect your chimney at least once a year. They can identify any potential issues and advise on the frequency of cleaning.

  • Use recommended cleaning products: When it comes to cleaning your chimney, it’s crucial to use the right products. Choose cleaning solutions that are specifically designed for removing creosote and soot buildup. These products are effective and safe for use in wood stove chimneys.

  • Consider chimney sweep services: Hiring a professional chimney sweep can ensure a thorough cleaning of your chimney. They have the expertise and specialized tools to remove any debris or obstructions safely.

  • Clean the chimney regularly: Depending on your usage, it’s generally recommended to clean your wood stove chimney every 40-60 fires. This frequency may vary based on the type of wood you burn and the condition of your chimney.

    wood burning cook stove

  • Follow proper safety precautions: Always take necessary safety precautions when cleaning your chimney. Use protective gear such as gloves and goggles, and ensure proper ventilation in the area.

Frequency Based on Wood Type

Based on the type of wood I burn, I need to consider the frequency of cleaning my chimney. The moisture content of the wood plays a significant role in determining how often I should clean my chimney. Wood with higher moisture content produces more creosote, a highly flammable substance that can accumulate in the chimney and increase the risk of chimney fires. To help you understand the recommended cleaning schedule based on wood moisture, I have created the following table:

Wood Moisture Content Cleaning Frequency
Below 20% Once per year
20% – 25% Twice per year
Above 25% Three times per year

Signs Your Chimney Needs Cleaning

To ensure optimal performance and safety, it’s important for me to be aware of the signs that indicate my chimney needs cleaning. Regular maintenance is crucial to prevent chimney fires and carbon monoxide leaks. Here are the signs that indicate it’s time for a cleaning:

Advertisement
  • Excessive smoke: If I notice a significant increase in smoke coming out of the chimney while using my fireplace or wood stove, it could be a sign of a blockage or buildup.

    vermont castings wood stove parts

  • Foul odors: A strong, unpleasant smell coming from the fireplace could indicate the presence of creosote, a flammable substance that builds up in the chimney.

  • Slow or poor draft: If the smoke doesn’t rise properly or if it takes longer for the fire to ignite, it could be due to a partially blocked chimney.

  • Soot accumulation: If I see a buildup of soot or black residue on the damper or fireplace walls, it’s a clear sign that the chimney needs cleaning.

  • Animal activity: The presence of nesting materials, droppings, or animal sounds in the chimney suggests that it needs to be cleaned and secured.

    wood stove fireplace insert

When it comes to cleaning methods, it’s best to hire a professional chimney sweep. They’ve the expertise and specialized tools to thoroughly clean the chimney, removing all creosote and blockages. Regular inspections and cleanings by a professional will ensure the safe and efficient operation of my chimney.

Importance of Regular Maintenance

Regular maintenance is crucial for ensuring the safety and efficiency of your wood stove chimney. By regularly cleaning and inspecting your chimney, you can prevent the buildup of creosote, which can lead to chimney fires.

Additionally, regular maintenance allows you to identify and address any issues that may be affecting the optimal performance of your stove, ensuring that it operates at its best.

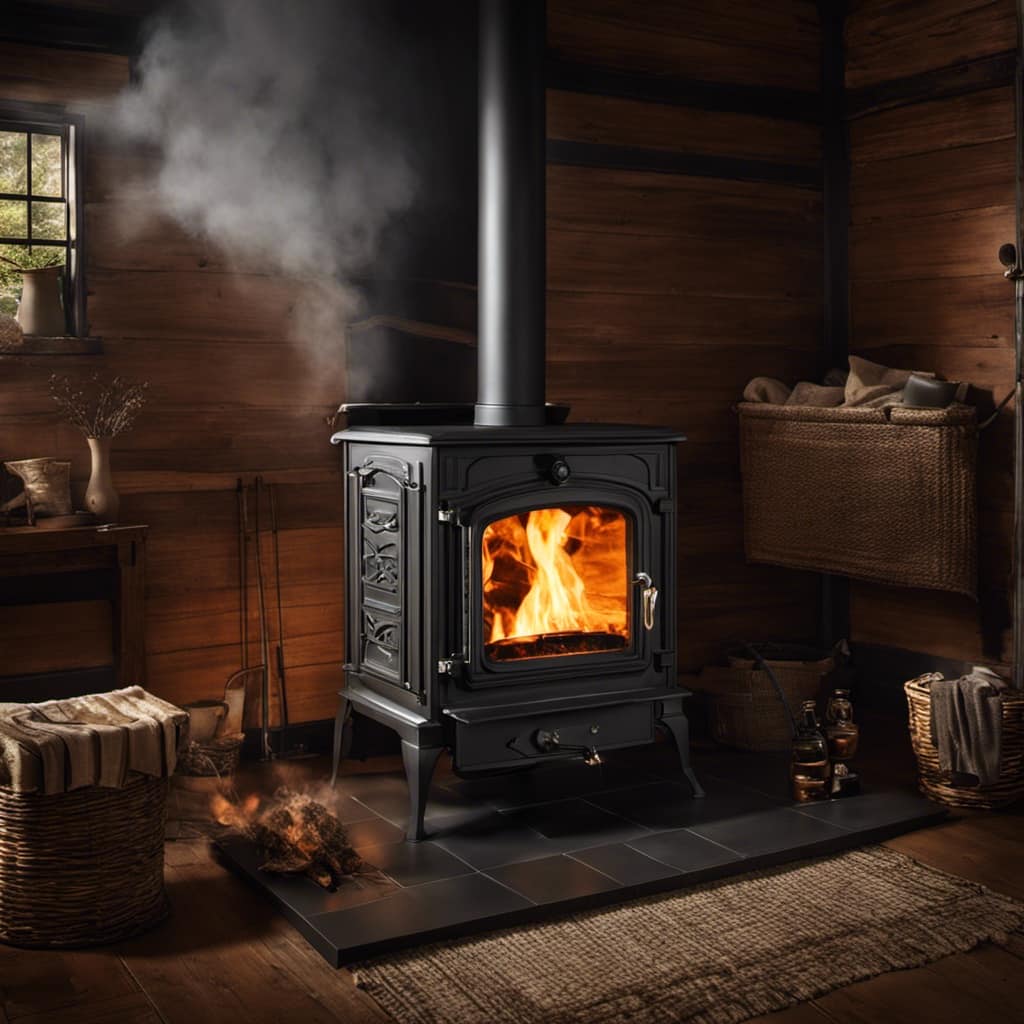
Prevent Chimney Fires

I always make sure to clean my wood stove chimney regularly to prevent chimney fires. It’s crucial to take preventive measures to avoid the dangerous buildup of creosote.

wood burning stove menards

Here are some cleaning techniques for different chimney types:

  • Inspect the chimney regularly to identify any signs of creosote buildup or blockage.
  • Use a wire chimney brush to scrub the inside of the chimney thoroughly.
  • For masonry chimneys, consider using a chemical cleaner specifically designed to remove creosote.
  • For metal chimneys, use a high-temperature chimney cleaner to effectively remove creosote deposits.
  • Vacuum the chimney to remove any loose debris or soot that may have accumulated.

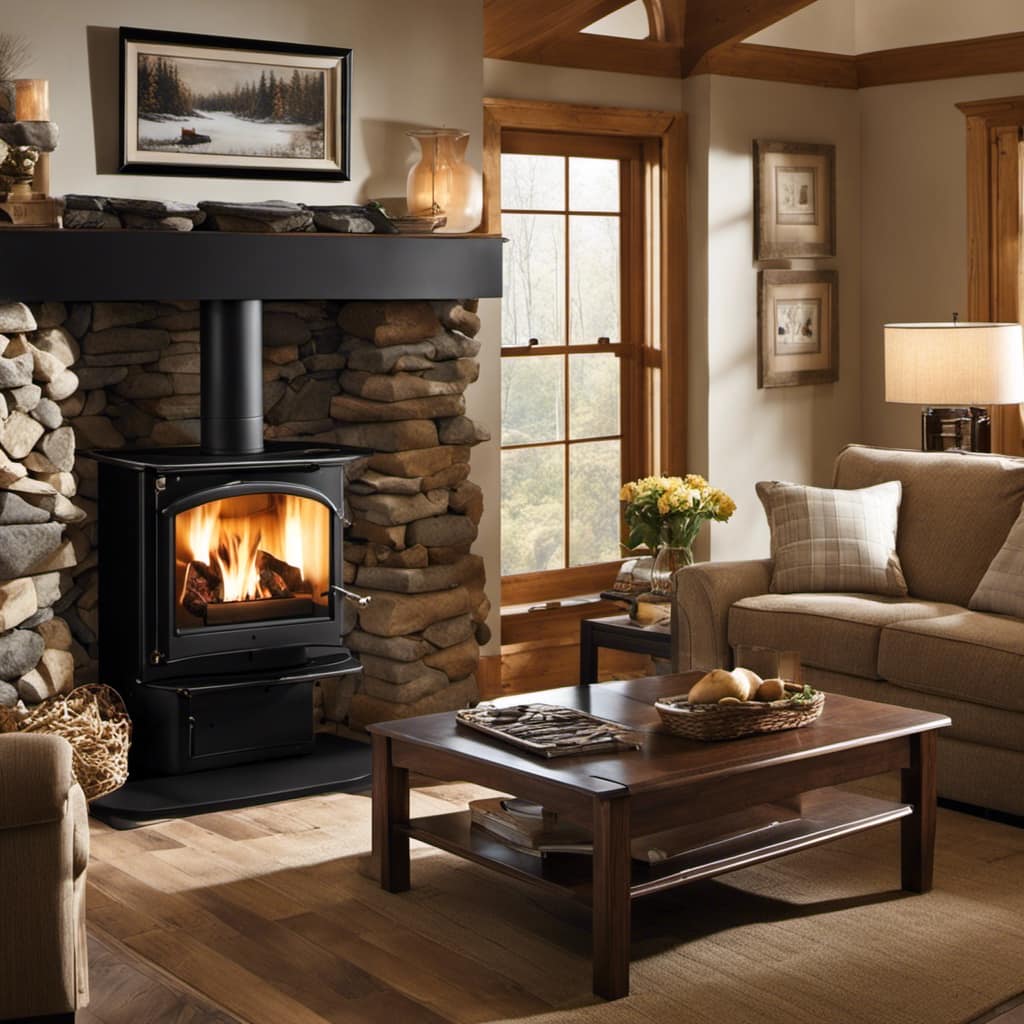
Ensure Optimal Stove Performance

To keep my wood stove running efficiently, I always make sure to use dry and seasoned firewood. This not only helps to maintain a cleaner burn but also prevents excessive creosote buildup in the chimney. However, there are other maintenance tips that can further improve stove efficiency. Regular cleaning of the stove and chimney is crucial to remove any accumulated soot or debris that can hinder airflow and reduce heat output. Additionally, checking and replacing gaskets and seals, as needed, ensures a tight seal and prevents heat loss. Properly adjusting the air intake and damper settings also contributes to optimal stove performance. By following these maintenance tips, I can enjoy a more efficient and reliable wood stove experience.

Maintenance Tips Benefits
Use dry firewood Cleaner burn, less creosote buildup
Regular cleaning Improved airflow, increased heat output
Check gaskets and seals Tighter seal, reduced heat loss
Adjust air intake and damper Better control of combustion process

DIY Vs Professional Cleaning

When it comes to cleaning, the decision between DIY and professional cleaning can be a tough one.

Advertisement

While DIY cleaning may seem cost-effective, it’s important to consider the pros and cons.

no smoke wood stove

Professional cleaning offers expertise and thoroughness that DIY cleaning may lack, ensuring safety and optimal results.

Cost Comparison Pros/Cons

The cost of cleaning a wood stove chimney should be considered before making a decision. When comparing the cost of cleaning a wood stove chimney, there are a few factors to keep in mind. Here are some pros and cons to consider:

  • DIY Cleaning:

  • Pros:

    wood stove fireplace inserts wood burning

  • Cost-effective as you don’t have to hire a professional.

  • Can be done at your convenience.

  • Allows you to inspect the chimney for any potential issues.

  • Cons:

    wood stove insert with blower

  • Requires time, effort, and knowledge to do it correctly.

  • May not be as thorough as professional cleaning.

  • Safety risks involved if proper precautions aren’t taken.

  • Professional Cleaning:

    wood burning stove

  • Pros:

    wood stove fireplace inserts wood burning

  • Ensures a thorough and proper cleaning.

  • Professionals have the expertise to identify and address any issues.

  • Reduces the risk of chimney fires and carbon monoxide leaks.

    wood stoves for heating near me

  • Cons:

    wood stove insert with blower

  • Can be more expensive than DIY cleaning.

  • Requires scheduling and relying on a professional’s availability.

Ultimately, the cost comparison between DIY cleaning and professional cleaning will depend on your budget, time availability, and comfort level with DIY tasks.

wood stoves for heating and cooking

Safety Risks of DIY

I should be aware of the safety risks involved in doing it myself.

Advertisement

Cleaning a wood stove chimney may seem like a simple task, but it’s important to recognize the potential hazards. One of the main risks involved is the buildup of creosote, a highly flammable substance that can accumulate in the chimney. If not properly cleaned, it can lead to chimney fires that can quickly spread to the entire house.

Another risk is the release of harmful gases, such as carbon monoxide, which can be deadly if inhaled in high concentrations. Additionally, climbing on the roof or using ladders to access the chimney can also pose a risk of falls and injuries.

Therefore, it’s crucial to prioritize safety and consider hiring a professional chimney sweep who’s trained and equipped to handle these risks effectively.

wood burning oven

Tips for Cleaning Safely

To clean the wood stove chimney safely, it’s important to wear protective gloves and goggles. Safety precautions should be taken seriously to avoid any accidents or injuries. Here are some tips for cleaning your wood stove chimney safely:

  • Clear the area around the stove and ensure there are no flammable materials nearby.
  • Use a sturdy ladder or scaffold to safely access the chimney from the roof.
  • Prior to cleaning, ensure the wood stove is completely cool.
  • Place a drop cloth or tarp around the wood stove to catch any debris or soot that may fall.
  • Use a chimney brush specifically designed for wood stove chimneys to effectively remove soot and creosote buildup.

Cleaning techniques may vary depending on the type of chimney you have, so it’s important to consult the manufacturer’s guidelines or seek professional advice if needed. Regular chimney cleaning is essential to prevent chimney fires and maintain optimal stove performance.

Now that we’ve covered the safety precautions and cleaning techniques, let’s move on to the tools and supplies needed for a successful chimney cleaning.

Advertisement

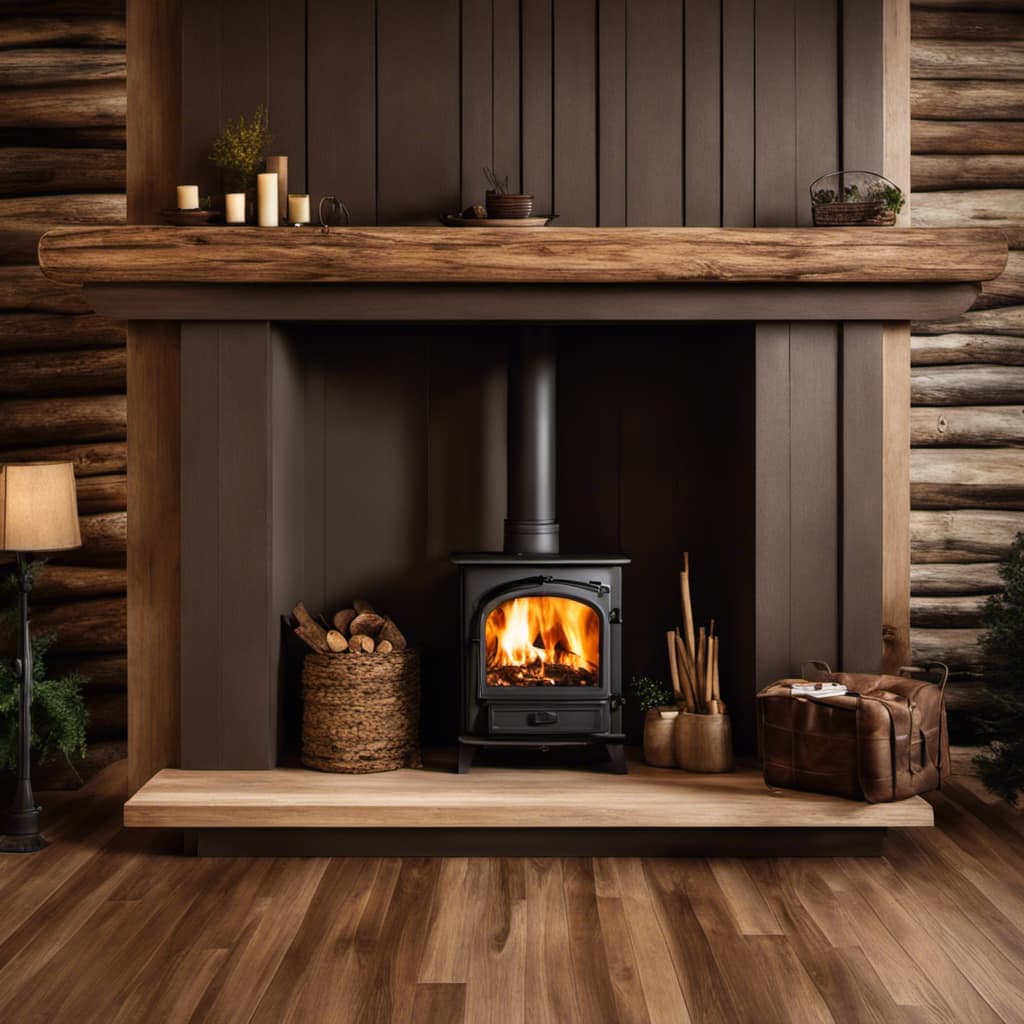
Tools and Supplies Needed

After gathering the necessary tools and supplies, I began my chimney cleaning process. It is important to have the right tools and equipment to ensure a thorough and efficient cleaning. Here is a list of the essential tools and supplies needed for chimney cleaning:

lopi wood stove manual

Tools and Equipment Cleaning Techniques
Chimney brush Use a chimney brush to scrub away soot and creosote buildup from the chimney walls. Make sure to choose a brush that is the appropriate size for your chimney.
Drop cloth Lay down a drop cloth to protect the surrounding area from any debris that may fall during the cleaning process. This will make the cleanup easier later on.
Safety goggles and gloves Wear safety goggles and gloves to protect yourself from any flying debris or chemicals during the cleaning process. Safety should always be a top priority.
Vacuum cleaner Use a vacuum cleaner with a long hose attachment to remove any loose debris from the fireplace and chimney. This will help prevent the debris from falling back into the room.

Benefits of a Clean Chimney

Having a clean chimney improves the safety and efficiency of my fireplace. Regular cleaning of the chimney offers several benefits that contribute to a better indoor environment and a more enjoyable fireplace experience. Here are some key advantages of keeping my chimney clean:

  • Reduces the risk of chimney fires: A clean chimney prevents the build-up of flammable creosote, which can ignite and cause a dangerous chimney fire.

  • Improves airflow: A clean chimney allows for proper airflow, which enhances the efficiency of the fireplace and reduces the chances of smoke backing up into the house.

  • Extends the lifespan of the chimney: Regular cleaning removes debris and prevents the accumulation of corrosive substances, helping to prolong the life of the chimney.

    cast iron wood burning stove

  • Enhances indoor air quality: A clean chimney ensures that harmful pollutants and toxins, such as carbon monoxide, are properly vented outside, improving the indoor air quality.

  • Prevents chimney blockages: Regular cleaning removes bird nests, leaves, and other obstructions that can block the chimney, preventing smoke and gases from escaping.

Regular chimney cleaning not only improves the safety and efficiency of my fireplace but also has a positive impact on indoor air quality. By keeping my chimney clean, I can enjoy a cozy and worry-free fireplace experience while ensuring a healthy environment for my family.

Frequently Asked Questions

Can I Clean My Wood Stove Chimney Myself if I Have Never Done It Before?

Yes, you can definitely clean your wood stove chimney yourself even if you’ve never done it before. There are DIY chimney cleaning tips available that can guide you through the process.

blaze king wood stove

However, it’s important to note that professional chimney cleaning is necessary at least once a year to ensure proper maintenance and safety. If you feel confident in your abilities and have the necessary tools, you can give it a try, but always prioritize safety and consider hiring a professional for regular maintenance.

Advertisement

How Long Does It Typically Take to Clean a Wood Stove Chimney?

When it comes to cleaning a wood stove chimney, the time it typically takes can vary depending on a few factors. Factors such as the size of the chimney and the amount of buildup will determine the duration.

Additionally, the tools needed to clean a wood stove chimney include a chimney brush, a ladder, and a vacuum.

It’s important to be thorough and meticulous when cleaning to ensure the chimney is properly maintained and functioning efficiently.

wood burner stove

Is It Necessary to Clean the Chimney if I Only Use My Wood Stove Occasionally?

If you only use your wood stove occasionally, you may be wondering if it’s necessary to clean the chimney. While it’s tempting to think that infrequent use means less buildup, the truth is that even occasional use can lead to creosote accumulation.

This highly flammable substance can pose a serious fire hazard if not regularly removed. To ensure your safety, it’s recommended to clean your wood stove chimney at least once a year, regardless of how often you use it.

Advertisement

Are There Any Specific Safety Precautions I Should Take While Cleaning My Wood Stove Chimney?

When it comes to cleaning my wood stove chimney, I always make sure to take specific safety precautions.

First, I wear protective gloves and goggles to shield myself from any debris.

small wood stove

I also make sure to have a sturdy ladder and someone to assist me in case of any accidents.

As for cleaning techniques, I use a chimney brush and rods to remove any creosote buildup.

Regular cleaning and inspection ensure a safe and efficient wood stove operation.

Advertisement

Can a Dirty Wood Stove Chimney Affect the Efficiency of My Wood Stove?

A dirty wood stove chimney can significantly impact the efficiency of your wood stove. When the chimney is clogged with creosote and debris, it restricts the airflow, causing the stove to burn less efficiently and produce less heat.

wood stove inserts for fireplaces

This means you’ll use more wood to achieve the desired warmth, resulting in higher fuel consumption and increased costs. Regular chimney cleaning is crucial to maintain the optimal performance of your wood stove and ensure its efficiency doesn’t go up in smoke.

Conclusion

In conclusion, regular cleaning and maintenance of your wood stove chimney is vital for the safety and efficiency of your wood-burning system.

According to a study by the Chimney Safety Institute of America, it’s recommended to have your chimney cleaned at least once a year. Failure to do so can lead to the build-up of creosote, which is highly flammable and can cause chimney fires.

By following a proper cleaning schedule and ensuring the chimney is free from debris, you can enjoy a safer and more efficient wood stove.

Advertisement

wood stove fireplace

Growing up surrounded by the vast beauty of nature, Sierra was always drawn to the call of the wild. While others sought the comfort of the familiar, she ventured out, embracing the unpredictable and finding stories in the heartbeat of nature.   At the epicenter of every remarkable venture lies a dynamic team—a fusion of diverse talents, visions, and passions. The essence of Best Small Wood Stoves is crafted and refined by such a trio: Sierra, Logan, and Terra. Their collective expertise has transformed the platform into a leading authority on small wood stoves, radiating warmth and knowledge in equal measure.

Continue Reading
Advertisement

Wood Stove

How Long Does It Take Wood To Ignite Aftee Being Put In A Wood Stove

Published

on

By

An image capturing the mesmerizing scene of a wood stove, with a bed of glowing embers beneath carefully stacked logs, as tendrils of thin smoke gracefully curl upwards, depicting the anticipation of wood slowly igniting

I must admit, the wait for wood to catch fire in a wood stove can seem never-ending. However, do not worry, as in this article, I will share some strategies and tips to speed up the process.

From understanding the temperature and moisture content of the wood to choosing the right type and preparing it efficiently, we’ll explore all the factors that affect wood ignition time.

So let’s dive in and get that fire blazing in no time!

Key Takeaways

  • Weather conditions and moisture content of the wood can affect the ignition time.
  • Properly seasoned wood with around 20% moisture content ignites more easily.
  • Smaller wood logs and softer woods tend to ignite faster than larger and harder woods.
  • Proper wood storage and preparation, such as keeping it off the ground, using fire starters, and maintaining airflow, can help ensure faster ignition in a wood stove.

Factors Affecting Wood Ignition Time

I’m curious about the factors that can affect the time it takes for wood to ignite in a wood stove.

One of the key factors is the weather conditions. Cold and damp weather can make it harder for the wood to catch fire, as moisture content in the wood can be high. It’s important to ensure that the wood is properly seasoned and has a moisture content of around 20% for optimal ignition.

Another factor to consider is the size of the wood logs. Smaller logs tend to ignite more quickly as they’ve a larger surface area exposed to the heat source.

Advertisement

Additionally, the type of wood being used can also affect ignition time, with softer woods igniting faster than harder woods.

Temperature and Moisture Content of Wood

The optimal moisture content for wood is around 20%, which ensures efficient ignition in a wood stove. The wood ignition process is influenced by various factors, and the moisture content plays a critical role in determining how quickly the wood will ignite.

When wood is too wet, it requires more energy to burn off the excess moisture before it can reach its ignition point. On the other hand, if the wood is too dry, it may ignite too quickly and burn too rapidly, leading to inefficient combustion and wasted energy.

Therefore, it’s essential to properly store wood to maintain its moisture content within the optimal range. Proper wood storage involves keeping the wood off the ground, covering it to protect it from rain or snow, and allowing for proper airflow to prevent excessive moisture buildup.

Type of Wood and Its Density

I prefer using hardwoods like oak or maple due to their density and their ability to burn longer and provide more heat. When it comes to wood species selection, it’s important to consider the impact of wood moisture content. Here are three key points to keep in mind:

Advertisement
  1. Moisture content affects combustion efficiency: Wet wood contains a higher moisture content, which leads to incomplete combustion and the production of more smoke and pollutants. Dry hardwoods, on the other hand, burn more efficiently and produce less smoke.

  2. Heat output is influenced by wood density: Hardwoods have a higher density compared to softwoods, resulting in a higher heat output. This means that hardwoods like oak and maple can provide more warmth and keep your space cozy for a longer period of time.

  3. Longer burn time with hardwoods: Due to their density, hardwoods burn at a slower rate, allowing for a longer burn time per log. This means less frequent refueling and a more consistent heat source.

Preparing Wood for Efficient Ignition

To ensure efficient ignition, I always make sure to properly split and dry my firewood. Proper wood storage is essential for achieving this. It’s important to store the firewood in a well-ventilated area, off the ground and protected from moisture. This allows the wood to dry properly and reduces the risk of it being damp or rotting.

When it comes to igniting the wood in a wood stove, using fire starters or kindling can greatly speed up the process. These small pieces of flammable material help create a hot and sustained flame, which in turn ignites the larger pieces of wood.

By incorporating these techniques, you can ensure a faster and more efficient ignition in your wood stove.

Now, let’s move on to some tips for faster wood ignition in a wood stove.

Tips for Faster Wood Ignition in a Wood Stove

Using kindling and ensuring proper airflow are key to achieving faster wood ignition in a wood stove. When it comes to stubborn wood that’s difficult to ignite, there are several ignition techniques that can be employed:

Advertisement
  1. Preparation: Properly seasoned wood with a moisture content below 20% is essential for efficient ignition. This ensures that the wood is dry enough to catch fire quickly.

  2. Kindling: Creating a bed of small, dry kindling underneath the larger logs helps to ignite the fire faster. Kindling acts as a fuel source that ignites easily and produces enough heat to catch the larger logs on fire.

  3. Airflow: Adequate airflow is crucial for wood ignition. By opening the damper or adjusting the air vents, you can ensure that enough oxygen is getting to the fire, promoting faster ignition.

While some may consider using accelerants to speed up wood ignition, it’s important to note that this can be dangerous and may result in uncontrollable fires or the release of harmful chemicals. It’s recommended to rely on proper ignition techniques and patience for a safe and efficient wood ignition process.

Frequently Asked Questions

Can I Use Treated Wood in My Wood Stove?

Using pressure treated wood in a wood stove is not recommended due to the chemicals it releases when burned. It is safer to use untreated wood or other alternatives for faster ignition.

What Is the Best Type of Wood to Use for Faster Ignition in a Wood Stove?

Fast burning woods like pine or fir can ignite in a wood stove within minutes. To ensure efficient wood stove usage, it’s important to choose dry, seasoned firewood and properly maintain the stove.

Are There Any Safety Precautions I Should Take When Igniting Wood in a Wood Stove?

When igniting wood in a wood stove, it is important to take safety precautions. Keep a fire extinguisher nearby and ensure proper ventilation. Additionally, the moisture content of the wood can affect its ignition time.

Can I Use Wood Chips or Sawdust for Ignition in a Wood Stove?

I can use wood chips or sawdust for ignition in a wood stove. They are effective fire starters for faster ignition. The small size and high surface area make them ignite quickly, reducing the time needed for the wood to catch fire.

Advertisement

How Does the Size of the Wood Affect Its Ignition Time in a Wood Stove?

Moisture content significantly affects wood ignition in a wood stove. Smaller pieces of wood ignite faster due to increased surface area. However, larger pieces provide longer burn times. Consider the advantages and disadvantages of each for efficient use in a wood stove.

Conclusion

After careful analysis of the factors affecting wood ignition time, it’s safe to say that wood doesn’t ignite instantly in a wood stove. Contrary to popular belief, wood requires time to reach its ignition point, which is influenced by factors such as temperature, moisture content, and wood density.

To expedite the process, it’s crucial to choose the right type of wood and ensure it’s properly prepared. So, if you were expecting an immediate burst of flames, you might’ve to wait a little longer.

Continue Reading

Wood Stove

Why Does Your Wood Stove Smoke

Published

on

By

An image capturing a rustic, cozy living room

Dealing with the smoke from your wood stove can be a real nuisance. But don’t worry, I’m here to provide some tips on how to manage it.

Understanding the root causes of this predicament is crucial. Insufficient airflow, improper wood selection, damaged chimney, inadequate maintenance, and incorrect installation are the major culprits.

Let’s delve into each of these factors to uncover the secrets behind why your wood stove may be producing that bothersome smoke.

Key Takeaways

  • Blocked vents disrupt combustion process and lead to incomplete burning and smoke generation.
  • Burning wet or high-moisture wood results in inefficient burning and increased creosote buildup.
  • Cracked or deteriorating chimney can cause leaks and smoke entry.
  • Inadequate stove maintenance, including dirty burners and clogged flue, can lead to smoke issues.

Insufficient Airflow

I’m having trouble with my wood stove smoking because there’s not enough airflow. A common cause of insufficient airflow is blocked vents. When the vents are blocked, the combustion process is disrupted, leading to incomplete burning of the wood and the generation of smoke.

To ensure efficient combustion and minimize smoke, it’s crucial to maintain clear and unobstructed vents. Blocked vents can result from a buildup of creosote or debris, so regular cleaning is essential.

Additionally, proper placement of the stove is crucial to ensure adequate airflow. Make sure that the stove is positioned away from any obstructions, such as furniture or curtains, that might impede the flow of air.

Advertisement

Improper Wood Selection

To prevent excessive smoke and poor combustion, it’s important to avoid burning wet wood or wood with high moisture content, as it can result in inefficient burning and increased creosote buildup. When burning seasoned firewood, which has a moisture content of around 20% or less, the wood burns more efficiently, producing less smoke and providing more heat output. Seasoned firewood has been properly dried for at least six months, allowing the moisture content to decrease significantly. This ensures that the wood burns cleanly and effectively in your wood stove. However, if you burn wood with high moisture content, it will create more smoke and reduce the overall efficiency of your stove. This can also lead to a higher risk of creosote buildup in your chimney, which can be dangerous and increase the chance of a chimney fire. Therefore, it’s crucial to always use dry, seasoned firewood to prevent excessive smoke and maintain proper combustion in your wood stove.

Now, let’s discuss another potential reason for excessive smoke: a damaged or leaky chimney.

Damaged or Leaky Chimney

A damaged or leaky chimney can cause smoke to enter your home, which can be hazardous to your health and safety. It’s important to address any issues with your chimney promptly to ensure the proper functioning of your wood stove.

Here are three signs of a damaged chimney that you should be aware of:

  1. Cracked or crumbling mortar: If you notice any cracks or crumbling in the mortar joints of your chimney, it could indicate water damage or structural issues. This can lead to leaks and smoke entering your home.

  2. Rusty or deteriorating chimney cap: The chimney cap plays a crucial role in keeping out rain, snow, debris, and animals. If it’s rusty or deteriorating, it may not be able to perform its function effectively, allowing smoke to escape into your living space.

  3. Smoke stains or odors: If you notice smoke stains on the walls or ceilings near your chimney or detect a persistent smoky odor in your home, it could be a sign of a leaky chimney. This should be addressed promptly to prevent further damage and potential health risks.

When faced with a damaged chimney, there are various repair options available, such as chimney relining, chimney crown repair, and chimney flashing repair. It’s important to consult with a professional chimney technician to determine the best course of action for your specific situation.

Advertisement

Inadequate Stove Maintenance

One of the main causes of smoke in your home can be the result of inadequate stove maintenance. A dirty stove and a clogged flue are two common culprits that can lead to smoke issues. When the stove isn’t properly cleaned, a buildup of soot and debris can occur on the burners, causing incomplete combustion and the production of smoke.

Additionally, a clogged flue prevents the proper ventilation of smoke, leading to its accumulation inside your home. Regular cleaning and maintenance of your stove, including cleaning the burners and ensuring the flue is clear, is crucial in preventing smoke issues.

It’s recommended to schedule annual professional maintenance to ensure your stove is in optimal condition and to avoid the inconvenience and potential health hazards associated with smoke in your home.

Incorrect Stove Installation

I regret not hiring a professional for my stove installation, as it has caused numerous issues and potential hazards. When it comes to installing a wood stove, proper positioning and sizing are crucial factors that shouldn’t be taken lightly.

Here are three key reasons why improper stove positioning and incorrect flue size can lead to problems:

Advertisement
  1. Inadequate clearance: Placing the stove too close to combustible materials can increase the risk of fire. It’s essential to follow the manufacturer’s guidelines for proper clearances to ensure the safe operation of the stove.

  2. Inefficient heating: Incorrect positioning can hinder the stove’s ability to distribute heat effectively throughout the room. This can result in uneven temperatures and wasted energy, leading to discomfort and higher heating costs.

  3. Insufficient draft: Using an incorrect flue size can impede the stove’s ability to expel smoke and gases properly. This can lead to backdrafting, where smoke enters the room instead of being directed outside. Aside from the health hazards, backdrafting can damage the stove and cause indoor air quality issues.

To avoid these problems, it’s essential to consult a professional for the proper installation of your wood stove. They’ll ensure that the stove is positioned correctly and the flue size is appropriate for efficient and safe operation.

Frequently Asked Questions

Can Smoking Occur if There Is Sufficient Airflow in the Wood Stove?

Yes, smoking can still occur in a wood stove even with sufficient airflow. Factors like improper wood placement, damp or unseasoned wood, or a clogged chimney can all contribute to smoking issues. Proper troubleshooting can resolve these problems and improve wood stove performance.

What Are Some Common Wood Types That Should Be Avoided to Prevent Smoking in a Wood Stove?

To prevent smoking in a wood stove, it is important to avoid using wood types like pine, as they contain high levels of resin. Additionally, properly seasoning firewood is crucial to reduce smoke production.

How Can I Identify if My Chimney Is Damaged or Leaking?

To identify chimney damage or leaks, conduct a thorough chimney inspection. Look for cracks, loose bricks, or crumbling mortar. Additionally, consider installing a smoke detector near the stove to quickly detect any smoke issues.

Besides Regular Cleaning, What Other Maintenance Practices Can Help Prevent Smoking in a Wood Stove?

Other maintenance practices, such as ensuring proper airflow and avoiding certain wood types, can help prevent smoking in a wood stove. Identifying chimney damage or leaks and checking for correct stove installation are also crucial.

Advertisement

What Are Some Signs of Incorrect Stove Installation That May Lead to Smoking?

Installing a wood stove improperly can lead to frustrating smoke issues. One key sign is if the chimney height is too short. Another is using unseasoned wood, which can cause excessive smoke.

What Are Some Wood Stove Brands That Have Smoke-Reducing Features?

Looking for the best wood stove brands with smoke-reducing features? Look no further. With increasing concerns about air pollution, several brands are innovating their wood stoves to minimize smoke emissions. Some notable options include Vermont Castings, Jøtul, and Blaze King. These brands prioritize efficiency and clean burning, ensuring you can enjoy the warmth of a wood stove while minimizing environmental impact.

Conclusion

In conclusion, when your wood stove smokes, it’s often due to factors such as:

  • Insufficient airflow
  • Improper wood selection
  • A damaged or leaky chimney
  • Inadequate stove maintenance
  • Incorrect installation

To prevent this, you should:

  • Ensure proper ventilation
  • Use seasoned and dry wood
  • Inspect and repair your chimney regularly
  • Maintain your stove diligently
  • Ensure professional installation

By addressing these issues, you can enjoy a smoke-free and efficient wood stove experience, creating a cozy and inviting atmosphere in your home.

Continue Reading

Wood Stove

How To Build A Wood Stove From A Jerry Can

Published

on

By

An image showcasing the step-by-step process of transforming a jerry can into a wood stove

I have always been fascinated by the concept of transforming ordinary objects into useful tools.

So when I came across an old jerry can in my garage, I knew I had the perfect opportunity to create my own wood stove.

In this article, I’ll guide you through the process of transforming a jerry can into a functional and efficient wood stove, complete with ventilation, legs, and a base.

Get ready to unleash your inner DIY enthusiast and start enjoying the warmth of your homemade wood stove.

Key Takeaways

  • Consider the capacity and dimensions of the jerry can
  • Compare different materials for jerry cans
  • Prepare and clean the jerry can properly
  • Take safety precautions and use the right tools when modifying the jerry can

Selecting the Right Jerry Can for Your Wood Stove

I’m trying to figure out which jerry can is the best option for my wood stove.

When it comes to choosing the right size jerry can for your wood stove, it’s important to consider the capacity and dimensions. A larger can will hold more fuel, but it may be too bulky for your space. On the other hand, a smaller can may require more frequent refills.

Advertisement

Additionally, it’s crucial to compare different materials for jerry cans to ensure optimal wood stove performance. Metal cans are durable and resistant to heat, but they can also be heavy. Plastic cans, on the other hand, are lightweight and easier to handle, but may not withstand high temperatures as well.

Ultimately, finding the perfect jerry can for your wood stove is about balancing capacity, dimensions, and material for efficient and safe operation.

Preparing and Cleaning the Jerry Can

Before starting to use the jerry can, it’s crucial to properly clean and prepare it by removing any dirt or residue, and then ensuring it’s completely dry. Here is the cleaning process and safety precautions to follow:

  1. Rinse the jerry can with warm water and a mild detergent to remove any dirt or debris. Use a sponge or brush to scrub the inside and outside of the can thoroughly.

  2. Rinse the can again with clean water to remove any soap residue. Make sure to rinse it multiple times to ensure all the soap is gone.

  3. After rinsing, allow the jerry can to air dry completely. This is important to prevent any moisture from causing rust or corrosion.

By following these cleaning steps, you can ensure that your jerry can is ready for modification.

Now, let’s discuss cutting open and modifying the jerry can for ventilation.

Advertisement

Cutting Open and Modifying the Jerry Can for Ventilation

I’ll explain how to use a few small holes in the jerry can to provide adequate ventilation for the wood stove. When modifying the jerry can for ventilation, it is important to take safety precautions and use the right tools. Here is a table outlining the necessary steps:

Step Safety Precautions Tools Needed
1 Wear protective gloves and goggles Drill
2 Work in a well-ventilated area Marker
3 Ensure the jerry can is empty and clean Metal file
4 Mark the desired ventilation holes on the can Safety glasses
5 Use the drill to create the holes Protective gloves
6 Smooth the edges of the holes with the metal file Goggles
7 Clean any metal shavings from the can Clean cloth

Adding Legs and a Base to the Wood Stove

I can attach some sturdy legs and a stable base to the wood stove to ensure it stands securely on any surface. Achieving stove stability is crucial to prevent accidents and maintain proper functioning.

When choosing materials for the legs and base, it’s important to consider their strength, durability, and heat resistance. Here are three essential elements to consider:

  1. Material Selection: Opt for materials that can withstand high temperatures, such as stainless steel or cast iron. These materials are known for their strength and ability to withstand the intense heat generated by the wood stove.

  2. Design and Construction: The design of the legs should provide sufficient support and stability. Consider a tripod or four-leg design for optimal balance. Additionally, ensure the legs are securely attached to the stove body to prevent any wobbling or instability.

  3. Base Size and Shape: The base of the wood stove should be wide and flat enough to distribute the weight evenly, ensuring stability on various surfaces. A larger base will provide better stability, especially when using the stove on uneven or soft ground.

Testing and Using Your DIY Wood Stove

I’ve successfully tested and now use my DIY wood stove to cook meals while camping. It’s a simple yet effective solution for outdoor cooking. However, before using it, I took several testing techniques and safety precautions to ensure its efficiency and my own well-being.

Firstly, I conducted a leak test to ensure there were no air or gas leaks that could potentially cause a fire hazard. This involved pressurizing the stove and checking for any signs of leakage. I also tested its heat distribution by placing a pot of water on the stove and monitoring how evenly the heat was dispersed.

Advertisement

To further ensure safety, I implemented safety precautions such as maintaining a safe distance between the stove and any flammable objects, using heat-resistant gloves when handling the stove, and having a fire extinguisher nearby.

Using my DIY wood stove has been a game-changer for my camping trips. Not only does it provide a reliable cooking source, but it also allows me to enjoy the natural surroundings without relying on traditional campfire cooking methods. By following proper testing techniques and safety precautions, I can confidently cook my meals and enjoy the great outdoors.

Frequently Asked Questions

How Long Does It Take to Build a Wood Stove From a Jerry Can?

It takes about 2 hours to build a wood stove from a jerry can. The benefits of using a wood stove include cost-effective heating and a sustainable fuel source. Regular cleaning and maintenance ensure optimal performance.

Can I Use Any Type of Wood for the Base of the Wood Stove?

I can use different types of wood for the base of the wood stove, but it’s important to consider safety precautions when using it indoors. Proper ventilation and non-flammable materials are crucial.

Is It Safe to Use the Wood Stove Indoors?

Oh, using a wood stove indoors, what a brilliant idea! Let me enlighten you on the potential health hazards and share some precise tips for safely using one. Shall we begin?

Advertisement

Can I Paint the Jerry Can After Modifying It?

Yes, you can paint the modified jerry can using various painting techniques. It is important to choose a paint that can withstand high temperatures and adhere well to metal surfaces. Make sure to consider alternative fuel sources when painting for safety.

What Tools Do I Need to Build a Wood Stove From a Jerry Can?

To build a wood stove from a jerry can, I need a few tools like a jigsaw, drill, and metal file. Safety precautions are crucial, and alternative materials can be used if necessary.

Can I Use a Wood Stove Insert in a DIY Jerry Can Wood Stove?

When considering building a wood stove fireplace, it’s crucial to factor in the cost of materials and construction. However, if you’re planning to use a wood stove insert in a DIY Jerry Can Wood Stove, the cost of building a wood stove fireplace may decrease significantly. This alternative method combines affordability and practicality, making it an excellent choice for those seeking an alternative heating solution.

Can Duraflame Logs Be Used in a Wood Stove Made from a Jerry Can?

Can Duraflame logs be used in a wood stove made from a jerry can? Many DIY enthusiasts wonder about using Duraflame logs in a wood stove. While Duraflame logs are commonly used in traditional fireplaces, their use in a jerry can wood stove may not be ideal. It’s important to consider the safety and compatibility aspects of using duraflame logs in wood stoves specifically designed for them.

Conclusion

After carefully selecting the right jerry can, preparing and modifying it for ventilation, and adding sturdy legs and a stable base, your DIY wood stove is ready for testing and use.

Advertisement

With its compact design and efficient functionality, this wood stove provides a practical and cost-effective heating solution for outdoor activities or emergency situations.

Embrace the warmth and convenience of this homemade creation, bringing comfort and coziness wherever you go.

Continue Reading

Trending