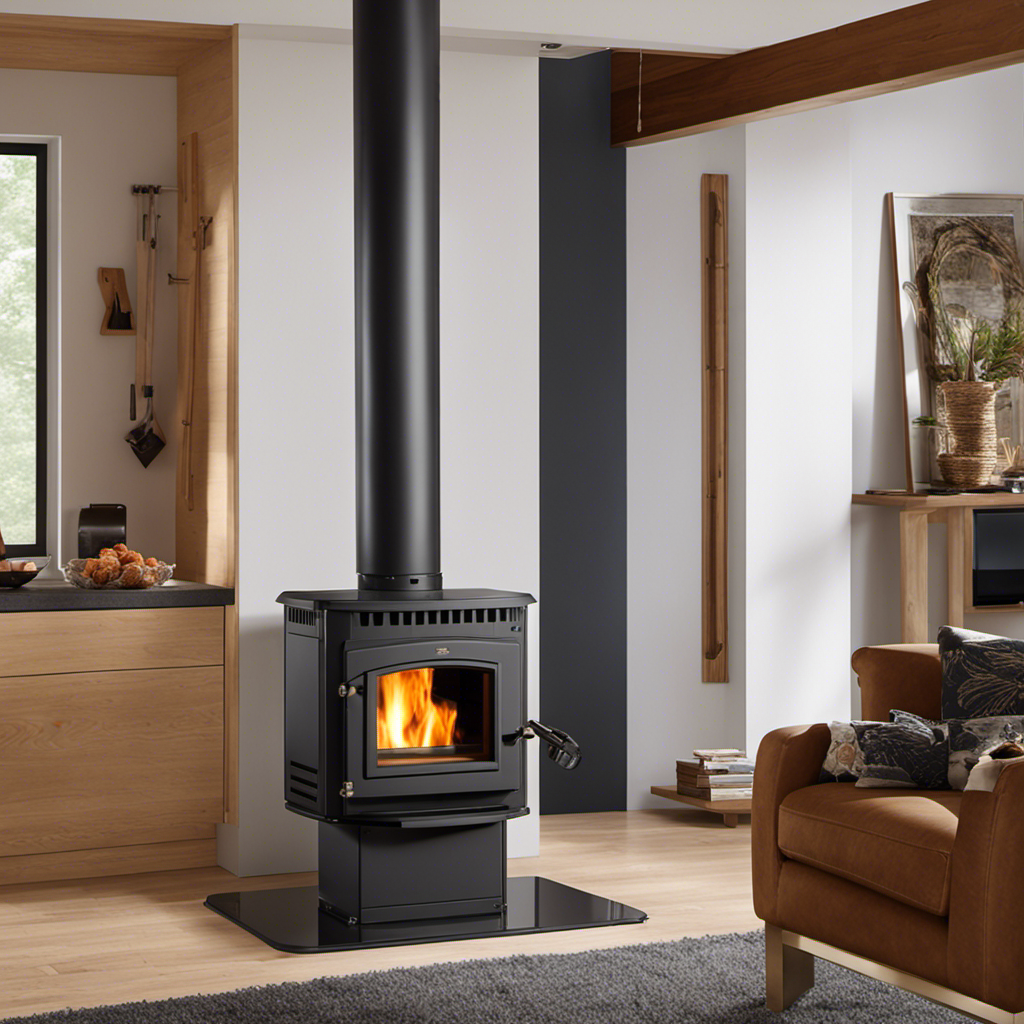

I’ve always cherished the cozy warmth and comforting crackling noises emanating from a wood pellet stove. If you find yourself agreeing with my feelings and desire to bring that ambiance into your home, then this article is designed specifically with you in mind.
In just a few simple steps, I’ll guide you through the process of installing a wood pellet stove. From choosing the perfect location to connecting it to the power supply, I’ll cover everything you need to know.
Get ready to transform your space into a cozy oasis with a wood pellet stove installation.
Key Takeaways
- Choose the right location and prepare the installation area
- Install the venting system and connect the stove securely
- Ensure proper ventilation, safety measures, and regular maintenance
- Install the hearth pad or base and connect the stove to the power supply

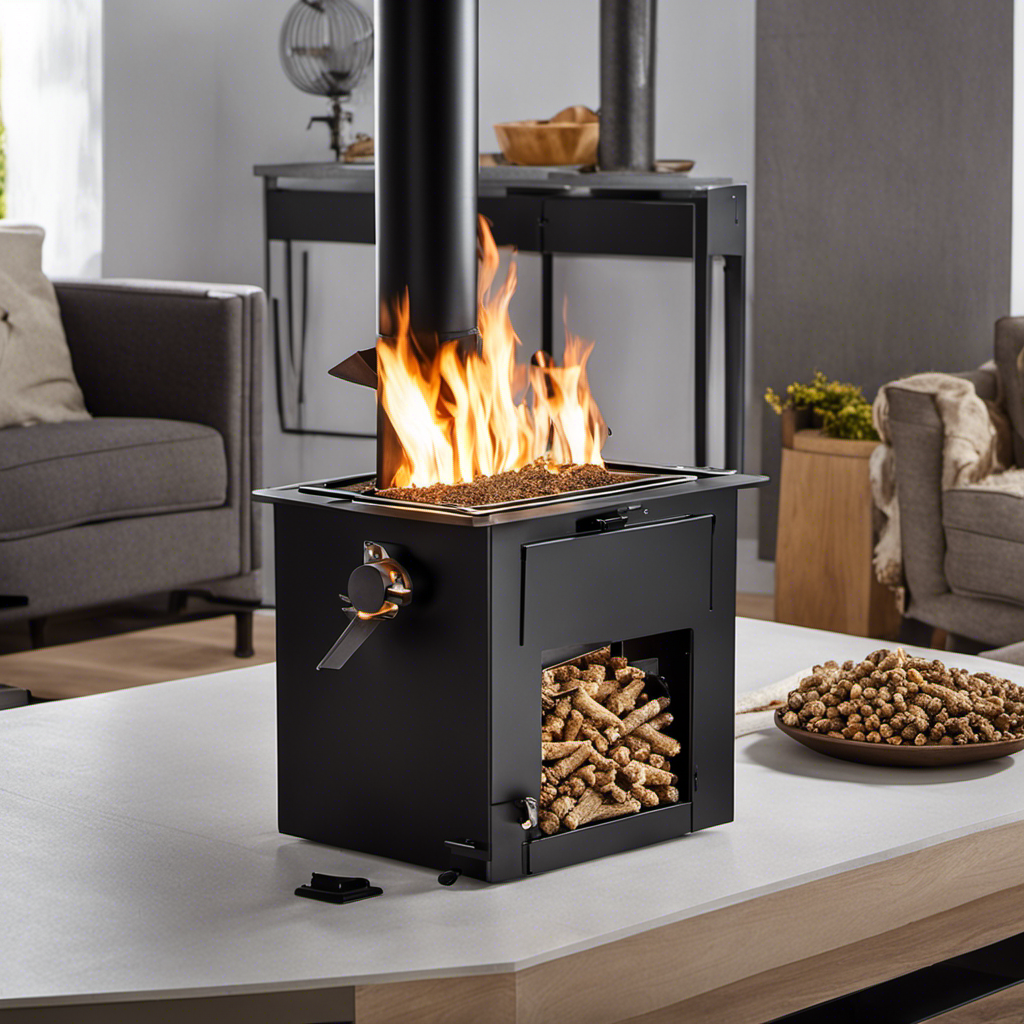
Duravent 3 Inch PelletVent Stainless Steel Double Wall Vent Pipe Kit – Pellet Stove Exhaust for Indoor Heater, Horizontal Venting System with Cleanout Tee Cap
- Complete Vent Kit: Includes pipes, elbows, caps, and accessories
- For Pellet and Multi-Fuel Stoves: Suitable for 3-inch pellet and multi-fuel heaters
- Stainless Steel Construction: Corrosion-resistant inner liner for durability
As an affiliate, we earn on qualifying purchases.
As an affiliate, we earn on qualifying purchases.
Choosing the Right Location
When choosing the right location for your wood pellet stove, make sure you consider factors such as proximity to an exterior wall and access to a power source.
Start by preparing the area where you want to install the stove. Clear out any furniture or objects that may hinder the installation process.
Next, ensure that there is enough space around the stove for proper ventilation and maintenance. Safety precautions are crucial, so make sure there are no flammable materials nearby.
Additionally, ensure that the location is easily accessible for cleaning and refilling the pellet hopper.
Once you have prepared the area, you can move on to gathering the necessary tools and materials needed for the installation process.
Gathering the Necessary Tools and Materials
When it comes to installing a wood pellet stove, there are a few essential tools that you’ll need to have on hand. These include a drill, screwdriver, level, and tape measure.
Additionally, you’ll also need to gather the required materials for the setup. This includes venting pipes, chimney liner, and fireproof insulation.
Essential Tools for Installation
To install a wood pellet stove, you’ll need essential tools such as a drill, a level, and a screwdriver.
Before starting the installation process, it is important to take safety precautions. Make sure you have a fire extinguisher nearby and wear protective gear like gloves and goggles.
Begin by positioning the stove in the desired location, ensuring there is proper clearance from combustible materials. Use a level to ensure the stove is perfectly balanced.
Next, mark the position for the vent pipe and drill a hole through the wall. Attach the vent pipe securely, making sure it is properly sealed.
Finally, connect the stove to a power source and test it to ensure it is functioning correctly.
Now that we have covered the essential tools for installation, let’s move on to the required materials for setup.
Required Materials for Setup
Make sure you have all the necessary materials like vent pipe, screws, and insulation for the setup.
When it comes to choosing the right stove, it’s important to consider the size of your space and the heating capacity you need. Wood pellet stoves come in various sizes and styles, so take your time to find one that suits your needs and preferences.
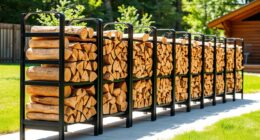
Additionally, you’ll need to think about fuel storage options. Wood pellets are typically stored in bags or can be purchased in bulk and stored in a hopper. Consider the amount of space you have and how often you want to refill the stove when deciding on the best fuel storage option for you.
Now that we have the materials and stove selected, let’s move on to preparing the installation area.
Preparing the Installation Area
First, you’ll want to clear the area where you plan to install the wood pellet stove. This will ensure a safe and efficient installation. Here are the steps to prepare the installation area:
-
Choose the right location: Find a spot where the stove can be easily accessed for loading pellets and maintenance, as well as where it can provide optimal heat distribution.
-
Gather the necessary tools and materials: You will need a measuring tape, level, screwdriver, drill, and a stud finder. Additionally, you will need a floor protector and a suitable venting system.
-
Clear the area: Remove any furniture, rugs, or other items that may obstruct the installation process. Ensure there is enough space around the stove for proper ventilation and safety.
-
Check for obstructions: Look for any potential obstacles, such as electrical outlets, windows, or doors, that may interfere with the installation. Make adjustments if needed.
-
Prepare the floor: Install a non-combustible floor protector to prevent heat damage to the surrounding area.
Now that the installation area is ready, let’s move on to installing the venting system.
Installing the Venting System
Now that the area is prepared, it’s time to start installing the venting system. This is a crucial step in the installation process as it ensures proper ventilation and prevents any potential issues down the line. To help you understand the process, here is a step-by-step guide on how to install the venting system:
| Step | Description |
|---|---|
| 1 | Determine the best location for the vent pipe to exit the house. |
| 2 | Measure and cut a hole in the wall or ceiling to accommodate the vent pipe. |
| 3 | Install a vent cap on the exterior of the house to prevent rain or debris from entering the pipe. |
| 4 | Connect the vent pipe to the stove, ensuring a secure and airtight connection. |
| 5 | Secure the vent pipe to the wall or ceiling using appropriate brackets. |
| 6 | Inspect the entire venting system for any leaks or loose connections before operating the stove. |
Connecting the Stove to the Venting System
To ensure proper ventilation, it’s important to securely connect the stove to the venting system. Here’s how you can do it:
-
Start by installing the chimney. Make sure it extends above the roofline and is properly supported.
-
Next, position the stove in the desired location. Ensure there is enough clearance from walls and combustible materials.
-
Connect the stove’s flue collar to the chimney. Use a high-temperature silicone sealant to create an airtight seal.
-
Secure the stove to the floor using the provided brackets or anchors. This will prevent any accidental tipping or movement.
-
Finally, check all connections for leaks or gaps. Use a smoke pencil or incense stick to test the air movement.
Now that the stove is securely connected to the venting system, it’s time to move on to setting up the fuel delivery system.
Setting Up the Fuel Delivery System
When it comes to setting up a fuel delivery system for a wood pellet stove, there are three key points to consider: piping and connections, ventilation and safety, and maintenance and troubleshooting.
First, it’s important to ensure that the piping and connections are properly installed to prevent any leaks or malfunctions.
Next, proper ventilation is crucial for both the efficiency of the stove and the safety of your home.
Piping and Connections
You’ll need to connect the pipes to the wood pellet stove for proper installation. Here’s how to do it step-by-step:
- Measure and cut the chimney pipe to the appropriate length, ensuring it reaches the vertical chimney or flue.
- Attach the chimney pipe to the stove’s exhaust collar using a pipe connector and screws, making sure it is securely fastened.
- Seal the connection between the stove and the chimney pipe using high-temperature silicone or stove pipe sealant to prevent any leaks.
- Connect the air intake pipe to the stove, allowing proper airflow for combustion. Secure it with a pipe connector and screws.
- Install a cleanout tee or cap at the base of the chimney pipe for easy maintenance and cleaning.
Now, let’s move on to the next section about ventilation and safety, where we’ll discuss the importance of proper ventilation and safety precautions when operating a wood pellet stove.
Ventilation and Safety
Proper ventilation and safety precautions are essential for operating a wood pellet stove. When it comes to ventilation installation, there are a few important steps to follow.
First, ensure that the stove is placed in an area with adequate air circulation. This will help prevent the buildup of carbon monoxide, a dangerous gas. Next, install a vent pipe that will carry the stove’s exhaust outside. Make sure it is properly sealed and insulated to prevent any leaks. Additionally, it’s important to regularly check and clean the vent pipe to ensure it is free of any obstructions.
As for safety measures, always keep flammable materials away from the stove, use a carbon monoxide detector, and never leave the stove unattended. By following these guidelines, you can safely enjoy the warmth and efficiency of a wood pellet stove.
Now that we have covered ventilation and safety measures, let’s move on to maintenance and troubleshooting.
Maintenance and Troubleshooting
To ensure the proper functioning of your wood pellet stove, it’s important to regularly clean the ash and inspect the hopper for any blockages. Here are some maintenance tips and a troubleshooting guide to help you keep your stove in top condition:
-
Clean the ash: Remove the ash from the burn pot and clean the stove’s interior to prevent buildup and improve efficiency.
-
Check the hopper: Ensure the hopper is free from any blockages that could hinder the flow of pellets.
-
Clean the exhaust vent: Regularly inspect and clean the exhaust vent to prevent clogs and maintain proper airflow.
-
Inspect the gaskets: Check the gaskets for any signs of wear or damage and replace if necessary to maintain a tight seal.
-
Test the igniter: Periodically test the igniter to ensure it’s working properly and replace if it fails to ignite.
By following these maintenance tips and troubleshooting guide, you can ensure your wood pellet stove runs smoothly and efficiently.
Now let’s move on to installing the hearth pad or base.
Installing the Hearth Pad or Base
Start by placing the hearth pad or base in the desired location for your wood pellet stove. Make sure the area is clear of any flammable materials and is well-ventilated. The hearth pad helps protect the floor from the heat generated by the stove and provides a stable base for it.
Once you have chosen the spot, ensure that the pad is level by using a level tool. Adjust the base as needed until it is completely level in all directions. This is important for the proper functioning and safety of your stove.
Once the hearth pad is securely in place and level, you can move on to connecting the stove to the power supply, ensuring a safe and efficient operation.
Next, let’s move on to connecting the stove to the power supply.
Connecting the Stove to the Power Supply
When it comes to connecting your wood pellet stove to the power supply, there are a few key points to keep in mind.
First, you’ll need to ensure that you have a dedicated electrical circuit for the stove, as it requires a significant amount of power.
Secondly, you’ll need to follow the specific electrical wiring requirements outlined in the manufacturer’s instructions to ensure safe and proper installation.
Lastly, it’s crucial to take all necessary safety precautions during the installation process. This includes turning off the power before making any connections and using proper grounding techniques to prevent electrical hazards.
Power Supply Connection
The first step in installing a wood pellet stove is ensuring that the power supply is properly connected. To do this, you need to consider the power supply requirements and make the necessary electrical connections. Here are the key points to keep in mind:
- Check the power supply requirements of your wood pellet stove. It may require a 120-volt electrical outlet or a dedicated circuit.
- Locate the nearest electrical outlet that meets the power supply requirements.
- If a dedicated circuit is needed, consult an electrician to install one.
- Connect the stove’s power cord to the electrical outlet or dedicated circuit.
- Make sure the connection is secure and that the power supply is turned on.
With the power supply properly connected, you can move on to the next section, which covers the electrical wiring requirements for your wood pellet stove.
Electrical Wiring Requirements
Once the power supply is properly connected, it’s important to consider the electrical wiring requirements for your wood pellet stove.
Ensuring electrical wiring safety is crucial to prevent any accidents or damage. Start by choosing the right circuit for your stove. It should be dedicated solely to the stove and meet the manufacturer’s specifications. This means it should have the correct voltage and amperage rating.
It’s also important to install a disconnect switch near the stove for easy access in case of emergencies. When wiring the stove, use only approved electrical materials and follow the manufacturer’s instructions carefully. Make sure all connections are secure and properly insulated.
By following these steps, you can ensure a safe and reliable electrical installation for your wood pellet stove.
Moving on to the next section, let’s discuss the safety precautions for installation.
Safety Precautions for Installation
To ensure a safe installation, it’s important to carefully follow the recommended safety precautions. Here are some safety measures to consider when installing a wood pellet stove:
-
Clear the area: Remove any flammable materials that are within three feet of the stove.
-
Proper ventilation: Ensure that the stove is properly vented to prevent the buildup of carbon monoxide.
-
Follow the manufacturer’s instructions: Read and understand the installation steps provided by the manufacturer.
-
Use the right materials: Use appropriate materials such as fire-resistant wall coverings and flooring.
-
Seek professional help if needed: If you are unsure about any aspect of the installation, it is best to consult a professional.
By following these safety measures, you can minimize the risk of accidents and ensure a safe installation.
Now, let’s move on to testing and adjusting the stove to ensure optimal performance.
Testing and Adjusting the Stove
First, you’ll want to check the stove’s air intake and exhaust vents for any obstructions. This is an important step in ensuring that your wood pellet stove is functioning properly.
Begin by inspecting the air intake vent, located on the front or side of the stove. Make sure it is clear of any debris or blockages that could restrict airflow.
Next, examine the exhaust vent, usually located at the back of the stove. Remove any build-up or obstructions that may impede the flow of exhaust gases.
Once you have cleared both vents, you can proceed to testing the stove. Start by igniting a small amount of pellets to ensure that the stove ignites properly and produces a steady flame. Adjust the controls as needed to achieve the desired heat output.
With these testing procedures and adjusting techniques complete, you can now move on to the next section, which covers proper maintenance and safety tips for your wood pellet stove.
Proper Maintenance and Safety Tips
Now that I’ve tested and adjusted my wood pellet stove, it’s important to have a proper maintenance schedule in place to keep it running efficiently and safely.
Here are some key tips to follow:
-
Clean the stove regularly: Remove any ash and debris from the burn pot and ash pan to prevent blockages and ensure proper airflow.
-
Check and clean the flue: Inspect the flue pipe for any build-up of creosote and clean it if necessary to reduce the risk of chimney fires.
-
Replace worn-out parts: Regularly inspect and replace any damaged or worn-out gaskets, seals, or other components to maintain optimal functioning.
-
Schedule professional maintenance: It’s recommended to have a professional technician inspect and service your pellet stove annually to ensure it meets safety standards.
-
Obtain safety certification: Consider getting your wood pellet stove safety certified by a recognized organization to ensure it meets industry standards and regulations.
Can I Install a Wood Pellet Stove without Tying it into Duct Work?
Yes, you can install a wood pellet stove without tying it into ductwork. Many models are designed for free-standing installation, so no ductwork is required. This makes it a convenient heating option for areas without existing ductwork. Tying wood pellet stove ductwork is often unnecessary for efficient operation.
Can You Install a Wood Pellet Stove Without Tying it into Duct Work?
Yes, you can install a wood pellet stove without tying it into duct work. A freestanding wood pellet stove can be a great alternative heating option for your home, providing efficient and cozy warmth without the need for duct work. This makes it a convenient and cost-effective heating solution for many homeowners.
Frequently Asked Questions
How Much Does a Wood Pellet Stove Typically Cost?
When it comes to wood pellet stove installation, the cost can vary depending on factors like size and features. However, on average, a wood pellet stove typically costs between $2,000 to $4,000. It’s important to consider the long-term savings in terms of wood pellet stove efficiency.
Are Wood Pellet Stoves More Energy-Efficient Than Traditional Wood-Burning Stoves?
Wood pellet stoves are more energy-efficient than traditional wood-burning stoves. They produce less smoke and air pollution, reducing their environmental impact. They also require less maintenance and provide consistent heat.
Can a Wood Pellet Stove Be Installed in a Multi-Story Home?
Yes, a wood pellet stove can be installed in a multi-story home. The process involves finding a suitable location, preparing the area, installing the stove and venting system, and enjoying the benefits of wood pellet stoves.
Are There Any Government Incentives or Tax Credits Available for Installing a Wood Pellet Stove?
There are government incentives and tax credits available for wood pellet stove installation. These incentives and credits can help offset the cost of purchasing and installing a wood pellet stove.
How Often Do Wood Pellet Stoves Need to Be Cleaned and Maintained?
To keep a wood pellet stove running efficiently, regular cleaning and maintenance are essential. Cleaning the stove includes removing ash, cleaning the burn pot, and checking the exhaust vent. Regular maintenance ensures optimal performance and extends the lifespan of the stove.
Conclusion
After successfully installing a wood pellet stove, I couldn’t help but feel a sense of accomplishment and warmth.
As I sat by the cozy fire, I couldn’t help but think of the ancient hearths that brought families together, just like mine now.
The process was not without its challenges, but with careful planning and attention to detail, I was able to create a comfortable and inviting space in my home.
Now, as the flames dance and the aroma of wood fills the air, I am reminded of the beauty and simplicity of a wood pellet stove.