Connect with us

Wood Stove

How To Properly Use Fan On Wood Stove

Published

on


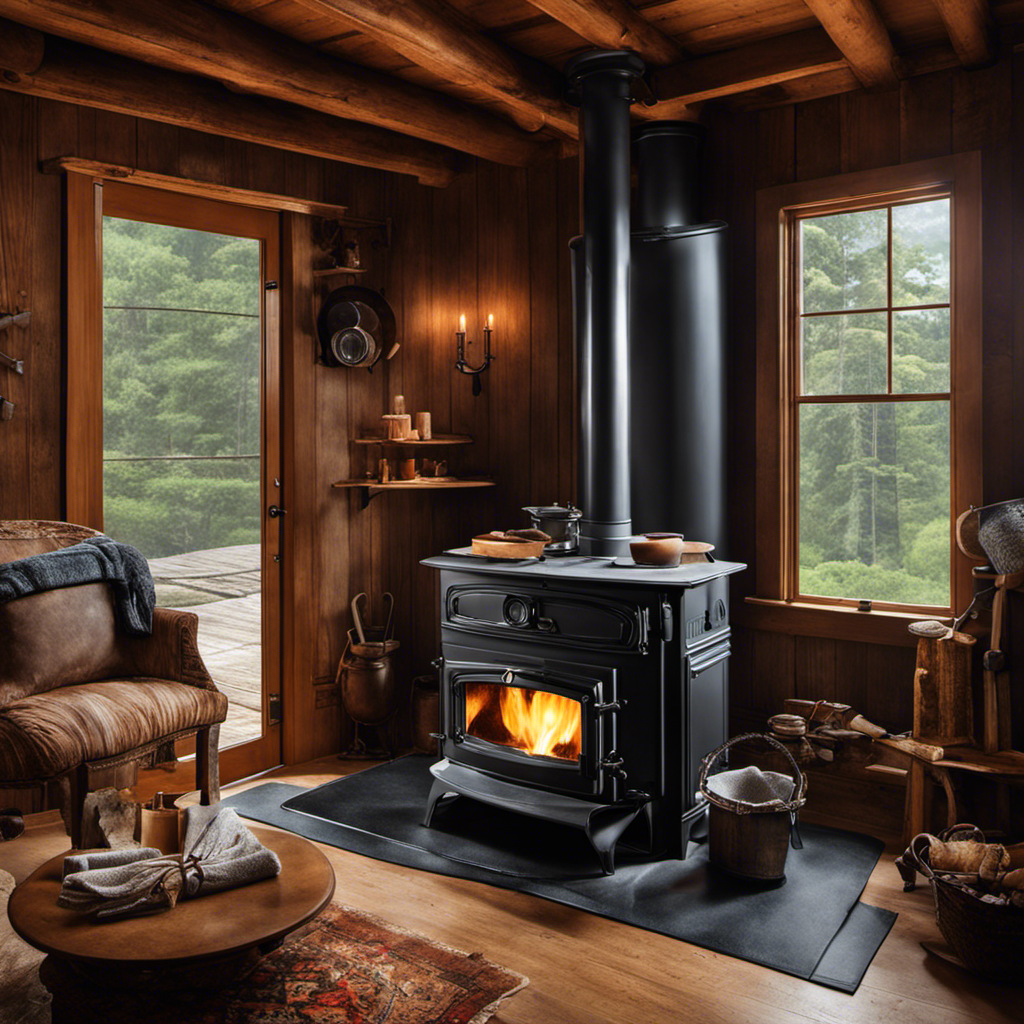
Did you know that adding a fan to your wood stove can increase its efficiency by up to 30%? In this article, I’ll share some critical tips on how to properly use a fan with your wood stove.

From choosing the right type of fan to proper placement and maximizing air circulation, you’ll learn everything you need to know to make the most of your wood stove fan.

So let’s get started and make your wood stove experience even better!

Key Takeaways

  • Keep flammable materials at a safe distance from the fan.
  • Ensure proper ventilation to prevent carbon monoxide poisoning.
  • Choose the right type of fan for your wood stove based on size and heat output.
  • Properly position the fan on the stove for maximum heat transfer and even heat distribution.

Safety Precautions for Using a Fan on a Wood Stove

I always make sure to follow the safety precautions when using a fan on my wood stove. Fire prevention is crucial when it comes to using any type of fan near a wood stove. It’s important to keep flammable materials at a safe distance from the fan, as the heat generated can potentially ignite them.wood stove pipe home depot

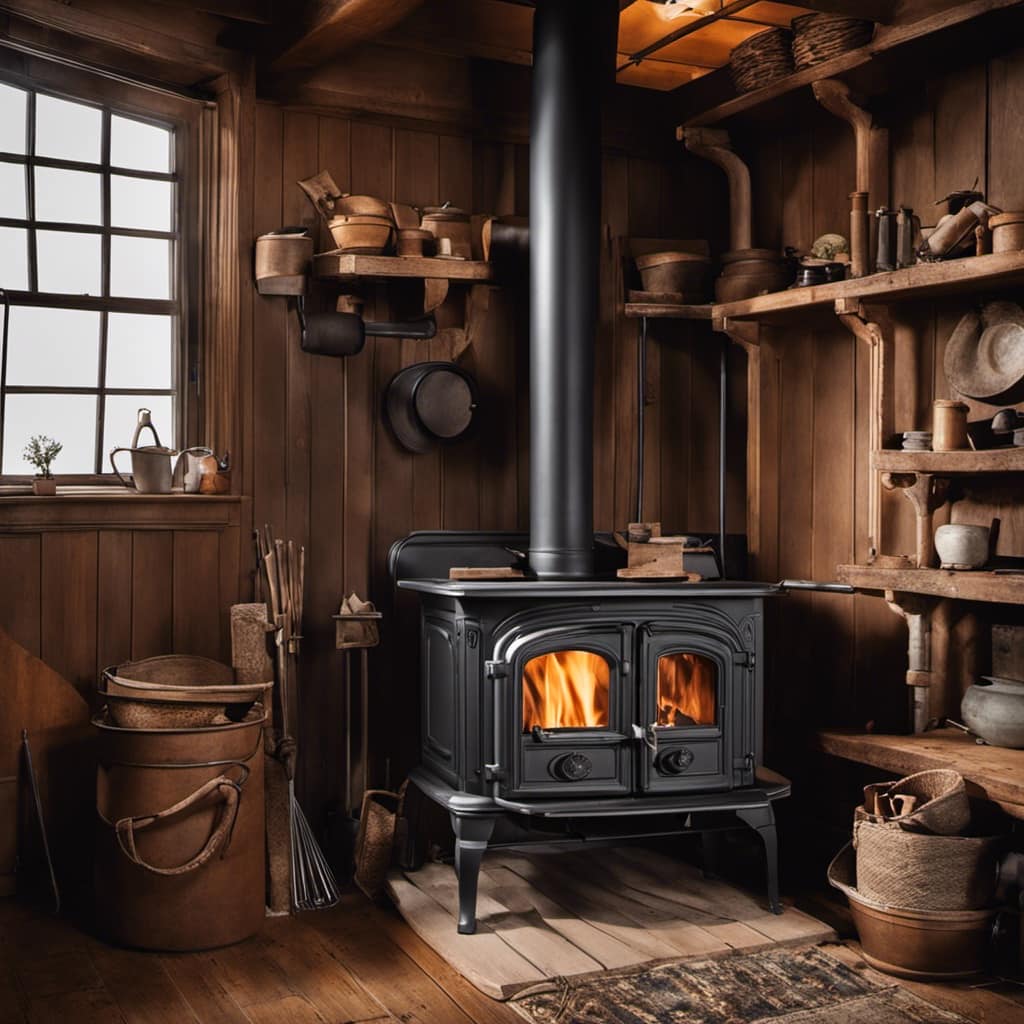
Additionally, regular maintenance of the wood stove and chimney is essential to prevent the buildup of creosote, a highly flammable substance. Another important aspect of safety is the prevention of carbon monoxide poisoning. Ensuring proper ventilation is key, as the fan can create a negative pressure in the room, causing carbon monoxide to be drawn back into the living space.

By adhering to these safety precautions, I can enjoy the benefits of a fan on my wood stove without compromising my safety.

Now let’s move on to choosing the right type of fan for your wood stove.

Advertisement

Choosing the Right Type of Fan for Your Wood Stove

While there are several factors to consider when choosing the right type of fan for your wood stove, one important aspect is ensuring that it’s compatible with the size and heat output of your stove. A fan can greatly enhance the efficiency and effectiveness of your wood stove by circulating the warm air throughout the room.vermont castings defiant

Here are some factors to consider when selecting a wood stove fan:

  • Size and Heat Output:

  • Ensure that the fan is suitable for the size of your wood stove. A fan that’s too small may not effectively distribute the heat, while a fan that’s too large may overpower the stove and cause it to overheat.

  • Consider the heat output of your wood stove. A high-output stove may require a fan with a higher CFM (cubic feet per minute) rating to effectively circulate the warm air.englander 2400 sq. ft. wood burning stove

  • Fan Type and Placement:

  • Choose between a freestanding fan or a fan that attaches directly to the stove. Freestanding fans provide flexibility in terms of placement, while stove-mounted fans are more compact and efficient.

  • Consider the noise level of the fan. Look for models with noise reduction features if noise is a concern.

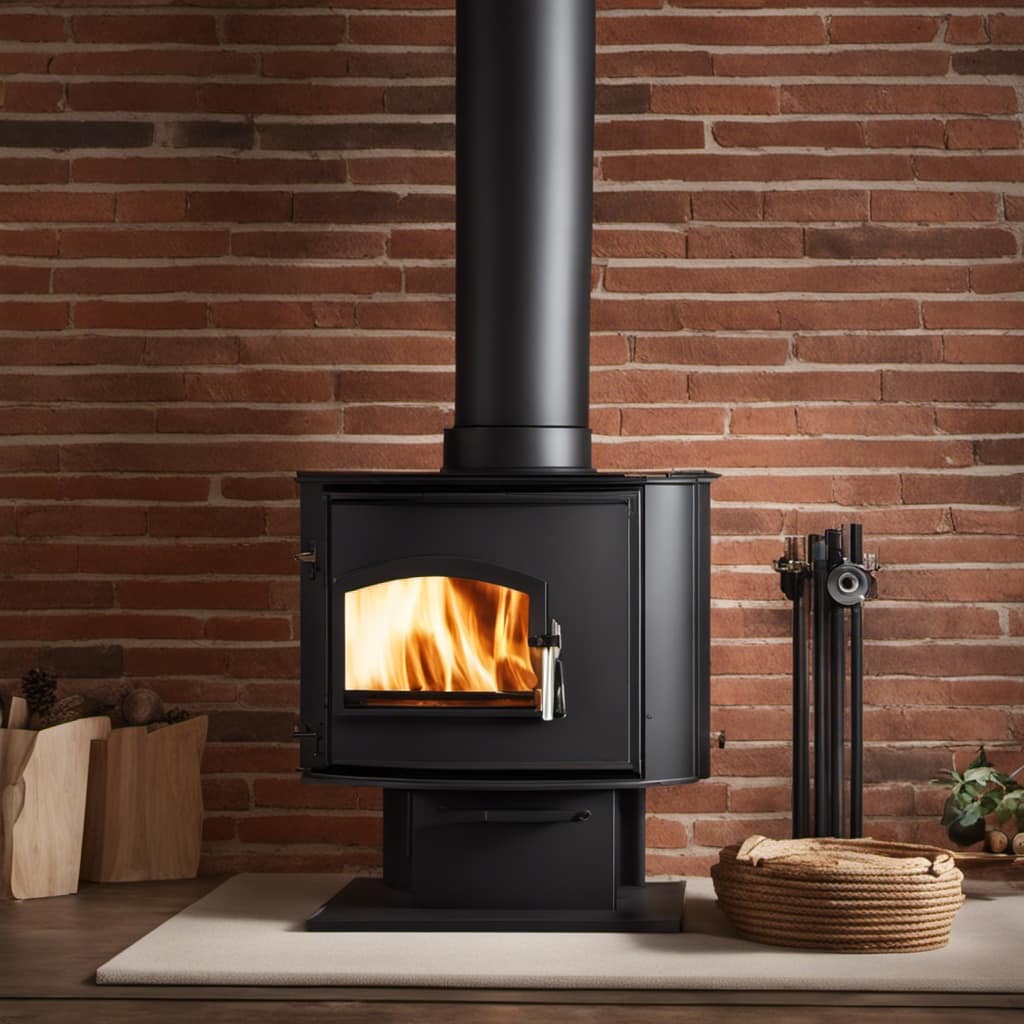
Proper Placement of the Fan on Your Wood Stove

To maximize the effectiveness of your wood stove fan, ensure that it is properly placed on top of the stove for optimal heat distribution. Placing the fan in the right position can significantly increase the efficiency of your wood stove, allowing you to enjoy the many benefits it offers.wood stove pipe

The benefits of using a fan on a wood stove are numerous. Firstly, it helps to circulate the warm air generated by the stove throughout the room, ensuring even heat distribution. This not only creates a more comfortable living environment, but also reduces the amount of fuel needed to heat the space. Additionally, a properly placed fan can help to reduce hotspots and cold spots in the room, further improving the overall efficiency of the wood stove.

To increase the efficiency of your wood stove fan, consider the following placement tips:

Placement Tips Benefits
Position the fan at the back of the stove Ensures maximum heat transfer
Place the fan towards the center of the stove Promotes even heat distribution
Avoid placing the fan too close to the stovepipe Prevents damage to the fan
Clean the fan regularly to remove dust and debris Maintains optimal performance

Tips for Maximizing Air Circulation With Your Wood Stove Fan

The key to maximizing air circulation with your wood stove fan is by strategically positioning it and ensuring proper maintenance. Here are some tips to help you achieve maximum efficiency and troubleshoot common issues:

Positioning:

Advertisement
wood stove insert flex pipe
  • Place the fan at the back of the stove, near the hottest section.
  • Angle the fan towards the center of the room to distribute heat evenly.

Maintenance:

  • Regularly clean and lubricate the fan to ensure smooth operation.
  • Check for any obstructions or debris that may impede airflow.

By following these tips, you can ensure that your wood stove fan operates at its full potential, maximizing the efficiency of your heating system.

If you encounter any issues, such as the fan not spinning or making unusual noises, refer to the manufacturer’s manual for troubleshooting guidance. Remember, proper maintenance is crucial for optimal performance and longevity of your wood stove fan.

Maintenance and Care for Your Wood Stove Fan

I regularly clean and lubricate my wood stove fan, ensuring its smooth operation and longevity. Proper maintenance and care for your wood stove fan is essential for maximizing its performance and avoiding common issues.jotul wood stove for sale craigslist

To keep your fan in optimal condition, it’s important to follow proper cleaning techniques. Start by unplugging the fan and removing any dust or debris using a soft brush or cloth. If the blades are dirty, you can use a mild detergent mixed with water to gently clean them. Be sure to dry the blades thoroughly before reattaching them.

Additionally, lubricating the fan’s bearings every few months will help reduce friction and noise. Troubleshooting common issues such as the fan not spinning or making strange noises can often be resolved by cleaning and lubricating the fan.

Regular maintenance will keep your wood stove fan running smoothly for years to come.

Can the Rear Mounted Wood Stove Blower be Used in Conjunction with a Fan on a Wood Stove?

Yes, the rear mounted wood stove blower can be used in conjunction with a fan on a wood stove. The blower helps to distribute heat more efficiently and using a fan can further enhance the circulation of warm air throughout the room, maximizing the rear mounted wood stove blower usage.

Advertisement

Frequently Asked Questions

Can I Use Any Type of Fan on My Wood Stove?

Yes, you can use various types of fans on your wood stove. Using a fan helps distribute heat more efficiently, increasing warmth in the room. Consider using a fan specifically designed for wood stoves for optimal performance.wood cook stove for sale

How Close Can I Place the Fan to the Wood Stove?

I’ll make sure to place the fan at an optimal distance from the wood stove for proper heat distribution. It’s important to choose the right size fan to maximize efficiency and get the most out of your wood stove.

Do I Need to Clean the Fan Regularly?

Yes, it is necessary to clean the fan regularly. Cleaning the fan helps to remove dust and debris, which can affect its performance. Regular cleaning also ensures that the fan operates smoothly and efficiently.

Can I Leave the Fan on Overnight?

I can leave the fan on overnight. It helps distribute heat more evenly and reduces the risk of overheating. Regular maintenance of the wood stove fan is important for optimal performance and longevity.

What Should I Do if the Fan Starts Making Unusual Noises?

If my fan starts making unusual noises, I would troubleshoot the issue by checking for loose parts, cleaning the blades, and lubricating the motor. Regular maintenance for noisy fans can help prolong their lifespan and ensure optimal performance.wood burning stove lowes

Conclusion

In conclusion, using a fan properly on a wood stove is essential for safe and efficient operation. By following the safety precautions, choosing the right type of fan, placing it correctly, and maximizing air circulation, you can enhance the performance of your wood stove.

Just like a gentle breeze that spreads warmth throughout a room, a well-utilized wood stove fan can help distribute heat effectively, creating a cozy and comfortable environment.

Advertisement

Remember to regularly maintain and care for your fan to ensure its longevity and effectiveness.

Growing up surrounded by the vast beauty of nature, Sierra was always drawn to the call of the wild. While others sought the comfort of the familiar, she ventured out, embracing the unpredictable and finding stories in the heartbeat of nature.   At the epicenter of every remarkable venture lies a dynamic team—a fusion of diverse talents, visions, and passions. The essence of Best Small Wood Stoves is crafted and refined by such a trio: Sierra, Logan, and Terra. Their collective expertise has transformed the platform into a leading authority on small wood stoves, radiating warmth and knowledge in equal measure.

Continue Reading
Advertisement

Wood Stove

How To Get A Wood Stove To Draw Better

Published

on

By

An image showcasing a close-up of a wood stove's chimney, with billowing smoke gracefully spiraling upwards

I’ve always held dear the soothing warmth that radiates from a wood stove during a cool evening.

But when it’s struggling to draw properly, it can be frustrating. That’s why I’ve learned some tricks to improve its performance.

In this article, I’ll share my knowledge and experience on understanding the principles of draft, ensuring proper airflow, choosing the right wood, and clearing obstructions.

By using these techniques, you’ll be able to enhance the draw of your wood stove and enjoy its comforting heat to the fullest.

Key Takeaways

  • Properly size and insulate the chimney to maintain a strong draft.
  • Clear debris and seal leaks to ensure proper airflow and prevent air leaks.
  • Use hardwoods like oak or maple for better draw, as they burn slower and produce less smoke.
  • Regularly inspect and clean the flue to remove obstructions and maintain optimal draft.

Understanding the Principles of Draft in a Wood Stove

I’ve been experimenting with different techniques to improve the draft in my wood stove.

Improving combustion and troubleshooting draft issues are essential for efficient and effective heating.

Advertisement

To understand how to improve the draft, it’s crucial to grasp the principles behind it. Draft in a wood stove relies on the natural flow of air from the firebox through the chimney.

The temperature difference between the firebox and the outside air creates a pressure difference, resulting in the upward movement of hot gases.

Several factors can affect draft, including chimney height, diameter, and insulation.

A properly sized and insulated chimney can help maintain a strong draft, while obstructions or leaks can hinder it.

Ensuring Proper Airflow for Improved Stove Performance

Addressing obstructions and leaks, while ensuring proper insulation and chimney size, significantly improves the airflow in a wood stove, leading to improved stove performance. To achieve better ventilation and maximize the efficiency of your wood stove, consider the following:

Advertisement

  • Clearing any debris or obstructions from the chimney to allow for proper airflow.
  • Sealing any leaks or gaps in the stove or chimney to prevent air leaks.
  • Adjusting damper settings to control the amount of air entering the stove.
  • Installing a stovepipe thermometer to monitor and optimize the temperature.
  • Adding an external air supply to provide fresh air directly to the fire.

By implementing these measures, you can enhance the ventilation of your wood stove and ensure that it operates at its best.

However, improving ventilation isn’t the only factor that affects the draw of a wood stove. Another crucial aspect is choosing the right wood.

Choosing the Right Wood for Better Draw

To achieve a better draw, it is important to select the right type of wood and use it in conjunction with proper ventilation techniques. Choosing the right firewood can greatly impact the performance of your wood stove. Softwoods, such as pine or fir, are known to burn quickly and produce a high amount of smoke, which can hinder airflow. Hardwoods, on the other hand, like oak or maple, burn slower and produce less smoke, making them ideal for improving airflow. In addition to choosing the right wood, improving airflow is crucial. Ensuring proper ventilation by opening the damper fully and providing enough space for air to circulate around the stove will enhance the draw. By considering these factors, you can optimize your wood stove’s performance and enjoy a more efficient and enjoyable heating experience.

Pros Cons Best For
Burns slower Can be more expensive Hardwoods (e.g., oak, maple)
Produces less smoke Requires more drying time
Provides better airflow

Clearing Obstructions and Cleaning the Flue for Optimal Draft

I need to clean the flue at least once a year to ensure optimal draft and prevent any obstructions. Chimney maintenance is crucial for the proper functioning of a wood stove, as it helps to prevent smoke issues and ensures efficient burning.

Here are some key points to consider when it comes to clearing obstructions and cleaning the flue:

  • Regularly inspect and clean the flue to remove any creosote buildup or debris.
  • Use a chimney brush and rods to thoroughly clean the flue from top to bottom.
  • Check for any cracks or damages in the flue liner and repair them promptly.
  • Install a chimney cap to prevent animals from entering and obstructing the flue.
  • Consider hiring a professional chimney sweep for a thorough cleaning and inspection.

By following these maintenance practices, you can troubleshoot smoke issues and ensure that your wood stove operates at its best.

Now, let’s explore additional techniques to enhance the draw of your wood stove.

Advertisement

Utilizing Additional Techniques to Enhance the Draw of Your Wood Stove

One technique I’ve found helpful for enhancing the draw of my wood stove is using a damper and adjusting it accordingly.

A damper is a device that controls the airflow within the chimney. By installing a damper, you can regulate the amount of air entering the stove, which directly affects the draw.

When the damper is fully open, more air is allowed into the stove, creating a stronger draw. Conversely, when the damper is partially or fully closed, less air is allowed in, resulting in a weaker draw.

Another technique that can be used in conjunction with a damper is using chimney fans. These fans are designed to increase the air flow within the chimney and can significantly enhance the draw of the wood stove.

Frequently Asked Questions

Can I Use Any Type of Wood in a Wood Stove?

Yes, you can use various types of wood in a wood stove. However, it’s important to use seasoned wood as it burns more efficiently, produces more heat, and creates less creosote buildup in the chimney.

Advertisement

How Often Should I Clean the Flue of My Wood Stove?

To ensure proper functioning and safety, it is important to clean the flue of a wood stove regularly. The frequency of flue cleaning depends on usage and the type of wood burned. Regular maintenance is essential for optimal wood stove performance.

Can I Install a Wood Stove in a Mobile Home?

Installing a wood stove in a mobile home requires adherence to specific regulations. However, the benefits of having a wood stove in a mobile home include increased warmth, energy efficiency, and cost savings on heating bills.

What Is the Average Lifespan of a Wood Stove?

The average lifespan of a wood stove can vary depending on factors such as maintenance and usage. To extend the lifespan, regular cleaning, proper installation, and using dry seasoned wood are recommended.

Are There Any Safety Precautions I Should Take When Using a Wood Stove?

When using a wood stove, it’s crucial to prioritize safety. Proper ventilation and carbon monoxide monitoring are essential. Additionally, regular chimney inspections and maintenance play a vital role in ensuring the safety of your wood stove.

Conclusion

In conclusion, just like a river that flows freely, a well-drawing wood stove requires understanding, maintenance, and the right fuel. By grasping the principles of draft, ensuring proper airflow, choosing the right wood, and clearing obstructions, you can enhance the performance of your wood stove.

Advertisement

Think of your wood stove as a majestic dragon that needs care and attention to unleash its full potential. With these techniques, you can create a warm and cozy atmosphere that will captivate and comfort all who gather around it.

Continue Reading

Wood Stove

How To Plug A Hole Chimney Unused Wood Stove Hole

Published

on

By

An image showcasing a sturdy metal plate precisely covering a dormant wood stove hole in a brick chimney

So, you find yourself with an empty space where there used to be a wood stove connected to your chimney, and you’re considering the best method to seal it off.

Well, you’re in luck because I’ve got all the steps you need to do just that.

From assessing the hole to gathering materials and sealing it up with insulation, I’ll guide you through each step.

By the time we’re done, your chimney will be hole-free and ready to go.

Let’s get started, shall we?

Advertisement

Key Takeaways

  • Prioritize safety and promptly address any issues with the chimney hole
  • Gather the necessary materials such as bricks, mortar, chimney cap, and insulation
  • Clean out debris and obstructions before sealing the hole with insulation
  • Regularly inspect and maintain the sealed hole to ensure its good condition

Assessing the Chimney Hole

I’m currently evaluating the condition of the chimney hole to determine the necessary repairs.

When it comes to chimney repair, it’s essential to prioritize safety. A damaged chimney can pose serious risks, including the potential for carbon monoxide leaks and chimney fires.

As I inspect the chimney hole, I’m looking for any signs of deterioration or damage. This may include cracks, loose bricks, or a deteriorated chimney cap. It’s crucial to address these issues promptly to ensure the safety of your home and family.

Depending on the severity of the damage, repairs may range from simple fixes, such as sealing cracks, to more extensive repairs, such as rebuilding sections of the chimney.

Gathering the Necessary Materials

Before starting the repairs, I’ll gather the necessary materials, such as bricks, mortar, and a chimney cap.

Choosing the right insulation is crucial to ensure that the unused wood stove hole is properly sealed. It’s important to consider factors such as heat resistance and moisture protection when selecting insulation. Fiberglass insulation with a high R-value is often recommended for this purpose.

Advertisement

Additionally, proper disposal of wood stove components is essential for safety and environmental reasons. Any leftover wood, ashes, or debris should be carefully removed and disposed of according to local regulations. It’s important to avoid burning or dumping these materials, as they can release harmful pollutants into the air or contaminate soil and water sources.

Preparing the Chimney Hole

I’ll clean out any debris from the chimney hole to prepare it for sealing. Before I start repairing the chimney hole, it’s important to ensure that it’s free from any debris or obstructions. I’ll use a chimney brush or a vacuum cleaner to remove any soot, ash, or other buildup that may have accumulated over time. This step is crucial in order to create a clean surface for the sealing material to adhere to.

Once the chimney hole is cleaned, I can begin the process of sealing it. There are various methods and materials that can be used for this purpose. One option is to use a chimney plug or cap specifically designed for sealing unused chimney flues. These plugs are easy to install and provide a tight seal to prevent drafts and water leakage.

Alternatively, if you’re looking for alternative uses for the unused wood stove hole, you can consider converting it into a decorative feature. Some ideas include installing a small shelf or display area, creating a faux fireplace with decorative logs, or even turning it into a planter for indoor plants.

Sealing the Hole With Insulation

To effectively seal the hole, I can use insulation and a cap to prevent drafts and water leakage. There are different types of insulation that can be used for this purpose.

Advertisement

One common type is fiberglass insulation, which is easy to install and provides good thermal insulation. Another option is spray foam insulation, which can be applied directly to the hole and expands to fill any gaps or cracks. It provides excellent air sealing and insulation properties.

When sealing the hole, it’s important to avoid common mistakes. One common mistake isn’t properly cleaning the area before applying the insulation. Dust, debris, and old caulk should be removed to ensure a proper seal. Another mistake is using the wrong type of insulation for the specific hole. It’s important to choose an insulation material that’s suitable for the size and shape of the hole.

Finishing Touches and Maintenance

I’ve already sealed the hole, so now I just need to do some finishing touches and maintenance to ensure it stays in good condition. Here are some chimney hole repair tips and DIY wood stove removal suggestions for maintaining the hole:

  • Inspect Regularly: Check the sealed hole periodically for any signs of damage or wear. Look for cracks, gaps, or any signs of moisture leakage. This will help you catch any issues early on and prevent further damage.

  • Clean the Area: Keep the area around the sealed hole clean and free from debris. This will prevent any potential blockages and ensure proper airflow.

  • Weatherproofing: Apply a weatherproof sealant or caulk around the edges of the sealed hole. This will provide an extra layer of protection against the elements, preventing water penetration and potential damage.

Frequently Asked Questions

Can I Use Regular Household Items Instead of the Recommended Materials for Sealing the Chimney Hole?

Yes, you can use alternative materials to seal the chimney hole. It’s a cost-effective solution that many people opt for. However, it’s important to ensure that the materials you choose are safe and effective for this purpose.

How Long Does the Insulation Material Typically Last Before Needing to Be Replaced?

Insulation material typically lasts around 20 to 30 years before needing replacement. It’s important to choose the right insulation material based on factors like heat resistance and durability. Signs of replacement include wear, damage, and decreased energy efficiency.

Advertisement

Is It Necessary to Hire a Professional to Plug the Chimney Hole or Can It Be Done as a DIY Project?

I’ve found that plugging the chimney hole can be a DIY project, depending on your skill level and comfort. However, hiring a professional ensures proper sealing and reduces the risk of damage. Budget-friendly alternatives include using chimney caps or sealing with fire-resistant materials.

Can I Use the Same Method to Plug a Hole in a Chimney That Is Still in Use?

I can’t use the same method to plug a chimney hole that is still in use. It’s important to prioritize chimney hole safety and maintenance when dealing with an active chimney. It’s best to consult a professional for a proper solution.

Are There Any Safety Precautions I Should Take While Plugging the Chimney Hole?

When plugging a chimney hole, it is important to take safety precautions. Make sure to wear protective gear and work in a well-ventilated area. Additionally, consider alternative materials like chimney plugs or expanding foam to effectively seal the hole.

Conclusion

In conclusion, plugging a hole in a chimney is a simple and cost-effective way to prevent drafts and heat loss. By assessing the hole, gathering the necessary materials, preparing the chimney, sealing it with insulation, and adding finishing touches, you can ensure a snug and efficient solution.

Remember to regularly check and maintain the seal to keep your home cozy and energy-efficient. So, say goodbye to chilly drafts and hello to a well-insulated home!

Advertisement

Continue Reading

Wood Stove

How To Install A Flue On A Wood Stove

Published

on

By

An image of a skilled individual wearing protective gear, positioned near a wood stove

I’ve always held the conviction that the essence of a warm and inviting home lies in the presence of an operational wood stove.

And when it comes to installing a flue on that wood stove, it’s crucial to get it right. That’s why I’m here to guide you through the process, step by step.

From choosing the right flue to testing and maintaining the system, I’ll provide you with the technical knowledge and detailed instructions you need.

Let’s get started on creating a safe and efficient flue system for your wood stove.

Key Takeaways

  • Flue size and material choice are crucial for efficiency and safety of the wood stove
  • Consult manufacturer’s guidelines or professionals for correct flue size and material options
  • Proper preparation of the wood stove, including cleaning and inspection, is necessary before flue installation
  • Securely install the flue pipe and chimney cap to prevent debris and moisture entry

Choosing the Right Flue for Your Wood Stove

I’m having trouble deciding which flue is the right one for my wood stove. The size of the flue is an important consideration as it affects the efficiency and safety of the stove. The flue should be sized correctly to allow for proper airflow and to prevent the buildup of smoke and harmful gases. It’s important to consult the manufacturer’s guidelines or a professional to determine the appropriate flue size for your specific wood stove.

Additionally, there are various flue material options available, such as stainless steel, cast iron, or clay. Each material has its own advantages and considerations, including durability, insulation properties, and cost. Considering the flue size and material options will help ensure a successful installation.

Advertisement

Now that I understand the importance of choosing the right flue, it’s time to gather the necessary tools and materials.

Gathering the Necessary Tools and Materials

To properly install the flue, I’ll need a chimney brush and a ladder to clean out any debris. Once the chimney is clear, I can move on to selecting the right flue size. This is crucial for proper ventilation and efficient operation of the wood stove. Here are the steps I’ll follow:

  1. Measure the diameter of the stove’s flue collar.
  2. Determine the recommended flue size based on the stove manufacturer’s guidelines.
  3. Choose a flue that matches the stove’s requirements, ensuring a proper fit.

In addition to selecting the correct flue size, proper insulation is also essential. This helps prevent heat loss and ensures optimal performance. I’ll make sure to use high-quality insulation materials, such as ceramic fiber or rock wool, to insulate the flue properly.

Preparing the Wood Stove for Flue Installation

I’ll start by removing any debris and cleaning out the stove pipe before installing the flue. The first step in preparing the wood stove for flue installation is to ensure that the stove pipe is clear of any obstructions or build-up. This is crucial for the proper functioning of the flue system. I’ll carefully inspect the pipe to make sure there are no cracks or damages that could compromise its integrity.

Next, I’ll measure the diameter of the stove pipe to determine the correct sizing requirements for the flue. It’s important to choose a flue that matches the size of the stove pipe to ensure a tight and secure fit. Additionally, I’ll take all necessary safety precautions, such as wearing protective gloves and eyewear, to prevent any injuries during this process.

Now that the stove pipe is clean and the sizing requirements are determined, I can move on to installing the flue pipe and chimney cap.

Advertisement

Installing the Flue Pipe and Chimney Cap

I will carefully attach the flue pipe to the stove pipe, and then secure the chimney cap in place.

When installing the flue pipe, it’s crucial to follow proper procedures to ensure optimal chimney maintenance and prevent any potential issues with flue functionality. Here are three key steps to consider:

  1. Align the flue pipe and stove pipe: Make sure the flue pipe is properly aligned with the stove pipe to ensure a secure fit. This will prevent any leaks or gaps that could affect the efficiency of the flue system.

  2. Secure the connection: Use high-quality metal screws or clamps to secure the flue pipe to the stove pipe. This will ensure a tight and stable connection, minimizing the risk of any disconnection or movement during operation.

  3. Install the chimney cap: The chimney cap plays a vital role in preventing debris, animals, and moisture from entering the flue system. Carefully install the chimney cap, ensuring it’s securely attached to the flue pipe.

By following these steps, you can effectively install the flue pipe and chimney cap, ensuring proper functionality and minimizing the need for troubleshooting flue issues.

Now, let’s move on to testing and maintaining the flue system for optimal performance.

Testing and Maintaining the Flue System

I’m regularly inspecting and cleaning the flue system to ensure its proper functioning and prevent any potential hazards.

Advertisement

Flue system troubleshooting is a crucial aspect of maintaining a safe and efficient wood stove. A poorly maintained flue can lead to a variety of problems, such as inadequate draft, excessive smoke, or even chimney fires.

Regular maintenance involves inspecting the flue pipe for any signs of damage or blockage, such as creosote buildup or debris. Additionally, it’s important to ensure that the flue damper is working correctly and fully opening and closing.

Cleaning the flue system involves removing any obstructions or debris using a chimney brush or professional cleaning tools.

Frequently Asked Questions

Can I Install a Flue on a Wood Stove Without Professional Help?

Yes, I can install a flue on a wood stove without professional help. It is important to have a good understanding of wood stove maintenance and follow the proper installation instructions for safety.

How Often Should I Clean My Flue System?

Regular flue maintenance is essential for the safe and efficient operation of your wood stove. You may be wondering how often you should clean your flue system. Let’s delve into the importance of regular maintenance.

Advertisement

Can I Use the Same Flue Pipe for Multiple Wood Stoves?

Yes, you can use the same flue pipe for multiple wood stoves, as long as the flue pipe is compatible with each stove. It is important to ensure proper installation and safety measures are followed.

Is It Necessary to Use High-Temperature Sealant When Installing the Flue Pipe?

Using high-temperature sealant when installing a flue pipe is crucial. Not using it can lead to potential risks like leaks, fire hazards, and inefficient stove performance. Explore alternative sealants, but prioritize safety.

Can I Use a Different Type of Chimney Cap for My Wood Stove?

Yes, you can use different chimney caps for your wood stove. There are alternative flue options available that can accommodate various types of caps, providing flexibility in design and functionality.

Conclusion

In conclusion, installing a flue on a wood stove is a technical and detailed process that requires the right tools and materials.

By choosing the appropriate flue, properly preparing the wood stove, and correctly installing the flue pipe and chimney cap, you can ensure the safe and efficient operation of your wood stove.

Advertisement

Regular testing and maintenance of the flue system will help to maintain its effectiveness and ensure a cozy and warm home.

Continue Reading

Trending