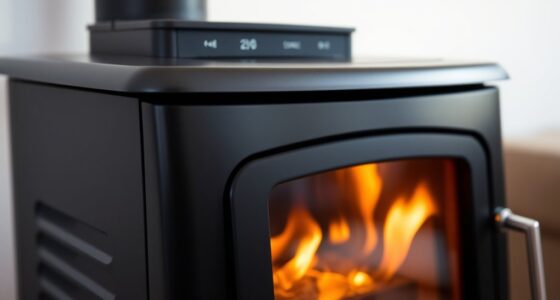
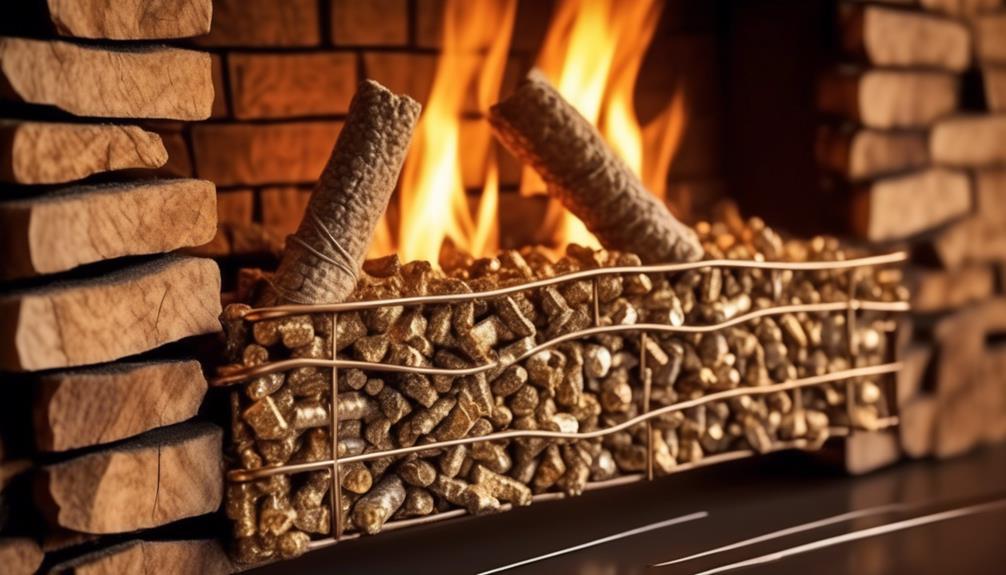
In our quest to keep our homes cozy, we often search for a solution that wraps us in a warm hug on a cold day, offering comfort, dependability, and cost-effectiveness.
But what if I told you there’s a way to achieve that without the hefty price tag of a traditional pellet stove? The Diy Wood Pellet Basket Insert may just be the answer you’ve been looking for.
With its efficient design and versatility, this insert offers a compelling alternative for heating your living space.
But before we delve into the details, let’s explore how this DIY project could revolutionize the way you think about home heating.
Key Takeaways
- Building a wood pellet basket insert requires gathering the necessary materials and following a specific construction process.
- The basket should be well-constructed and efficient, with attention to detail and precision during shaping.
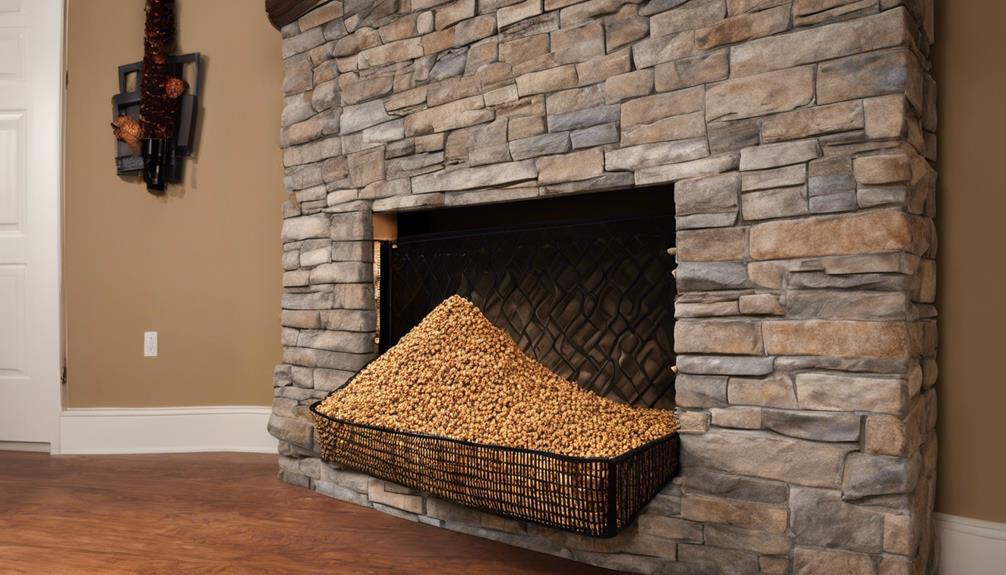
- The basket should have a secure mesh bottom for proper airflow and support for the wood pellets.
- Using a wood pellet basket insert provides consistent heat output, cost savings, and is an environmentally friendly heating alternative.
DIY wood pellet stove insert kit
As an affiliate, we earn on qualifying purchases.
As an affiliate, we earn on qualifying purchases.
Materials and Cost
We recommend gathering the materials listed, as they can be acquired for an estimated cost of around $8. The required materials for building the wood pellet basket insert include machine netting (rabbit-hutch screen), heavy gauge steel construction angle, and thin, pliable steel wire. It’s important to use steel netting with small holes, and the netting piece should be 1.5 times longer and wider than the fireplace/stove floor.
Additionally, metal corner molding sections are necessary to cover the base of the grate, and zip-ties are used to temporarily hold the shape of the basket during construction. All these materials can be found at a hardware store.
The total estimated time for gathering materials and constructing the adapter is approximately 2 hours, making it a relatively quick and cost-effective DIY project.
steel mesh basket for pellet stove
As an affiliate, we earn on qualifying purchases.
As an affiliate, we earn on qualifying purchases.
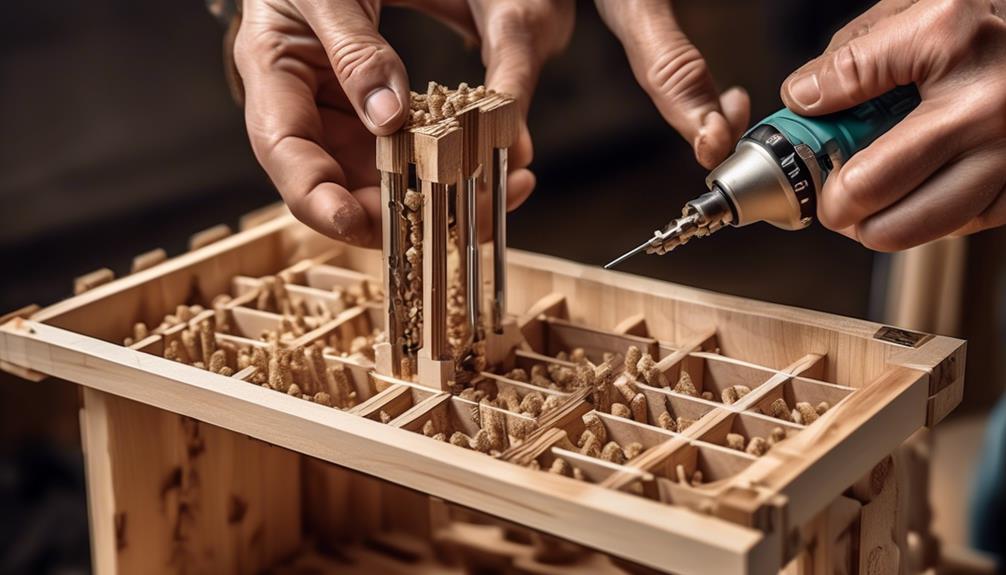
Shaping the Basket
Using the wire box constructed similar to a cardboard shoe box, begin by cutting lines in the netting at the corners and folding the box up. Once the netting is cut and folded, it’s time to shape the basket for the wood pellets. Here’s how we do it:
- Measure and cut the netting to the desired dimensions: Precision is key when shaping the basket. Measure the dimensions carefully and use sharp cutting tools to ensure clean cuts.
- Fold the sides and ends of the netting to form the basket: Carefully fold the netting along the cut lines to create the shape of the basket. Take your time to ensure neat and precise folds.
- Use zip-ties to temporarily hold the shape of the basket: Zip-ties can be used to secure the folded netting in place temporarily. This will allow you to make any necessary adjustments before permanently securing the shape.
Shaping the basket is a crucial step in creating a functional wood pellet basket insert. Attention to detail and precision during the shaping process will result in a well-constructed and efficient basket for holding the wood pellets.
fireplace pellet basket construction materials
As an affiliate, we earn on qualifying purchases.
As an affiliate, we earn on qualifying purchases.
Forming the Basket
Let’s talk about shaping the basket and securing the mesh bottom.
Constructing the wire box and folding the netting to form the basket are crucial steps.
We need to ensure that the walls are inclined for easy grate insertion.
Then, securely attach the metal grate for sturdiness.
Basket Shape
To create the shape of the basket, construct a wire box similar to a cardboard shoe box, and then cut lines in the netting at the corners to fold the box up and form the sides and ends of the netting.
Weave the flaps of the box using steel wire and needle-nose pliers to ensure the side walls are slightly inclined for easy grate insertion. This weaving process provides sturdiness and durability to the basket shape. It allows for customization of the basket shape to fit specific pellet stoves or fireplaces. The inclined side walls facilitate the insertion and removal of the basket, making it user-friendly for maintenance and cleaning.
Incorporating these steps ensures the creation of a robust and functional wood pellet basket insert with an optimal basket shape.
Secure Mesh Bottom
Securing the mesh bottom with steel wire ensures proper airflow and support for the wood pellets, contributing to the stability and efficiency of the wood pellet basket insert.
The use of expanded metal for the mesh bottom allows for adequate airflow while preventing the pellets from falling through. When weaving and securing the mesh bottom with steel wire, it’s crucial to ensure a tight and secure fit to maintain the structural integrity of the basket.
This secure mesh bottom design also facilitates the easy insertion of the grate and promotes efficient burning of the wood pellets. It plays a vital role in maintaining the shape and structure of the basket, ensuring consistent performance over time.
homemade pellet stove insert
As an affiliate, we earn on qualifying purchases.
As an affiliate, we earn on qualifying purchases.
Creating the Base

Let’s talk about the base dimensions and the material selection for our wood pellet basket insert.
We’ll need to measure the fireplace or stove floor to ensure the base fits properly.
Choosing the right heavy gauge steel construction angle is crucial for the durability and stability of the basket.
Base Dimensions
We utilized a netting piece that was 1.5 times larger than the fireplace/stove floor to create the base of the wood pellet basket insert. This ensured that the base provided ample support and stability for the pellet box.
The heavy gauge steel construction angle used for the base was crucial in ensuring sturdiness and support for the entire structure. Additionally, cutting and folding the remaining netting to create a base for the grate allowed for a secure fit within the pellet box, ensuring efficient use.
It was important to adjust the base dimensions to allow for easy insertion of the grate while also promoting efficient air circulation within the pellet box. This attention to detail in the base dimensions is essential for the optimal functioning of the wood pellet basket insert.
Material Selection
For creating the base of the wood pellet basket insert, select a suitable machine netting or steel netting with small holes that’s 1.5 times larger than the fireplace or stove floor. The heavy gauge steel construction angle is ideal for the base, while thin, pliable steel wire is recommended for weaving and securing the basket.
Construct the wire box with cut lines at the corners, resembling a cardboard shoe box, and fold it up to shape the basket. Ensure the side walls are slightly inclined for easy grate insertion and attach the metal grate/base for sturdiness and easy emptying.
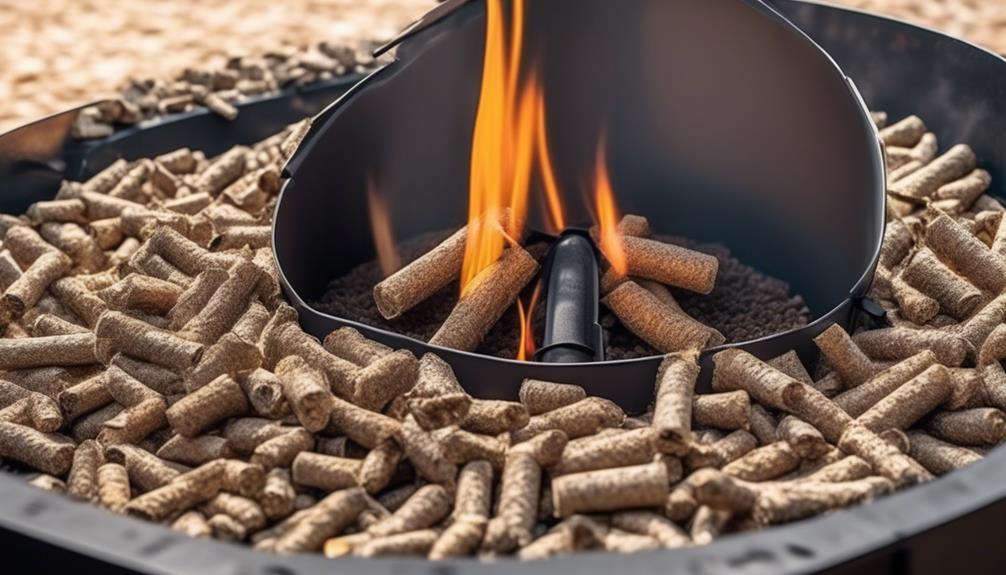
Test the adapter’s efficiency by starting the fire from the front and observing the flame spread. Then fill the basket completely for a full burn and monitor the flame’s behavior when started from the top.
This method enables mastery in wood pellet stove or wood-burning fireplace operations.
Testing and Results
How did the performance of the wood pellet basket insert fare during the test runs? We conducted thorough testing to evaluate its efficiency and heating capacity in a pellet stove. Here are the results:
- When filling the basket with a small amount of pellets and starting the fire from the front, we observed a consistent and even flame spread, indicating good initial performance. This test allowed us to assess the ease of ignition and the ability of the pellet basket to maintain a steady flame.
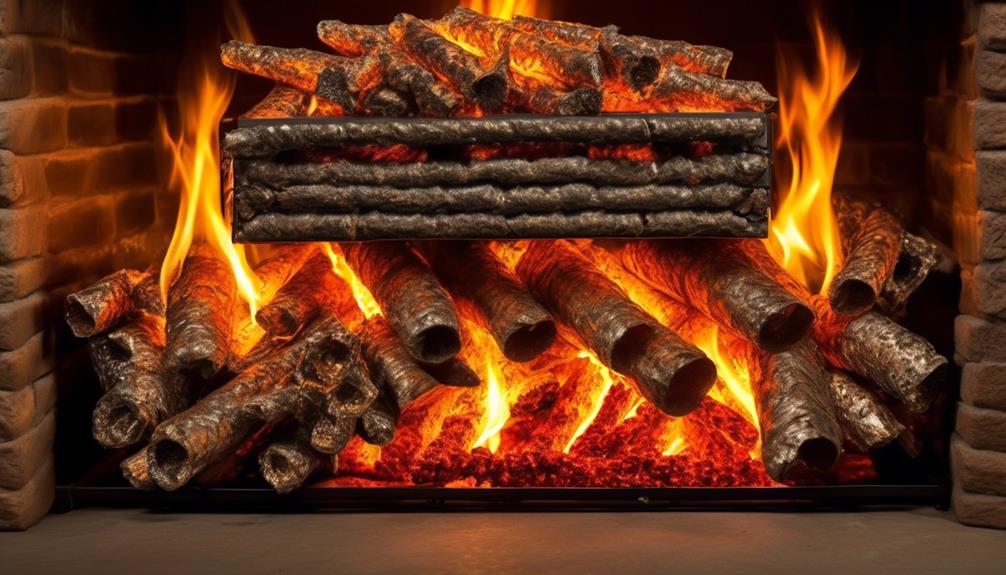
- Filling the basket completely with pellets for a full burn and starting the fire from the top revealed that the pellets required multiple attempts to ignite fully, taking approximately 20-25 minutes to achieve a consistent flame. We also found that using a small piece of a fire-starter block on top of the pellet mound aided ignition and resulted in a consistent flame that burned for about 3 hours.
- Comparing the burning efficiency and heat output of fuel pellets with cut wood, we noted that the fuel pellets burned about 10% more efficiently by weight compared to cut wood, showcasing the potential of the wood pellet basket insert for enhancing the performance of a pellet stove.
These test results provide valuable insights into the practical application of the wood pellet basket insert and its suitability for use in pellet stoves.
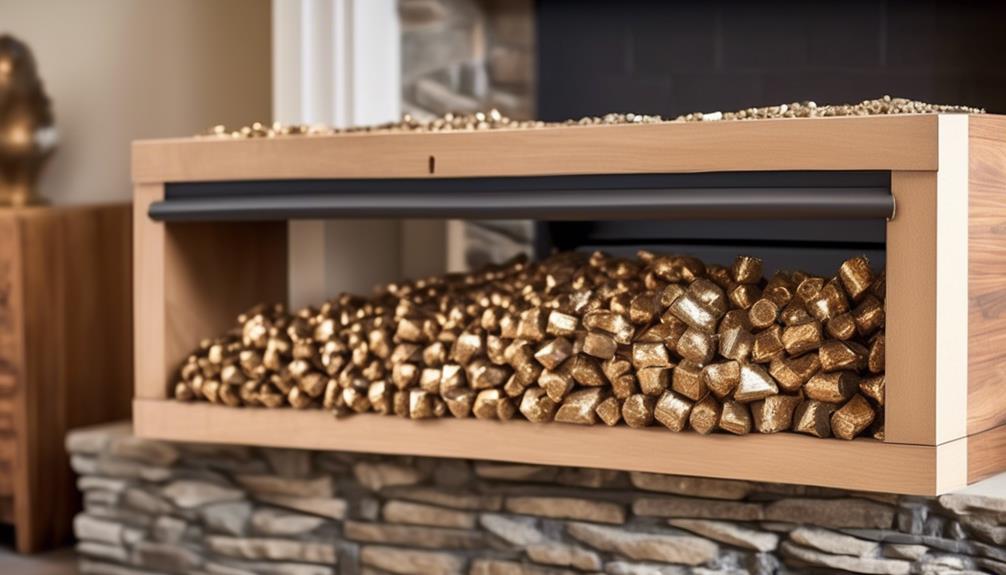
One Month Later
After using the DIY wood pellet basket insert for a month, we’ve seen a notable performance update. The efficiency and heat output have remained consistent, providing reliable warmth.
Additionally, the long-term durability of the basket has been impressive, requiring minimal maintenance and delivering cost savings in fuel consumption.
Performance Update
A month later, we’ve observed consistent and reliable performance from the wood pellet basket insert as a cost-effective and environmentally friendly heating alternative. Our experience with the pellet basket has been impressive, with several key observations:
- The pellet basket has proven to be a reliable and efficient alternative to traditional wood burning, providing consistent heat for the house, which is essential for those seeking mastery in managing their heating systems.
- Initial testing has shown that the wood pellets burn with the same amount of heat as cut wood, offering a cost-effective and convenient solution for those who desire mastery in optimizing their pellet stoves.
- Users have reported minimal ash production and reduced emissions when using the pellet basket, making it an environmentally friendly option, a significant factor for those striving for mastery in sustainable heating solutions.
Long-Term Durability
We have observed exceptional long-term durability from the wood pellet basket insert, a testament to its sturdy construction and efficient design.
The metal base of the basket has proven to be resilient, even after a month of regular use in the wood pellet stove. The weaving of the wire flaps has ensured that the insert remains sturdy and intact over time, showcasing its durability.
By adjusting the flue settings and removing upper right angles from the base of the cage, we’ve effectively prevented excessive heat loss, contributing to improved long-term durability. The adjustments haven’t only enhanced the efficiency but also extended the burn time to 4 hours with only half the amount of pellets, demonstrating the insert’s remarkable durability and cost-effectiveness.
Additionally, the use of thicker steel angles instead of thin metal corner angles has significantly improved the long-term durability of the pellet basket insert.
Assembling the Frame
To assemble the frame, begin by cutting two 12-inch lengths of 1-inch steel or aluminum flat stock using a metal hack saw. Once cut, drill a 1/4 inch hole through the face of the flat stock, 1/2-inch in from the short edge. Then, drill a second hole on the opposite end of the flat stock, 1/2-inch in from the other short edge. Repeat the drilling process for the other 12-inch length of flat stock so that you have two identical pieces of metal with identical holes.
After that, cut two thirty-three inch lengths of 1/2-inch flat bar with a metal hack saw. Place the first piece of flat stock on a level surface and mark points on its face at specific distances to create bends. This will help to form the sides of the frame. Next, using a blow torch, heat the marked points until they’re red hot and bend them to form the sides of the frame.
This process is crucial for assembling the frame to ensure it can effectively contain the pellets.
Cutting and Folding the Basket
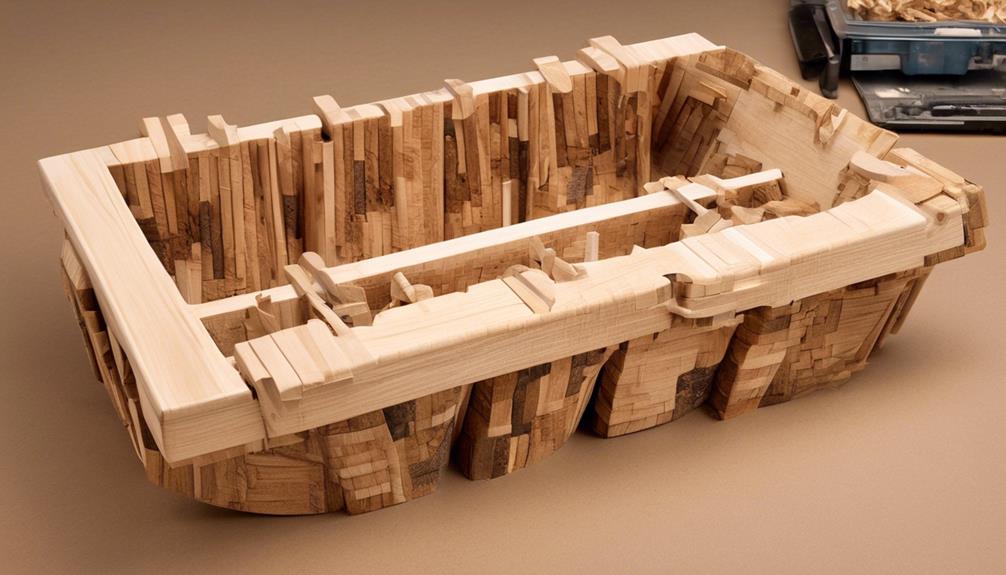
How can the expanded steel lath be cut and folded to create the basket for the wood pellet insert?
To begin, we need a 12-inch by 32-inch rectangle of expanded steel lath, which can be cut using tin snips. After cutting the rectangle, the material should be folded to form a 90-degree bend along the longer edge.
Then, another vertical line should be marked, and the material should be bent upwards at a 90-degree angle on the opposite side to create the basket’s base.
Next, two 12-inch by 12-inch squares should be cut out of the expanded steel lath to serve as the sides of the basket. After cutting the squares, the edges need to be folded inwards on three sides to craft a shallow tray with one open end, completing the basket’s structure.
This cutting and folding process is crucial to ensure that the basket is sturdy enough to hold the wood pellets effectively. Following these steps precisely will result in a properly constructed basket for the wood pellet insert.
Securing the Frame
After cutting and folding the expanded steel lath to create the basket for the wood pellet insert, the next step is to secure the frame.
- Roll the metal lathe up into a sheet and fold it around a 12-inch piece of flat stock at the back of the basket. This ensures a sturdy base for the frame.
- Repeat the process with the second piece of flat stock at the front of the basket, ensuring uniformity and stability.
- Line up the top holes on one of the support pieces with the holes in the flat stock on the front and back of the basket. This alignment is crucial for a secure and balanced frame.
Securing the frame is vital to ensure the durability and functionality of the wood pellet basket insert. By following these steps and using the appropriate hardware, such as 1/4-inch bolts and hex nuts, the frame can be effectively connected to the side support and the mesh basket. This not only strengthens the structure but also enhances safety during use.
Using Your Pellet Burner
Let’s get the pellet burner fired up and ready to use. Using your pellet burner is an efficient way to heat your home while reducing your carbon footprint. Here are some key steps to using your pellet burner effectively:
| Step | Instructions |
|---|---|
| 1. | Check the hopper for any leftover debris or foreign objects. |
| 2. | Ensure the air intake and exhaust vents are clear and unobstructed. |
| 3. | Fill the hopper with high-quality wood pellets, ensuring not to overfill. |
| 4. | Turn on the pellet burner and set it to the desired temperature. |
| 5. | Monitor the burner regularly and clean out any ash buildup as needed. |
Using your pellet burner correctly ensures optimal performance and longevity of the equipment. It’s important to follow the manufacturer’s guidelines for your specific pellet burner model. Additionally, regular maintenance such as cleaning the ash and checking for any signs of wear and tear will help keep your pellet burner in top condition. Enjoy the warmth and eco-friendly benefits of using your pellet burner efficiently.
Recommendations
We have successfully used our pellet burner, now let’s explore some recommendations to maintain its efficiency and longevity.
- Regular Cleaning and Maintenance
- Clean the ash from the burner regularly to prevent buildup, which can hinder airflow and reduce efficiency.
- Inspect the pellet basket for any signs of wear and tear, and replace it if necessary to ensure optimal performance.
- Lubricate any moving parts as per the manufacturer’s recommendations to prevent friction and prolong the lifespan of the pellet burner.
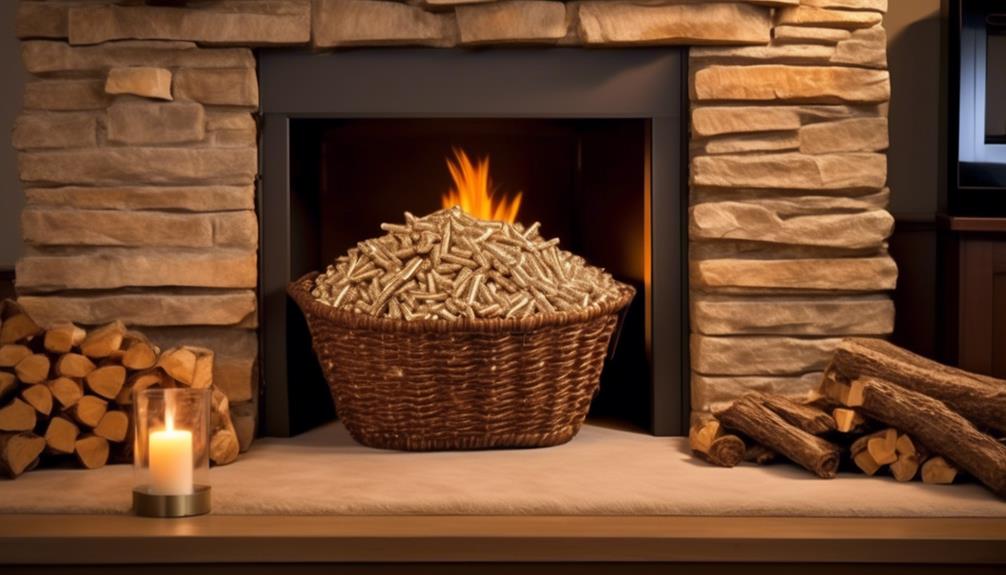
- Quality Pellets
- Invest in high-quality wood pellets to ensure clean and efficient combustion, as well as to minimize the accumulation of ash and soot.
- Store the pellets in a dry and well-ventilated area to maintain their integrity and prevent moisture-related issues during combustion.
- Consider experimenting with different pellet blends to find the most suitable option for your specific pellet burner and heating needs.
- Proper Ventilation and Airflow
- Ensure adequate ventilation around the pellet burner to facilitate proper airflow and combustion.
- Regularly check and clean the exhaust vent to prevent blockages and ensure safe and efficient operation.
- Consider installing a carbon monoxide detector near the pellet burner for added safety and peace of mind.
Following these recommendations won’t only optimize the performance of your DIY wood pellet basket insert but also contribute to its long-term durability and reliability.
Frequently Asked Questions
Do Pellet Baskets Work in Wood Stoves?
Yes, pellet baskets work in wood stoves. They offer a cost-effective way to burn wood pellets, providing even and efficient air distribution for combustion. They’re portable, made of durable materials, and suitable for various heating appliances.
While they may produce smoke initially, once ignited, they can provide good heat for several hours. Following safety precautions, regular cleaning, and using high-quality wood pellets are essential for optimal performance.
Is It Safe to Burn Pellets in a Wood Stove?
Yes, it’s safe to burn pellets in a wood stove, but it’s important to consider some factors.
Proper ventilation and regular maintenance are crucial for safe combustion. Using a pellet basket can help improve efficiency and reduce risks associated with burning pellets in a wood stove.
Monitoring the temperature and ensuring the pellets are dry and clean are essential for safe operation. Regular cleaning and inspections are necessary for safety and performance.
Can I Convert My Wood Stove to Burn Pellets?
Yes, we can convert a wood stove to burn pellets.
It involves building an efficient adapter using machine netting, steel netting, heavy gauge steel construction angle, and thin, pliable steel wire.
Shaping the basket is done by constructing a wire box, cutting the netting, and folding the sides and ends.
Weaving the netting requires using steel wire and needle-nose pliers to secure the flaps of the box.
Adding a metal grate for air circulation and testing the adapter are crucial steps.
How Long Does a 40lb Bag of Pellets Last in a Pellet Stove?
We find that a 40lb bag of pellets typically lasts between 24-48 hours in a pellet stove, subject to factors like burn rate, heat output, and environmental conditions.
On average, a pellet stove consumes 2-5 lbs of pellets per hour, so the bag can provide 8-20 hours of continuous burning.
It’s crucial to monitor the stove’s burn rate and adjust settings to maximize the bag’s duration, especially in extreme weather.
Conclusion
In conclusion, creating your own DIY wood pellet basket insert can be a fun and rewarding project. It’s a cost-effective and environmentally friendly alternative to traditional pellet stoves, and it allows you to efficiently burn wood pellets in various heating appliances.
With the right materials and a little bit of creativity, you can enjoy the warmth and comfort of a pellet burner while reducing ash and emissions.
Happy crafting and happy heating!