
Okay, everyone, here’s what you need to grasp prior to starting your own wood pellet pizza oven.
Now, I know what you’re thinking – why bother with the hassle? But trust me, once you sink your teeth into that perfectly charred, cheesy goodness, you’ll be hooked.
In this guide, I’ll walk you through everything from choosing the right oven to preheating the pizza stone.
So grab your apron and get ready to elevate your pizza game to a whole new level.
Let’s get started!
Key Takeaways
- Consider the type of fuel the oven uses, such as wood pellet fuel made from compressed sawdust.
- Look for ovens that are easy to clean and maintain, with features like removable ash trays and grease collection trays.
- Find a stable and level surface away from flammable materials for the oven’s location.
- Preheat the pizza stone for a sufficient amount of time to ensure optimal cooking conditions.
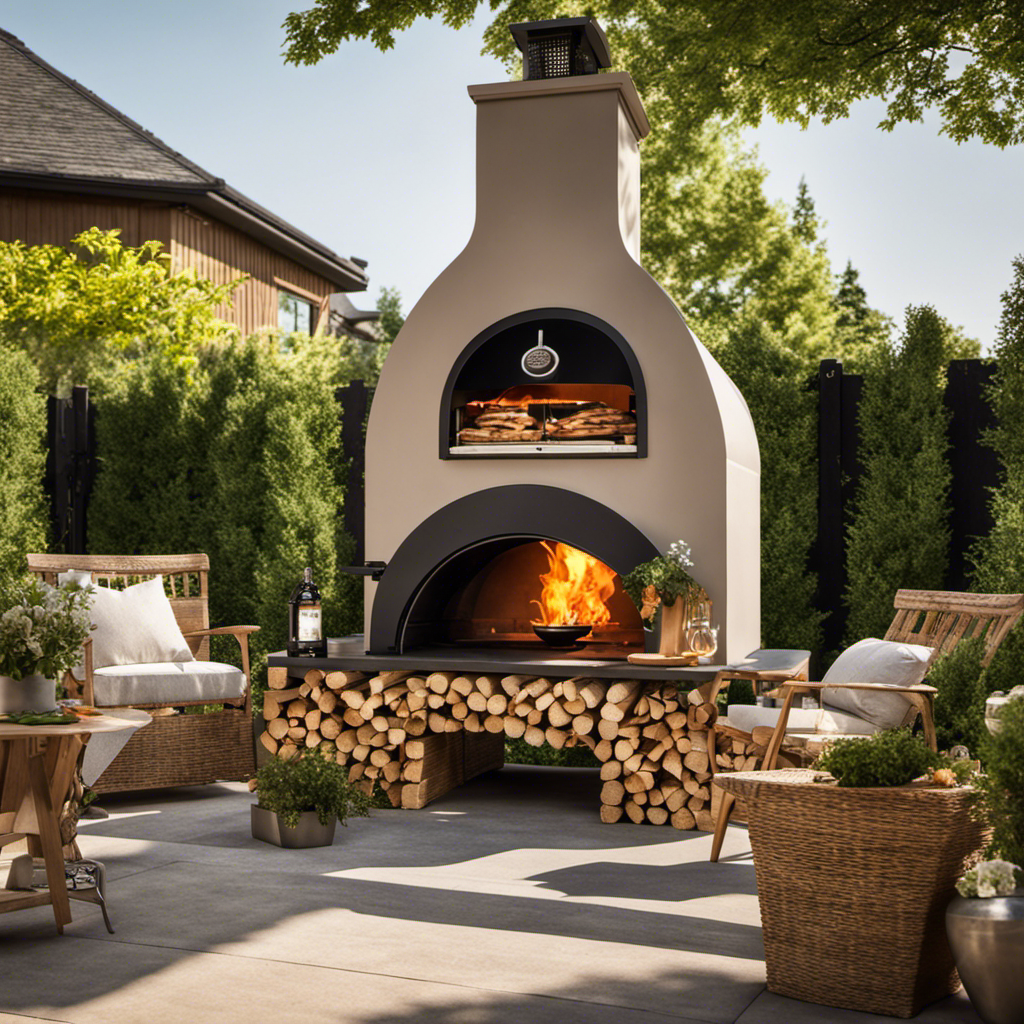
Choosing the Right Wood Pellet Pizza Oven
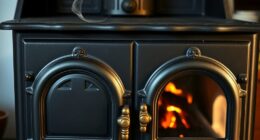
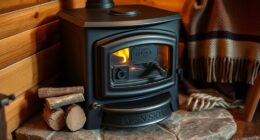
I’ve been researching different wood pellet pizza ovens to find the right one for my backyard. When it comes to wood pellet pizza ovens, there are a few key factors to consider. One of the most important aspects is the type of fuel it uses. Wood pellet fuel is a popular choice for pizza ovens due to its efficiency and the rich, smoky flavor it imparts on the food. It’s made from compressed sawdust and offers a clean-burning and environmentally friendly alternative to traditional wood or charcoal.
Maintenance and cleaning are also crucial considerations when choosing a wood pellet pizza oven. Look for models that are easy to clean and maintain. Some ovens come with removable ash trays or trays that collect grease, making it easier to keep the oven clean and free from residue buildup. Regular cleaning not only ensures optimal performance but also extends the lifespan of the oven.
With the right wood pellet pizza oven, you can enjoy delicious homemade pizzas in the comfort of your backyard. Once you’ve chosen the perfect oven, it’s time to move on to the next step – preparing your outdoor cooking area.
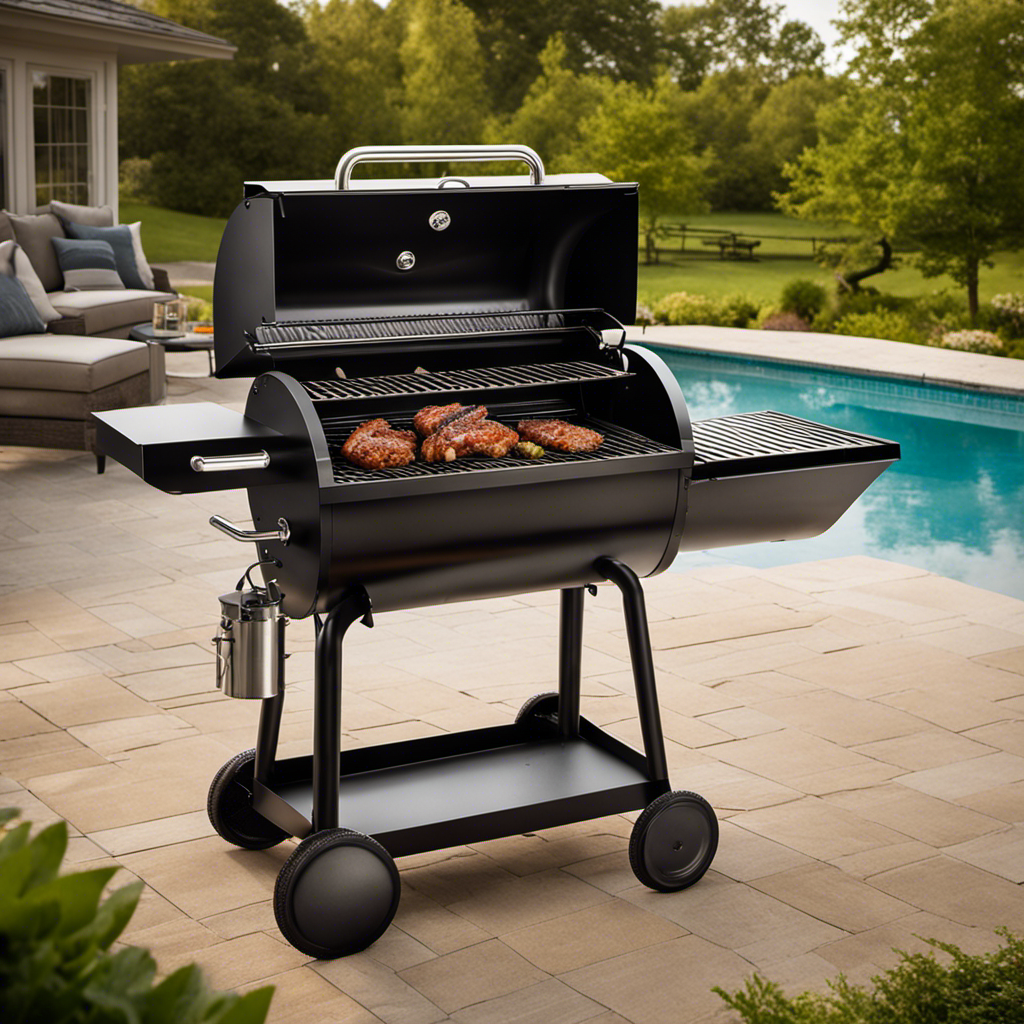
Preparing Your Outdoor Cooking Area
To create an ideal outdoor cooking area, I’ll clear the space and organize my utensils and ingredients. A well-organized cooking area is essential for a smooth and enjoyable outdoor cooking experience.
I’ll start by clearing any debris or unnecessary items from the area to create a clean and spacious environment. Next, I’ll organize my utensils and ingredients in a way that’s easily accessible and convenient. This will save me time and effort when I’m in the middle of cooking and need a specific tool or ingredient.
In addition to organizing my cooking area, I also understand the importance of properly maintaining my outdoor cooking equipment. Regular cleaning and maintenance will ensure that my equipment performs at its best and lasts for a long time. It’s important to clean the grill grates, grease tray, and other parts of the grill regularly to prevent the buildup of grease and food residue. I’ll also check for any signs of wear and tear and address them promptly to prevent any major issues.
By creating a clean and organized outdoor cooking area and properly maintaining my equipment, I can ensure that my cooking experience is enjoyable and hassle-free.
Now that my cooking area is ready, let’s move on to selecting the best wood pellets for pizza making.
Selecting the Best Wood Pellets for Pizza Making
When choosing the ideal fuel for my outdoor cooking, I consider the flavor and aroma that different types of wood pellets can bring to my pizza. Wood pellet availability plays a crucial role in my decision-making process. I want to have access to a wide variety of wood pellets so that I can experiment with different flavors and find the perfect one for my pizza creations.
One of the great advantages of using wood pellets is that they come in different flavors profiles, each imparting a unique taste to the food. For pizza making, I prefer hardwood pellets like oak or hickory. Oak pellets give a rich and smoky flavor to the crust, while hickory adds a bold and slightly sweet taste. These flavors complement the toppings and enhance the overall experience of enjoying a wood-fired pizza.
Having a range of wood pellet options also allows me to customize the flavor profile based on the type of pizza I’m making. For a classic Margherita, I might opt for fruitwood pellets like apple or cherry, which provide a subtle and slightly fruity undertone. For a more robust and hearty pizza, mesquite pellets can add a deep and intense smokiness.
Setting Up the Wood Pellet Pizza Oven
Once the outdoor cooking area is prepared, it’s important to ensure that the wood pellet oven is properly installed and ready for use.
Setting up the wood pellet pizza oven requires a few key steps to ensure optimal performance and delicious results.
First, find a suitable location for the oven, preferably on a stable, level surface away from any flammable materials.
Next, assemble the oven according to the manufacturer’s instructions, making sure all parts are securely in place.
Connect the oven to a reliable power source and ensure that the chimney is properly installed for proper ventilation.
Before firing up the oven, it’s crucial to thoroughly clean and maintain it.
Regularly remove any ash or debris from the burn chamber and clean the grates and cooking surfaces with a brush or damp cloth.
It’s also important to periodically inspect and clean the chimney to prevent any blockages.
Igniting and Controlling the Fire
I carefully ignite the fire in the wood pellet oven, ensuring that it’s properly controlled for even cooking temperatures. Fire maintenance is crucial for achieving that perfect wood-fired taste in your pizzas.
To start, I load the hopper with high-quality wood pellets, which serve as the fuel for the fire. I make sure to use pellets specifically designed for pizza ovens, as they burn cleaner and produce less ash. Once the hopper is filled, I ignite the fire using either an electric or manual ignition system, depending on the model of the oven.
As the fire begins to burn, I adjust the airflow to control the temperature. This is done by manipulating the air vents and damper, allowing for more or less oxygen to enter the oven.
Troubleshooting common issues during the fire maintenance process is also essential. For example, if the fire isn’t igniting properly, I check for any blockages in the pellet delivery system or ensure that the igniter is functioning correctly. Additionally, if the fire isn’t reaching the desired temperature, I adjust the airflow and check the pellets’ quality and moisture content.
Preheating the Pizza Stone
To achieve optimal cooking conditions, preheating the stone is essential for evenly baked pizzas. The pizza stone acts as a heat reservoir, absorbing and radiating heat evenly to create a crispy crust and perfectly cooked toppings.
Here’s how I achieve the best results when preheating my pizza stone:
-
Preheat the oven: Set your oven to the highest temperature possible, usually around 500°F (260°C). This will ensure that the stone gets hot enough to mimic the intense heat of a wood-fired oven.
-
Place the stone in the oven: Put your pizza stone on the middle rack of the oven. This allows for even heat distribution and prevents the bottom of the pizza from burning.
-
Allow for sufficient heating time: Let the stone preheat for at least 30 minutes. This ensures that the stone reaches its maximum temperature and provides a stable cooking surface.
-
Check temperature accuracy: Use an oven thermometer to verify the accuracy of your oven’s temperature. This ensures that your stone is reaching the desired heat level and gives you precise control over your cooking process.
Preparing the Pizza Dough and Toppings
When making pizza at home, I always start by preparing the dough and selecting my favorite toppings. The dough is the foundation of any good pizza, so it’s important to get it right. I like to use a combination of all-purpose and bread flour to achieve a perfect balance of chewiness and crispiness.
To prepare the dough, I begin by activating the yeast in warm water and letting it sit for a few minutes until it becomes frothy. Then, I add the flour, salt, and a touch of olive oil to the yeast mixture and knead it until it forms a smooth and elastic dough. Once the dough is ready, I let it rise in a warm place for about an hour until it doubles in size.
While the dough is rising, I turn my attention to selecting the toppings. This is where the fun and creativity come in! I like to have a variety of toppings on hand, such as fresh mozzarella, tomatoes, basil, pepperoni, and mushrooms. I also enjoy experimenting with different combinations of flavors, like adding arugula or prosciutto for a unique twist. The key is to use fresh and high-quality ingredients to enhance the overall taste of the pizza.
After the dough has risen, I divide it into individual portions and shape them into round discs. I then stretch the dough gently with my hands, being careful not to press too hard and deflate the air bubbles. Once the dough is ready, I spread a thin layer of tomato sauce over it and sprinkle it with my chosen toppings, making sure to distribute them evenly. Finally, I transfer the pizza to a preheated wood pellet pizza oven and cook it until the crust is golden and crispy, and the cheese is melted and bubbly.
Preparing the dough and selecting the perfect toppings are crucial steps in making a delicious homemade pizza. The dough provides the base, while the toppings add the flavor and texture. By taking the time to prepare the dough properly and choosing fresh and flavorful ingredients, I can create a pizza that rivals any pizzeria.
Cooking and Rotating the Pizzas
Now that we’ve prepared the perfect dough and chosen our delectable toppings, it’s time to dive into the heart of cooking a wood pellet pizza – the cooking and rotating process. As an experienced pizza enthusiast, I can assure you that this is where the magic happens.
Here are four essential steps to ensure a perfectly cooked and mouthwatering pizza:
-
Preheating the oven: Before you start cooking, it’s crucial to preheat your wood pellet pizza oven to the optimal temperature. This will ensure that the crust gets crispy while the toppings cook to perfection.
-
Slide it in: Gently slide your assembled pizza onto a pizza peel or a wooden paddle and carefully transfer it into the oven. The wood pellets will provide a smoky and flavorful touch to your pizza.
-
Rotate for even cooking: To achieve an evenly cooked pizza, rotate it every few minutes. This technique allows the heat to distribute evenly, resulting in a golden-brown crust and evenly melted cheese.
-
Watch for doneness: Keep a close eye on your pizza as it cooks. The cooking time may vary depending on the thickness of the crust and the toppings. Look for a bubbling, slightly charred crust and perfectly melted cheese to determine when it’s ready to be devoured.
Tips for Perfectly Baked Wood-Fired Pizzas
As someone who’s spent countless hours perfecting the art of wood-fired pizza, I understand the importance of achieving that perfectly baked crust.
To help you achieve pizza perfection, here are some tips that I swear by:
-
Mastering temperature control techniques to ensure a crisp yet chewy crust.
-
Selecting the right type of wood to infuse your pizza with that distinct smoky flavor.
Trust me, these tips will take your wood-fired pizzas to the next level.
Temperature Control Techniques
I find that adjusting the air vents on the wood pellet pizza oven is an effective technique for controlling the temperature. Here are four key aspects to consider when it comes to temperature monitoring and heat distribution:
-
Vent Position: By adjusting the vents, you can regulate the airflow inside the oven. Opening the vents allows more oxygen to enter, increasing the heat, while closing them restricts the airflow, reducing the temperature. Finding the right balance is crucial for achieving the desired cooking temperature.
-
Placement of Fuel: The placement of the wood pellets affects the heat distribution. Placing them closer to the fire pot creates a hotter zone, while spreading them out evenly promotes more even heat distribution throughout the oven.
-
Preheating Time: It’s essential to allow your pizza oven enough time to preheat. This ensures that the internal temperature stabilizes and reaches the desired cooking temperature. Monitor the temperature using a thermometer for accuracy.
-
Insulation: Proper insulation helps in maintaining a consistent temperature inside the oven. Insulated ovens are more efficient and retain heat better, resulting in improved heat distribution and ultimately, perfectly cooked pizzas.
By understanding and applying these temperature control techniques, you can achieve the ideal cooking environment for your wood pellet pizza oven.
Now, let’s move on to the next step: choosing the right wood.
Choosing the Right Wood
To achieve the best results, I prefer selecting hardwoods with low moisture content for my wood pellet pizza oven.
When it comes to choosing the right wood, there are a few factors to consider.
First, it’s important to understand the different types of wood pellets available. Hardwood pellets, such as oak or hickory, are known for their high heat and long burn time, making them ideal for pizza ovens. Softwood pellets, like pine or spruce, burn faster and at a lower temperature, which may not give you the desired results.
Additionally, seasoning the wood is crucial. Properly seasoned wood has been dried to a moisture content of around 20%, ensuring a clean and efficient burn. This not only enhances the flavor of your pizza but also prevents excessive smoke and creosote buildup.
Can I Use the Wood Pellet Pizza Oven Without Knowing How It Works?
Yes, you can use the wood pellet pizza oven without fully understanding the wood pellet pizza oven operation. However, familiarizing yourself with its operation will help you achieve the best results and avoid potential safety hazards.
What Are the Steps to Starting a Wood Pellet Pizza Oven?
When starting a wood pellet pizza oven, it’s essential to understand the wood pellet pizza oven workings. Begin by properly loading the wood pellets into the oven’s hopper. Then, ignite the pellets and allow the oven to preheat. Once it reaches the desired temperature, you can start cooking your delicious pizza.
Frequently Asked Questions
How Long Does It Take to Cook a Pizza in a Wood Pellet Pizza Oven?
To cook a pizza in a wood pellet pizza oven, the cooking time can vary depending on the temperature control and the thickness of the pizza crust. Generally, it takes about 10-15 minutes to cook a pizza in a wood pellet pizza oven.
The high heat generated by the wood pellets ensures a crispy crust and perfectly melted cheese. It’s amazing how quickly the oven can transform raw dough into a delicious, mouthwatering pizza.
Can I Use Regular Charcoal Instead of Wood Pellets in a Wood Pellet Pizza Oven?
Using charcoal in a wood pellet pizza oven isn’t recommended. Wood pellets are specifically designed for these ovens, providing the right amount of heat and flavor. Regular charcoal may not burn as efficiently, affecting the cooking time and overall taste of the pizza.
It’s best to stick with wood pellets for the authentic wood-fired experience. The cooking time in a wood pellet pizza oven with regular charcoal may vary and could result in unevenly cooked pizzas.
How Often Do I Need to Clean the Ash Out of the Wood Pellet Pizza Oven?
Cleaning the ash in a wood pellet pizza oven is an essential part of maintaining its performance. Regularly removing the ash ensures proper airflow and prevents the build-up of residue that can affect the taste and quality of your pizza.
To clean the ash, allow the oven to cool completely and use a brush or vacuum to remove the ash from the firebox and other surfaces.
This simple maintenance task will help you maintain the temperature and enjoy delicious wood-fired pizzas every time.
Can I Use a Wood Pellet Pizza Oven Indoors?
Indoor wood pellet ovens provide a convenient way to make delicious pizzas right in the comfort of your home. However, it’s crucial to take safety precautions when using them indoors.
Ensure proper ventilation to prevent the buildup of harmful gases. Place the oven on a heat-resistant surface and keep flammable materials away. Remember to follow the manufacturer’s guidelines and never leave the oven unattended.
With the right precautions, you can enjoy the taste of wood-fired pizzas indoors.
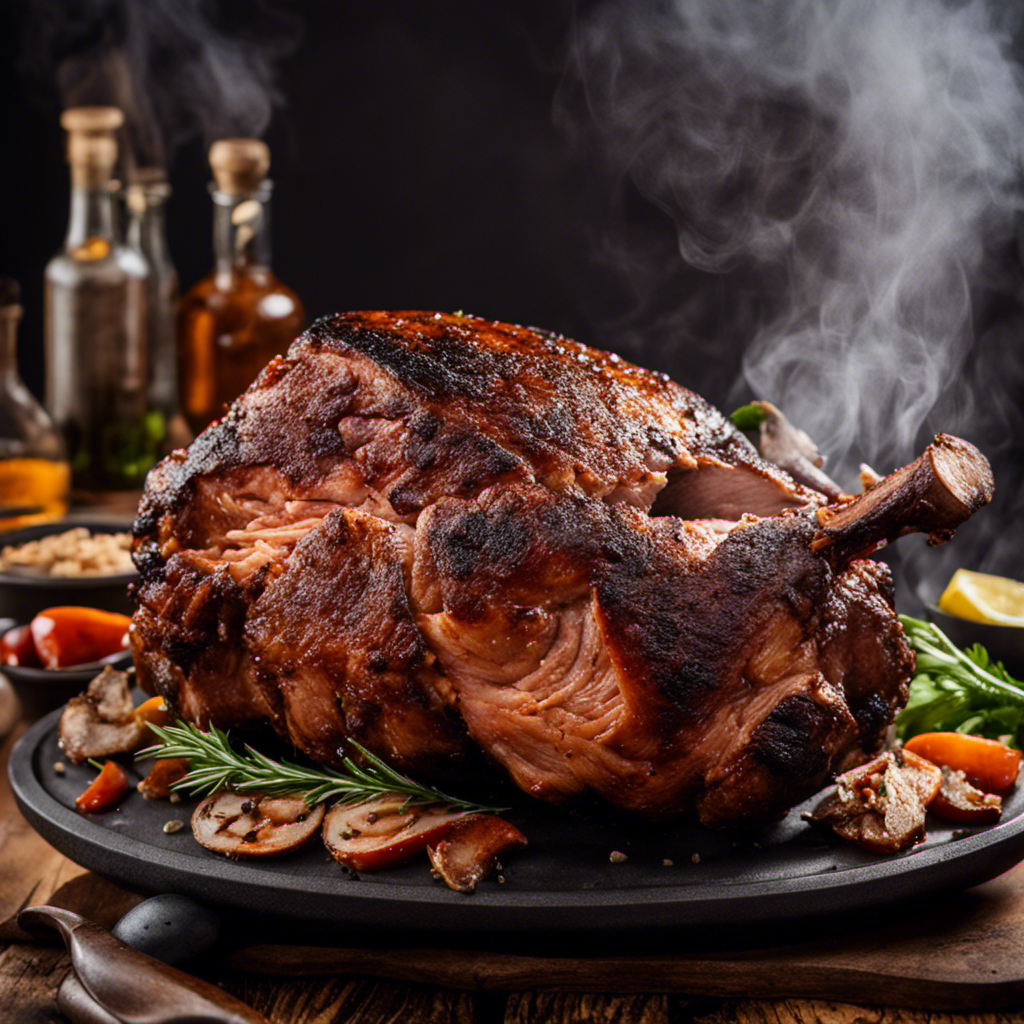
Can I Cook Other Foods Besides Pizza in a Wood Pellet Pizza Oven?
When it comes to cooking options, the wood pellet pizza oven is a versatile beast. It’s not just for pizzas anymore. With its high heat and smoky flavor, you can cook a variety of foods to perfection.
From juicy steaks to roasted vegetables, this oven can handle it all. The possibilities are endless, and the flavors are unmatched.
Conclusion
In conclusion, starting a wood pellet pizza oven is a rewarding and delicious venture.
Did you know that wood-fired pizzas can reach temperatures of up to 800 degrees Fahrenheit, resulting in a perfectly crispy crust and gooey cheese?
By following the steps outlined in this article, you can create mouthwatering pizzas that rival those from your favorite pizzeria.
So gather your ingredients, fire up the oven, and get ready to impress your friends and family with your wood-fired culinary skills!

Terra grew up with a soul deeply connected to nature. Her earliest memories are of sun-drenched meadows, whispering woods, and the rhythmic dance of waves on a moonlit night. Every gust of wind, rustling leaf, and distant horizon beckoned her with tales waiting to be told.