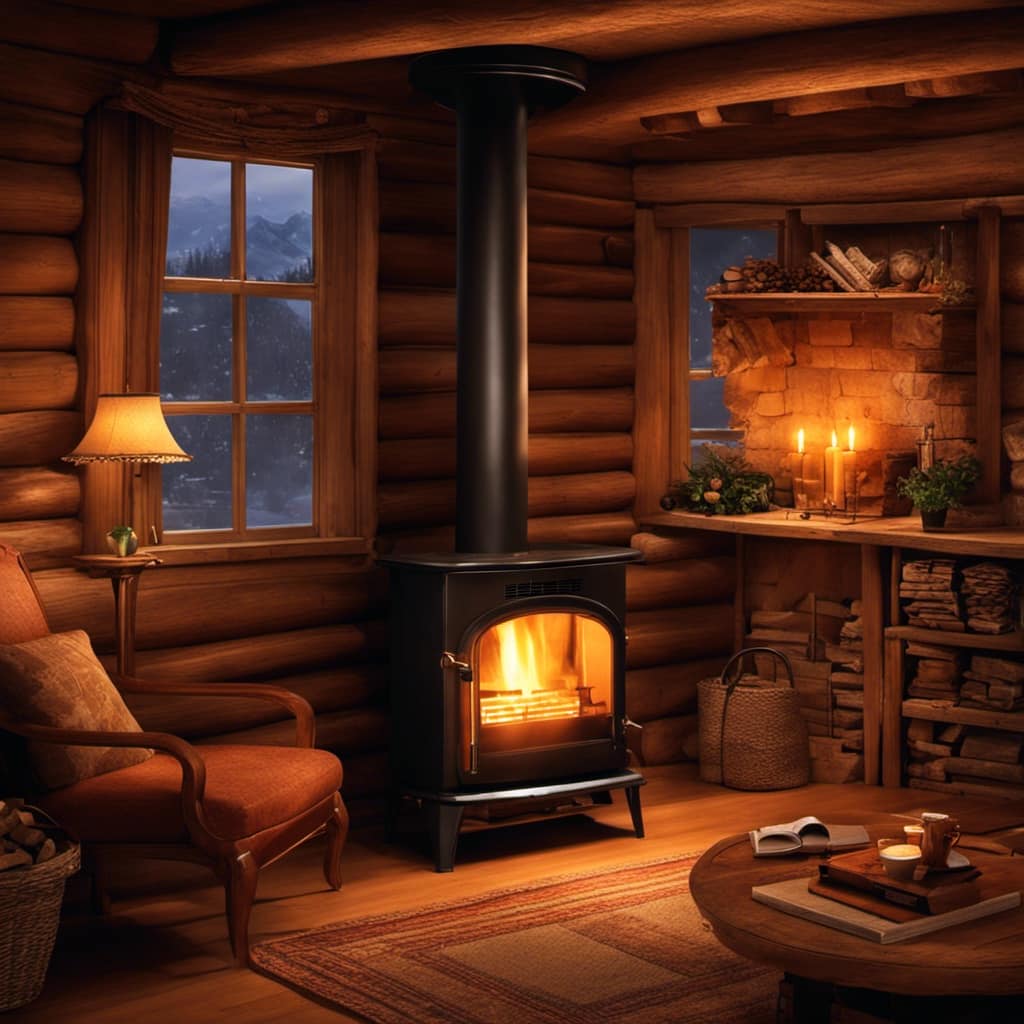
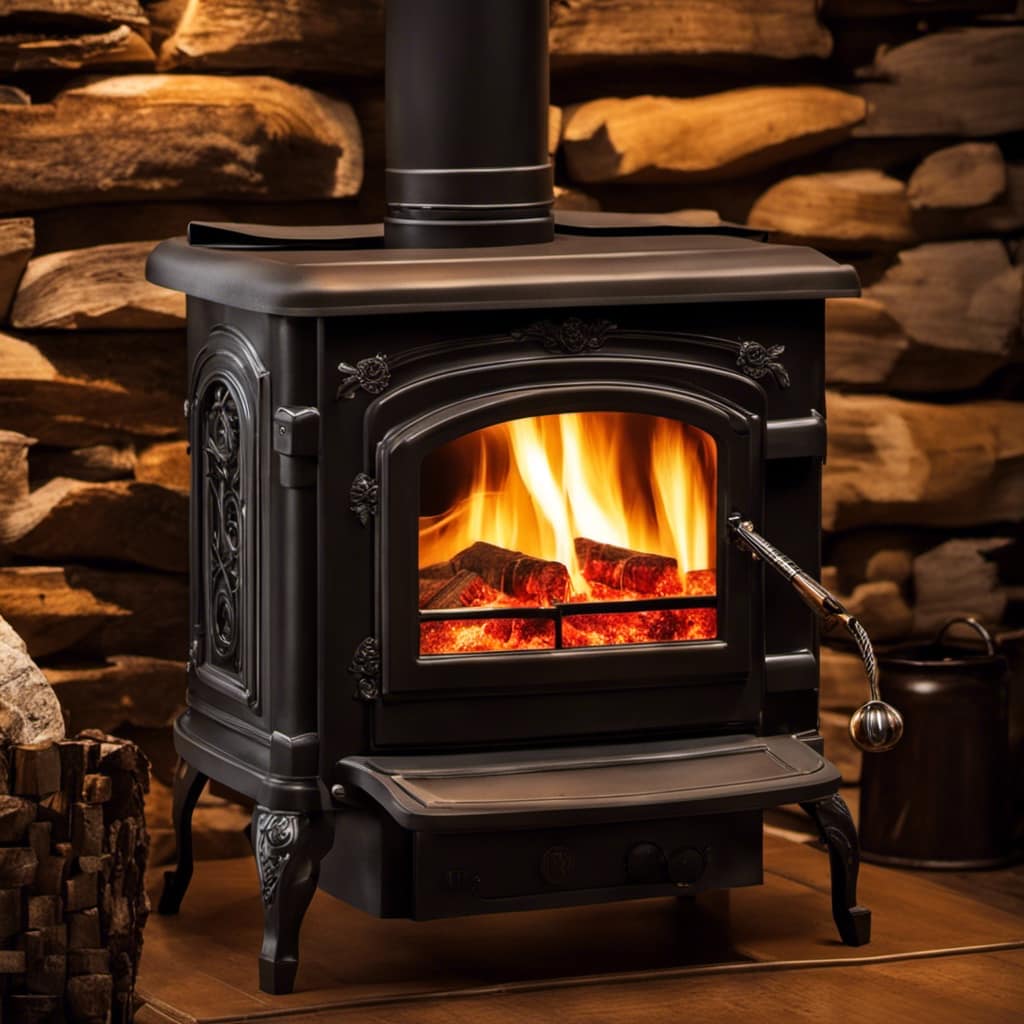
Connect with us

Wood Stove

When To Replace Wood Stove Air Tubes

Published

on

When To Replace Wood Stove Air Tubes

As an enthusiast of wood stoves, I’ve come to realize that air tubes are crucial for efficient heating. They reflect the function of arteries in a strong heart, ensuring optimal airflow and energy efficiency.

However, just like any vital component, they can wear out over time. In this article, I’ll guide you through the signs that indicate it’s time to replace your wood stove air tubes.

From decreased airflow to rust and corrosion, knowing when to make this crucial change can prolong the lifespan of your wood stove.

Key Takeaways

  • Regular inspections and cleaning of air tubes are crucial for wood stove maintenance.
  • Decreased airflow and efficiency indicate the need for cleaning and inspecting air tubes.
  • Rust and corrosion should be regularly inspected and addressed to maintain the stove’s structural integrity.
  • Cracks and leaks should be promptly addressed, with small cracks repaired and larger cracks requiring professional assistance or component replacement.

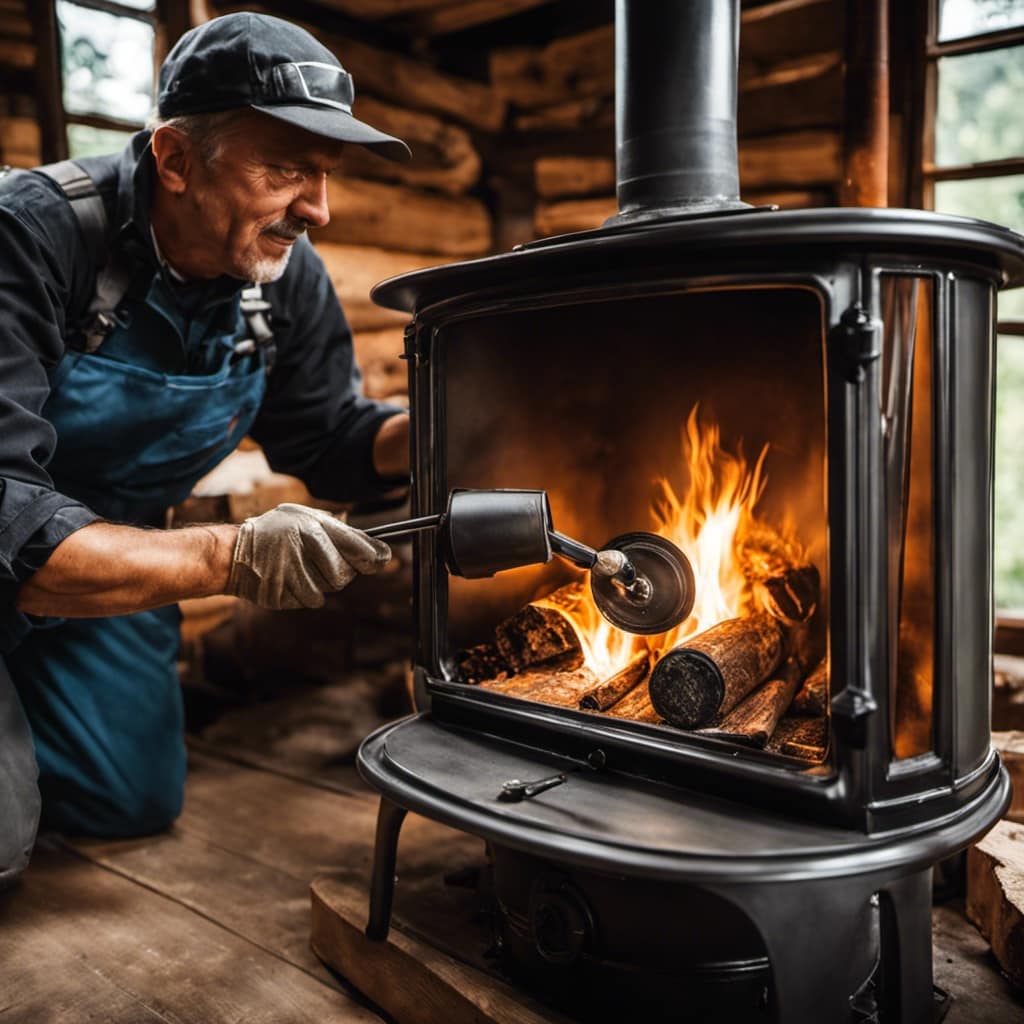
Signs of Wear and Tear

I can see visible cracks and rust on the air tubes, indicating signs of wear and tear.

defiant 1910 wood stove

When it comes to wood stove maintenance, regular inspections are crucial. By inspecting the air tubes, we can identify any issues before they worsen and potentially cause safety hazards. It’s essential to prioritize the maintenance of these tubes as they play a crucial role in providing proper airflow to the fire.

To ensure their longevity, it’s recommended to clean the air tubes regularly and check for any signs of damage. Additionally, scheduling professional inspections at least once a year is highly recommended. These inspections can help identify any hidden problems and provide maintenance tips specific to your wood stove, ensuring its optimal performance and longevity.

Advertisement

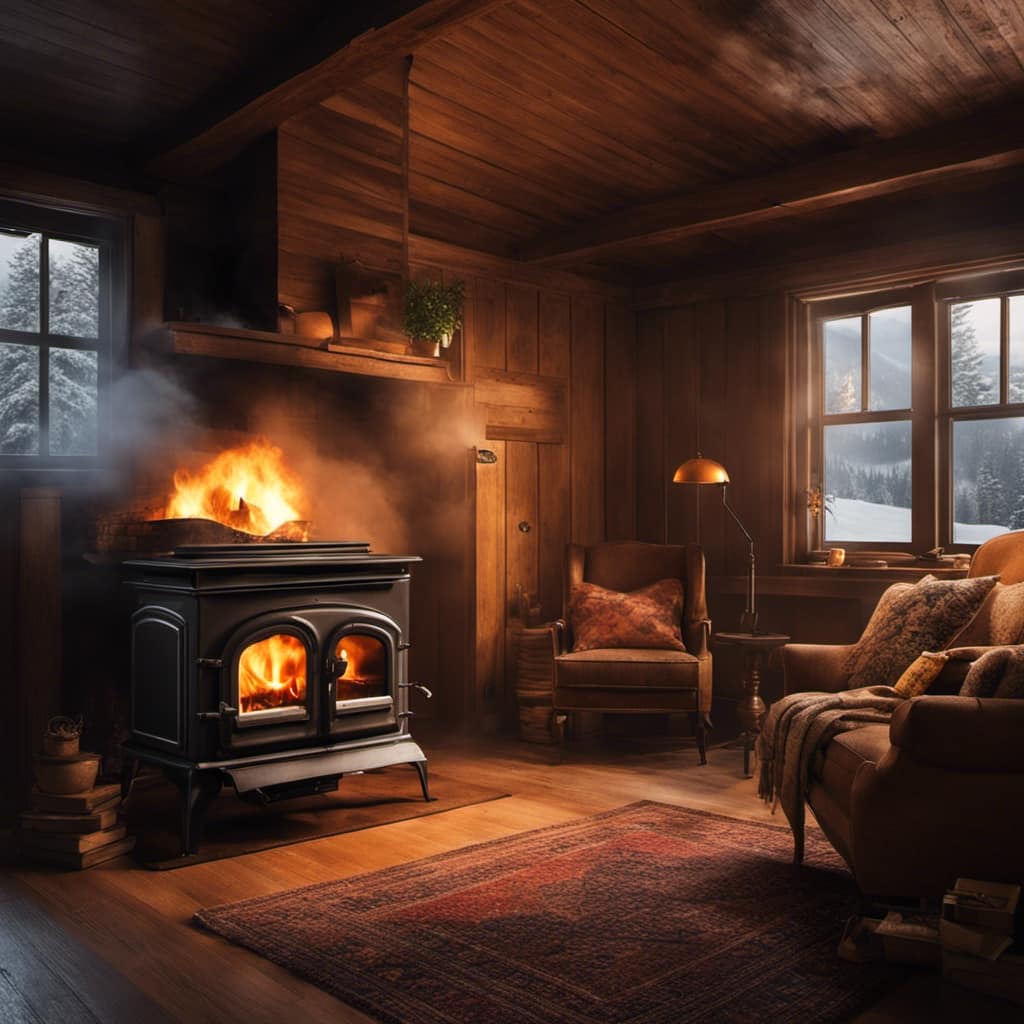
Decreased Airflow and Efficiency

I’ve noticed that the decreased airflow and efficiency of my wood stove is directly impacting its ability to heat the room effectively. It’s crucial to emphasize the importance of regular maintenance for wood stoves to ensure optimal performance.

Over time, air tubes can become clogged with soot and debris, hindering the airflow and reducing efficiency. By regularly cleaning and inspecting the air tubes, you can prevent these issues and maintain a consistent heat output.

wood stove pipe installation

However, if you’re experiencing persistent problems despite proper maintenance, it may be time to consider upgrading to a newer model. Upgrading can provide several benefits, including improved airflow, increased efficiency, and enhanced heat production. Newer models often incorporate advanced technologies that maximize heat output while minimizing fuel consumption.

Rust and Corrosion

Regularly inspecting and addressing rust and corrosion issues is crucial to maintaining the longevity and efficiency of your wood stove. Rust and corrosion not only weaken the structural integrity of the stove, but they can also lead to decreased performance and potential safety hazards.

To prevent rust and corrosion in wood stoves, consider these maintenance tips:

Advertisement
  • Keep the stove clean and dry: Moisture is a major contributor to rust and corrosion. Regularly clean the stove to remove any debris or moisture that may have accumulated.

    wood stoves for heating

  • Use a rust inhibitor: Apply a rust inhibitor to the exterior surfaces of the stove to provide an additional layer of protection against corrosion.

  • Inspect the air tubes: The air tubes in the wood stove are particularly susceptible to rust and corrosion. Regularly clean and inspect them to ensure proper airflow and prevent any blockages.

  • Monitor the chimney: Check the chimney regularly for signs of rust or corrosion. These issues can affect the draft and overall performance of the stove.

Cracks and Leaks

Inspecting the stove for any cracks or leaks is an important step in maintaining its safety and efficiency.

mini wood burning stove

Over time, wear and tear can cause these issues to arise, compromising the stove’s performance and potentially posing a safety hazard. When it comes to cracks, it’s crucial to assess their severity. Small, hairline cracks can often be repaired using special high-temperature sealants. However, larger or more severe cracks may require professional assistance or even a replacement of the affected component.

Leaks, on the other hand, should be addressed promptly. Common areas for leaks include the door gasket, chimney connection, and exhaust pipe. Regularly inspecting and replacing these gaskets is vital to ensure a proper seal.

Age and Lifespan

My wood stove’s lifespan is influenced by its age and how well I maintain it. As a responsible owner, I understand the importance of regular maintenance and the impact it has on the longevity of my stove. Here are some cost-effective replacements and proper maintenance techniques to ensure my wood stove continues to perform efficiently:

  • Regularly clean the air tubes to remove any built-up creosote or debris.
  • Inspect the air tubes for any signs of wear or damage, such as rust or cracks.
  • Replace worn or damaged air tubes promptly to prevent any potential issues.
  • Consider upgrading to high-quality stainless steel air tubes, which offer durability and improved heat distribution.

Frequently Asked Questions

Can I Repair a Cracked or Leaking Wood Stove Air Tube Instead of Replacing It?

Yes, you can repair a cracked or leaking wood stove air tube instead of replacing it. There are alternatives to replacing the tube, such as using high-temperature epoxy or welding to fix the issue.

wood stove hand truck

How Often Should I Clean the Air Tubes in My Wood Stove?

When it comes to keeping my wood stove in top shape, cleaning the air tubes is crucial. Regular maintenance is key to ensure efficient airflow. Signs like rust or damage indicate it’s time to replace the air tubes.

Advertisement

Are There Any Specific Tools or Materials Needed to Replace Wood Stove Air Tubes?

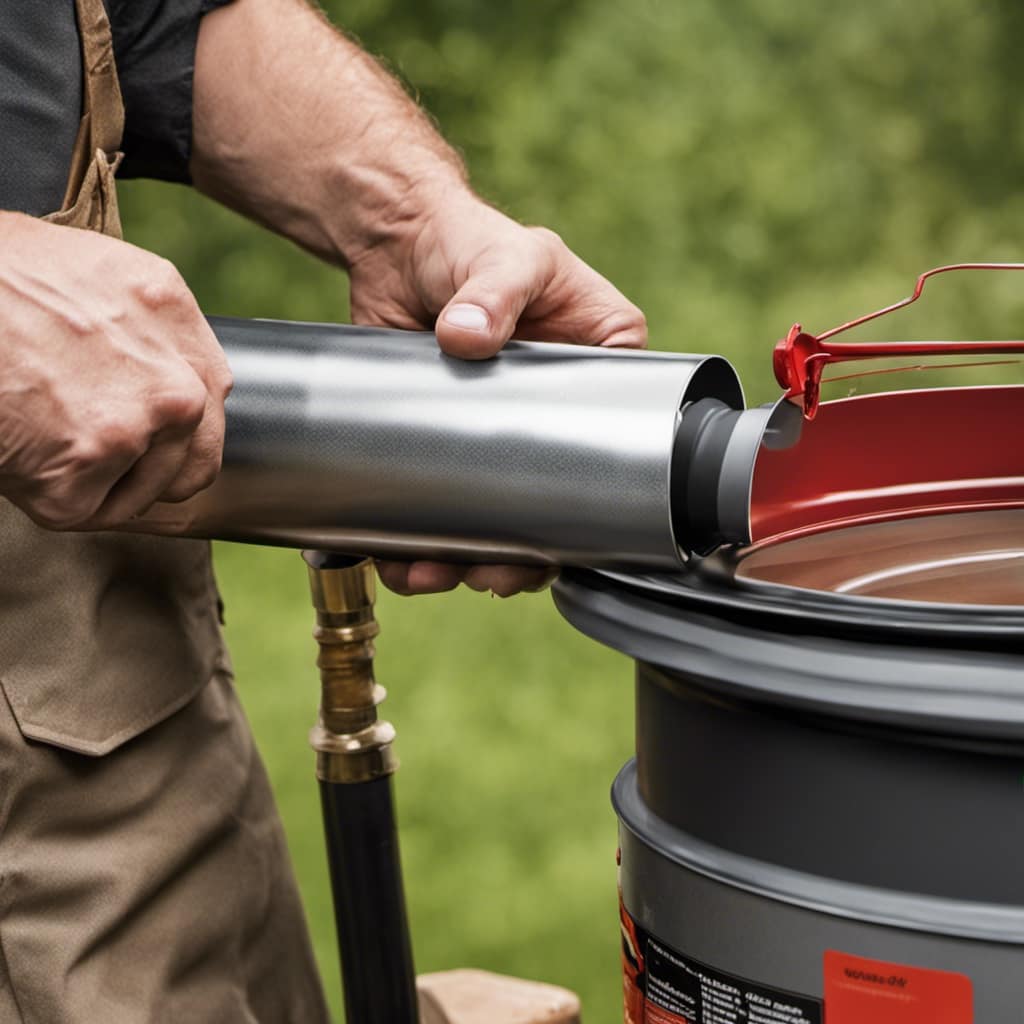
When replacing wood stove air tubes, common issues include rust, corrosion, or damage. To replace them, you’ll need a screwdriver, pliers, and new air tubes. Follow these steps: disconnect the old tubes, remove any screws or clamps, and install the new ones securely.

Can I Use a Different Type of Material for the Air Tubes in My Wood Stove?

I can use a different material for the air tubes in my wood stove, but there are pros and cons to consider. Some options include stainless steel, cast iron, and ceramic. Each material has its own advantages and disadvantages.

Is It Possible to Extend the Lifespan of Wood Stove Air Tubes Through Regular Maintenance?

Regular maintenance is crucial in increasing the lifespan of wood stove air tubes. By ensuring they are cleaned regularly and checking for any signs of wear or damage, one can extend their durability and efficiency.

vermont castings wood stove

Conclusion

In conclusion, it’s important to regularly inspect and replace the air tubes in your wood stove to ensure optimal performance and efficiency.

One interesting statistic to consider is that a well-maintained wood stove can provide up to 30% more heat output compared to a stove with worn-out air tubes.

Advertisement

So, by staying on top of regular maintenance, you can enjoy a cozy and warm atmosphere while also saving on heating costs.

Keep your wood stove in top shape for a more enjoyable winter season.

wood stoves for heating house

Growing up surrounded by the vast beauty of nature, Sierra was always drawn to the call of the wild. While others sought the comfort of the familiar, she ventured out, embracing the unpredictable and finding stories in the heartbeat of nature.   At the epicenter of every remarkable venture lies a dynamic team—a fusion of diverse talents, visions, and passions. The essence of Best Small Wood Stoves is crafted and refined by such a trio: Sierra, Logan, and Terra. Their collective expertise has transformed the platform into a leading authority on small wood stoves, radiating warmth and knowledge in equal measure.

Continue Reading
Advertisement

Wood Stove

How To Tell If The Catalytic Converter Is Bad On My Wood Stove

Published

on

By

An image showcasing a close-up of a wood stove's catalytic converter

As someone passionate about wood stoves, I have learned to appreciate the essential function the catalytic converter serves in maintaining peak performance.

But how do you know if it’s gone bad?

Well, fear not! In this article, I’ll guide you through the telltale signs of a malfunctioning catalytic converter on your wood stove.

From strange odors to reduced heat output, we’ll explore the common issues that indicate a faulty converter.

So, let’s dive in and diagnose the problem together!

Advertisement

Key Takeaways

  • A malfunctioning catalytic converter on a wood stove can lead to the release of harmful emissions and decreased efficiency.
  • Signs of a bad catalytic converter include black smoke, clogged or damaged converter, and build-up of creosote or debris.
  • Regular cleaning and maintenance, as well as using dry and seasoned wood, can help minimize issues with the catalytic converter.
  • Steps to diagnose a faulty catalytic converter include checking for decreased efficiency, inspecting for physical damage, and comparing the temperature to the recommended range.

Understanding the Function of a Catalytic Converter on a Wood Stove

I’ve been researching and I’ve learned that a catalytic converter plays a crucial role in reducing emissions from my wood stove.

The maintenance of a wood stove is essential to ensure its optimal performance and minimize environmental impact.

By using a catalytic converter, the benefits are significant. This device is designed to convert harmful gases and pollutants into less harmful substances through a chemical reaction. It acts as a catalyst, speeding up the conversion process and reducing the release of harmful emissions into the atmosphere.

The catalytic converter also helps to improve the efficiency of the wood stove by promoting a more complete combustion process. This not only reduces pollution but also increases fuel efficiency, saving both money and resources.

Regular maintenance, including cleaning and inspecting the catalytic converter, is crucial to ensure its proper functioning and prolong its lifespan.

Signs of a Malfunctioning Catalytic Converter on Your Wood Stove

One of the signs that indicate a malfunctioning catalytic converter on my wood stove is the presence of black smoke coming out of the chimney. This issue can occur due to a few potential causes.

Advertisement

The first one is a clogged or damaged catalytic converter, which can lead to incomplete combustion of wood and the production of excessive smoke. Another cause could be a build-up of creosote or other debris in the converter, obstructing its function.

Regular maintenance is crucial to prevent these problems. To maintain the catalytic converter on my wood stove, I make sure to clean it regularly, removing any accumulated creosote or debris. Additionally, proper burning techniques, such as using dry and seasoned wood, can help minimize the chances of a malfunctioning catalytic converter.

Common Issues That Indicate a Bad Catalytic Converter on Your Wood Stove

When the catalytic converter on my wood stove fails, it can result in decreased efficiency and increased emissions, which are common issues indicating a bad converter. Troubleshooting and maintaining the catalytic converter is crucial to ensure optimal performance and minimize environmental impact. Here are some troubleshooting tips and maintenance techniques that can help identify and address potential issues:

Troubleshooting Tips Maintenance Techniques
1. Check for unusual odor or smoke 1. Regularly clean the catalytic converter to remove accumulated soot and debris
2. Monitor the temperature 2. Inspect the converter for any signs of physical damage or corrosion
3. Examine the color of the flames 3. Replace the converter if it is beyond repair or fails to meet emissions standards
4. Test the efficiency using an emissions analyzer 4. Follow manufacturer’s guidelines for proper installation and usage

Steps to Diagnose a Faulty Catalytic Converter on Your Wood Stove

I recently learned the steps to diagnose a faulty catalytic converter on my wood stove, and it’s important to share this knowledge with others.

When it comes to diagnosing wood stove problems, specifically troubleshooting wood stove issues related to the catalytic converter, there are a few key steps to follow.

Advertisement

First, check for signs of a malfunctioning catalytic converter, such as decreased efficiency or a lack of heat production.

Next, inspect the converter for physical damage, such as cracks or leaks.

Additionally, you can perform a visual inspection of the catalyst material itself, looking for discoloration or deterioration.

Finally, if necessary, you can use a diagnostic tool to measure the converter’s temperature and compare it to the recommended range.

How to Address and Replace a Bad Catalytic Converter on Your Wood Stove

There are several steps you can take to address and replace a bad catalytic converter on your wood stove.

Advertisement

When it comes to troubleshooting a faulty catalytic converter, the first thing you should do is check for any signs of damage or wear. Look for cracks, holes, or discoloration on the converter itself. If you notice any of these issues, it’s likely time for a replacement.

To replace the catalytic converter, start by disconnecting it from the stove and removing any mounting hardware. Take note of the make and model of your wood stove to ensure you purchase the correct replacement.

Once you have the new converter, simply install it in the reverse order of removal. Remember to follow all safety precautions and consult your stove’s manual for specific maintenance techniques.

Frequently Asked Questions

Can a Malfunctioning Catalytic Converter on a Wood Stove Cause a Fire Hazard?

A malfunctioning catalytic converter on a wood stove can indeed pose a fire hazard. It’s important to regularly inspect and test the converter for any signs of damage or malfunction to ensure safe operation.

Do All Wood Stoves Have a Catalytic Converter?

Do wood stoves with catalytic converters burn cleaner? Yes, they do. They help reduce emissions by up to 90%. The benefits of having a catalytic converter on a wood stove include improved air quality and increased energy efficiency.

Advertisement

Can a Clogged Catalytic Converter Affect the Efficiency of My Wood Stove?

A clogged catalytic converter can significantly impact the efficiency of a wood stove. It restricts air flow, preventing proper combustion and reducing heat output. Regular maintenance and cleaning are crucial to ensure optimal performance.

Is It Possible to Clean a Bad Catalytic Converter on a Wood Stove Instead of Replacing It?

Cleaning a bad catalytic converter on a wood stove is not recommended. It’s crucial to replace it when it’s faulty as alternative solutions are limited. Proper maintenance and regular inspection are key to ensuring optimal performance.

What Are the Potential Health Risks Associated With a Faulty Catalytic Converter on a Wood Stove?

Regular maintenance and inspection of catalytic converters on wood stoves is crucial to prevent potential long term health risks associated with faulty converters. It’s important to be aware of the potential effects of exposure.

Conclusion

In conclusion, identifying a malfunctioning catalytic converter on your wood stove is crucial for maintaining its efficiency and safety. By understanding its function and recognizing common issues, you can diagnose and address any problems promptly.

Remember, addressing a faulty catalytic converter promptly will ensure optimal performance and reduce the risk of harmful emissions. So, don’t hesitate to take the necessary steps to replace a bad catalytic converter and keep your wood stove running smoothly.

Advertisement
Continue Reading

Wood Stove

How Hot Does The Outer Surface Of A Wood Stove Get

Published

on

By

An image that captures the intense heat radiating from the scorching outer surface of a wood stove

Similar to the intense heat of a midsummer’s day, the exterior of a wood stove can achieve extremely high heat levels. Throughout this article, I’ll explore the captivating science responsible for the heat production in wood stoves, and examine the elements that affect the temperature of their external surface.

By understanding heat transfer and implementing safety measures, we can ensure a safe and enjoyable wood stove experience. Join me as we uncover the secrets to maintaining a comfortable and hazard-free wood stove temperature.

Key Takeaways

  • Proximity of combustible materials impacts the temperature of the outer surface of a wood stove.
  • The material composition of the stove influences the surface temperature.
  • Insulation effectiveness plays a significant role in controlling the outer surface temperature.
  • Air circulation around the stove can affect the temperature of the outer surface.

The Science Behind Wood Stove Heat

I can explain the science behind wood stove heat and how it affects the outer surface temperature. Wood stove efficiency plays a crucial role in determining the heat distribution and, consequently, the temperature of the stove’s outer surface.

When the wood burns inside the stove, it releases energy in the form of heat. This heat is transferred to the surrounding air through a process called convection. The hot air rises and creates a flow that distributes the heat throughout the room. However, not all the heat is transferred through convection. Some heat is also radiated directly from the stove’s surface.

The efficiency of a wood stove determines how effectively it converts wood into heat and how much of that heat is distributed through convection or radiated from the surface. Understanding these mechanisms is essential in understanding why the outer surface of a wood stove gets hot.

This understanding leads us to explore the factors that influence the outer surface temperature of a wood stove.

Advertisement

Factors Affecting Outer Surface Temperature

One factor that significantly impacts the outer surface temperature of a wood stove is the proximity of combustible materials. If these materials are located too close to the stove, it can increase the risk of a fire and also cause the outer surface temperature to rise.

However, there are other factors that can affect the temperature as well. Here are four key considerations:

  1. Material composition: The type of material used for the outer surface of the wood stove can influence how hot it gets. Some materials may have better heat resistance and insulation properties, while others may be more prone to heating up quickly.

  2. Insulation effectiveness: The insulation surrounding the wood stove can play a crucial role in controlling the outer surface temperature. Good insulation can help prevent heat transfer and keep the outer surface cooler, while poor insulation may allow more heat to escape and increase the surface temperature.

  3. Air circulation: The airflow around the wood stove can impact its outer surface temperature. Proper ventilation and air circulation can help dissipate heat and prevent the surface from getting too hot.

  4. Stove design: The design of the wood stove itself can affect the outer surface temperature. Stoves with effective heat convection systems or heat shields can help distribute heat more evenly and reduce the temperature of the outer surface.

Considering these factors can help ensure the safe and efficient use of wood stoves while minimizing the risk of overheating and fire hazards.

Understanding Heat Transfer in Wood Stoves

Understanding how heat is transferred within wood stoves is crucial for optimizing their efficiency and preventing overheating. Thermal conductivity in wood stoves refers to the ability of the material to conduct heat. Different components of the stove, such as the firebox, flue, and outer surface, have varying thermal conductivity values. This affects how quickly heat is transferred from the fire to the surrounding environment.

Insulation techniques in wood stoves play a vital role in minimizing heat loss and improving overall performance. Insulating materials, such as firebricks or refractory materials, are commonly used to line the firebox and reduce heat transfer to the stove’s outer surface. Additionally, air gaps or double-wall construction can provide insulation and prevent excessive heating of the stove’s exterior.

Advertisement

Safety Measures for Hot Wood Stove Surfaces

To ensure the safety of everyone in the household, it’s important to implement proper safety measures, such as using heat-resistant gloves and keeping a safe distance from the hot wood stove surface. Preventing burns should be a top priority when dealing with a wood stove.

Here are some safety measures you can take:

  1. Use heat-resistant gloves: When handling the wood stove or any hot objects, make sure to wear gloves specifically designed to withstand high temperatures. This will protect your hands from burns.

  2. Keep a safe distance: Maintain a safe distance from the hot wood stove surface to avoid accidental contact. A general guideline is to keep at least three feet of clearance around the stove.

  3. Install a heat shield: Installing a heat shield behind the wood stove can help reduce the temperature of the surrounding walls, minimizing the risk of burns.

  4. Use heat-resistant materials: Opt for heat-resistant materials when decorating or furnishing the area around the wood stove. This includes using fireproof rugs, curtains, and furniture to prevent accidental fires and burns.

Tips for Maintaining a Safe Wood Stove Temperature

I need to adjust the air intake and keep an eye on the thermometer to make sure my wood stove maintains a safe temperature. Maintaining temperature control is crucial to prevent overheating, which can be dangerous and lead to fires. To ensure the safe operation of a wood stove, it is important to follow certain guidelines. First, regularly clean the stove and chimney to remove any built-up soot or debris that could affect airflow. Secondly, use seasoned firewood that has been properly dried to reduce the risk of excessive heat. Additionally, using a stove thermometer can help monitor the temperature and make necessary adjustments to the air intake. Finally, always follow the manufacturer’s instructions and guidelines for safe operation. By implementing these tips, you can enjoy the warmth of your wood stove while ensuring the safety of your home.

Tips for Maintaining a Safe Wood Stove Temperature
1. Adjust the air intake for proper airflow
2. Regularly clean the stove and chimney
3. Use seasoned firewood
4. Monitor temperature with a stove thermometer
5. Follow manufacturer’s instructions and guidelines

Frequently Asked Questions

What Are the Different Materials Used to Construct the Outer Surface of Wood Stoves?

Different types of insulation can be used to construct the outer surface of wood stoves. Some common materials include steel, cast iron, and ceramic. Each has its pros and cons in terms of durability, heat retention, and appearance.

Can the Outer Surface Temperature of a Wood Stove Be Affected by the Type of Fuel Being Burned?

The outer surface temperature of a wood stove can be affected by the type of fuel being burned. Factors like moisture content and stove design play a role in determining how hot it gets.

Advertisement

Is It Possible to Reduce the Outer Surface Temperature of a Wood Stove Without Affecting Its Heating Efficiency?

Reducing the outer surface temperature of a wood stove can be achieved without impacting its heating efficiency. Proper insulation and heat shields can help to dissipate heat, ensuring safe operation and preventing damage to surrounding materials.

How Long Does It Take for the Outer Surface of a Wood Stove to Cool Down After It Has Been Turned Off?

After turning off a wood stove, the outer surface can take a while to cool down completely. Factors such as the type of fuel burned and the stove’s insulation can affect the cooling time.

Are There Any Regulations or Standards in Place Regarding the Maximum Allowable Temperature for the Outer Surface of a Wood Stove?

There are regulations on the maximum temperature for wood stoves, which aim to ensure safety. The outer surface temperature of a wood stove can be influenced by factors such as design and insulation.

Conclusion

In conclusion, the outer surface of a wood stove can reach extremely high temperatures due to the heat generated inside. It’s important to understand the factors that affect the surface temperature and practice safety measures to prevent accidents.

By maintaining a safe wood stove temperature and following proper maintenance tips, we can ensure a secure and enjoyable experience while keeping warm.

Advertisement

Remember, a well-maintained wood stove can provide comfort and coziness, but it’s crucial to handle it with caution to avoid any potential hazards.

Continue Reading

Wood Stove

How To Fix A Crack In A Wood Stove

Published

on

By

An image showcasing a pair of skilled hands meticulously applying heat-resistant epoxy to a prominent crack in a well-worn wood stove

Have you found an annoying crack in your wood stove? Fear not, because I have the perfect solution for you.

In this article, I’ll guide you through the process of fixing that crack like a pro. With a few simple steps and some basic tools and materials, you’ll have your wood stove back to its prime in no time.

So let’s roll up our sleeves and get cracking!

Key Takeaways

  • Evaluating the severity and cause of the crack is crucial before proceeding with any repair method.
  • Choosing high-temperature epoxy and prioritizing safety precautions are essential for a durable and safe repair.
  • Preparing the crack by cleaning and smoothing the edges, as well as considering the temperature resistance and durability of the filler, is important for a successful repair.
  • Applying the repair solution evenly, allowing it to dry completely, and following proper application techniques are necessary for a seamless repair.

Assessing the Damage

I’m examining the extent of the damage done to the wood stove.

Evaluating the severity of the crack is crucial in determining the cause and finding the appropriate solution.

To begin, I carefully inspect the crack’s length, width, and depth.

Advertisement

This assessment allows me to categorize the severity of the damage, which can range from a minor surface crack to a more significant structural issue.

Additionally, I examine the surrounding area for any signs of heat damage or discoloration.

By understanding the cause of the crack, whether it’s due to excessive heat, improper installation, or physical impact, I can better address the issue at hand.

This detailed evaluation enables me to proceed with confidence and choose the most suitable repair method for the wood stove.

Gathering the Necessary Tools and Materials

I’ll gather all the necessary tools and materials, such as a putty knife and high-temperature epoxy, to fix the crack in the wood stove.

Advertisement

When it comes to choosing the right repair solution for a crack in a wood stove, it’s essential to consider both the safety precautions during the repair process and the effectiveness of the solution. Safety should always be a top priority, as working with a wood stove involves high temperatures and potential hazards. Therefore, it’s crucial to use high-temperature epoxy specifically designed for this purpose to ensure a durable and safe repair.

By selecting the right repair solution and following the necessary safety precautions, we can effectively fix the crack in the wood stove and restore its functionality.

Now, let’s move on to preparing the crack for repair.

Preparing the Crack for Repair

First, I always carefully inspect the crack to determine its size and severity.

Then, I use a wire brush and sandpaper to clean and smooth the edges before applying the epoxy. This sanding technique ensures proper adhesion and a seamless repair.

Advertisement

When choosing the right filler, it’s crucial to consider the temperature resistance and durability. Here are four key factors to consider:

  • Compatibility: Ensure that the filler is suitable for wood stove repairs and can withstand high temperatures.
  • Flexibility: Look for a filler that can accommodate the expansion and contraction of the stove without cracking or breaking.
  • Strength: The filler should provide a strong bond to effectively seal the crack and prevent any heat leakage.
  • Appearance: Choose a filler that matches the color and texture of the stove to ensure a visually appealing repair.

Applying the Repair Solution

When applying the repair solution to fix a crack in a wood stove, it’s crucial to follow the proper application technique to ensure a successful repair.

First, clean the area around the crack thoroughly, removing any dirt, debris, or loose wood particles.

Then, apply the repair solution using a brush or a spatula, making sure to spread it evenly over the crack.

The coordinating conjunction ‘and’ can be used to connect the steps of the application process.

It’s important to avoid common mistakes such as applying too much or too little of the repair solution, as this can affect the effectiveness of the repair.

Advertisement

Additionally, make sure to let the solution dry completely before using the wood stove again.

Finishing Touches and Maintenance Tips

After applying the repair solution, it’s important to carefully inspect the wood stove for any remaining cracks or damage. This step is crucial to ensure the effectiveness of the repair and prevent any potential hazards.

In order to maintain the longevity of your wood stove, it’s essential to follow a regular maintenance schedule. Here are some important finishing touches and maintenance tips to consider:

  • Clean the stove regularly to remove any ash or debris buildup.
  • Inspect the gaskets and seals for wear and tear, and replace them if necessary.
  • Check the chimney and flue for any blockages or creosote buildup.
  • Consider using alternative repair methods such as high-temperature silicone or cast iron patching paste for more extensive cracks.

Frequently Asked Questions

Can I Use Regular Wood Glue to Fix a Crack in a Wood Stove?

Regular wood glue is not suitable for fixing a crack in a wood stove. Instead, I recommend using epoxy for wood stove crack repairs. It provides a stronger and more heat-resistant bond. There are no effective alternative methods for fixing a crack in a wood stove.

Is It Safe to Continue Using a Wood Stove With a Crack in It?

Using a wood stove with a crack is like driving a car with a flat tire – it’s risky. The crack can lead to safety issues and potential dangers, so it’s important to address the problem promptly.

How Long Does the Repair Solution Take to Dry Before I Can Use the Wood Stove Again?

The drying time of the repair solution depends on the specific product used. It is important to follow the manufacturer’s instructions for drying time before using the wood stove again. There are alternative repair methods available as well.

Advertisement

Can I Paint Over the Repaired Crack to Make It Less Noticeable?

Yes, you can paint over the repaired crack in a wood stove to make it less noticeable. There are various painting techniques you can use, or you can explore alternative repair methods for a more seamless result.

Are There Any Specific Maintenance Tips to Prevent Cracks From Forming in the Future?

To prevent cracks in the future, it’s important to take preventive measures. Common causes of cracks include overheating and rapid temperature changes. Regular maintenance, such as inspecting for damage and cleaning, can help identify potential issues early on.

Conclusion

In conclusion, fixing a crack in a wood stove requires careful assessment of the damage.

It also involves gathering the necessary tools and materials, and precisely preparing the crack for repair.

By applying the appropriate repair solution and implementing proper finishing touches, the wood stove can be restored to its optimal functioning state.

Advertisement

Additionally, it is important to remember to regularly maintain and clean the stove to ensure its longevity.

Fixing a crack may seem daunting, but with the right knowledge and techniques, it can be accomplished with exceptional skill and expertise.

Continue Reading

Trending