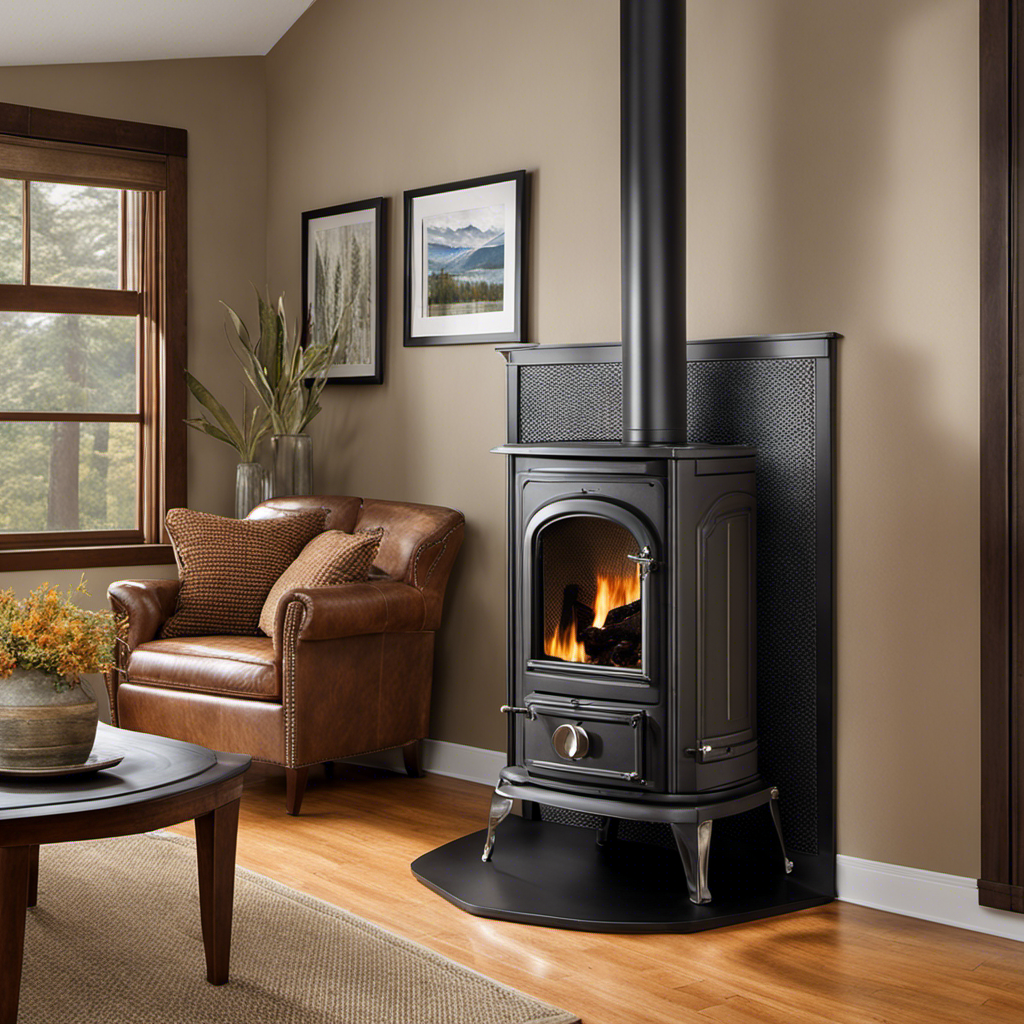
I’ve always appreciated the cozy warmth that comes from a wood stove, but I’ve also been worried about the risk of fire it brings. That’s why I made the decision to build my own heat shield.
In this article, I’ll guide you through the process of building a heat shield for your wood stove. We’ll explore the materials, measurements, and construction steps needed to ensure maximum safety and efficiency.
With this heat shield, you can enjoy your wood stove without worrying about overheating or damaging your walls.
Key Takeaways
- Cement board and sheet metal are excellent materials for heat shields due to their fire resistance, thermal insulation properties, and durability.
- Accurate measurement, proper airflow design, and careful calculation of dimensions are essential for safety and effectiveness when planning for a heat shield.
- Building a sturdy frame using metal sheets and steel angles, with space for air circulation, is important for the assembly of a heat shield.
- Adding insulation materials like high-density rock wool or ceramic fiber can enhance the heat shield’s effectiveness and withstand high temperatures without releasing harmful fumes.

SIMOND STORE Ceramic Fiber Insulation Board – 2300F Rated – 0.47" x 12" x 24" – Fireproof Insulation Board for Wood Stoves, Pizza Ovens, Forges, Kilns, Furnaces, Fireplaces, Boilers, Pack of 1
- DIMENSIONS – Aluminosilicate refractory ceramic fiber board measures…
- MAXIMUM USE TEMPERATURE – This high temperature board has maximum use temperature of up to 2300F | Density: 20-24 lb/ft³
- COMPRESSIVE STRENGTH – Vacuum cast ceramic fiber refractory board has strength at 25% deformation – 78 PSI, Permanent Linear Shrinkage – 3.5% Max at 2200F when exposed to 24 hours soaking heat, Loss on Ignition (LOI) at 1832F: 4-7%
As an affiliate, we earn on qualifying purchases.
As an affiliate, we earn on qualifying purchases.
Choosing the Right Materials for Your Heat Shield
I’ve researched and found that using cement board and sheet metal are the best materials for my heat shield.
When it comes to protecting against the intense heat generated by a wood stove, fireproof materials are crucial. Cement board is a popular choice due to its excellent fire resistance and thermal insulation properties. It can withstand high temperatures without warping or emitting harmful gases.
Sheet metal, on the other hand, is highly durable and can effectively reflect heat away from the surrounding walls. Additionally, it’s easy to work with and can be cut to fit the desired size and shape.
To further enhance the heat resistance of my heat shield, I plan to use heat-resistant paint. This paint is specially formulated to withstand extreme temperatures, ensuring that the heat shield remains effective for years to come.
Measuring and Planning for Your Heat Shield
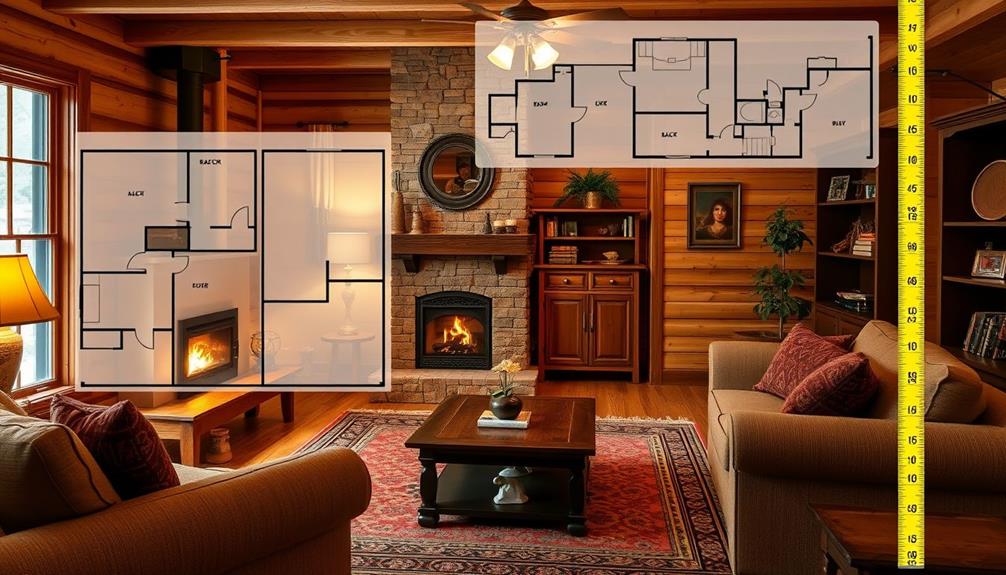
When measuring and planning for my heat shield, I found it helpful to consider the dimensions of my wood stove and the clearance requirements for safe installation.
To calculate the dimensions of the heat shield, I first measured the width, height, and depth of the stove. I then added the required clearance distance, usually around 18 inches, to each side. This ensured that the heat shield would provide adequate protection.
Designing airflow is crucial to prevent overheating and maintain efficient operation. I incorporated vents in the heat shield to allow air circulation, ensuring that the heat is properly distributed and reducing the risk of damage to the shield or surrounding walls.
It’s important to carefully calculate these dimensions and design the airflow to ensure a safe and effective heat shield installation.
Building and Assembling Your Heat Shield Frame
To build my heat shield frame, I measured and cut the metal sheets to fit the dimensions of my stove. For the frame, I used sturdy steel angles and welded them together for added strength. I made sure to leave enough space between the heat shield and the stove to allow for proper air circulation.
Regarding heat shield design options, I opted for a simple and minimalist design to complement the aesthetic of my wood stove. Once the frame was complete, I attached the metal sheets using screws, ensuring a secure and stable fit.
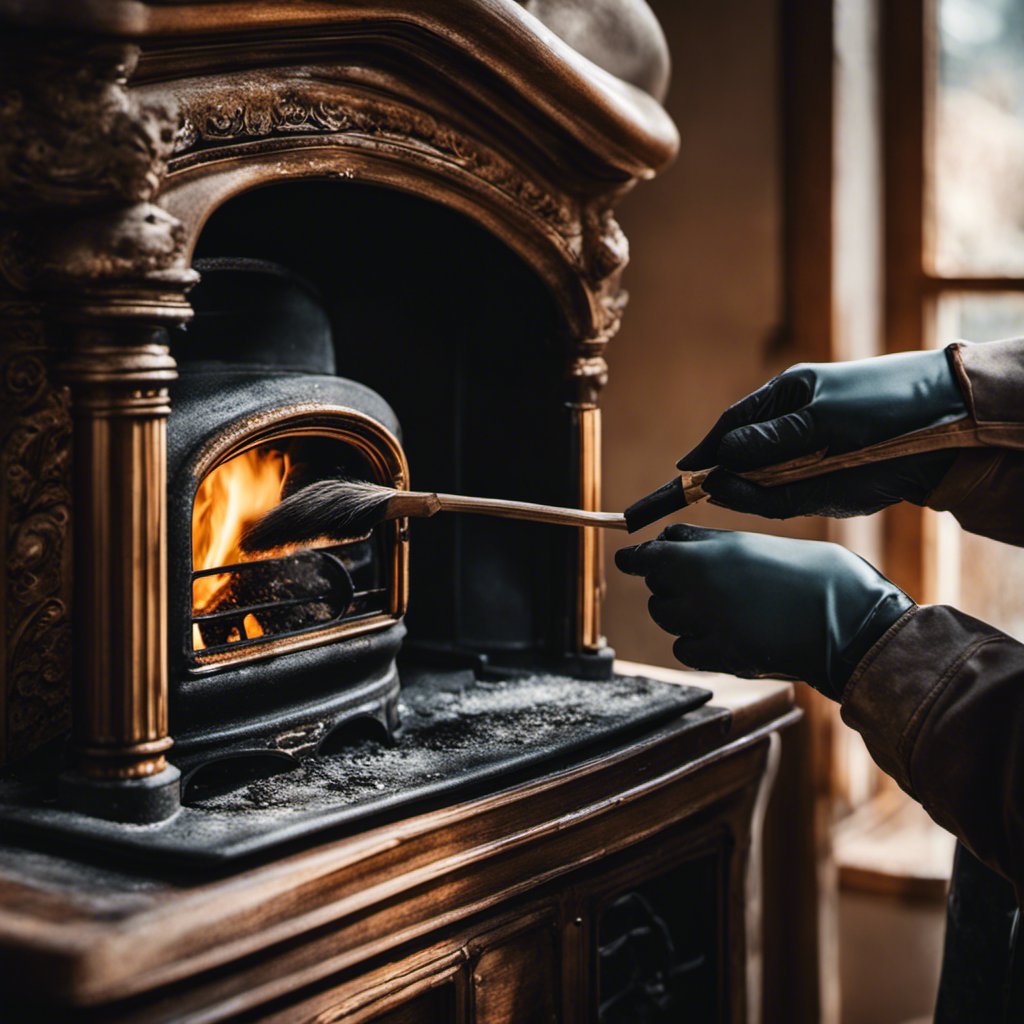
As for heat shield maintenance tips, regular cleaning is essential to remove any soot or debris that may accumulate over time. Additionally, inspecting the frame for any signs of wear or damage is crucial to ensure its effectiveness in protecting surrounding walls from excessive heat.
Adding Insulation to Your Heat Shield
For added insulation, I used layers of high-density rock wool between the metal sheets of my heat shield frame. Rock wool is a highly effective insulation material that can withstand high temperatures without melting or releasing harmful fumes. It has excellent thermal properties and can help reduce heat transfer, making it an ideal choice for heat shield applications.
In addition to rock wool, there are other insulation types that can be used for heat shields, such as ceramic fiber and vermiculite. These materials also offer good thermal insulation properties and are commonly used in industrial and DIY heat shield projects.
When considering DIY alternatives for heat shield insulation, one can explore options like using fire-resistant boards, refractory bricks, or even reflective insulation materials like aluminum foil. Each of these alternatives has its own advantages and limitations, so it’s important to choose the one that best suits your needs and budget.
Installing and Securing Your Heat Shield to the Wall
I securely attached the heat shield to the wall using metal brackets and screws. The mounting brackets provided a strong and stable support for the heat shield, ensuring its proper installation. Before attaching the shield, I made sure to apply a layer of heat resistant paint to the surface. This paint adds an extra layer of protection against the intense heat generated by the wood stove. The heat resistant paint is specially formulated to withstand high temperatures, preventing any damage to the shield or the wall. By using the table below, I carefully measured and marked the positions for the brackets, ensuring that they were evenly spaced and properly aligned. Once the brackets were securely fastened, I attached the heat shield, making sure it was level and tightly secured.
| Distance from Top | Distance from Bottom |
|---|---|
| 6 inches | 6 inches |
| 12 inches | 12 inches |
| 18 inches | 18 inches |
| 24 inches | 24 inches |
| 30 inches | 30 inches |
The table above illustrates the recommended distances for mounting the brackets on the wall. It is important to follow these guidelines to ensure proper heat shield installation.
Frequently Asked Questions
How Much Clearance Should There Be Between the Heat Shield and the Wood Stove?
There should be a specified clearance requirement between the heat shield and the wood stove. The distance will depend on the type of heat shield materials used and is crucial for ensuring safety and proper functioning of the wood stove.
Can I Use a Heat Shield With a Pellet Stove Instead of a Wood Stove?
Yes, a heat shield can be used with a pellet stove. Heat shield materials such as sheet metal or ceramic tiles can be effective in reducing the clearance required and providing added protection. The advantages include improved safety and increased efficiency.
How Often Should I Clean or Maintain My Heat Shield?
I clean and maintain my heat shield regularly to ensure its optimal performance. By following recommended cleaning frequencies and maintenance tips, I can keep my heat shield functioning efficiently, like a well-oiled machine.
Can I Paint or Decorate My Heat Shield?
Yes, you can paint or decorate your heat shield. However, it’s important to use heat-resistant paint and avoid covering any ventilation holes. Different heat shield materials may require specific painting techniques, so consult the manufacturer’s guidelines for best results.
Are There Any Specific Safety Regulations or Codes to Follow When Installing a Heat Shield for a Wood Stove?
When installing a heat shield for a wood stove, it is crucial to adhere to safety regulations and follow installation guidelines. These ensure proper protection against heat and reduce the risk of fire hazards.
Conclusion
In conclusion, by carefully selecting the appropriate materials and accurately measuring and planning, you can successfully create a heat shield for your wood stove.
Constructing a sturdy frame is another important step in building a heat shield.
Additionally, adding effective insulation to the heat shield will further enhance its performance.
By following these steps, you can protect your walls from the intense heat and enhance the safety of your space.
Remember, building a heat shield is like adding an extra layer of armor to your wood stove.
This ensures its optimal performance and safeguards your surroundings from potential hazards.


![[Invitation] Galaxy Unpacked July 2026: A New Shape Unfolds](https://bestsmallwoodstoves.com/wp-content/uploads/2026/07/invitation-galaxy-unpacked-july-2026-a-new-shape-unfolds-featured-260x140.jpg)