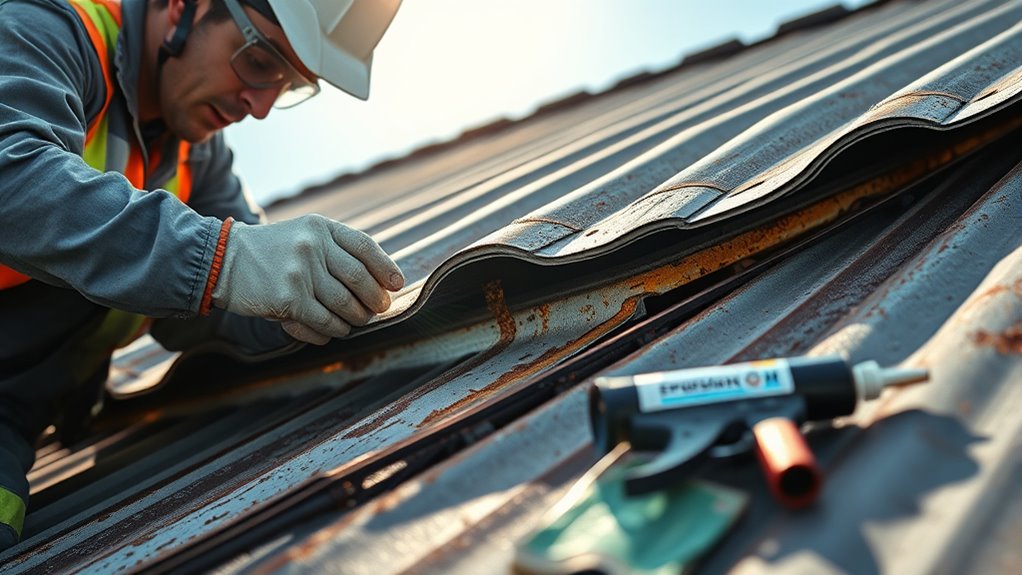

To inspect flashing leaks, check for visible damage like cracks, gaps, rust, or loose fasteners, especially around chimneys, vents, and valleys. Look inside your attic or ceilings for water stains or mold, and inspect the flashing’s condition after storms or extreme weather. If you notice issues, reseal damaged areas or replace compromised sections promptly. Proper maintenance is key. Keep going to find out more about effective repair techniques and ongoing prevention.
Key Takeaways
- Conduct thorough visual inspections of flashing, focusing on common leak areas like chimneys, vents, and roof valleys.
- Look for signs of damage such as rust, cracks, gaps, or loose fasteners that indicate potential leaks.
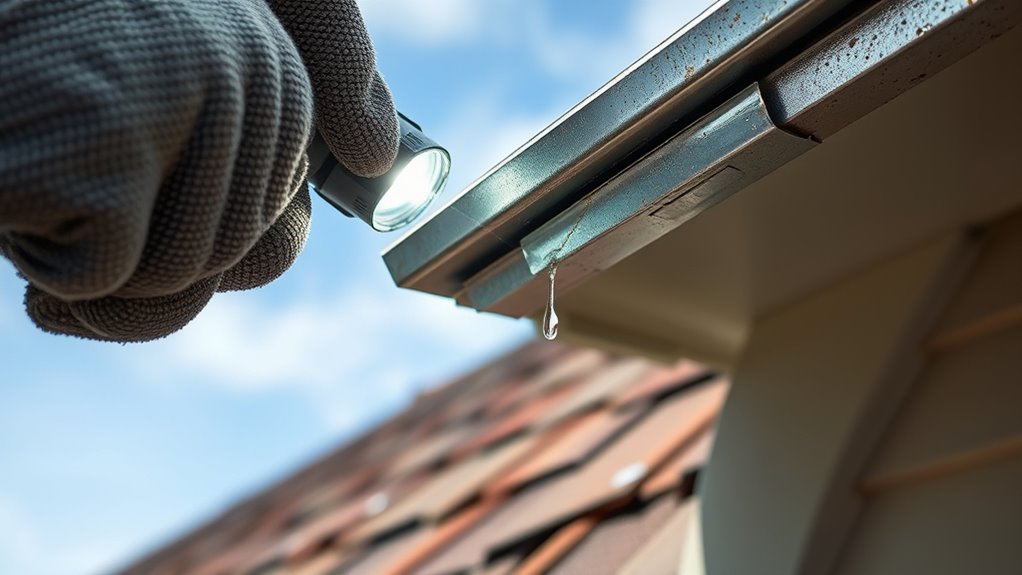
- Check inside the attic or ceiling for water stains, mold, or dampness as indicators of hidden flashing leaks.
- Reseal minor damage with appropriate waterproof sealants and replace severely deteriorated flashing components.
- Perform regular maintenance and inspections, especially after storms, to identify and address issues early.
Flashing leaks can cause significant water damage if not identified and repaired promptly. These leaks often originate from issues with your roof’s flashing, which is essential for directing water away from vulnerable areas. To effectively address flashing leaks, you need to understand the different types of flashing, as each can present unique vulnerabilities. Common types include step flashing, continuous or apron flashing, base flashing, and counter flashing. Step flashing is installed in sections along the sides of chimneys or walls, while continuous flashing runs in one piece to cover large areas. Base flashing is installed at the junction between the roof and vertical surfaces, and counter flashing overlays the base to provide additional protection. Recognizing these types helps you pinpoint where leaks might occur, especially since each has specific installation methods and common failure points.
Understanding common leak causes is equally essential. Over time, exposure to the elements can weaken flashing materials, causing cracks, gaps, or corrosion. Poor installation is another frequent culprit; if flashing isn’t properly sealed or nailed, water can seep through even minor imperfections. Additionally, damage from falling debris, foot traffic, or extreme weather conditions can compromise flashing integrity. Age plays a role too—older flashing materials tend to deteriorate, crack, or become loose, increasing the likelihood of leaks. Sometimes, accumulated dirt, debris, or plant growth can also trap moisture against flashing surfaces, accelerating deterioration. Recognizing these common leak causes allows you to conduct thorough inspections and catch problems early before they escalate into more extensive damage.
Once you understand these elements, inspecting your flashing becomes more straightforward. Look for visible signs of damage, such as rust, cracks, or gaps in the flashing material. Check around chimneys, vents, skylights, and roof valleys, where flashing is most vulnerable. Be attentive to any water stains or mold growth inside your attic or ceiling, which can indicate leaks originating from flashing issues. When inspecting, don’t forget to examine the fasteners—loose or missing nails can create pathways for water intrusion. If you notice any damage or suspect a leak, it’s essential to address it promptly to prevent further damage. Repairing flashing leaks often involves resealing, replacing damaged sections, or redoing entire flashing installations if necessary. Using the right materials and techniques ensures a watertight seal that withstands weather conditions. Regular inspections, especially after storms or extreme weather events, are key to maintaining your roof’s integrity and preventing costly water damage. By understanding the types of flashing and common leak causes, you’re better equipped to keep your home dry and protected.
Frequently Asked Questions
How Often Should Flashing Be Inspected for Leaks?
You should perform a flashing inspection at least once a year to catch leaks early. After severe weather or storms, do a quick leak detection check to verify no damage has occurred. Regular inspections help identify potential issues before they become costly repairs. Keep an eye out for signs of water intrusion or damage, and address any problems promptly to maintain the integrity of your roof and prevent leaks from developing.
Can Flashing Leaks Cause Mold Growth Inside the Building?
Yes, flashing leaks can cause mold growth inside your building. When water seeps in, it increases indoor moisture, creating a perfect environment for mold to develop. To prevent this, you should regularly inspect and repair flashing to guarantee it’s watertight. Proper mold prevention involves controlling indoor humidity and addressing leaks promptly, so keeping your flashing in good condition helps protect your space from mold-related issues.
What Tools Are Needed for DIY Flashing Repair?
Think of fixing flashing as assembling a puzzle; you need the right pieces. For DIY flashing repair, gather leak detection tools like a moisture meter, a utility knife, gloves, and a caulking gun. You’ll also need flashing materials, a sealant, and a drill. Proper flashing installation requires precision, so these tools help you identify leaks and guarantee a secure, weatherproof fit, protecting your home from water damage.
Are There Eco-Friendly Options for Flashing Materials?
Yes, you can choose eco-friendly flashing materials. Look for sustainable materials like recycled metal or rubberized membranes, which are great for green roofing projects. These options reduce environmental impact while providing durable, effective protection against leaks. By selecting sustainable materials, you support green roofing initiatives and help conserve resources. Always check product labels for eco-certifications to make certain you’re making environmentally responsible choices for your flashing repairs.
How Long Does a Typical Flashing Repair Last?
A typical flashing repair lasts around 10 to 20 years, depending on the flashing material used and the repair timeline. If you choose durable, high-quality materials like metal or silicone, your repair can last longer. Proper installation and regular inspections also extend the lifespan. Keep in mind that environmental factors and maintenance play a role, so addressing issues early helps maximize your flashing material’s longevity.
Conclusion
To keep your roof leak-free, regularly inspect your flashing for damage or corrosion. Imagine noticing a small drip during a rainstorm and catching it early—just like Sarah did last year. She quickly repaired a loose section, preventing costly water damage. By staying vigilant and addressing issues promptly, you can protect your home’s structure and save money in the long run. Remember, proactive maintenance is your best defense against costly repairs.