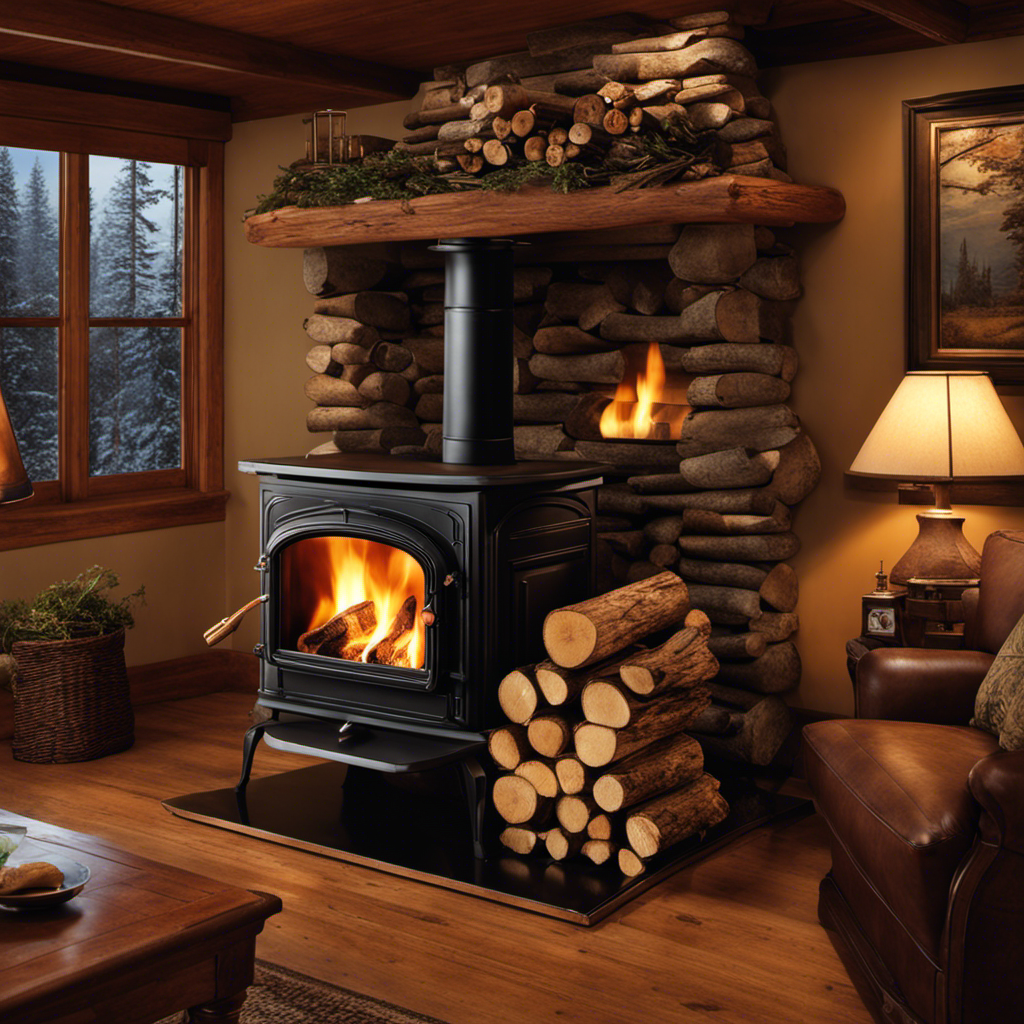
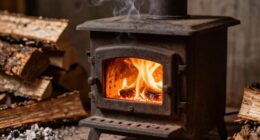
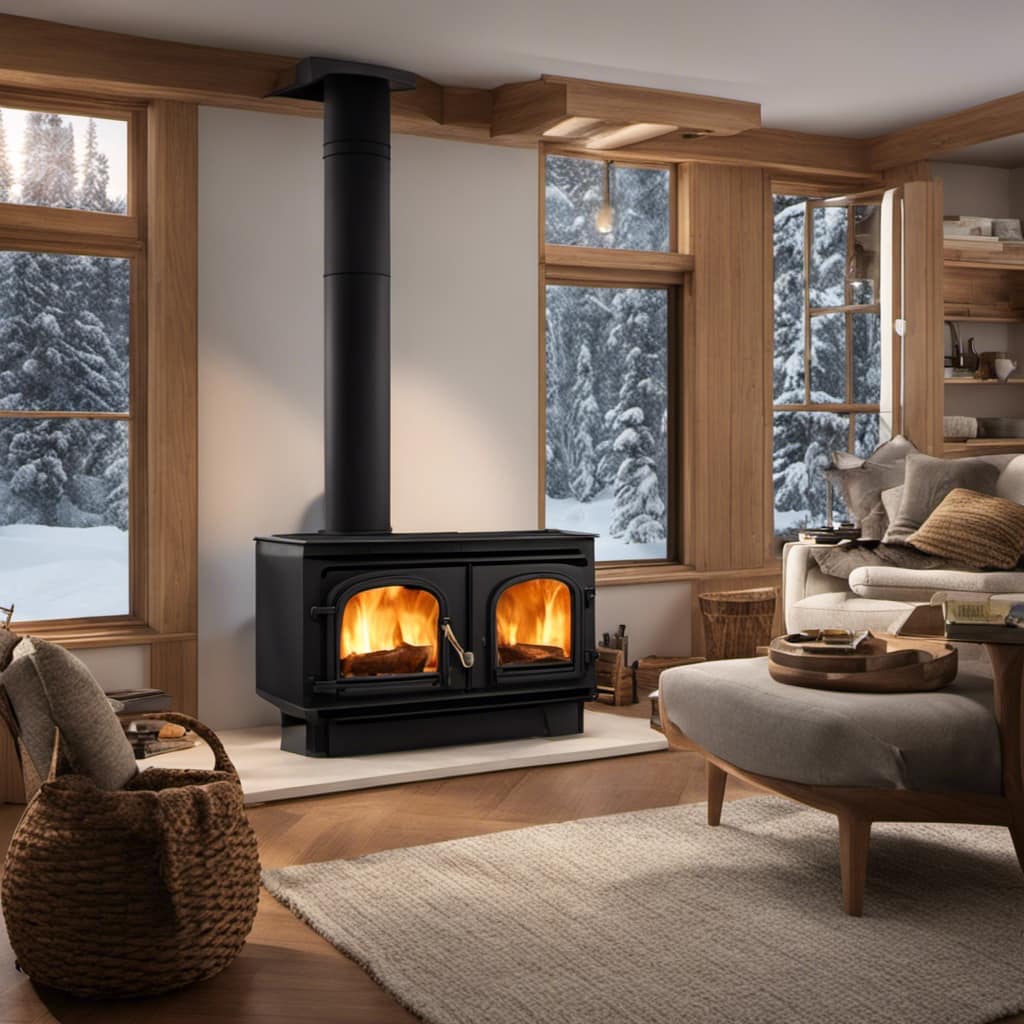
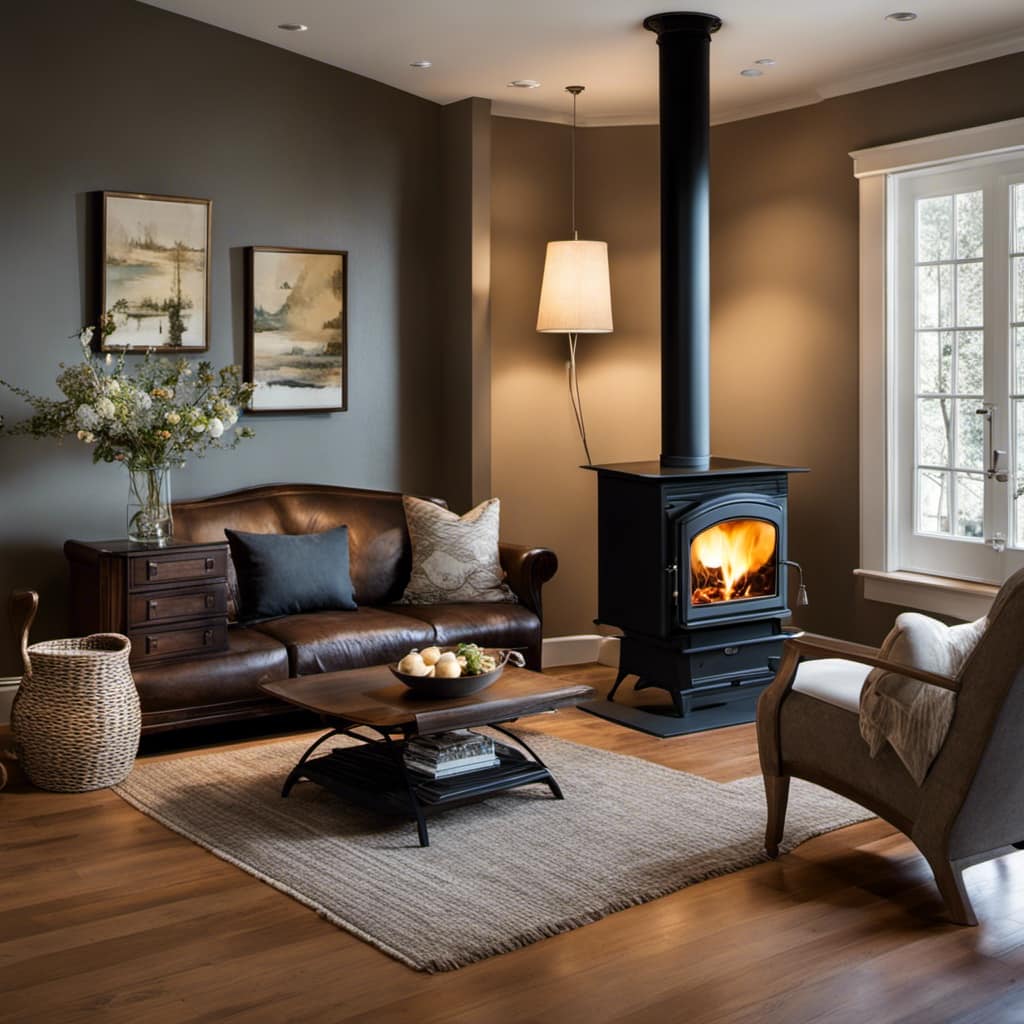
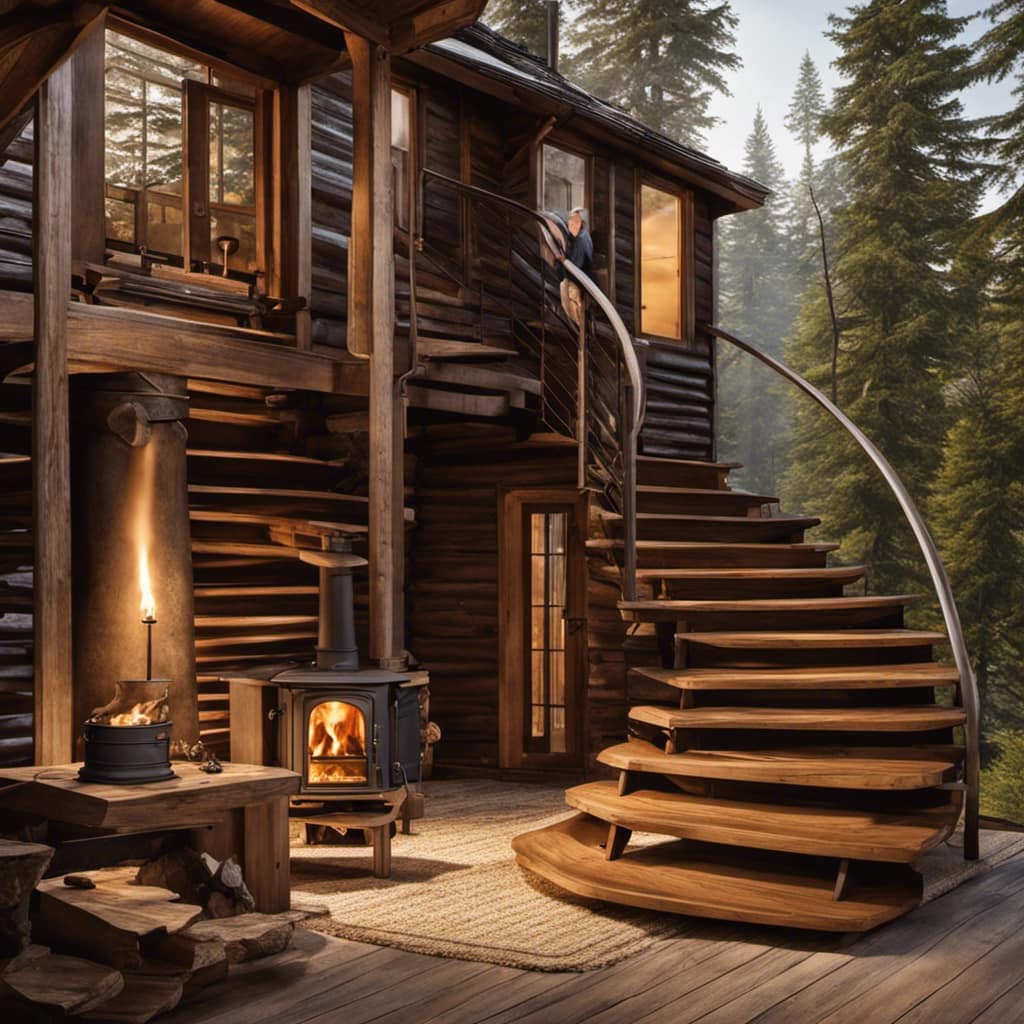
Connect with us

Wood Stove

How To Warm Up A Wood Stove

Published

on

Cuddling near my wood stove, the crackling fire dances lively, evoking feelings of warmth and comfort it provides. Yet, before I can indulge in its soothing warmth, I must master the technique of effectively warming it up.

In this guide, I’ll share the steps I’ve learned to prepare the firebox, choose the right wood, build a proper fire, control the airflow, and maintain the perfect temperature.

Together, let’s unlock the secrets to turning a cold hearth into a haven of cozy bliss.

Key Takeaways

  • Clean out lingering ashes and choose seasoned wood for optimal heat and minimal smoke.
  • Stack wood in a teepee shape and use kindling to ignite the fire.
  • Adjust air vents to control airflow and monitor the fire through the heat-resistant glass door.
  • Use the damper and heat-resistant glass door to maintain heat and maximize stove efficiency.

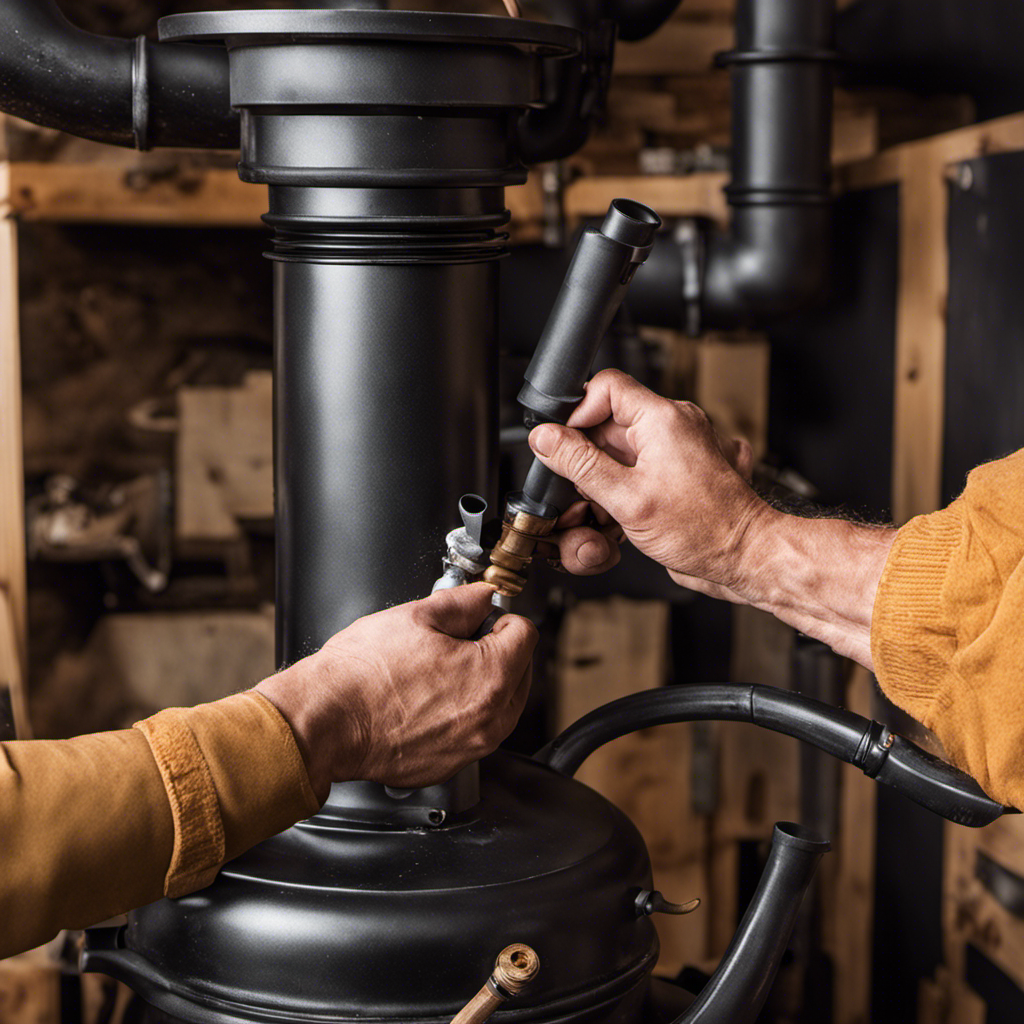
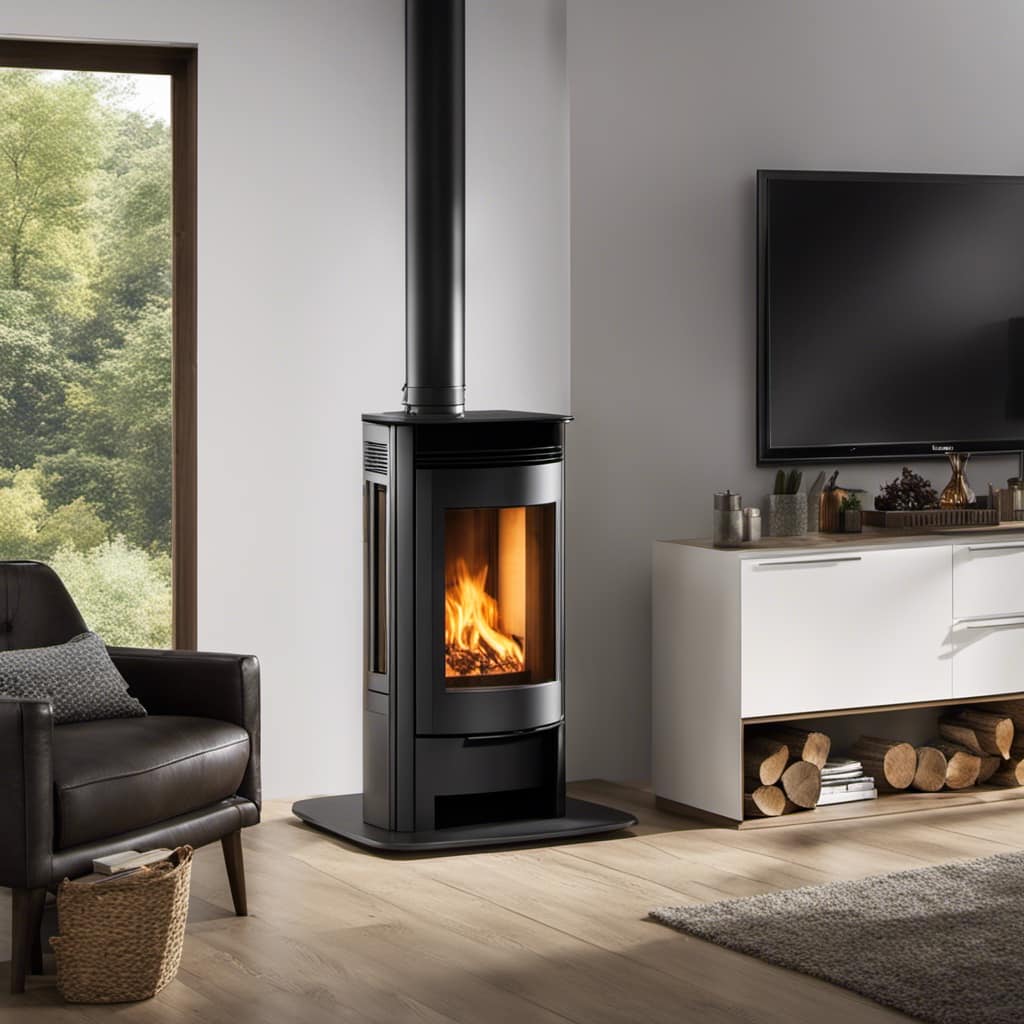
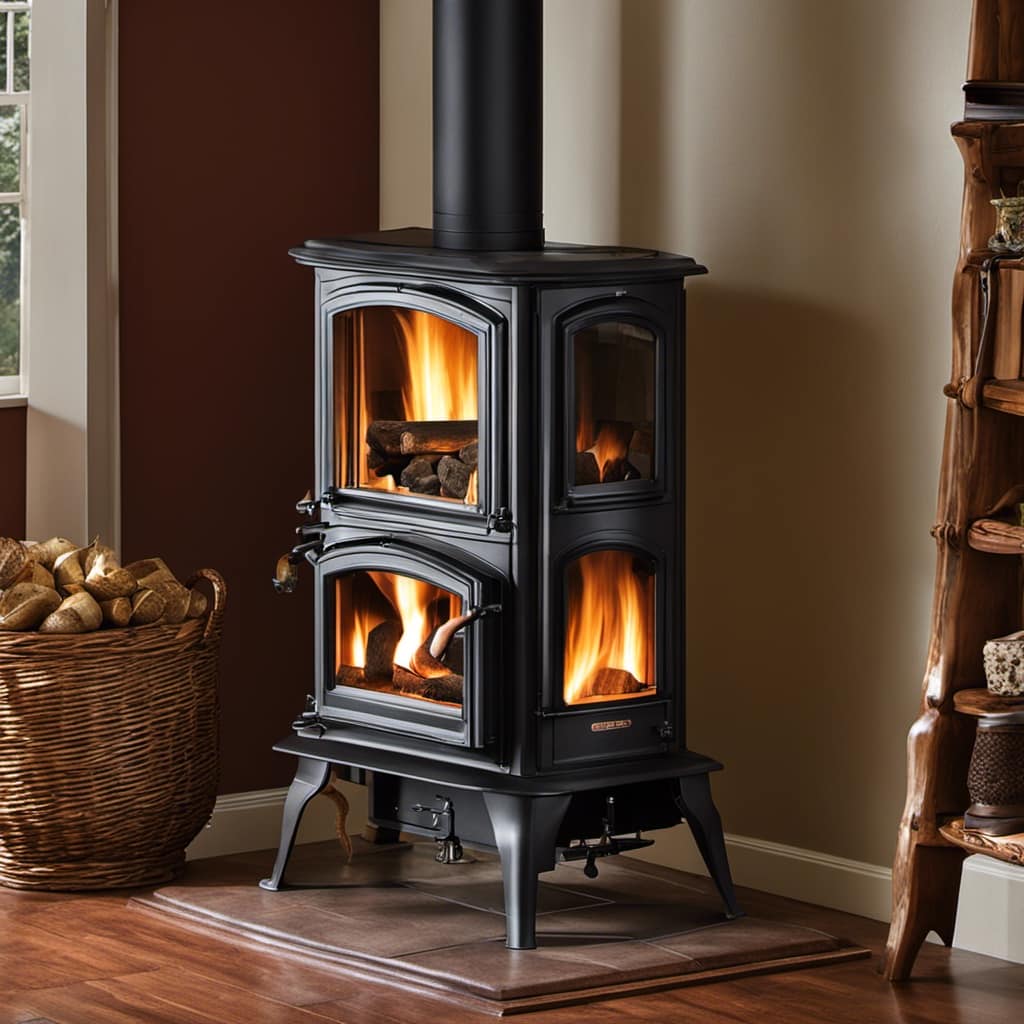
Preparing the Firebox

I need to open the firebox door to prepare it for starting the fire. Before I can do that, I must make sure to clean out any lingering ashes from the previous fire. Ashes can block airflow and hinder the fire’s ability to burn efficiently. Using a fireplace shovel or a small brush, I carefully remove the ashes and dispose of them in a designated ash bucket.

wood stove insert

Once the firebox is clean, I can begin preparing the fire. To make the process easier, I like to use fire starters. These small, compact devices help ignite the fire quickly and efficiently. I place a couple of fire starters, along with some kindling and firewood, in the firebox.

Advertisement

With everything in place, I can now close the door and get ready to start the fire.

Choosing the Right Wood

Before starting the fire, I always make sure to carefully inspect the firewood to ensure I’m choosing the right wood for optimal heat and minimal smoke.

When it comes to choosing firewood, seasoned wood is the way to go. Seasoning wood involves allowing it to dry out properly, which helps to maximize its heat output and reduce the amount of smoke produced. Freshly cut or green wood contains a high moisture content, which can lead to excessive smoke and poor combustion.

wood stove for sale craigslist

Properly seasoned wood, on the other hand, has had enough time to dry out, resulting in a hotter and more efficient burn. Storing firewood is also crucial in maintaining its quality. It should be stored in a dry and well-ventilated area, such as a woodshed, to prevent moisture from seeping in and causing the wood to reabsorb water.

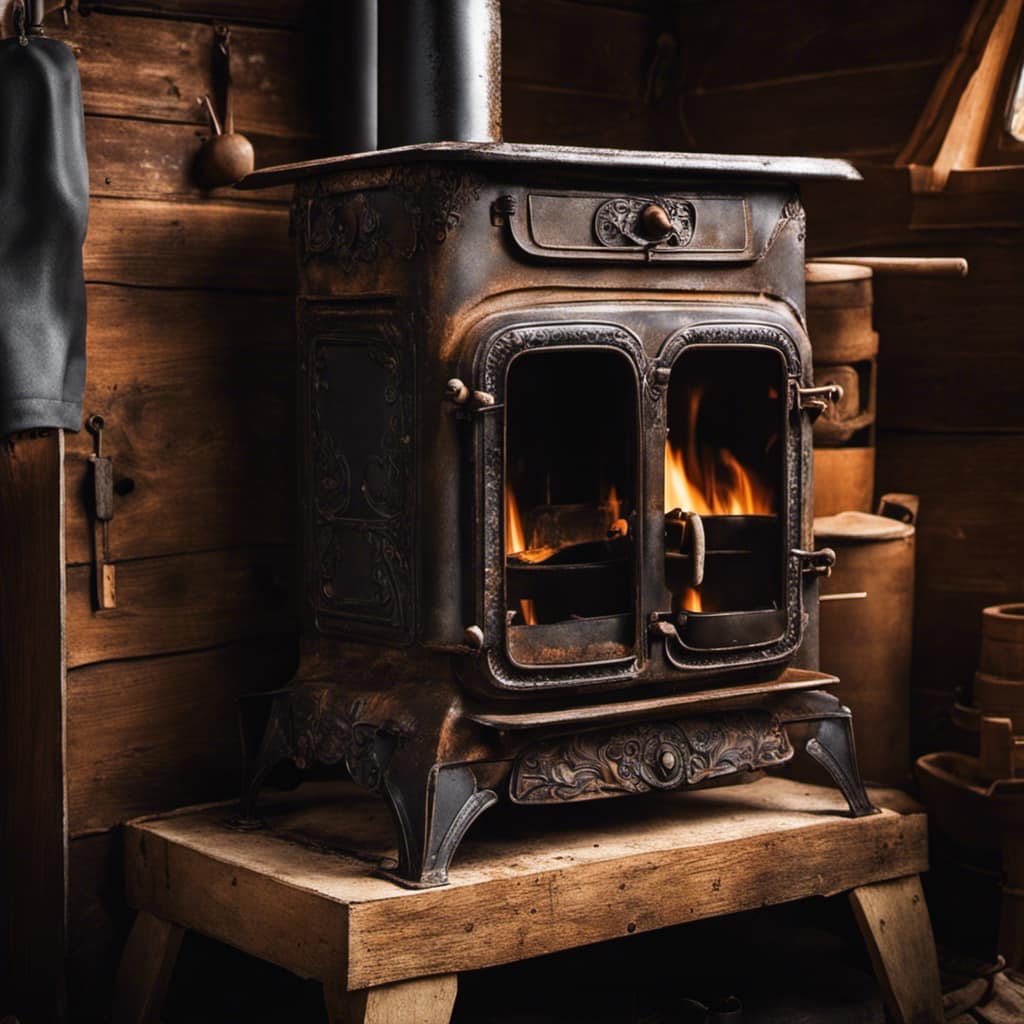
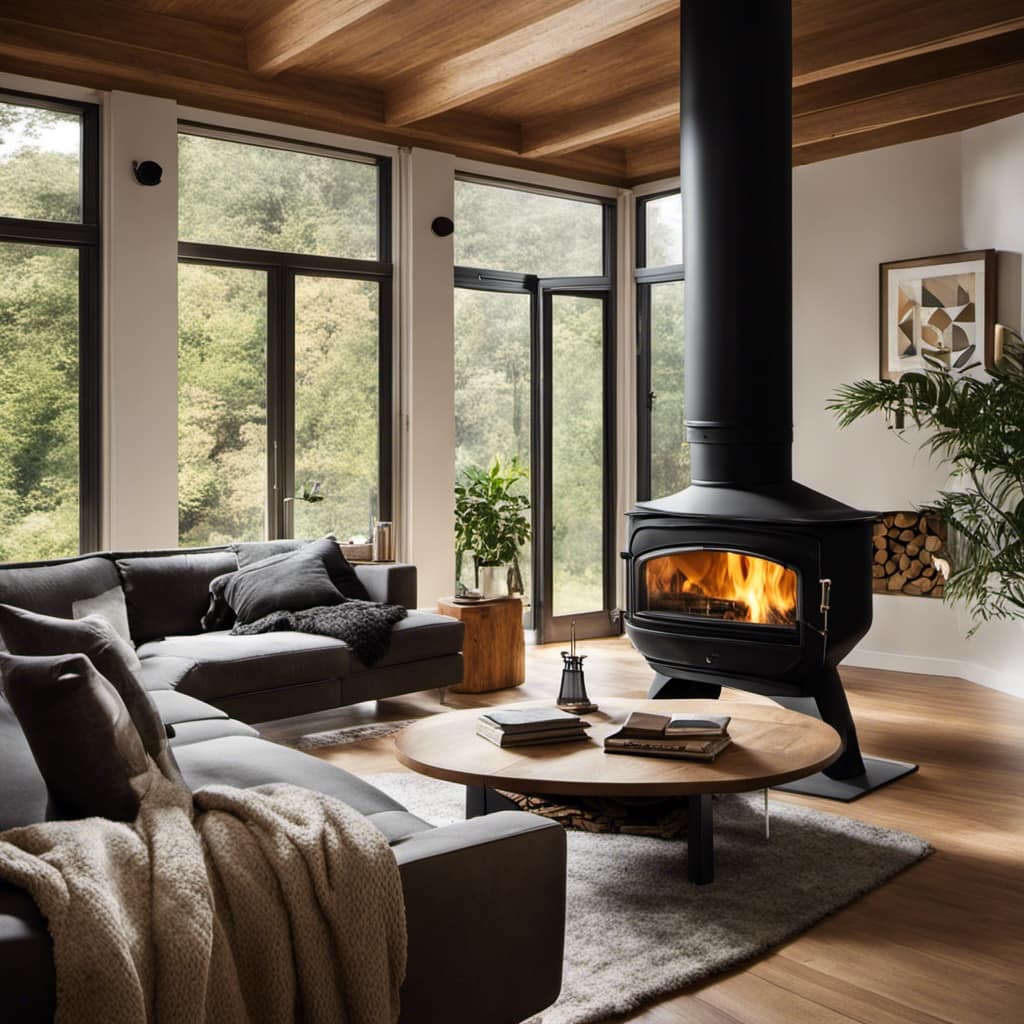
Building a Proper Fire

To build a proper fire, it’s essential to stack the wood in a teepee shape and use kindling to ignite it. This ensures that the fire gets enough oxygen to burn efficiently and that it will last longer. Fire safety is of utmost importance when dealing with a wood stove. Always keep a fire extinguisher nearby and make sure to properly maintain your stove to prevent any potential issues. Troubleshooting common issues such as a smoky fire or difficulty in starting the fire can be easily resolved by adjusting the air vents or adding more kindling. Remember to never leave a fire unattended and always make sure it’s completely extinguished before going to bed or leaving the house. Stay safe and warm this winter season!

Advertisement
Fire Safety Tips Troubleshooting Common Issues Maintaining Your Wood Stove
– Keep a fire extinguisher nearby – Adjust air vents if fire is too smoky – Regularly clean the stovepipe
– Install a carbon monoxide detector – Add more kindling if fire is difficult to start – Check for any cracks or leaks
– Never leave a fire unattended – Clear any obstructions in the chimney – Schedule professional inspections
– Ensure the fire is completely extinguished before leaving – Use dry, seasoned wood for optimal burning – Follow manufacturer’s instructions

Controlling the Airflow

Since the temperature in the room was getting too hot, I decided to adjust the air vents to control the airflow.

Adjusting the damper is an effective way to regulate the amount of oxygen that enters the wood stove, thus controlling the intensity of the fire.

wood burning stove lowes

To ensure a safe and efficient operation, it’s important to follow these steps:

  1. Start by opening the damper fully to allow maximum airflow. This will help ignite the fire and establish a good burn.

  2. Once the fire is burning steadily, gradually close the damper to reduce the airflow. This will slow down the combustion process and lower the heat output.

  3. If you have a wood stove with a heat resistant glass door, you can monitor the fire without opening the door and disrupting the airflow. This helps maintain a consistent temperature while preventing excessive heat loss.

    wood stoves for sale eugene oregon

Maintaining the Heat

I can use a damper and a heat resistant glass door to maintain the heat in my wood stove. These two components play a crucial role in ensuring that the heat generated by the fire stays inside the stove and effectively warms up the surrounding area.

The damper, which is typically located in the flue, allows me to control the airflow and regulate the intensity of the fire. By adjusting the damper, I can manage the amount of oxygen that reaches the fire, thus controlling the heat output.

Additionally, a heat resistant glass door acts as a barrier, preventing heat from escaping the stove. This helps to maintain a constant temperature and ensures that the warmth generated by the fire is efficiently utilized.

Advertisement

To further enhance the heat retention, using insulating materials such as firebricks or refractory panels can be beneficial. These materials help to trap and distribute heat evenly, maximizing the stove’s efficiency.

used wood burning stove

Frequently Asked Questions

How Do I Clean the Glass on My Wood Stove?

Cleaning the glass on a wood stove can be done using various methods. To remove stubborn stains, try using a mixture of vinegar and water or a specialized stove glass cleaner. Regular cleaning will help maintain a clear view of the fire.

Can I Use Newspaper as a Fire Starter?

Sure, newspaper can be used as a fire starter. It’s a popular alternative, but there are other options too. To start a fire effectively, it’s important to follow best practices and choose the right fire starter for your wood stove.

Is It Safe to Leave a Wood Stove Unattended Overnight?

Leaving a wood stove unattended overnight can pose safety concerns. It is important to ensure that the stove is properly maintained, use a fireproof barrier, and follow manufacturer’s guidelines for safe operation.

The recommended distance between a wood stove and flammable materials is crucial for safety. Being knowledgeable about this ensures a warm and cozy home without the worry of potential fire hazards.

Advertisement

wood stove pipe installation

How Often Should I Have My Wood Stove Professionally Inspected and Cleaned?

I typically have my wood stove professionally inspected and cleaned once a year. This is important for proper wood stove maintenance and to ensure that there are no signs of a dirty wood stove, such as excessive smoke or poor burning efficiency.

Conclusion

So there you have it, folks! By following these steps, you can successfully warm up your wood stove and create a cozy atmosphere in your home.

Remember, a wood stove isn’t just a source of heat, but also a symbol of comfort and tranquility.

So go ahead, light up that fire and let the flames dance and crackle, filling your space with warmth and serenity.

log wood stove

Embrace the beauty of a wood stove and let it be the heart of your home.

Advertisement

Growing up surrounded by the vast beauty of nature, Sierra was always drawn to the call of the wild. While others sought the comfort of the familiar, she ventured out, embracing the unpredictable and finding stories in the heartbeat of nature.   At the epicenter of every remarkable venture lies a dynamic team—a fusion of diverse talents, visions, and passions. The essence of Best Small Wood Stoves is crafted and refined by such a trio: Sierra, Logan, and Terra. Their collective expertise has transformed the platform into a leading authority on small wood stoves, radiating warmth and knowledge in equal measure.

Continue Reading
Advertisement

Wood Stove

How Long Should You Season Kindling For Wood Stove

Published

on

By

An image showcasing a bundle of freshly cut kindling arranged neatly next to a wood stove, with a timer placed nearby

I’ve always held the belief that the secret to a warm and inviting fire rests on the quality of the fire starters used. However, what is the optimal duration for drying out kindling for your wood-burning stove?

In this article, I’ll break down the importance of proper seasoning, the factors that affect the time it takes, and how to know when your kindling is ready.

Get ready to learn the secrets of perfectly seasoned kindling and enjoy a roaring fire all winter long.

Key Takeaways

  • Seasoned kindling is important for easier ignition and a hotter flame.
  • Properly dried kindling reduces smoke and creosote buildup in the chimney.
  • The recommended seasoning period for kindling is typically 6-12 months.
  • Proper storage in a dry and well-ventilated area is crucial to prevent reabsorption of moisture.

Understanding the Importance of Seasoning Kindling

I really understand the importance of seasoning kindling before using it in my wood stove. Seasoned kindling has several benefits that make it essential for efficient and safe fires.

Firstly, seasoned kindling is drier and contains less moisture, which allows it to ignite more easily and produce a hotter flame. This results in faster and more efficient fire-starting, ensuring that my wood stove reaches its desired temperature quickly.

Secondly, properly dried kindling reduces the amount of smoke and creosote buildup in the chimney, minimizing the risk of chimney fires.

Advertisement

To properly dry kindling, I gather small branches and split them into smaller pieces. I then stack them in a well-ventilated area, ensuring they’re off the ground and protected from rain. It usually takes about six months for the kindling to fully dry, but the wait is worth it for the benefits it provides.

Factors Affecting the Seasoning Time for Kindling

The humidity levels and temperature fluctuations are factors that can significantly impact the seasoning time for kindling. Properly seasoned kindling is essential for efficient and safe wood stove operation. Here are some key points to consider:

  • Drying methods: The choice of drying method can affect the overall seasoning time. Air drying is the most common method, but using a kiln or a dehumidifier can expedite the process.

  • Impact of moisture content: Moisture content is a crucial factor in determining the seasoning time. Higher moisture content will require more time for the kindling to dry properly.

  • Optimal moisture level: The ideal moisture content for seasoned kindling is around 15%-20%. This ensures efficient combustion and minimizes the risk of creosote buildup in the chimney.

  • Wood species: Different wood species have different moisture levels and densities, which can affect the seasoning time. Softer woods like pine may dry faster compared to hardwoods like oak.

  • Storage conditions: Proper storage is important to maintain the seasoned state of the kindling. Storing it in a dry and well-ventilated area will prevent reabsorption of moisture.

Understanding these factors and taking appropriate steps will ensure that your kindling is properly seasoned and ready for use in your wood stove.

Recommended Seasoning Period for Kindling

The recommended seasoning period for kindling is typically 6-12 months, but it can vary depending on factors such as wood species and storage conditions. During this period, the goal is to reduce the moisture content of the wood to optimal levels for efficient burning.

Kindling with moisture levels between 15-20% is considered ideal for achieving a clean and hot fire. However, speeding up the seasoning process is often desirable, especially when you need dry kindling sooner.

Advertisement

There are several methods you can try to accelerate the drying time. One option is to split the kindling into smaller pieces, which increases the surface area exposed to air and speeds up evaporation. Another approach is to stack the wood in a well-ventilated area, allowing air circulation to remove moisture more efficiently.

Additionally, using a moisture meter can help you monitor the progress and ensure that the kindling is properly seasoned before use.

Signs That Your Kindling Is Properly Seasoned

Often, properly seasoned kindling will have a distinct dryness and a light weight. This is because the moisture content has been reduced, making it easier to ignite and burn efficiently. Using seasoned kindling offers several benefits, such as:

  • Improved fire-starting: Seasoned kindling ignites quickly, allowing the fire to establish faster.
  • More heat output: Dry kindling burns hotter, creating a more intense and efficient fire.
  • Reduced smoke and emissions: Properly seasoned kindling produces less smoke and harmful emissions.
  • Longer burning time: Dry kindling burns longer, providing sustained heat for a longer period.
  • Cleaner stove and chimney: Seasoned kindling produces less soot and creosote buildup, reducing the risk of chimney fires.

However, there are common mistakes to avoid when seasoning kindling, such as insufficient drying time, storing it in a damp or humid area, or using green wood. These errors can result in damp or unburnable kindling.

Transition: Now that we understand the benefits of using properly seasoned kindling and the mistakes to avoid, let’s move on to discussing tips for properly storing seasoned kindling.

Tips for Properly Storing Seasoned Kindling

How can I effectively store seasoned kindling to ensure it remains dry and ready to use?

Advertisement

Storing kindling efficiently is essential for maintaining its quality and usability. The first step is to choose the right kindling for your wood stove. Look for dry, lightweight materials such as small twigs, dried leaves, or bark. It’s important to avoid using green or damp wood, as it can be challenging to ignite and will produce more smoke.

Once you have selected the ideal kindling, you can store it in a dry and well-ventilated area. Use a designated container or a firewood rack to keep it off the ground and protected from moisture. Additionally, consider covering the kindling with a tarp or plastic sheet to shield it from rain or snow.

Frequently Asked Questions

Can I Season Kindling in a Plastic Bag or Container?

You can season kindling in a plastic bag or container, but it may take longer to reach the ideal moisture content. It’s best to use a well-ventilated area or a dedicated kindling rack for faster and more effective seasoning.

What Happens if I Use Unseasoned Kindling in My Wood Stove?

Using unseasoned kindling in a wood stove can lead to several potential risks such as excessive smoke, increased creosote buildup, and reduced efficiency. To avoid these issues, it is important to properly season your kindling for optimal wood stove performance.

How Do I Know if My Kindling Is Over-Seasoned?

When it comes to knowing if your kindling is over-seasoned, look for signs like excessive dryness, brittleness, and crumbling. Properly storing seasoned kindling in a cool, dry place will help maintain its quality and prevent over-seasoning.

Advertisement

Can I Speed up the Seasoning Process for My Kindling?

I can speed up the seasoning process for kindling by using alternative methods. It’s important to know that the length of time for seasoning depends on various factors.

Is It Necessary to Season Kindling if I Am Using a Wood Stove With a Built-In Igniter?

Seasoning kindling is necessary for wood stoves with built-in igniters. It ensures a more efficient burn and reduces the risk of creosote buildup. Aim to season kindling for at least 6-12 months for optimal results.

Conclusion

In the dance of firewood, kindling is the vibrant partner that ignites the flame. Just as a well-seasoned dancer captivates the stage, seasoned kindling holds the power to transform a wood stove into a fiery spectacle.

Understanding the importance of proper seasoning and the factors that affect it’s key to achieving optimal performance. With patience and care, seasoned kindling will reward you with a warm and inviting fire, ensuring cozy nights and enchanting moments.

Advertisement
Continue Reading

Types of Wood Stoves

Which Type Of Stove Pipe To Use For Wood Stove

Published

on

By

An image showcasing a wood stove with three distinct stove pipe options: a single-wall black stove pipe, a double-wall insulated stainless steel pipe, and a triple-wall air-cooled chimney pipe

As someone who is passionate about wood stoves, I have come to understand how crucial it is to select the appropriate stove pipe to guarantee peak efficiency and safety. It’s akin to looking for the ideal puzzle piece; every kind has its own advantages.

From single wall to triple wall, insulated to stainless steel, the options can be overwhelming. In this article, I’ll guide you through the maze of stove pipes, providing knowledgeable and detailed information to help you make an informed decision for your wood stove.

Key Takeaways

  • Single wall stove pipes are lighter and less expensive, but have lower fire resistance and require more frequent cleaning.
  • Double wall stove pipes provide better insulation, reduced heat transfer, and lower risk of fire starting in your home.
  • Triple wall stove pipes offer superior insulation, excellent heat retention, and enhanced safety with a cool outer surface.
  • Insulated stove pipes have better heat retention, increased safety, and prevent condensation and potential corrosion. However, they are costlier and bulkier for installation in tight spaces.

Single Wall Stove Pipe

I prefer using a single wall stove pipe for my wood stove because it allows for efficient heat transfer. Single wall stove pipes are made from a single layer of metal, making them lighter and less expensive compared to double wall stove pipes.

One of the main advantages of using a single wall stove pipe is its ability to quickly heat up and radiate heat into the room. The thin metal construction also allows for faster heat transfer, ensuring that the room gets warm faster.

However, there are a few drawbacks to consider. Single wall stove pipes have a lower fire resistance compared to double wall pipes, so it’s important to maintain proper clearance from combustible materials. Additionally, single wall stove pipes may require more frequent cleaning due to the buildup of creosote.

Overall, single wall stove pipes are a cost-effective option for efficient heat transfer, but proper safety precautions should always be followed.

Advertisement

Double Wall Stove Pipe

Using double wall stove pipe provides better insulation and reduces the risk of heat transfer to combustible materials. This type of stove pipe has several advantages over single wall stove pipe.

  • Better Insulation: The double wall construction of this stove pipe allows for better insulation, meaning that less heat is lost during the combustion process. This results in increased efficiency and reduced energy costs.

  • Reduced Risk of Heat Transfer: Double wall stove pipe creates a barrier between the hot flue gases and the surrounding combustible materials. This greatly reduces the risk of heat transfer and minimizes the chance of a fire starting in your home.

  • Easy Installation: Installing double wall stove pipe is relatively straightforward. It typically comes with clear instructions and can be easily connected to your wood stove and chimney. However, it’s important to ensure proper clearance to combustible materials and follow all local building codes.

Triple Wall Stove Pipe

The triple wall stove pipe offers even better insulation and increased safety, making it a great option for wood stoves.

One of the major advantages of triple wall stove pipe is its superior insulation properties. With three layers of metal, it provides excellent heat retention and minimizes heat loss, ensuring optimal efficiency of your wood stove.

Additionally, the triple wall design enhances safety by reducing the risk of overheating and preventing the outer layer from becoming too hot to touch.

When it comes to installation, there are a few tips to keep in mind. Firstly, it’s crucial to follow the manufacturer’s guidelines and local building codes to ensure proper installation and compliance.

Advertisement

Secondly, make sure to use high-quality materials, including appropriate connectors and fasteners, to ensure a secure and leak-free installation.

Lastly, regular maintenance and inspection of the triple wall stove pipe is essential to ensure its continued efficiency and safety.

Insulated Stove Pipe

My preferred choice for the stove pipe is an insulated one, as it provides better heat retention and safety. Insulated stove pipes have several advantages over regular stove pipes. Here are the pros and cons of using insulated stove pipe for a wood stove:

Pros:

  • Better heat retention: Insulated stove pipes are designed to keep the heat inside the pipe, allowing it to radiate into the room more efficiently.
  • Increased safety: The insulation layer helps to reduce the risk of accidental burns or fires by keeping the outer surface of the pipe cooler.
  • Reduced condensation: Insulated stove pipes prevent condensation from forming inside the pipe, which can lead to corrosion and damage.

Cons:

  • Higher cost: Insulated stove pipes tend to be more expensive than regular stove pipes.
  • Bulkier design: Due to the added insulation layer, insulated stove pipes may have a larger diameter, which can be challenging for installation in tight spaces.
  • Limited aesthetic options: Insulated stove pipes are often only available in a limited range of finishes and designs.

Overall, the advantages of using an insulated stove pipe, such as better heat retention and increased safety, outweigh the drawbacks. It’s an excellent choice for anyone looking to maximize the efficiency and safety of their wood stove.

What Type of Stove Pipe is Best for Connecting to a Wood Stove?

When it comes to connecting stove pipe wood stove, the best option is a double-wall stovepipe. This type of stove pipe provides better insulation and reduces the risk of chimney fires. It is crucial to consult with a professional to ensure the proper installation for safety.

Advertisement

Stainless Steel Stove Pipe

I prefer stainless steel stove pipe because it is durable and resistant to corrosion. Stainless steel is an excellent choice for wood stove installations due to its numerous advantages. Firstly, it offers exceptional durability, ensuring that it will last for years without deteriorating. Additionally, stainless steel is highly resistant to corrosion, which is crucial when dealing with high temperatures and harsh conditions. Moreover, stainless steel stove pipe is easy to install, making it a convenient option for homeowners. Here are some installation tips for stainless steel stove pipe:

Installation Tips
1. Ensure proper clearance from combustible materials.
2. Use high-quality stainless steel clamps for secure connections.
3. Follow manufacturer guidelines for proper pipe length and positioning.
4. Insulate the pipe when running through walls or ceilings for added safety.

Frequently Asked Questions

What Is the Maximum Length of Single Wall Stove Pipe That Can Be Used?

The maximum length of single wall stove pipe that can be used depends on various factors such as the type of wood stove, clearance requirements, and local building codes. It is important to consult the manufacturer’s guidelines and local regulations for specific recommendations.

Can Double Wall Stove Pipe Be Used With a Wood Stove That Has a High Heat Output?

Yes, double wall stove pipe can be used with a wood stove that has a high heat output. It provides added insulation and reduces the risk of heat damage. However, it’s essential to follow manufacturer guidelines for safe installation and clearance requirements.

Is Triple Wall Stove Pipe Necessary for All Wood Stove Installations?

Triple wall stove pipe is not necessary for all wood stove installations. Single wall stove pipe can be safe for wood stove installation, but triple wall stove pipe offers the advantage of increased insulation and reduced clearance requirements.

Can Insulated Stove Pipe Be Used in a Mobile Home?

Yes, insulated stove pipe can be used in a mobile home. However, it is important to ensure that the installation follows wood stove venting regulations to maintain safety and efficiency.

Advertisement

Are Stainless Steel Stove Pipes More Durable and Long-Lasting Compared to Other Types of Stove Pipes?

Stainless steel stove pipes are more durable and long-lasting compared to galvanized stove pipes. They have a higher resistance to rust and corrosion, making them ideal for use with wood stoves.

Conclusion

After considering all the options, it’s clear that the best type of stove pipe to use for a wood stove is the triple wall stove pipe.

Its superior insulation and durability make it the ideal choice for efficient and safe wood burning.

With its three layers of protection, it’s like a fortress guarding against heat and potential hazards, ensuring a reliable and enjoyable heating experience.

Advertisement
Continue Reading

Wood Stove

How To Install Wood Stove Spring Handles

Published

on

By

An image showcasing the step-by-step installation process of wood stove spring handles

As an expert in the realm of wood-burning stoves, I’ve come to understand that equipping your stove with new spring handles essentially amounts to providing it with a new set of dependable hands. With just a handful of basic tools and supplies, switching out the old, worn handles for new ones can be accomplished effortlessly, guaranteeing a secure and effective wood-burning operation.

In this article, I’ll guide you through the precise steps to:

  1. Gather the necessary tools
  2. Remove the old handles
  3. Prepare the stove
  4. Install the new handles
  5. Test and adjust for optimal functionality

Let’s get those handles springing back to life!

Key Takeaways

  • Choose the right size handles based on the dimensions of the wood stove
  • Ensure the stove is completely cool before starting the installation
  • Remove the old handles by unscrewing them using a screwdriver
  • Install the new handles securely using the provided screws or bolts

Gathering the Necessary Tools and Materials

I need to gather all the necessary tools and materials for installing the wood stove spring handles.

When it comes to choosing the right size handles, it’s crucial to consider the dimensions of your wood stove. Measure the distance between the mounting holes on the stove and select handles that match those measurements. This ensures a secure fit and proper functioning of the handles.

Safety precautions should also be taken into account during the installation process. It’s essential to wear protective gloves to avoid any injuries while handling the tools. Additionally, make sure the stove is completely cool before starting the installation to prevent burns.

Lastly, gather a screwdriver, screws, and any other tools required as specified in the installation instructions.

Advertisement

Removing the Old Handles From the Wood Stove

To remove the old handles from the wood stove, simply unscrew them using a screwdriver. Before attempting to remove the handles, it’s important to ensure that the stove is cool and not in use.

Once you have confirmed this, locate the screws that secure the handles to the stove. Using a screwdriver that fits the screws snugly, turn them counterclockwise to loosen and remove them. In some cases, the screws may be rusted or stuck. If this is the case, applying a rust remover or lubricant can help loosen them.

After successfully removing the screws, gently pull the handles away from the stove. If the handles are dirty or rusted, take the opportunity to clean them thoroughly before proceeding with the installation process.

Now that the old handles have been removed, we can move on to preparing the wood stove for installation.

Preparing the Wood Stove for Installation

Before beginning the installation process, it’s crucial to first gather all the necessary tools and materials, and then carefully clean the surrounding area of the wood stove. This step ensures a smooth and efficient installation of the stovepipe.

Advertisement

To prepare the stovepipe for installation, start by measuring and cutting the appropriate length of pipe needed. Next, connect the sections of pipe together using the provided connectors, making sure they fit securely.

It’s important to ensure proper ventilation by positioning the stovepipe correctly, allowing for the safe and efficient release of smoke and gases. Make sure the pipe is angled upwards to create a natural draft.

Lastly, double-check all connections and tighten any loose fittings. Following these steps will help ensure a successful installation and proper ventilation for your wood stove.

Installing the New Wood Stove Spring Handles

After measuring the appropriate length of pipe, I securely connected the sections together using the provided connectors and installed the new wood stove spring handles.

When it comes to installing wood stove handles, choosing the right spring handles is crucial for safety and convenience. The handles should be sturdy enough to withstand high temperatures and provide a comfortable grip. Look for handles made from heat-resistant materials like cast iron or stainless steel. Measure the distance between the mounting holes on the stove and ensure that the handles you choose have the same hole spacing. Additionally, consider the design and aesthetics of the handles to match the overall look of your wood stove.

Advertisement

Once you have selected the right handles, attach them to the stove using the provided screws or bolts, making sure they’re securely fastened.

Testing and Adjusting the Installed Spring Handles

I tested and adjusted the installed spring handles, ensuring they provide a secure grip on the wood stove. The durability of these handles is crucial, as they’re responsible for safely opening and closing the stove door. Through thorough testing, I can identify any potential weaknesses or issues that may arise.

Troubleshooting common problems is a necessary step in ensuring the handles function properly. Here are some key points to consider:

  • Check that the spring tension is balanced and provides enough resistance for smooth operation.
  • Verify that the handles are securely attached to the stove door and won’t come loose during use.
  • Test the handles at various temperatures to ensure they don’t become too hot to touch.
  • Evaluate the overall functionality and ergonomics of the handles to ensure they’re comfortable and easy to use.

Frequently Asked Questions

How Often Do Wood Stove Spring Handles Need to Be Replaced?

Wood stove spring handles typically last for several years with regular maintenance. Signs of wear and tear include loose springs or damaged grips. Replace handles when they no longer provide a secure grip or show significant damage.

Can I Use Any Type of Screwdriver to Remove the Old Handles?

I can use various screwdrivers to remove the old handles, but it’s important to choose the right one to avoid damaging the stove. Safety precautions like wearing gloves and goggles should be taken.

Do I Need to Clean the Wood Stove Before Installing the New Handles?

Yes, it is important to clean the wood stove before installing the new handles. Cleaning ensures proper adhesion and prevents any dirt or debris from interfering with the installation process.

Advertisement

Can I Install Wood Stove Spring Handles by Myself or Do I Need Help?

Installing wood stove spring handles by myself is possible, but it’s always helpful to have someone lend a hand. Here are some tips for a successful installation: gather necessary tools, follow manufacturer’s instructions, and ensure proper alignment and tightness.

How Can I Adjust the Tension of the Installed Spring Handles?

To adjust the tension of installed spring handles, start by locating the adjustment screws on the handle brackets. Use a screwdriver to tighten or loosen these screws until the desired tension is achieved. If you encounter any issues, consult the manufacturer’s troubleshooting guide.

Conclusion

After gathering the necessary tools and materials, removing the old handles, and preparing the wood stove, installing the new wood stove spring handles is a precise and detailed process. By following the steps outlined in this article, you can ensure a successful installation.

Once installed, don’t forget to test and adjust the handles to ensure they’re functioning properly.

With these new handles, your wood stove will be ready for use and provide a visually pleasing addition to your home.

Advertisement

Continue Reading

Trending