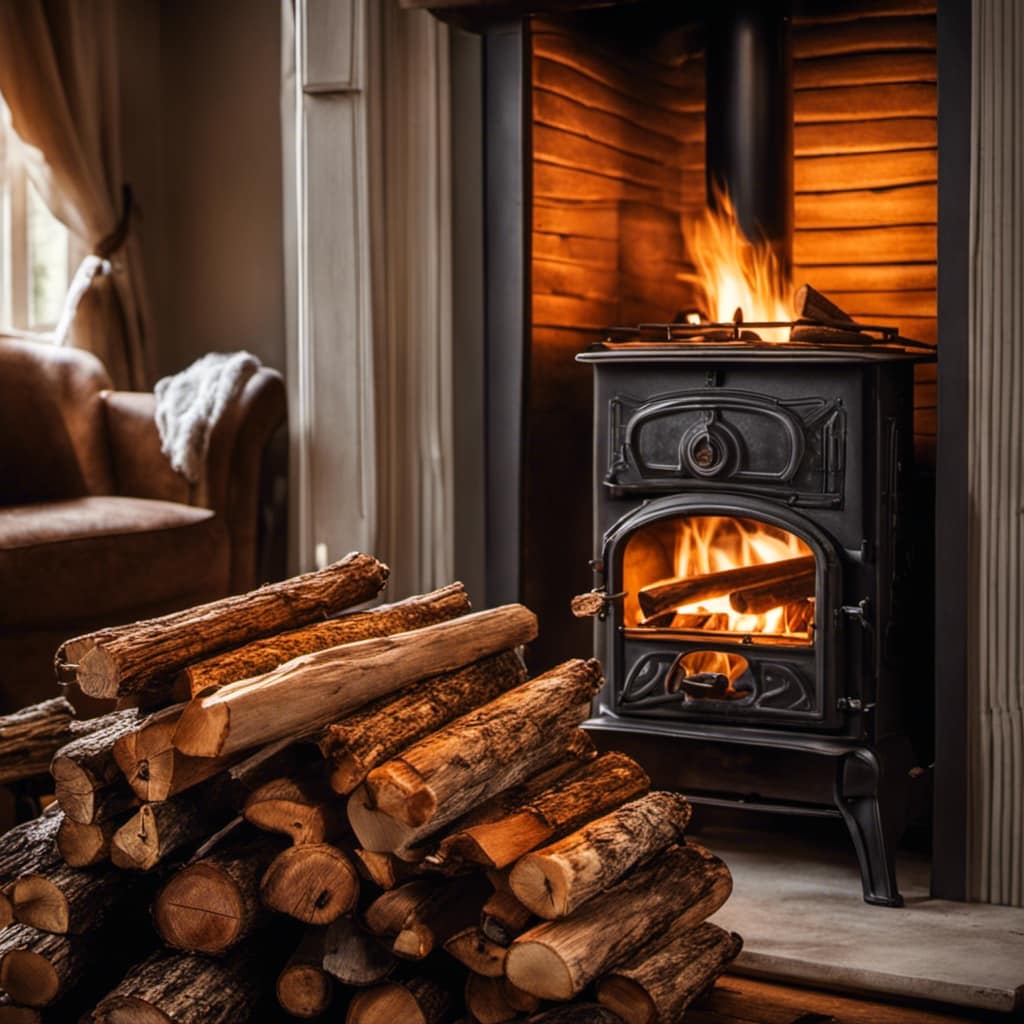
Connect with us

Wood Stove

How To Vent A Wood Stove Without A Chimney

Published

on


I possess a stove that burns wood, however, I do not own a chimney. Does that sound familiar? Don’t worry, I’m here to assist you.

In this article, I’ll walk you through the ins and outs of venting a wood stove without a chimney. We’ll explore different methods, from through-the-wall venting to roof options and even masonry chimney alternatives.

Safety and compliance are key, so I’ll make sure you have all the information you need to keep your space warm and cozy.

Let’s get started!wood stove fireplace for sale

Key Takeaways

  • Direct vent systems and vented through-the-roof systems are common methods for venting wood stoves without a chimney.
  • Ventless systems are also an option, utilizing advanced combustion technology for minimal emissions.
  • Proper sizing and installation of venting systems is crucial for maintaining airflow and preventing leakage.
  • Assessing available space and considering room layout, proximity to combustible materials, and overall size of the area is important when determining suitable venting options.
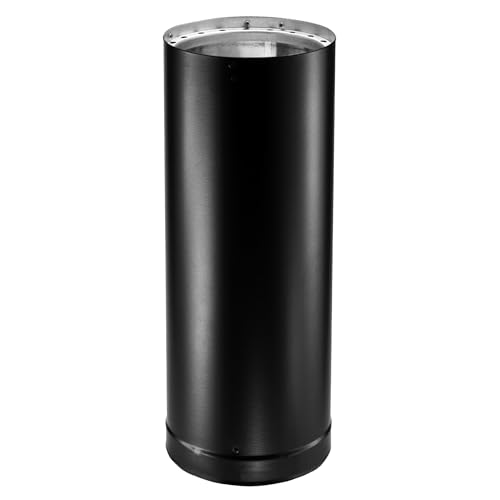
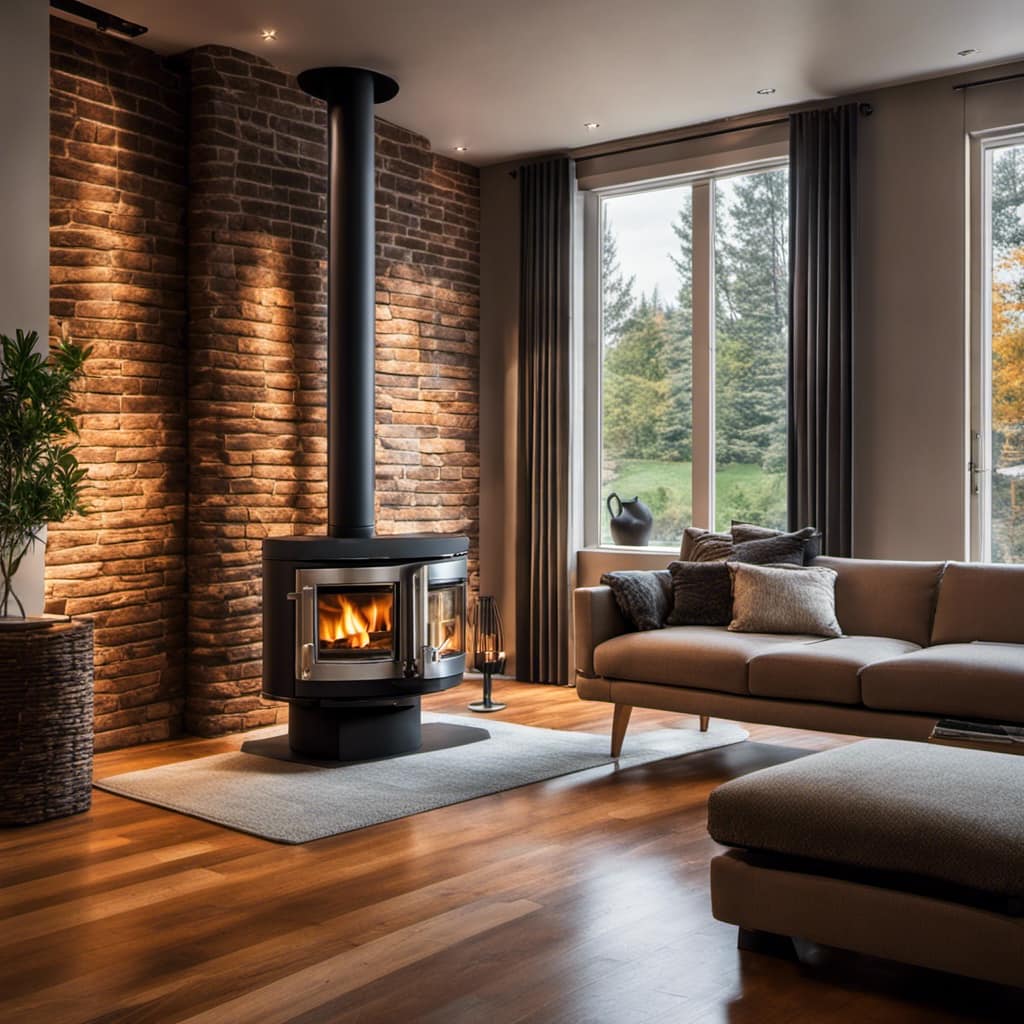
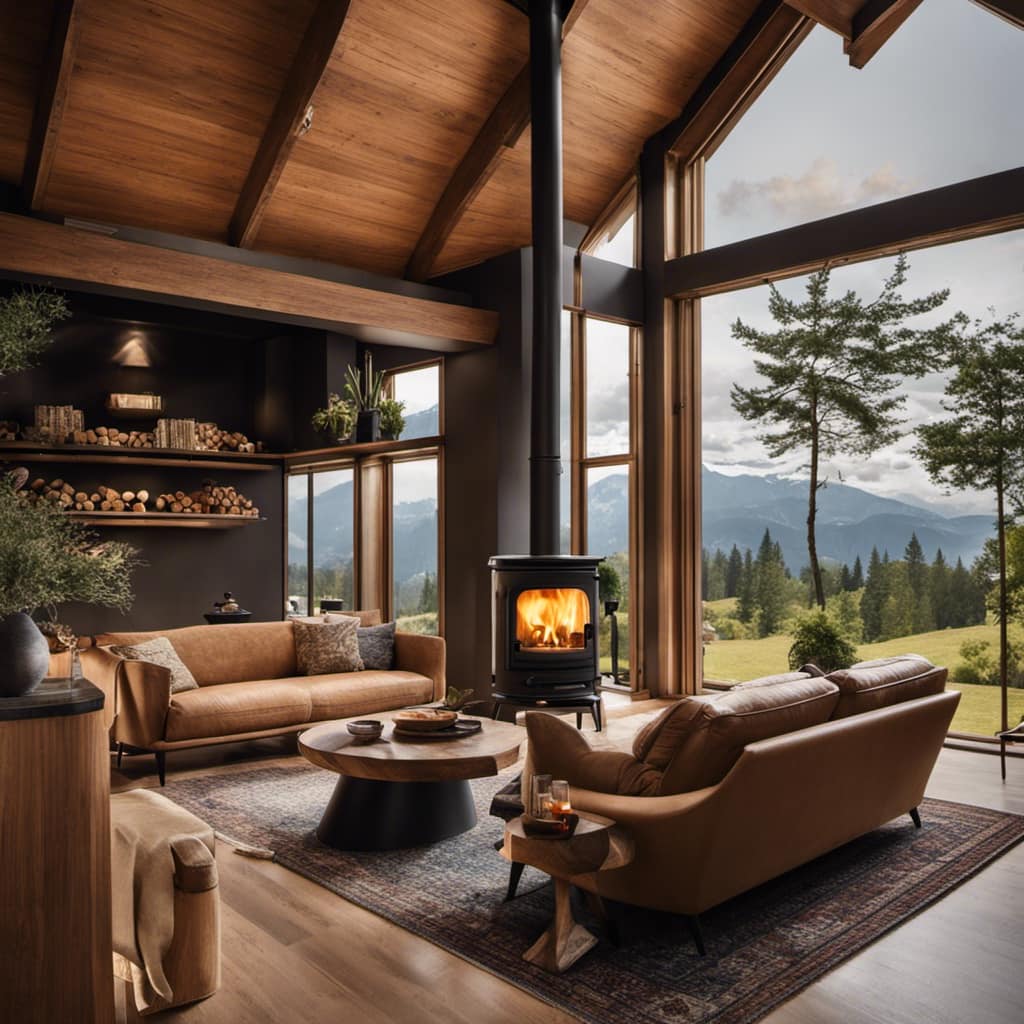
Venting Methods for Wood Stoves Without a Chimney

I’ve found a few different options for venting a wood stove without a chimney. When assessing space and looking for cost-effective solutions, it’s important to consider the available options.

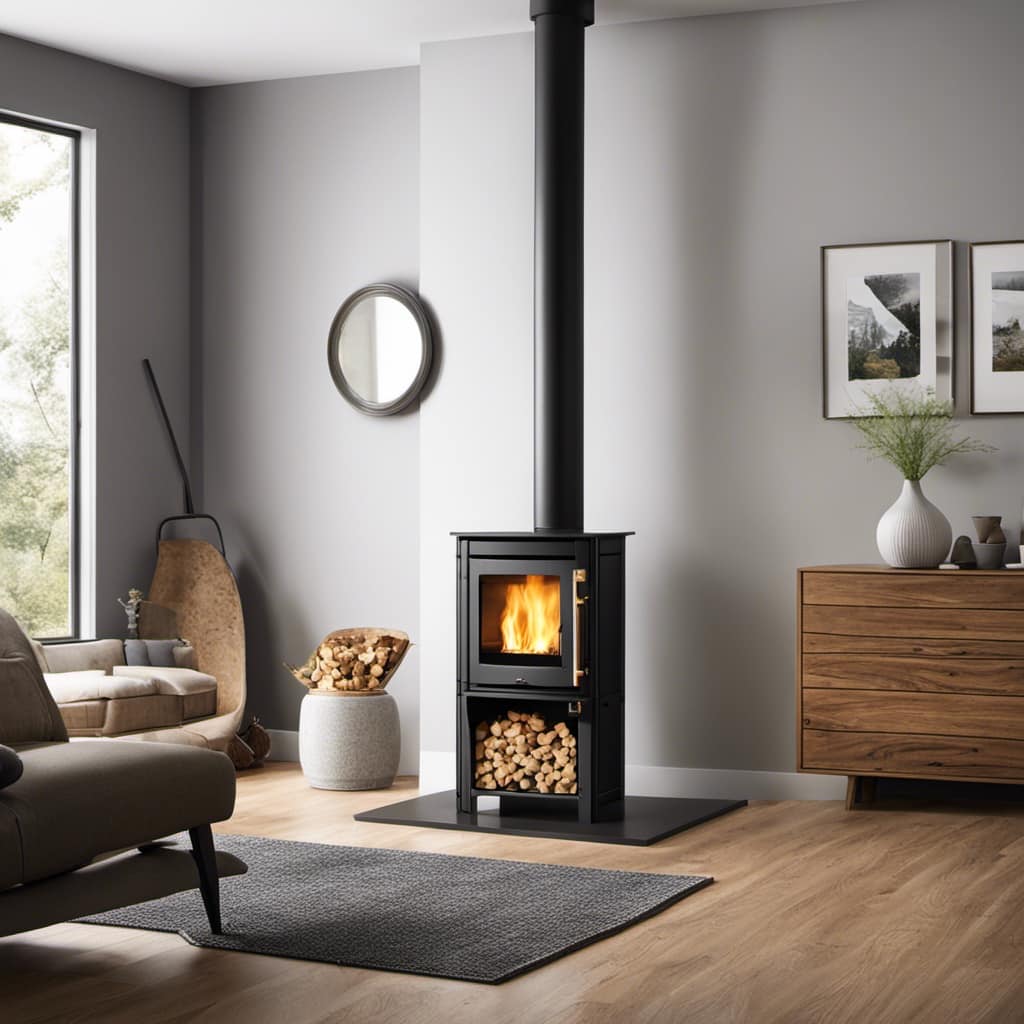
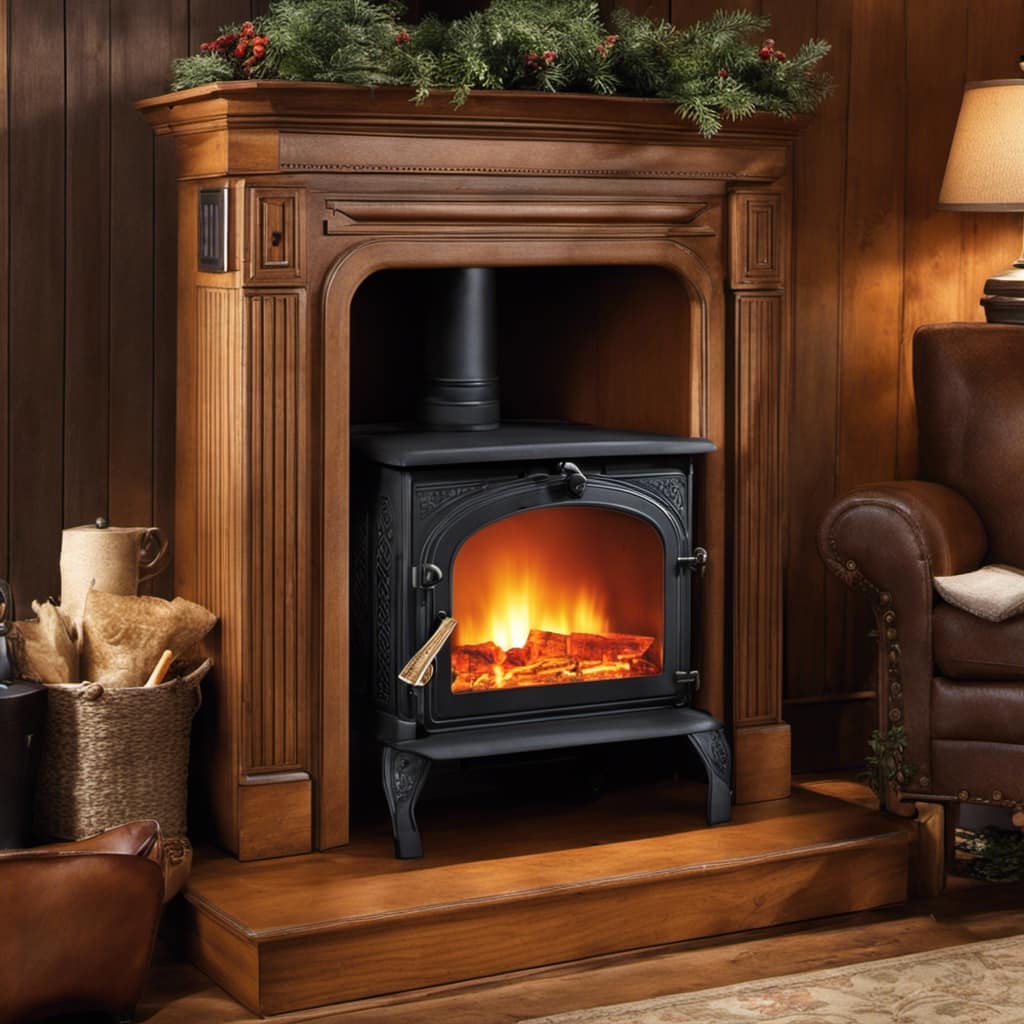
One option is to use a direct vent system, which involves installing a pipe that runs directly through an exterior wall. This pipe allows for both the intake of fresh air and the exhaust of combustion gases. It’s important to ensure that the pipe is properly sized and installed to maintain proper airflow and prevent any leakage.

Advertisement

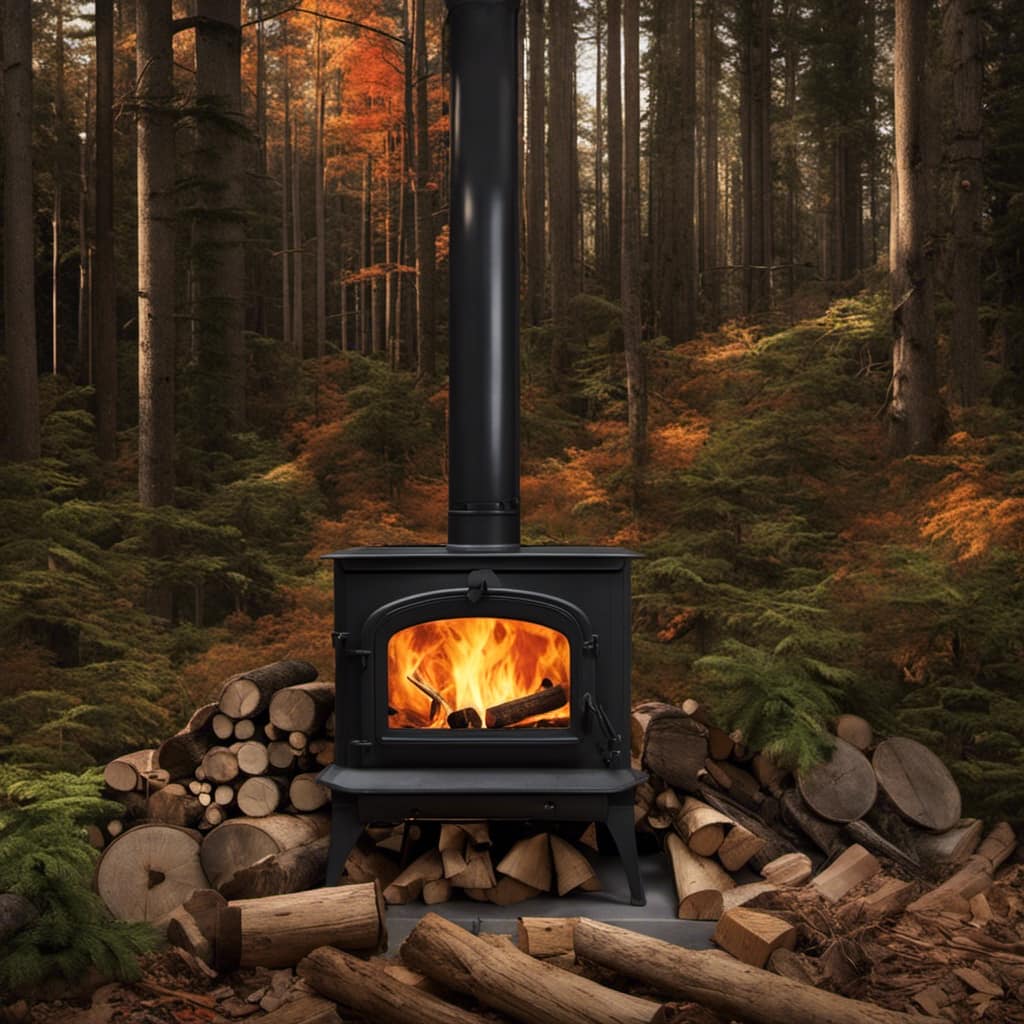
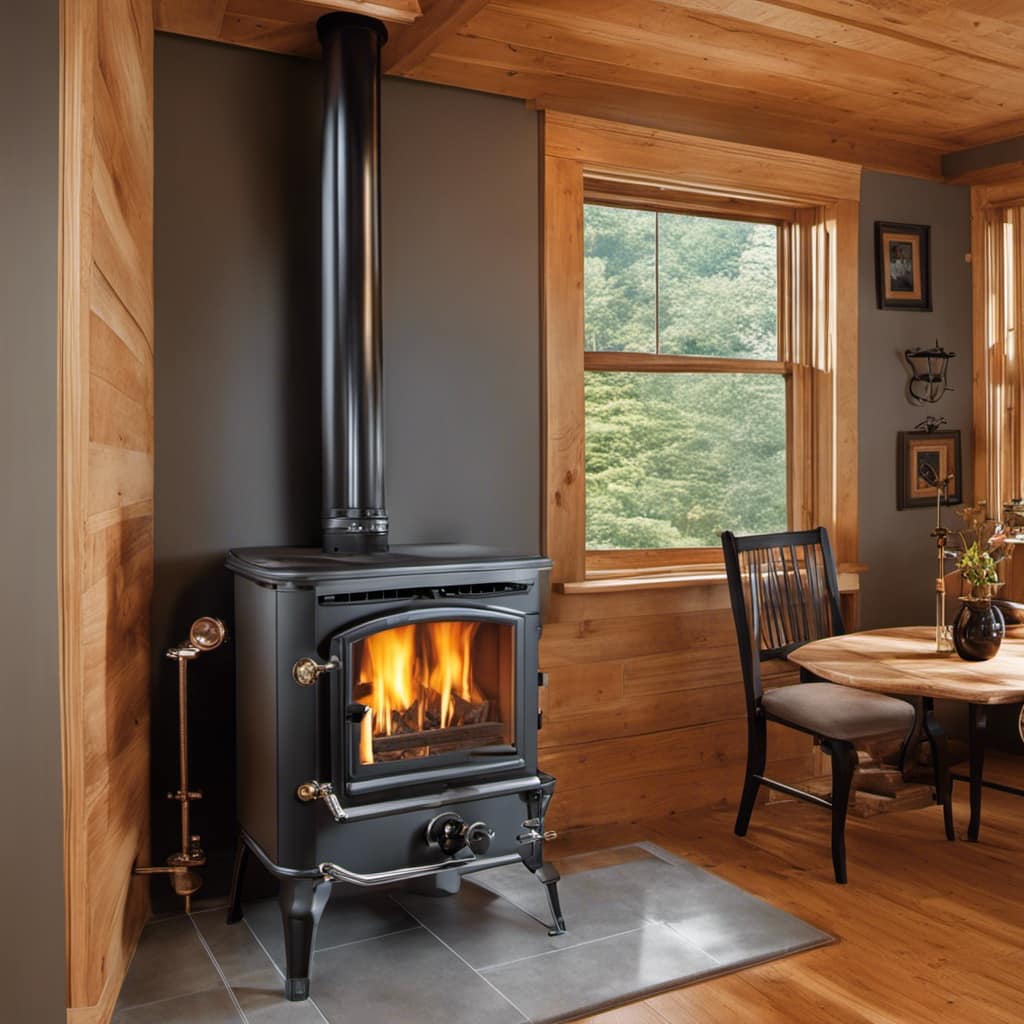
Another option is to use a vented through-the-roof system. This involves installing a pipe that goes through the roof and extends above it to allow for proper venting of the wood stove. This method requires careful planning and installation to ensure that the pipe is properly sealed and insulated to prevent any heat loss or condensation issues.

A third option is to utilize a ventless, or non-vented, system. This involves using a wood stove that’s specifically designed to operate without the need for a chimney or vent. These stoves are equipped with advanced combustion technology that allows for the complete combustion of wood, resulting in minimal emissions. However, it’s important to note that ventless systems require careful monitoring to ensure proper air quality and safety.wood stove fans ecofan

Assessing Your Space for Wood Stove Venting Options

In my opinion, it’s important to evaluate the available space to determine suitable options for venting a wood stove. Assessing the space is crucial to ensure the proper functioning and safety of the wood stove. When assessing the space, consider the layout of the room, the proximity to combustible materials, and the overall size of the area. It’s vital to have enough space for the venting system to be installed properly and to meet the required clearances from walls and ceilings.

When assessing the space, it’s crucial to consider the different ventilation options available. One option is a through-the-wall venting system, which allows the wood stove to exhaust directly outside through a wall. This option is ideal when a chimney isn’t available or not feasible. Another option is a direct venting system, which utilizes a sealed combustion chamber and vents the smoke and gases outside through a small pipe. This option is suitable for homes with tight construction or those wanting to minimize heat loss.

In conclusion, properly assessing the available space is essential when determining the ventilation options for a wood stove. By considering factors such as room layout and clearances, you can ensure the safe and efficient operation of your wood stove.

Now, let’s move on to the next section and discuss how to install a through-the-wall venting system for a wood stove.

Advertisement
wood stove cooking

How to Install a Through-the-Wall Venting System for a Wood Stove

When installing a through-the-wall venting system for my wood stove, it’s important to follow the manufacturer’s instructions carefully to ensure proper installation. There are two main options for venting a wood stove through the wall: horizontal venting and vertical venting.

For horizontal venting, a vent pipe is installed horizontally through an exterior wall. This option is suitable for situations where the stove is located near an exterior wall and there’s enough space to run the vent pipe horizontally without any obstructions. The vent pipe should have a slight upward slope to allow for proper draft and prevent condensation buildup.

On the other hand, vertical venting involves running the vent pipe vertically through the roof. This option is used when the stove is located in the center of the room or away from an exterior wall. It requires cutting a hole in the roof and installing a chimney pipe that extends above the roofline. This type of venting requires extra precautions to ensure proper sealing to prevent leaks.

Transition sentence: Now that we’ve explored the through-the-wall venting options, let’s move on to exploring roof venting options for wood stoves.wood stove deutsch

Exploring Roof Venting Options for Wood Stoves

When it comes to exploring roof venting options for wood stoves, there are a few factors to consider.

Safety should always be a top priority, as improper venting can lead to dangerous situations like carbon monoxide buildup.

Additionally, cost-effective solutions should be sought after, as venting systems can vary in price.

Advertisement

Alternative Venting Methods

I can use a pellet stove vent kit as an alternative method to vent my wood stove without a chimney.wood burner stove

When exploring venting options for wood stoves, there are DIY venting methods available. One such method is using a pellet stove vent kit, which is designed to safely and efficiently vent the exhaust gases from a wood stove. These kits typically include a vent pipe, termination cap, wall thimble, and other necessary components for installation.

The vent pipe is usually made of stainless steel and is insulated to prevent heat loss. It’s important to follow the manufacturer’s instructions and local building codes when installing the vent kit.

Safety Considerations for Venting

To ensure safety when considering alternative venting methods, it’s important to carefully follow the manufacturer’s instructions and local building codes. When it comes to venting regulations and ventilation system maintenance, there are several key considerations to keep in mind:

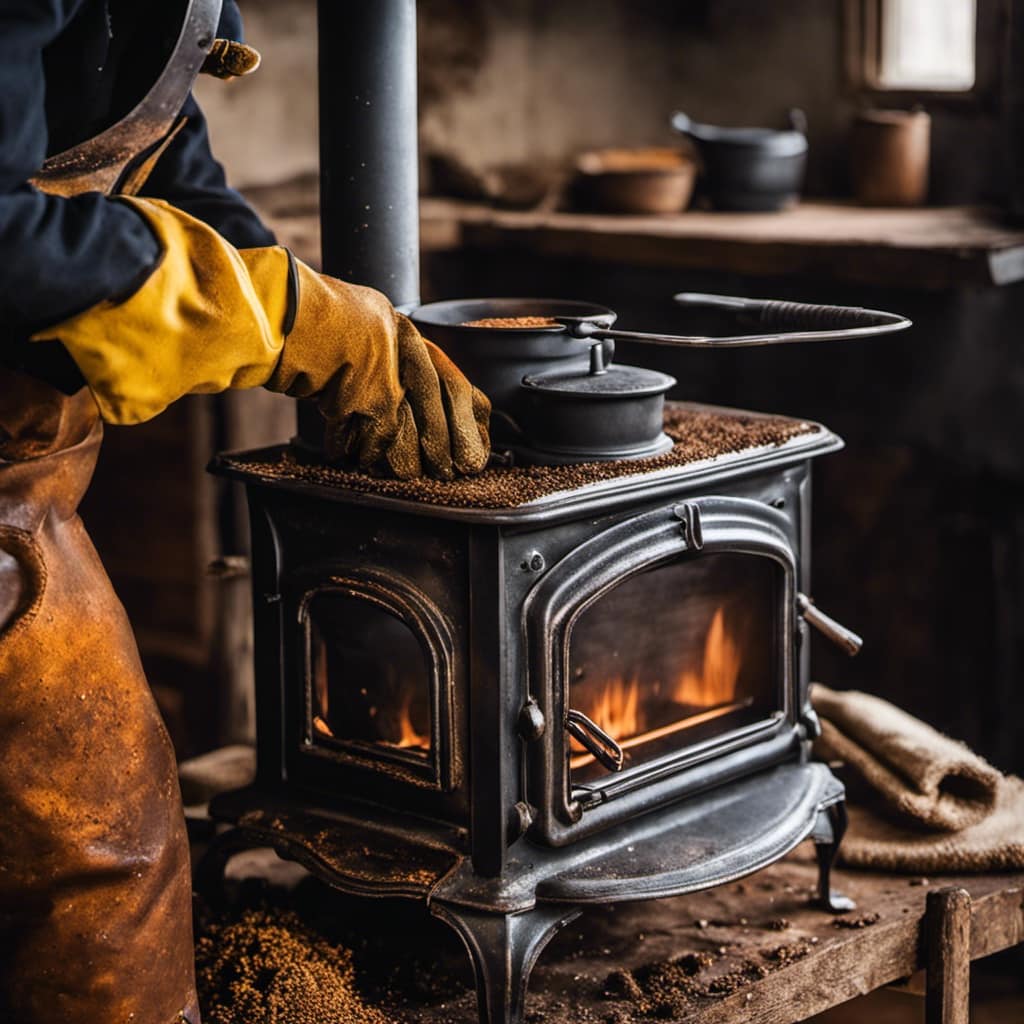
  • Regularly inspect and clean the chimney or vent pipe to prevent buildup of creosote and other combustible materials.
  • Ensure proper clearances are maintained between the venting system and any combustible materials in the surrounding area.
  • Use appropriate materials and components that are designed for the specific venting method being employed.
  • Regularly check for any signs of damage or deterioration in the venting system and promptly address any issues.
  • Familiarize yourself with the specific regulations and requirements in your area, as they may vary.

By following these safety guidelines and staying up-to-date on venting regulations, you can ensure a safe and efficient ventilation system for your wood stove.blaze king

Now, let’s explore some cost-effective venting solutions.

Cost-Effective Venting Solutions

As a homeowner, I found that using a pellet stove with a direct venting system was a cost-effective solution for heating my home. When looking for cost-saving alternatives to traditional chimney venting, DIY venting options can be a great choice.

Direct venting systems utilize a sealed combustion chamber, which draws in fresh air from outside and expels the combustion gases through a separate vent. This eliminates the need for a chimney and reduces heat loss.

Advertisement

Additionally, direct venting systems can be installed with minimal modifications to your home, making them a cost-effective option for DIY enthusiasts. With proper installation and maintenance, these systems can provide efficient and safe heating for your home.wood stove for sale

Now, let’s explore whether a direct vent system is right for your wood stove.

Is a Direct Vent System Right for Your Wood Stove

A direct vent system might be the ideal solution for my wood stove. Unlike traditional venting methods that require a chimney, a direct vent system allows for easy installation and flexibility.

Here are some key benefits of using a direct vent system:

  • Efficient Venting: Direct venting eliminates the need for a chimney by utilizing a sealed combustion chamber. This ensures that all the exhaust gases are safely and effectively vented outside, while also preventing any backdraft or air leakage.wood stove pizza truck

  • Improved Indoor Air Quality: With a direct vent system, there’s no risk of smoke, fumes, or pollutants entering your living space. This helps maintain a healthy indoor environment for you and your family.

  • Cost Savings: Direct venting is a cost-effective alternative to power venting, as it doesn’t require additional fans or electricity to operate. This can lead to significant energy savings over time.

  • Design Flexibility: Direct vent systems offer more flexibility in terms of stove placement. They can be installed on any exterior wall, allowing you to choose the most convenient location for your wood stove.

  • Easy Installation: Installing a direct vent system is relatively simple and can be done by a professional or even as a DIY project. This saves both time and money compared to traditional chimney installations.wood stove insert reviews

Overall, a direct vent system offers a convenient, efficient, and cost-effective solution for venting your wood stove without the need for a chimney.

Understanding the Benefits of a Power Vent for Wood Stoves

I really appreciate the convenience and effectiveness of using a power vent system for my wood stove. Installing a power vent offers several advantages, making it an ideal choice for efficient and safe venting.

One of the main benefits of a power vent system is its ability to overcome the limitations of traditional chimney venting. With a power vent, you can install your wood stove in any part of your home, even if there is no existing chimney. This flexibility allows for more freedom in designing your living space.

Advertisement

Furthermore, power venting ensures proper air circulation and eliminates the need for constant monitoring. The power vent system uses a fan to draw out the exhaust gases from the wood stove and expel them outside. This process helps maintain a consistent airflow, preventing the build-up of smoke and harmful gases within your living area.wood stove pipe supplies

To give you a visual representation, here is a table showcasing the advantages of power venting:

Advantages of Power Venting
Flexibility in stove placement
Improved air circulation
Eliminates the need for constant monitoring

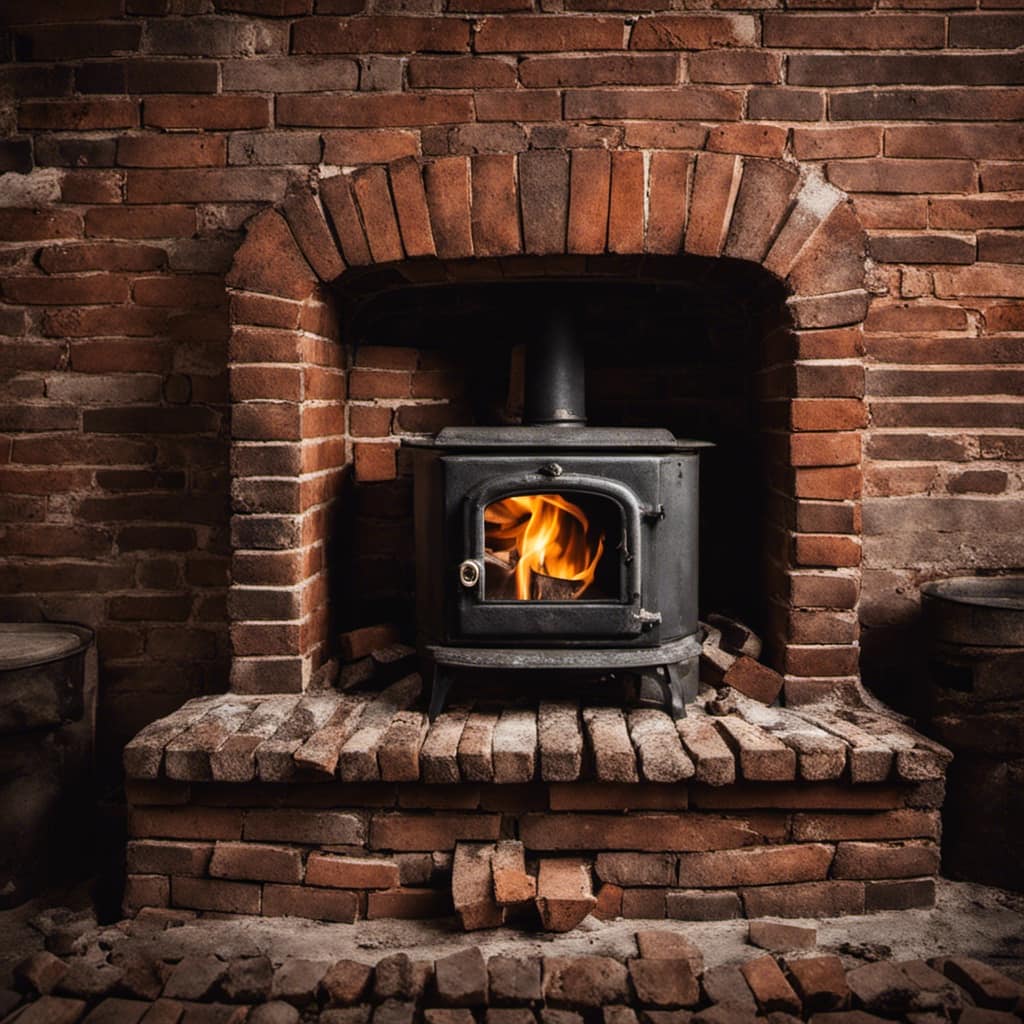
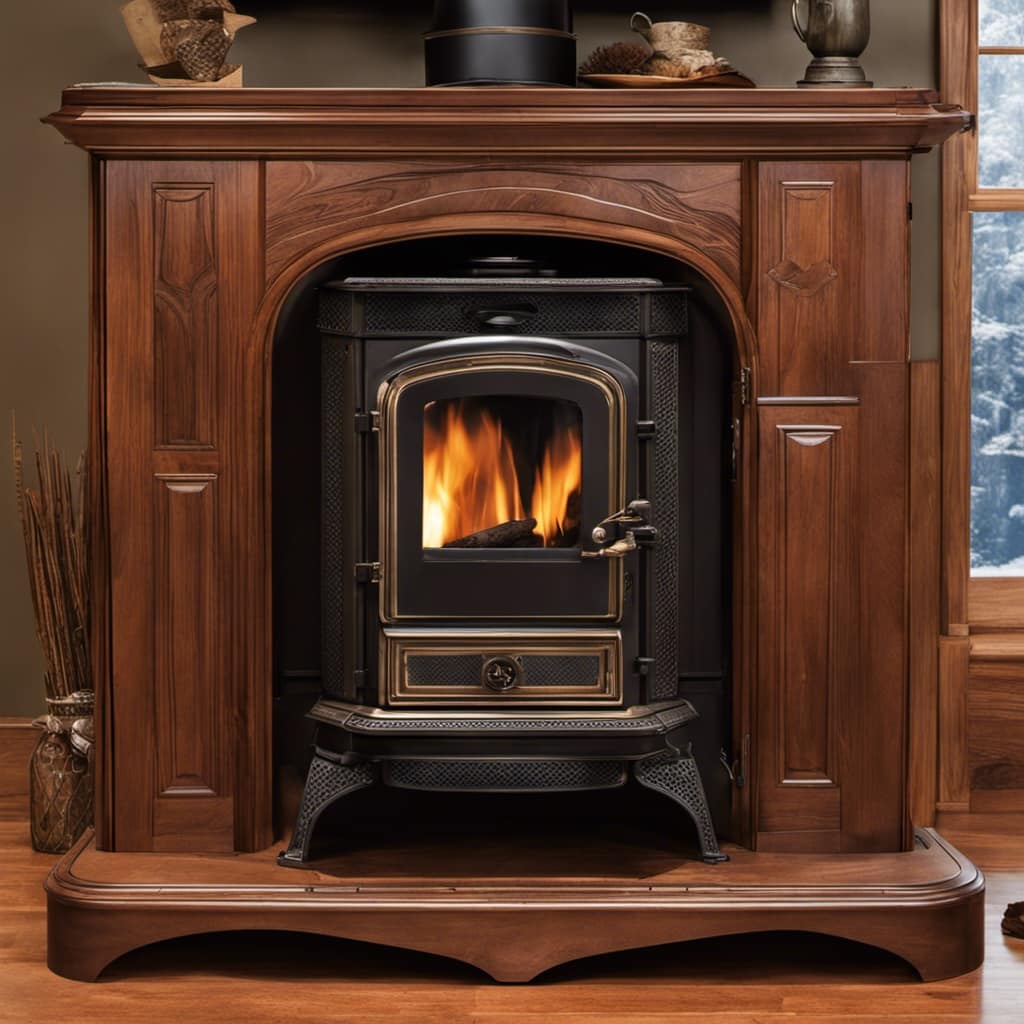
Venting a Wood Stove Using a Masonry Chimney Alternative

When it comes to venting a wood stove without a chimney, one option to consider is using a masonry chimney alternative. This alternative allows you to safely and effectively vent your wood stove without the need for a traditional chimney.

One method is venting through windows, which involves installing a specially designed window vent system to direct the smoke and combustion gases outside.

Here are some key points to consider when using a masonry chimney alternative for venting a wood stove:wood burning stove lowes

  • Window vent system: This system consists of a vent pipe that’s connected to the stove and passes through a window. The pipe is insulated to ensure that the outside air doesn’t interfere with the combustion process.

  • Installation: Proper installation is crucial for the safe and efficient operation of the wood stove. It’s important to follow the manufacturer’s instructions and local building codes when installing the window vent system.

  • Maintenance: Regular maintenance is necessary to ensure the system functions properly. This includes cleaning the vent pipe and inspecting the seals to prevent any leaks or blockages.

  • Efficiency: While using a masonry chimney alternative may not provide the same level of efficiency as a traditional chimney, it can still effectively vent the wood stove and provide sufficient heat.jotul wood stoves

  • Safety precautions: It’s essential to take proper safety precautions when using a masonry chimney alternative. This includes ensuring that the window vent system is securely installed and that there are no obstructions blocking the vent pipe.

Ensuring Safety and Compliance With Wood Stove Venting Methods

Using a masonry chimney alternative for venting my wood stove ensures both safety and compliance with the proper venting methods. Venting regulations and proper venting techniques are crucial to prevent the buildup of dangerous gases and to maintain efficient operation of the wood stove.

Advertisement

When it comes to venting a wood stove without a traditional chimney, it’s essential to follow the guidelines set by venting regulations. These regulations are put in place to ensure the safety of your home and those who reside in it. Proper venting techniques involve using a masonry chimney alternative such as a stainless steel chimney liner or a direct vent system.

A stainless steel chimney liner is a popular choice as it provides a durable and efficient venting solution. It’s important to select a liner that’s appropriate for the size and type of wood stove you have. The liner should be installed by a professional to ensure proper installation and compliance with venting regulations.wood stove fireplace for sale

Another option is a direct vent system, which uses a sealed combustion chamber to draw in air for combustion and expel the byproducts outside. This type of system eliminates the need for a traditional chimney and provides a safe and efficient venting method.

Frequently Asked Questions

Can I Vent a Wood Stove Without a Chimney in an Apartment Building?

Yes, you can vent a wood stove without a chimney in an apartment building. There are alternative venting options available, such as direct venting or using a vent pipe system.

Direct venting involves installing a pipe that goes directly through an exterior wall to expel the stove’s combustion byproducts.

Another option is a vent pipe system, which utilizes a series of pipes to safely exhaust the smoke and gases outside.

Advertisement
morso wood stove

These alternatives can effectively vent the wood stove in an apartment building.

What Are the Potential Risks or Hazards of Venting a Wood Stove Without a Chimney?

When it comes to venting a wood stove without a chimney, there are potential dangers and hazards to consider. Proper ventilation is crucial for safety reasons. Without a chimney, the risk of carbon monoxide buildup increases significantly, which can be deadly.

Additionally, inadequate ventilation can lead to poor air quality and the accumulation of harmful particles in the indoor environment. Therefore, it’s essential to prioritize ventilation safety when venting a wood stove without a chimney.

Are There Any Specific Building Codes or Regulations I Need to Follow When Venting a Wood Stove Without a Chimney?

When venting a wood stove without a chimney, it’s crucial to adhere to building code requirements and safety precautions. Building codes may vary depending on your location, but generally, there are regulations in place to ensure proper installation and ventilation.wood stove fireplace insert with blower

These codes aim to minimize the risk of fire, carbon monoxide poisoning, and other potential hazards. By following these guidelines, you can ensure the safe and efficient operation of your wood stove.

Can I Use an Existing Ventilation System, Such as a Dryer Vent, to Vent a Wood Stove?

I can explore alternative venting options for a wood stove without a chimney, such as using an existing ventilation system like a dryer vent.

However, it’s important to note that while this may seem convenient, it may not be the safest or most effective solution.

Advertisement

Dryer vents are typically designed for a lower temperature exhaust, whereas wood stoves produce much higher temperatures.wood stove factory

This can pose a fire hazard and potentially damage the ventilation system.

Therefore, it’s recommended to consult with a professional to ensure proper ventilation for your wood stove.

Are There Any Specific Maintenance or Cleaning Requirements for Wood Stove Venting Systems Without a Chimney?

Maintenance requirements and cleaning requirements for wood stove venting systems without a chimney can vary depending on the specific setup. Regular inspection of the venting system is crucial to ensure proper functioning and safety.

It’s important to clean the flue regularly to remove any creosote buildup, which can be a fire hazard. Additionally, maintaining a clear and unobstructed path for the exhaust gases is essential to prevent any issues with ventilation.wood stove pipe installers near me

Can I Vent a Wood Stove Without Installing a Chimney?

Yes, you can definitely install a wood stove chimney without installing a chimney. There are various venting options for wood stoves, including venting through a wall or through the roof. It’s important to consult with a professional to determine the best venting option for your specific situation.

Conclusion

In conclusion, venting a wood stove without a chimney requires careful consideration of the available options. Installing a through-the-wall venting system or exploring roof venting options are common methods. Another option is using a direct vent system or a power vent for convenience.

Advertisement

It’s interesting to note that according to a study by the National Fire Protection Association, improper venting of wood stoves is a leading cause of residential fires. Therefore, ensuring safety and compliance with proper venting methods is crucial.

Growing up surrounded by the vast beauty of nature, Sierra was always drawn to the call of the wild. While others sought the comfort of the familiar, she ventured out, embracing the unpredictable and finding stories in the heartbeat of nature.   At the epicenter of every remarkable venture lies a dynamic team—a fusion of diverse talents, visions, and passions. The essence of Best Small Wood Stoves is crafted and refined by such a trio: Sierra, Logan, and Terra. Their collective expertise has transformed the platform into a leading authority on small wood stoves, radiating warmth and knowledge in equal measure.

Continue Reading
Advertisement

Wood Stove

How Long Does It Take Wood To Ignite Aftee Being Put In A Wood Stove

Published

on

By

An image capturing the mesmerizing scene of a wood stove, with a bed of glowing embers beneath carefully stacked logs, as tendrils of thin smoke gracefully curl upwards, depicting the anticipation of wood slowly igniting

I must admit, the wait for wood to catch fire in a wood stove can seem never-ending. However, do not worry, as in this article, I will share some strategies and tips to speed up the process.

From understanding the temperature and moisture content of the wood to choosing the right type and preparing it efficiently, we’ll explore all the factors that affect wood ignition time.

So let’s dive in and get that fire blazing in no time!

Key Takeaways

  • Weather conditions and moisture content of the wood can affect the ignition time.
  • Properly seasoned wood with around 20% moisture content ignites more easily.
  • Smaller wood logs and softer woods tend to ignite faster than larger and harder woods.
  • Proper wood storage and preparation, such as keeping it off the ground, using fire starters, and maintaining airflow, can help ensure faster ignition in a wood stove.

Factors Affecting Wood Ignition Time

I’m curious about the factors that can affect the time it takes for wood to ignite in a wood stove.

One of the key factors is the weather conditions. Cold and damp weather can make it harder for the wood to catch fire, as moisture content in the wood can be high. It’s important to ensure that the wood is properly seasoned and has a moisture content of around 20% for optimal ignition.

Another factor to consider is the size of the wood logs. Smaller logs tend to ignite more quickly as they’ve a larger surface area exposed to the heat source.

Advertisement

Additionally, the type of wood being used can also affect ignition time, with softer woods igniting faster than harder woods.

Temperature and Moisture Content of Wood

The optimal moisture content for wood is around 20%, which ensures efficient ignition in a wood stove. The wood ignition process is influenced by various factors, and the moisture content plays a critical role in determining how quickly the wood will ignite.

When wood is too wet, it requires more energy to burn off the excess moisture before it can reach its ignition point. On the other hand, if the wood is too dry, it may ignite too quickly and burn too rapidly, leading to inefficient combustion and wasted energy.

Therefore, it’s essential to properly store wood to maintain its moisture content within the optimal range. Proper wood storage involves keeping the wood off the ground, covering it to protect it from rain or snow, and allowing for proper airflow to prevent excessive moisture buildup.

Type of Wood and Its Density

I prefer using hardwoods like oak or maple due to their density and their ability to burn longer and provide more heat. When it comes to wood species selection, it’s important to consider the impact of wood moisture content. Here are three key points to keep in mind:

Advertisement

  1. Moisture content affects combustion efficiency: Wet wood contains a higher moisture content, which leads to incomplete combustion and the production of more smoke and pollutants. Dry hardwoods, on the other hand, burn more efficiently and produce less smoke.

  2. Heat output is influenced by wood density: Hardwoods have a higher density compared to softwoods, resulting in a higher heat output. This means that hardwoods like oak and maple can provide more warmth and keep your space cozy for a longer period of time.

  3. Longer burn time with hardwoods: Due to their density, hardwoods burn at a slower rate, allowing for a longer burn time per log. This means less frequent refueling and a more consistent heat source.

Preparing Wood for Efficient Ignition

To ensure efficient ignition, I always make sure to properly split and dry my firewood. Proper wood storage is essential for achieving this. It’s important to store the firewood in a well-ventilated area, off the ground and protected from moisture. This allows the wood to dry properly and reduces the risk of it being damp or rotting.

When it comes to igniting the wood in a wood stove, using fire starters or kindling can greatly speed up the process. These small pieces of flammable material help create a hot and sustained flame, which in turn ignites the larger pieces of wood.

By incorporating these techniques, you can ensure a faster and more efficient ignition in your wood stove.

Now, let’s move on to some tips for faster wood ignition in a wood stove.

Tips for Faster Wood Ignition in a Wood Stove

Using kindling and ensuring proper airflow are key to achieving faster wood ignition in a wood stove. When it comes to stubborn wood that’s difficult to ignite, there are several ignition techniques that can be employed:

Advertisement

  1. Preparation: Properly seasoned wood with a moisture content below 20% is essential for efficient ignition. This ensures that the wood is dry enough to catch fire quickly.

  2. Kindling: Creating a bed of small, dry kindling underneath the larger logs helps to ignite the fire faster. Kindling acts as a fuel source that ignites easily and produces enough heat to catch the larger logs on fire.

  3. Airflow: Adequate airflow is crucial for wood ignition. By opening the damper or adjusting the air vents, you can ensure that enough oxygen is getting to the fire, promoting faster ignition.

While some may consider using accelerants to speed up wood ignition, it’s important to note that this can be dangerous and may result in uncontrollable fires or the release of harmful chemicals. It’s recommended to rely on proper ignition techniques and patience for a safe and efficient wood ignition process.

Frequently Asked Questions

Can I Use Treated Wood in My Wood Stove?

Using pressure treated wood in a wood stove is not recommended due to the chemicals it releases when burned. It is safer to use untreated wood or other alternatives for faster ignition.

What Is the Best Type of Wood to Use for Faster Ignition in a Wood Stove?

Fast burning woods like pine or fir can ignite in a wood stove within minutes. To ensure efficient wood stove usage, it’s important to choose dry, seasoned firewood and properly maintain the stove.

Are There Any Safety Precautions I Should Take When Igniting Wood in a Wood Stove?

When igniting wood in a wood stove, it is important to take safety precautions. Keep a fire extinguisher nearby and ensure proper ventilation. Additionally, the moisture content of the wood can affect its ignition time.

Can I Use Wood Chips or Sawdust for Ignition in a Wood Stove?

I can use wood chips or sawdust for ignition in a wood stove. They are effective fire starters for faster ignition. The small size and high surface area make them ignite quickly, reducing the time needed for the wood to catch fire.

Advertisement

How Does the Size of the Wood Affect Its Ignition Time in a Wood Stove?

Moisture content significantly affects wood ignition in a wood stove. Smaller pieces of wood ignite faster due to increased surface area. However, larger pieces provide longer burn times. Consider the advantages and disadvantages of each for efficient use in a wood stove.

Conclusion

After careful analysis of the factors affecting wood ignition time, it’s safe to say that wood doesn’t ignite instantly in a wood stove. Contrary to popular belief, wood requires time to reach its ignition point, which is influenced by factors such as temperature, moisture content, and wood density.

To expedite the process, it’s crucial to choose the right type of wood and ensure it’s properly prepared. So, if you were expecting an immediate burst of flames, you might’ve to wait a little longer.

Continue Reading

Wood Stove

Why Does Your Wood Stove Smoke

Published

on

By

An image capturing a rustic, cozy living room

Dealing with the smoke from your wood stove can be a real nuisance. But don’t worry, I’m here to provide some tips on how to manage it.

Understanding the root causes of this predicament is crucial. Insufficient airflow, improper wood selection, damaged chimney, inadequate maintenance, and incorrect installation are the major culprits.

Let’s delve into each of these factors to uncover the secrets behind why your wood stove may be producing that bothersome smoke.

Key Takeaways

  • Blocked vents disrupt combustion process and lead to incomplete burning and smoke generation.
  • Burning wet or high-moisture wood results in inefficient burning and increased creosote buildup.
  • Cracked or deteriorating chimney can cause leaks and smoke entry.
  • Inadequate stove maintenance, including dirty burners and clogged flue, can lead to smoke issues.

Insufficient Airflow

I’m having trouble with my wood stove smoking because there’s not enough airflow. A common cause of insufficient airflow is blocked vents. When the vents are blocked, the combustion process is disrupted, leading to incomplete burning of the wood and the generation of smoke.

To ensure efficient combustion and minimize smoke, it’s crucial to maintain clear and unobstructed vents. Blocked vents can result from a buildup of creosote or debris, so regular cleaning is essential.

Additionally, proper placement of the stove is crucial to ensure adequate airflow. Make sure that the stove is positioned away from any obstructions, such as furniture or curtains, that might impede the flow of air.

Advertisement

Improper Wood Selection

To prevent excessive smoke and poor combustion, it’s important to avoid burning wet wood or wood with high moisture content, as it can result in inefficient burning and increased creosote buildup. When burning seasoned firewood, which has a moisture content of around 20% or less, the wood burns more efficiently, producing less smoke and providing more heat output. Seasoned firewood has been properly dried for at least six months, allowing the moisture content to decrease significantly. This ensures that the wood burns cleanly and effectively in your wood stove. However, if you burn wood with high moisture content, it will create more smoke and reduce the overall efficiency of your stove. This can also lead to a higher risk of creosote buildup in your chimney, which can be dangerous and increase the chance of a chimney fire. Therefore, it’s crucial to always use dry, seasoned firewood to prevent excessive smoke and maintain proper combustion in your wood stove.

Now, let’s discuss another potential reason for excessive smoke: a damaged or leaky chimney.

Damaged or Leaky Chimney

A damaged or leaky chimney can cause smoke to enter your home, which can be hazardous to your health and safety. It’s important to address any issues with your chimney promptly to ensure the proper functioning of your wood stove.

Here are three signs of a damaged chimney that you should be aware of:

  1. Cracked or crumbling mortar: If you notice any cracks or crumbling in the mortar joints of your chimney, it could indicate water damage or structural issues. This can lead to leaks and smoke entering your home.

  2. Rusty or deteriorating chimney cap: The chimney cap plays a crucial role in keeping out rain, snow, debris, and animals. If it’s rusty or deteriorating, it may not be able to perform its function effectively, allowing smoke to escape into your living space.

  3. Smoke stains or odors: If you notice smoke stains on the walls or ceilings near your chimney or detect a persistent smoky odor in your home, it could be a sign of a leaky chimney. This should be addressed promptly to prevent further damage and potential health risks.

When faced with a damaged chimney, there are various repair options available, such as chimney relining, chimney crown repair, and chimney flashing repair. It’s important to consult with a professional chimney technician to determine the best course of action for your specific situation.

Advertisement

Inadequate Stove Maintenance

One of the main causes of smoke in your home can be the result of inadequate stove maintenance. A dirty stove and a clogged flue are two common culprits that can lead to smoke issues. When the stove isn’t properly cleaned, a buildup of soot and debris can occur on the burners, causing incomplete combustion and the production of smoke.

Additionally, a clogged flue prevents the proper ventilation of smoke, leading to its accumulation inside your home. Regular cleaning and maintenance of your stove, including cleaning the burners and ensuring the flue is clear, is crucial in preventing smoke issues.

It’s recommended to schedule annual professional maintenance to ensure your stove is in optimal condition and to avoid the inconvenience and potential health hazards associated with smoke in your home.

Incorrect Stove Installation

I regret not hiring a professional for my stove installation, as it has caused numerous issues and potential hazards. When it comes to installing a wood stove, proper positioning and sizing are crucial factors that shouldn’t be taken lightly.

Here are three key reasons why improper stove positioning and incorrect flue size can lead to problems:

Advertisement
  1. Inadequate clearance: Placing the stove too close to combustible materials can increase the risk of fire. It’s essential to follow the manufacturer’s guidelines for proper clearances to ensure the safe operation of the stove.

  2. Inefficient heating: Incorrect positioning can hinder the stove’s ability to distribute heat effectively throughout the room. This can result in uneven temperatures and wasted energy, leading to discomfort and higher heating costs.

  3. Insufficient draft: Using an incorrect flue size can impede the stove’s ability to expel smoke and gases properly. This can lead to backdrafting, where smoke enters the room instead of being directed outside. Aside from the health hazards, backdrafting can damage the stove and cause indoor air quality issues.

To avoid these problems, it’s essential to consult a professional for the proper installation of your wood stove. They’ll ensure that the stove is positioned correctly and the flue size is appropriate for efficient and safe operation.

Frequently Asked Questions

Can Smoking Occur if There Is Sufficient Airflow in the Wood Stove?

Yes, smoking can still occur in a wood stove even with sufficient airflow. Factors like improper wood placement, damp or unseasoned wood, or a clogged chimney can all contribute to smoking issues. Proper troubleshooting can resolve these problems and improve wood stove performance.

What Are Some Common Wood Types That Should Be Avoided to Prevent Smoking in a Wood Stove?

To prevent smoking in a wood stove, it is important to avoid using wood types like pine, as they contain high levels of resin. Additionally, properly seasoning firewood is crucial to reduce smoke production.

How Can I Identify if My Chimney Is Damaged or Leaking?

To identify chimney damage or leaks, conduct a thorough chimney inspection. Look for cracks, loose bricks, or crumbling mortar. Additionally, consider installing a smoke detector near the stove to quickly detect any smoke issues.

Besides Regular Cleaning, What Other Maintenance Practices Can Help Prevent Smoking in a Wood Stove?

Other maintenance practices, such as ensuring proper airflow and avoiding certain wood types, can help prevent smoking in a wood stove. Identifying chimney damage or leaks and checking for correct stove installation are also crucial.

Advertisement

What Are Some Signs of Incorrect Stove Installation That May Lead to Smoking?

Installing a wood stove improperly can lead to frustrating smoke issues. One key sign is if the chimney height is too short. Another is using unseasoned wood, which can cause excessive smoke.

What Are Some Wood Stove Brands That Have Smoke-Reducing Features?

Looking for the best wood stove brands with smoke-reducing features? Look no further. With increasing concerns about air pollution, several brands are innovating their wood stoves to minimize smoke emissions. Some notable options include Vermont Castings, Jøtul, and Blaze King. These brands prioritize efficiency and clean burning, ensuring you can enjoy the warmth of a wood stove while minimizing environmental impact.

Conclusion

In conclusion, when your wood stove smokes, it’s often due to factors such as:

  • Insufficient airflow
  • Improper wood selection
  • A damaged or leaky chimney
  • Inadequate stove maintenance
  • Incorrect installation

To prevent this, you should:

  • Ensure proper ventilation
  • Use seasoned and dry wood
  • Inspect and repair your chimney regularly
  • Maintain your stove diligently
  • Ensure professional installation

By addressing these issues, you can enjoy a smoke-free and efficient wood stove experience, creating a cozy and inviting atmosphere in your home.

Continue Reading

Wood Stove

How To Build A Wood Stove From A Jerry Can

Published

on

By

An image showcasing the step-by-step process of transforming a jerry can into a wood stove

I have always been fascinated by the concept of transforming ordinary objects into useful tools.

So when I came across an old jerry can in my garage, I knew I had the perfect opportunity to create my own wood stove.

In this article, I’ll guide you through the process of transforming a jerry can into a functional and efficient wood stove, complete with ventilation, legs, and a base.

Get ready to unleash your inner DIY enthusiast and start enjoying the warmth of your homemade wood stove.

Key Takeaways

  • Consider the capacity and dimensions of the jerry can
  • Compare different materials for jerry cans
  • Prepare and clean the jerry can properly
  • Take safety precautions and use the right tools when modifying the jerry can

Selecting the Right Jerry Can for Your Wood Stove

I’m trying to figure out which jerry can is the best option for my wood stove.

When it comes to choosing the right size jerry can for your wood stove, it’s important to consider the capacity and dimensions. A larger can will hold more fuel, but it may be too bulky for your space. On the other hand, a smaller can may require more frequent refills.

Advertisement

Additionally, it’s crucial to compare different materials for jerry cans to ensure optimal wood stove performance. Metal cans are durable and resistant to heat, but they can also be heavy. Plastic cans, on the other hand, are lightweight and easier to handle, but may not withstand high temperatures as well.

Ultimately, finding the perfect jerry can for your wood stove is about balancing capacity, dimensions, and material for efficient and safe operation.

Preparing and Cleaning the Jerry Can

Before starting to use the jerry can, it’s crucial to properly clean and prepare it by removing any dirt or residue, and then ensuring it’s completely dry. Here is the cleaning process and safety precautions to follow:

  1. Rinse the jerry can with warm water and a mild detergent to remove any dirt or debris. Use a sponge or brush to scrub the inside and outside of the can thoroughly.

  2. Rinse the can again with clean water to remove any soap residue. Make sure to rinse it multiple times to ensure all the soap is gone.

  3. After rinsing, allow the jerry can to air dry completely. This is important to prevent any moisture from causing rust or corrosion.

By following these cleaning steps, you can ensure that your jerry can is ready for modification.

Now, let’s discuss cutting open and modifying the jerry can for ventilation.

Advertisement

Cutting Open and Modifying the Jerry Can for Ventilation

I’ll explain how to use a few small holes in the jerry can to provide adequate ventilation for the wood stove. When modifying the jerry can for ventilation, it is important to take safety precautions and use the right tools. Here is a table outlining the necessary steps:

Step Safety Precautions Tools Needed
1 Wear protective gloves and goggles Drill
2 Work in a well-ventilated area Marker
3 Ensure the jerry can is empty and clean Metal file
4 Mark the desired ventilation holes on the can Safety glasses
5 Use the drill to create the holes Protective gloves
6 Smooth the edges of the holes with the metal file Goggles
7 Clean any metal shavings from the can Clean cloth

Adding Legs and a Base to the Wood Stove

I can attach some sturdy legs and a stable base to the wood stove to ensure it stands securely on any surface. Achieving stove stability is crucial to prevent accidents and maintain proper functioning.

When choosing materials for the legs and base, it’s important to consider their strength, durability, and heat resistance. Here are three essential elements to consider:

  1. Material Selection: Opt for materials that can withstand high temperatures, such as stainless steel or cast iron. These materials are known for their strength and ability to withstand the intense heat generated by the wood stove.

  2. Design and Construction: The design of the legs should provide sufficient support and stability. Consider a tripod or four-leg design for optimal balance. Additionally, ensure the legs are securely attached to the stove body to prevent any wobbling or instability.

  3. Base Size and Shape: The base of the wood stove should be wide and flat enough to distribute the weight evenly, ensuring stability on various surfaces. A larger base will provide better stability, especially when using the stove on uneven or soft ground.

Testing and Using Your DIY Wood Stove

I’ve successfully tested and now use my DIY wood stove to cook meals while camping. It’s a simple yet effective solution for outdoor cooking. However, before using it, I took several testing techniques and safety precautions to ensure its efficiency and my own well-being.

Firstly, I conducted a leak test to ensure there were no air or gas leaks that could potentially cause a fire hazard. This involved pressurizing the stove and checking for any signs of leakage. I also tested its heat distribution by placing a pot of water on the stove and monitoring how evenly the heat was dispersed.

Advertisement

To further ensure safety, I implemented safety precautions such as maintaining a safe distance between the stove and any flammable objects, using heat-resistant gloves when handling the stove, and having a fire extinguisher nearby.

Using my DIY wood stove has been a game-changer for my camping trips. Not only does it provide a reliable cooking source, but it also allows me to enjoy the natural surroundings without relying on traditional campfire cooking methods. By following proper testing techniques and safety precautions, I can confidently cook my meals and enjoy the great outdoors.

Frequently Asked Questions

How Long Does It Take to Build a Wood Stove From a Jerry Can?

It takes about 2 hours to build a wood stove from a jerry can. The benefits of using a wood stove include cost-effective heating and a sustainable fuel source. Regular cleaning and maintenance ensure optimal performance.

Can I Use Any Type of Wood for the Base of the Wood Stove?

I can use different types of wood for the base of the wood stove, but it’s important to consider safety precautions when using it indoors. Proper ventilation and non-flammable materials are crucial.

Is It Safe to Use the Wood Stove Indoors?

Oh, using a wood stove indoors, what a brilliant idea! Let me enlighten you on the potential health hazards and share some precise tips for safely using one. Shall we begin?

Advertisement

Can I Paint the Jerry Can After Modifying It?

Yes, you can paint the modified jerry can using various painting techniques. It is important to choose a paint that can withstand high temperatures and adhere well to metal surfaces. Make sure to consider alternative fuel sources when painting for safety.

What Tools Do I Need to Build a Wood Stove From a Jerry Can?

To build a wood stove from a jerry can, I need a few tools like a jigsaw, drill, and metal file. Safety precautions are crucial, and alternative materials can be used if necessary.

Can I Use a Wood Stove Insert in a DIY Jerry Can Wood Stove?

When considering building a wood stove fireplace, it’s crucial to factor in the cost of materials and construction. However, if you’re planning to use a wood stove insert in a DIY Jerry Can Wood Stove, the cost of building a wood stove fireplace may decrease significantly. This alternative method combines affordability and practicality, making it an excellent choice for those seeking an alternative heating solution.

Can Duraflame Logs Be Used in a Wood Stove Made from a Jerry Can?

Can Duraflame logs be used in a wood stove made from a jerry can? Many DIY enthusiasts wonder about using Duraflame logs in a wood stove. While Duraflame logs are commonly used in traditional fireplaces, their use in a jerry can wood stove may not be ideal. It’s important to consider the safety and compatibility aspects of using duraflame logs in wood stoves specifically designed for them.

Conclusion

After carefully selecting the right jerry can, preparing and modifying it for ventilation, and adding sturdy legs and a stable base, your DIY wood stove is ready for testing and use.

Advertisement

With its compact design and efficient functionality, this wood stove provides a practical and cost-effective heating solution for outdoor activities or emergency situations.

Embrace the warmth and convenience of this homemade creation, bringing comfort and coziness wherever you go.

Continue Reading

Trending