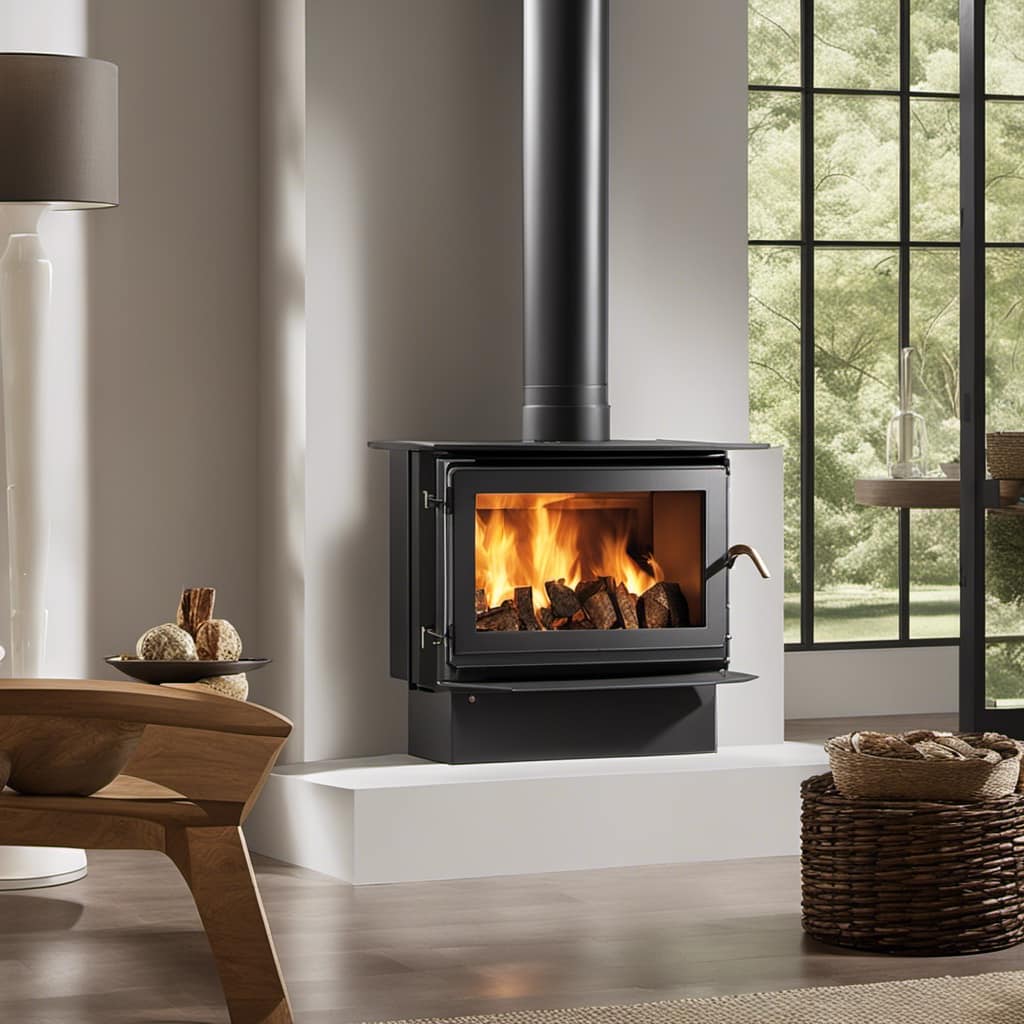
I have to admit, folks, there’s nothing more frustrating than successfully lighting your wood stove only to discover that the flue is closed. It’s like trying to start a fire with a wet match – extremely irritating and ruins the whole vibe.
But fear not! In this article, I’m gonna show you how to easily determine if your flue is open or closed. With a few simple techniques and some keen observation skills, you’ll be enjoying a roaring fire in no time.
Let’s get started, shall we?
Key Takeaways
- Regularly inspect the flue for blockage or buildup to ensure proper ventilation and prevent dangerous carbon monoxide buildup.
- Use a smoke test and carbon monoxide detector to identify leaks or issues with carbon monoxide and detect blockages or buildup in the chimney.
- Monitor the temperature using a thermometer to ensure the wood stove operates within safe limits and prevent creosote buildup and chimney fires.
- Conduct a draft test and measure airflow to check for obstructions or blockages in the chimney, and hire professional chimney sweep services regularly to ensure efficient and safe operation of the wood stove.

Midwest Hearth Wood Stove Thermometer – Magnetic Chimney Pipe Meter (Made in USA)
- Compatible with Single Wall Pipe: Calibrated for single wall chimney flue pipe
- Magnetic Attachment: Attaches easily to metal chimney pipes, holds up to 800°F
- Clear Temperature Zones: Helps optimize efficiency and prevent overheating
As an affiliate, we earn on qualifying purchases.
As an affiliate, we earn on qualifying purchases.
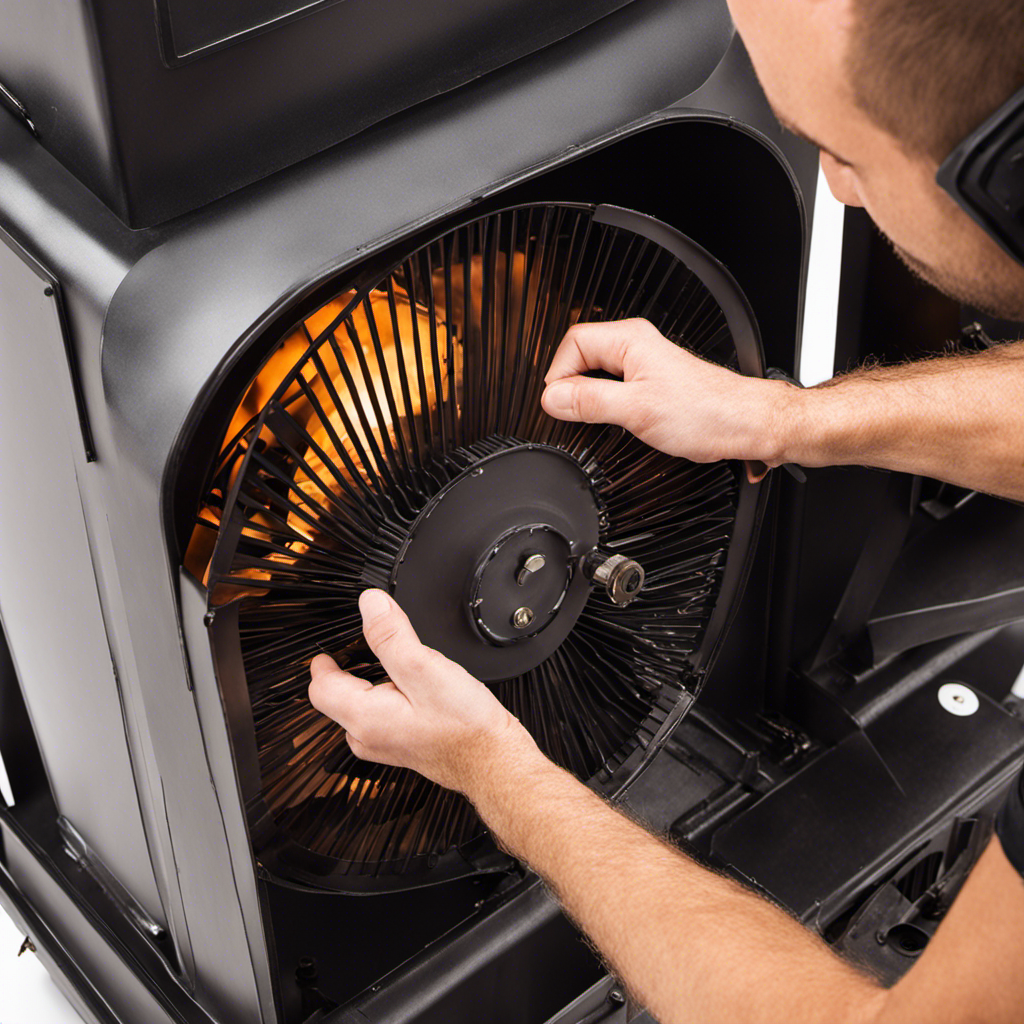
Visual Inspection
I can easily determine if the flue is open through a visual inspection. To ensure the safe operation of my wood stove, it’s crucial to check the flue regularly.
During a visual inspection, I carefully examine the chimney to look for any signs of blockage or buildup. This includes checking for creosote, a highly flammable substance that can accumulate and increase the risk of a chimney fire. Additionally, I inspect the chimney cap to ensure it’s intact and free from debris.
A blocked flue can lead to the dangerous buildup of carbon monoxide, a colorless and odorless gas that can be deadly. Regular chimney cleaning is essential to prevent these hazards and maintain the proper functioning of the wood stove.
Smoke Test
There are several methods to conduct a smoke test, such as using a smoke bomb or a smoke pencil. These tests are crucial for ensuring the safety and efficiency of a chimney.
Here are some important points to consider when conducting a smoke test:
Carbon Monoxide Detection: A smoke test can help identify any leaks or issues with carbon monoxide. This is essential for preventing the harmful gas from entering your home.
Chimney Cleaning: A smoke test can also reveal any blockages or buildup in the chimney. Regular cleaning is necessary to prevent smoke and fumes from backing up into your house.
Proper Ventilation: By conducting a smoke test, you can ensure that your chimney is properly ventilated, allowing smoke to escape efficiently.
Safety Precautions: Always follow safety protocols when performing a smoke test, such as wearing protective gear and having proper ventilation in the testing area.

In order to further assess the functionality of your fireplace, it’s important to also conduct a temperature check.
Temperature Check
To ensure the safety of your fireplace, it’s crucial to conduct a temperature check and use a thermometer to monitor the heat. Chimney maintenance is essential for the proper functioning of your fireplace and to prevent potential hazards. Regular check-ups are of utmost importance to identify any issues early on and address them before they become major problems.
A temperature check is an effective way to determine if your fireplace is operating within safe limits. Using a thermometer, you can measure the temperature of the flue gases and ensure that they aren’t exceeding the recommended levels. This is especially important to prevent the buildup of creosote, a highly flammable substance that can lead to chimney fires.
Regular check-ups allow professionals to inspect your chimney for any signs of damage or blockages. They can identify issues such as cracks, loose bricks, or debris that could hinder the proper functioning of your fireplace. By addressing these problems promptly, you can prevent costly repairs and ensure the longevity of your chimney.

Draft Test
The draft test is a simple and effective way to determine if your fireplace is receiving proper airflow. By performing this test, you can ensure that your wood stove is operating efficiently and safely.
Here are some key points to consider when conducting a draft test:
- Use an airflow measurement tool to measure the amount of air entering the fireplace.
- Check for any obstructions or blockages in the chimney or flue.
- Consider hiring professional chimney sweep services to clean and inspect your chimney regularly.
- Pay attention to any signs of poor airflow, such as smoke backing up into the room or difficulty in lighting a fire.
By understanding the importance of airflow measurement and maintaining a clean chimney, you can ensure that your fireplace operates at its best.
Now, let’s explore another aspect of fireplace maintenance: using a flue damper.
Using a Flue Damper
I always remember to close the flue damper after using the fireplace to prevent drafts. Flue dampers are an essential component of a fireplace or wood stove, as they help regulate the airflow and prevent heat loss when not in use. Proper maintenance of the flue damper is crucial to ensure its functionality and efficiency.
When it comes to flue dampers, there are two primary types: throat dampers and top-sealing dampers. Throat dampers are located just above the firebox and can be opened or closed manually. They’re typically made of cast iron or steel and require regular inspection for any signs of wear or damage.
On the other hand, top-sealing dampers are installed at the top of the chimney and seal off the entire chimney when not in use. These dampers are often made of stainless steel and provide a more effective seal against drafts and moisture.
To maintain your flue damper, it’s recommended to clean it regularly to remove any buildup of soot or debris. Additionally, lubricating the moving parts of the damper can help ensure smooth operation. Finally, inspecting the damper for any signs of rust or damage is essential, as these issues can affect its performance.

Frequently Asked Questions
How Often Should I Visually Inspect My Wood Stove Flue?
I visually inspect my wood stove flue at least once a month. It’s important to regularly check for any blockages or damage that could affect the performance and safety of the stove. Maintenance is crucial for proper flue function.
What Are Some Signs That Indicate a Closed Flue During a Visual Inspection?
During a visual inspection, signs of a closed flue include smoke or soot buildup inside the stove, a strong smell of smoke, and difficulty in starting a fire. Common mistakes when inspecting flues are forgetting to open them or not checking for obstructions.
Can I Perform a Smoke Test on a Wood Stove With Glass Doors or a Sealed Combustion System?
Yes, you can perform a smoke test alternative on a wood stove with glass doors or a sealed combustion system. However, it is important to take necessary safety precautions to prevent any potential hazards.
Is It Necessary to Perform a Temperature Check on My Wood Stove Flue Regularly?
Regular temperature checks are crucial for maintaining a wood stove’s flue. By ensuring proper airflow, I can avoid potential hazards and keep my home safe. It’s a small task that makes a big difference.
Are There Any Risks or Dangers Associated With Using a Flue Damper on a Wood Stove?
There are risks and dangers associated with using a flue damper on a wood stove. It can restrict airflow and cause smoke to back up into the house, leading to carbon monoxide poisoning.
Why is it important to know if the flue is open on a wood stove?
It’s vital to understand the wood stove flue explanation for safety and efficiency. An open flue allows smoke and gases to exit properly, preventing potential fire hazards and health risks. Additionally, knowing if the flue is open or closed ensures that the wood stove operates at its most effective and economical levels.
Conclusion
In conclusion, ensuring the proper functioning of your wood stove flue is crucial for both safety and efficiency. A staggering statistic to note is that according to the National Fire Protection Association, improper use or maintenance of wood stoves and fireplaces accounts for 36% of residential fires.
By performing regular visual inspections, smoke tests, temperature and draft checks, as well as utilizing a flue damper, you can greatly reduce the risk of fire accidents and enjoy the benefits of a well-functioning wood stove.
Stay safe and warm!