It may seem easy to determine if the flue of your wood stove is open. But I must tell you, it is often not as straightforward as you might think.
I mean, who hasn’t accidentally left their flue closed and ended up with smoke billowing into their living room? Trust me, I’ve been there.
That’s why I’m here to show you the foolproof ways to determine if your wood stove flue is open or closed.
So let’s get started and avoid any more smoky mishaps, shall we?
Key Takeaways
- Visual inspection can help identify obstructions or debris in the flue and ensure proper airflow.
- The mirror method provides an alternative way to visually inspect the flue for any blockages.
- Checking for air movement near the fireplace and observing smoke can indicate if the flue is closed or partially closed.
- Feeling for warmth, temperature difference, and condensation can also provide information on the status of the flue.

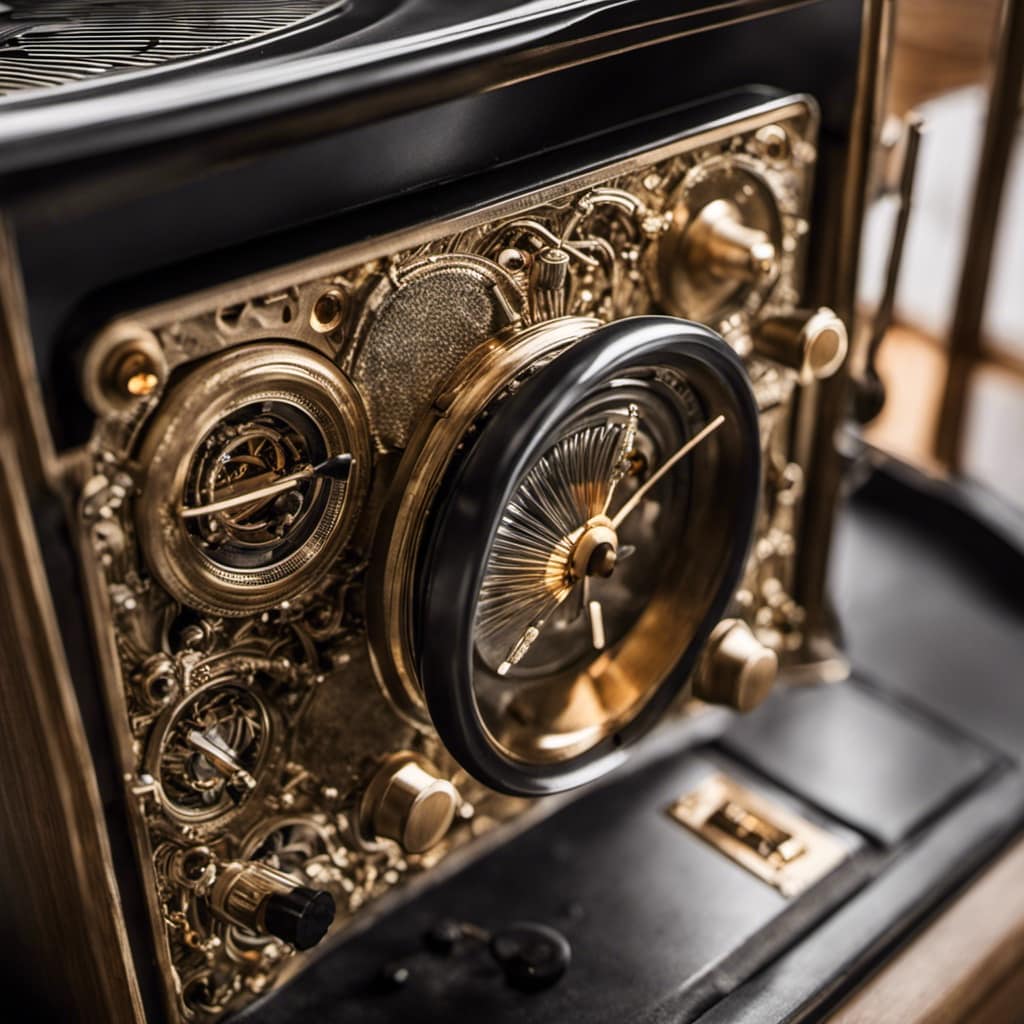
Stanbroil Magnetic Wood Stove Pipe Thermometer, Flue Pipe Temperature Meter for Wood Log Chimney Pipe
- Accurate Temperature Reading: Reads 100 to 700 °F precisely
- Easy Placement: Fits on top or side of stove
- Durable Construction: Made of aluminum, brass, and metal
As an affiliate, we earn on qualifying purchases.
As an affiliate, we earn on qualifying purchases.
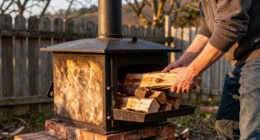
Visual Inspection
I can quickly check the flue by visually inspecting it for any obstructions or signs of closure. When inspecting the chimney, I look for any debris such as fallen leaves, twigs, or bird nests that might’ve accumulated inside the flue. These blockages can prevent proper airflow and hinder the flue from opening fully.
Additionally, I pay close attention to the chimney cap or damper. If it’s closed or partially closed, it could indicate that the flue isn’t open. Sometimes, I may also notice smoke coming back into the room when the wood stove is in use, which is a clear sign of blockage or closure.
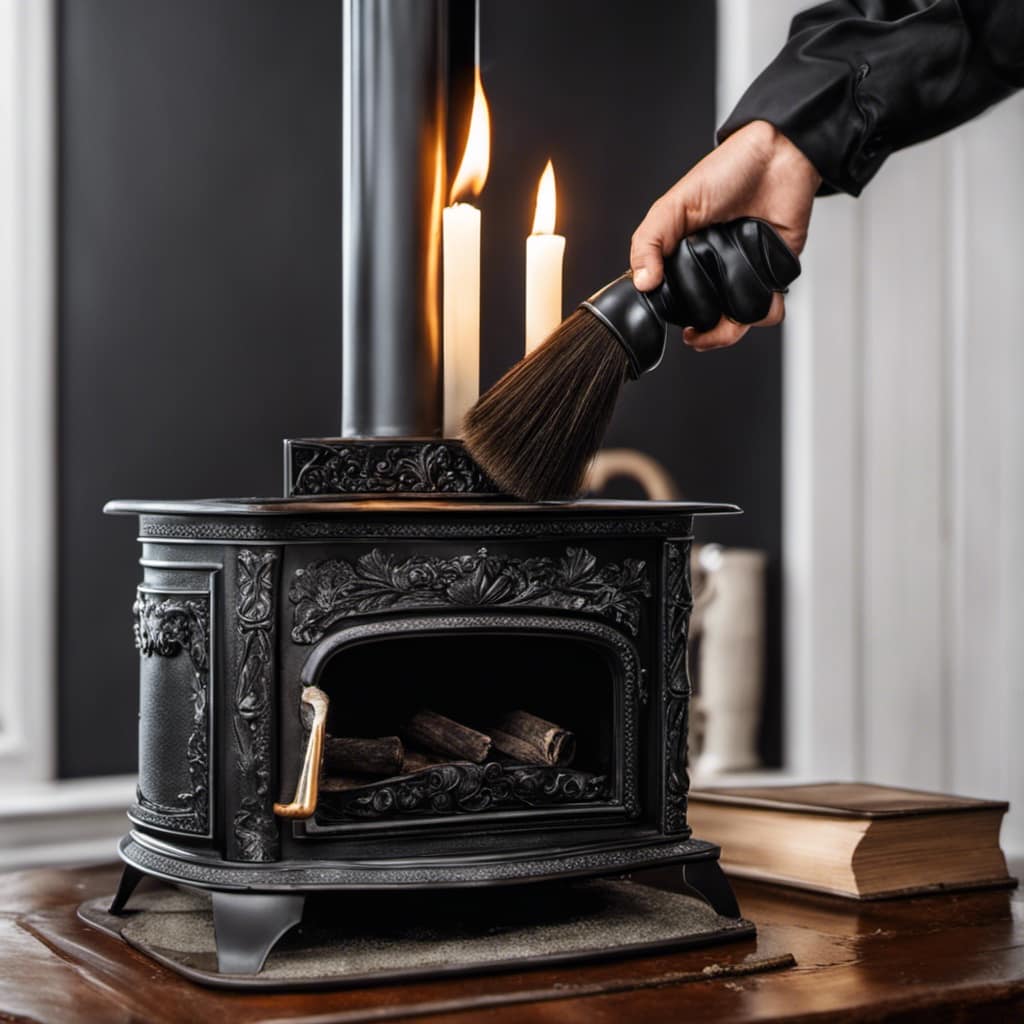
Use a Mirror
Using a mirror, I can check the status of the flue. This is one of the alternative methods to visually inspect the flue.
It’s important to make sure the flue is open before starting a fire in a wood stove. To check the flue, I position the mirror at an angle towards the flue opening and look for any obstructions or debris that might be blocking it.
Common mistakes when using this method include not angling the mirror correctly or not being able to see clearly due to poor lighting. It’s crucial to have a clear view of the flue to ensure it’s fully open.
Once I’ve checked the flue with a mirror, the next step is to check for draft to ensure proper ventilation.
Check for Draft
Feeling for air movement near the fireplace will indicate whether or not there’s a draft. Checking for a draft is an important step in maintaining your wood stove flue and ensuring it’s open. Here are some common signs of a closed flue to look out for:
Smoke entering the room: If smoke starts coming into the room instead of going up the chimney, it means the flue is closed or partially closed.
Difficulty starting a fire: If you’re having trouble getting a fire started or it’s not burning properly, it could be due to a closed flue.
Smoky odors: If you notice a strong smoky smell in your home even when the fireplace isn’t in use, it may be a sign of a closed flue.
Soot buildup: Excessive soot or creosote buildup on the glass doors or surrounding areas could indicate a closed flue.
Regular flue maintenance is crucial to prevent these issues. Now, let’s move on to the next step: feeling for heat.
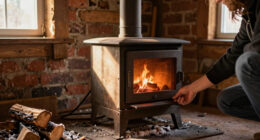
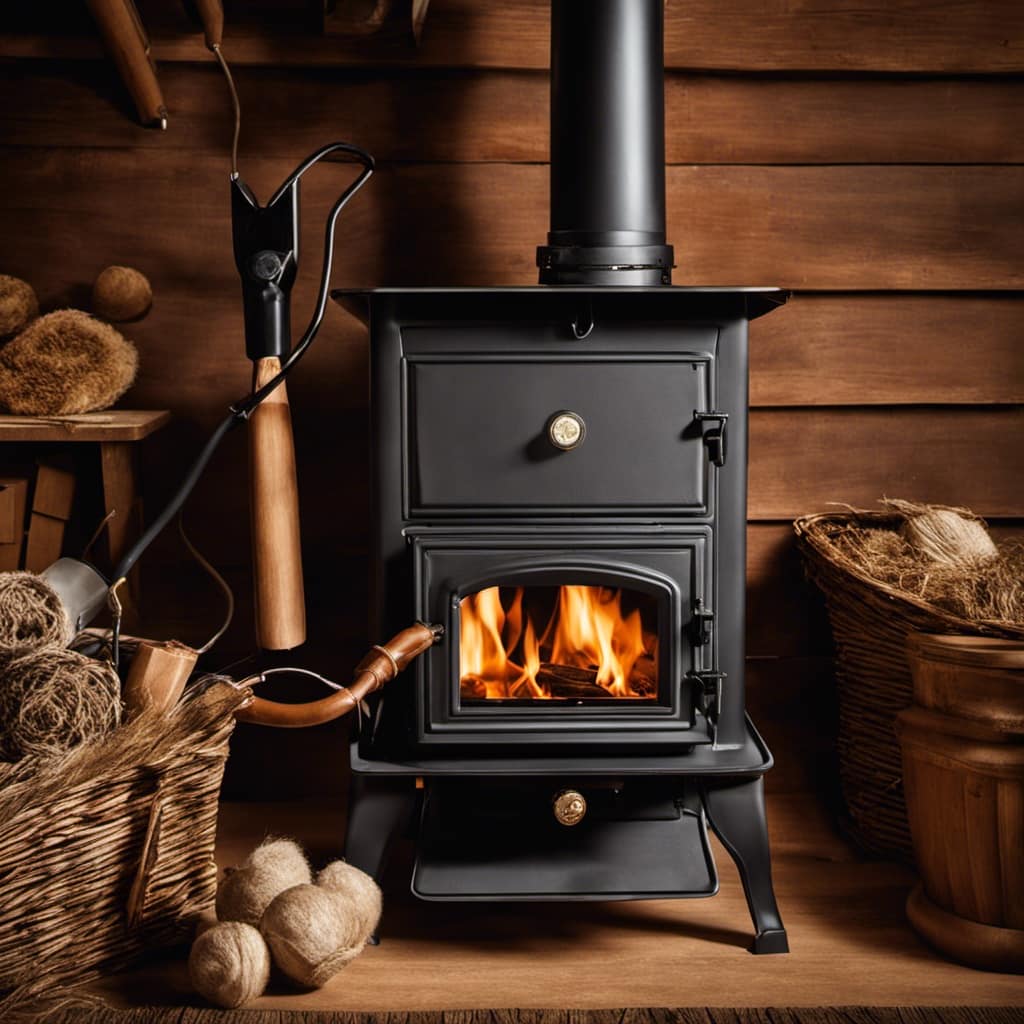
Feel for Heat
As I place my hand near the fireplace, I can feel the warmth radiating from the flames. This is an important step in determining if a wood stove flue is open. When the flue is closed, the heat from the fire is trapped inside the stove, resulting in a significant temperature difference between the stove and the surrounding area. By checking for this temperature difference, I can easily tell if the flue is open or closed. Another indicator to look for is condensation. When the flue is closed, condensation can form on the inside of the stove due to the lack of ventilation. These two simple observations can provide valuable information about the status of the flue and help ensure safe and efficient operation of the wood stove.
| Temperature Difference | Observation for Condensation | Flue Status |
|---|---|---|
| High | None | Open |
| Low | Yes | Closed |
| High | Yes | Partially Open |
Test With Smoke
I can easily determine the status of the flue by observing the movement of smoke. It’s a simple yet effective method to test if the wood stove flue is open or closed.
Here are the steps to follow:
- Light a small piece of newspaper or kindling in the wood stove.
- Watch the smoke as it rises from the fire.
- If the smoke is drawn up the flue and exits the chimney, then the flue is open.
- If the smoke lingers or backs up into the room, then the flue is likely closed or partially closed.
While this method can give you a good indication, it’s always recommended to have a professional assessment of your flue. They can perform more thorough testing methods, such as using specialized equipment to measure the airflow and ensure proper ventilation.
Is It Necessary to Ensure the Flue is Open When Venting a Wood Stove Through a Wall?
When you vent a wood stove through a wall, it’s crucial to ensure the flue is open. This allows for proper airflow and prevents dangerous backdrafts. Failing to open the flue can lead to smoke and carbon monoxide buildup, posing serious health and safety risks. Always double-check the flue before venting a wood stove through a wall.
Frequently Asked Questions
Can I Use Any Type of Mirror to Check if the Wood Stove Flue Is Open?
I can use a mirror to check if the wood stove flue is open. However, it’s important to note that there are alternative methods for flue inspection. The frequency of inspection depends on factors like usage and maintenance.
How Often Should I Visually Inspect My Wood Stove Flue?
How often should I clean my wood stove flue? What are the signs of a blocked wood stove flue? It’s important to visually inspect your wood stove flue regularly to ensure it’s open and functioning properly.
Is It Normal for a Wood Stove Flue to Have a Slight Draft Even When It’s Closed?
Yes, there is a way to test if the wood stove flue is open without using any tools. One way is to observe if smoke is being properly drawn up and out of the chimney. If not, you may need to troubleshoot a wood stove flue that is not properly opening or closing.
Can I Check if the Flue Is Open by Feeling the Heat Coming From the Wood Stove?
I can check if the flue is open by feeling the heat coming from the wood stove, but it’s not foolproof. It’s best to use a flashlight to inspect the flue temperature for a more accurate assessment.
Are There Any Alternative Methods to Test if the Wood Stove Flue Is Open, Besides Using Smoke?
To test if a wood stove flue is open, besides using smoke, you can try using a flashlight to look for light coming through the flue or use a small feather or piece of tissue paper to see if it gets pulled towards the flue.
Conclusion
After carefully inspecting the wood stove flue, using various methods such as visual inspection, mirrors, draft checks, and feeling for heat, it becomes evident whether the flue is open or not.
This knowledge is crucial for the safe and efficient operation of a wood stove. By following these steps, homeowners can ensure that their wood stove is functioning properly and avoid any potential dangers.
So, take the time to perform these checks and enjoy the warmth and comfort of a well-operating wood stove. Stay safe and cozy!