I have always enjoyed the comforting warmth provided by a wood stove, but I used to find the task of installing the stove pipe to be quite intimidating. Thankfully, I discovered an easy method that simplifies the process – simply by snapping the parts together.
In this article, I’ll guide you through the steps of gathering the necessary tools, preparing the stove and chimney, connecting the sections, and securing the joints. By the end, you’ll have a solid and secure connection that will keep your wood stove running smoothly.
Key Takeaways
- Choose the correct stove pipe diameter based on the flue collar size.
- Use the appropriate type of connector (slip, snap-lock, or twist-lock) to ensure a tight joint.
- Secure the joints with screws or clamps for stability and to prevent disconnections.
- Inspect and test the completed connection for damage, leaks, and proper airflow.
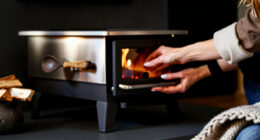
wood stove pipe connector
As an affiliate, we earn on qualifying purchases.
As an affiliate, we earn on qualifying purchases.
Gathering the Necessary Tools and Materials
I need to gather all the tools and materials before I can start snapping the wood stove pipe together. Choosing the right stove pipe diameter is crucial for efficient and safe operation. Measure the diameter of the flue collar on your wood stove to determine the correct size. Common sizes range from 6 to 8 inches.
Once you have the correct diameter, gather the necessary tools such as a tape measure, tin snips, and a screwdriver. Additionally, you’ll need the stove pipe sections, elbows, and a chimney cap. Properly sealing the joints is essential to prevent leaks and ensure optimal performance. Use high-temperature silicone sealant or stove pipe tape to seal the connections securely.

With all the tools and materials ready, I can now move on to preparing the stove and chimney.
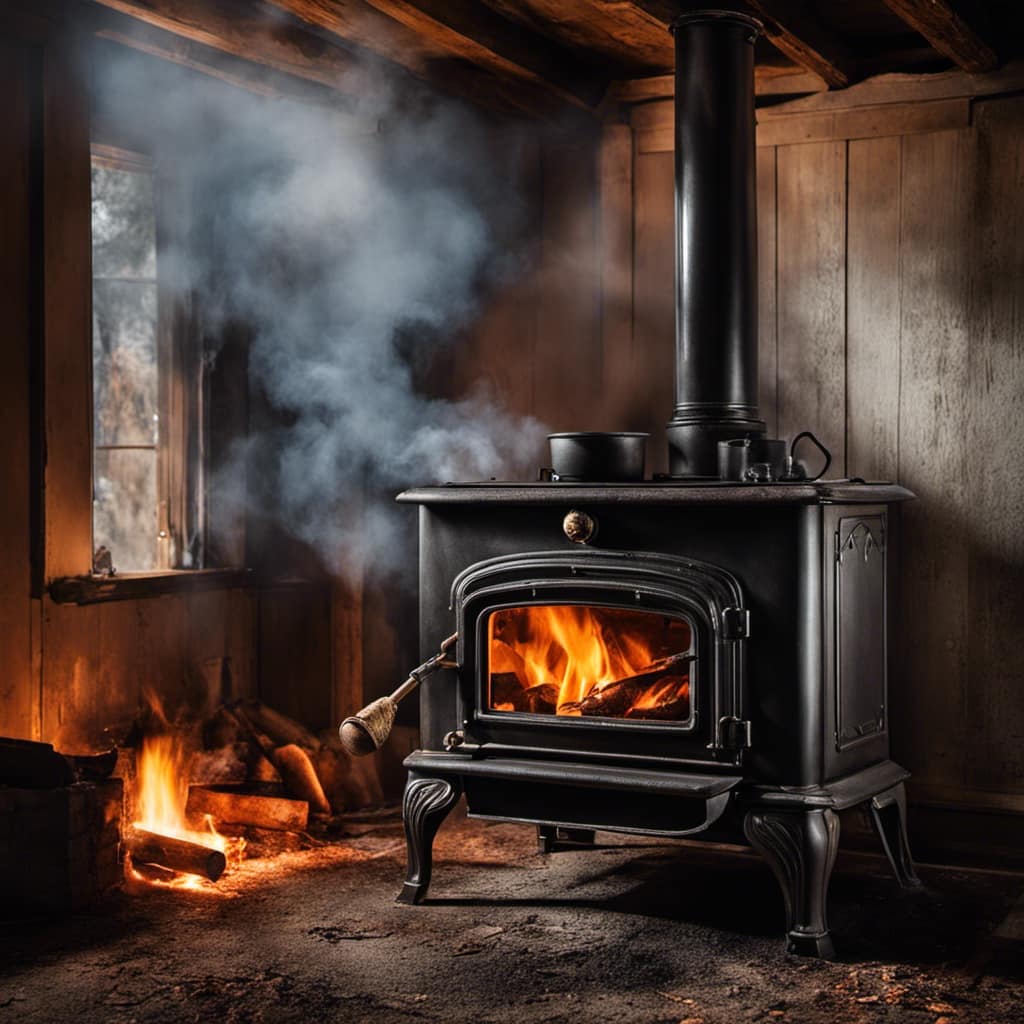
snap-lock stove pipe fittings
As an affiliate, we earn on qualifying purchases.
As an affiliate, we earn on qualifying purchases.
Preparing the Stove and Chimney
To properly prepare the stove and chimney, it’s important to clean and inspect them before installation.
Start by cleaning the chimney thoroughly to remove any soot, creosote, or debris that may have accumulated over time. Use a chimney brush and rod kit to scrub the interior walls of the chimney, ensuring that all the buildup is dislodged.
Next, inspect the stove for any damage or signs of wear and tear. Check the gaskets, seals, and door hinges, and replace any damaged parts if necessary.

Finally, measure the stove pipe length needed for installation. Ensure that the pipe is long enough to reach the chimney, but not too long that it creates a restriction in airflow.
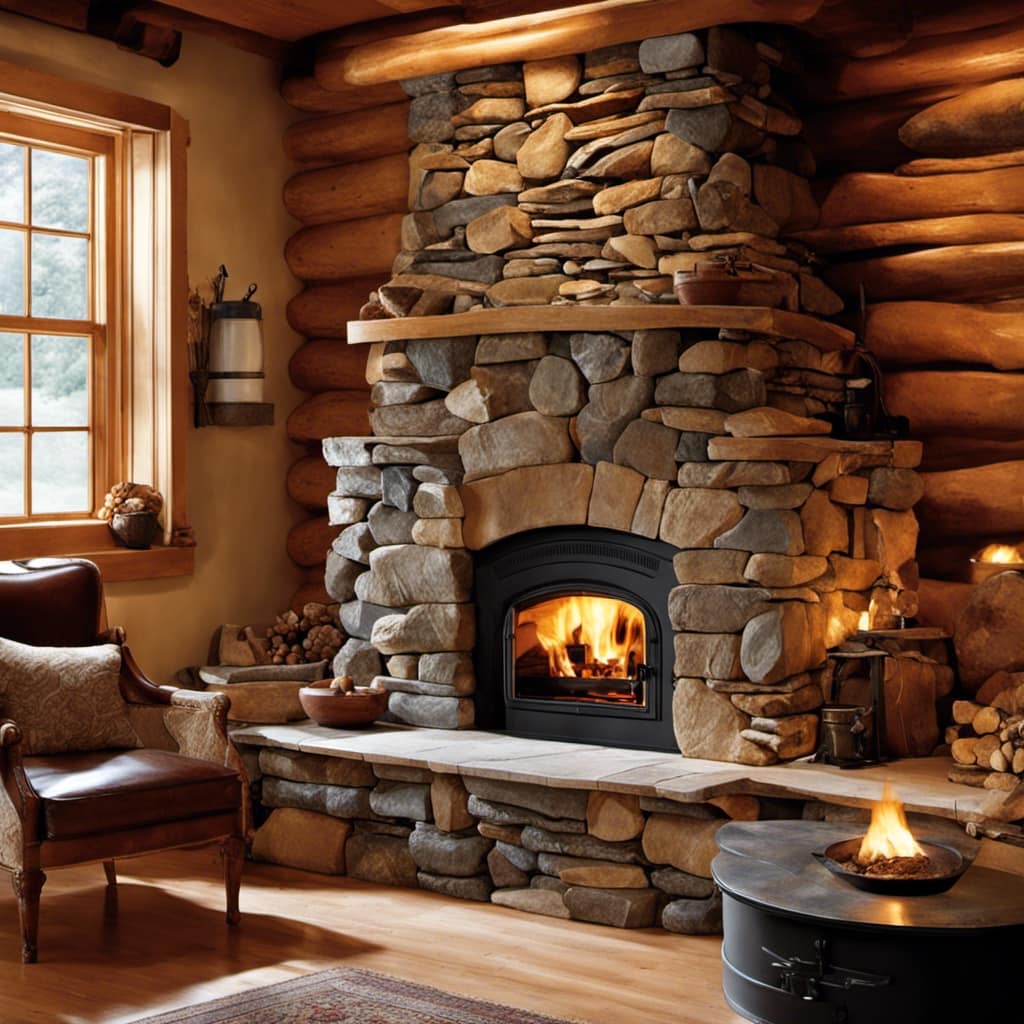
high temperature stove pipe sealant
As an affiliate, we earn on qualifying purchases.
As an affiliate, we earn on qualifying purchases.
Connecting the Stove Pipe Sections
I’ll connect the stove pipe sections to ensure a secure and efficient flow of smoke and gases.
When it comes to connecting stove pipe sections, it’s important to use the correct type of connector to prevent any leaks or inefficiencies. There are different types of stove pipe connectors available, including slip connectors, snap-lock connectors, and twist-lock connectors.
Slip connectors are the most basic type, where one end of the pipe simply slips into the other end.

Snap-lock connectors have a locking mechanism that secures the joints tightly together.
Twist-lock connectors require a twisting motion to connect the sections securely.
Troubleshooting common issues during the connection process may involve checking for any gaps or misalignments, ensuring that the connectors are properly seated, and using high-temperature silicone sealant if necessary.
Once the connections are made, securing the joints with screws or clamps will provide added stability and prevent any unintentional disconnections.

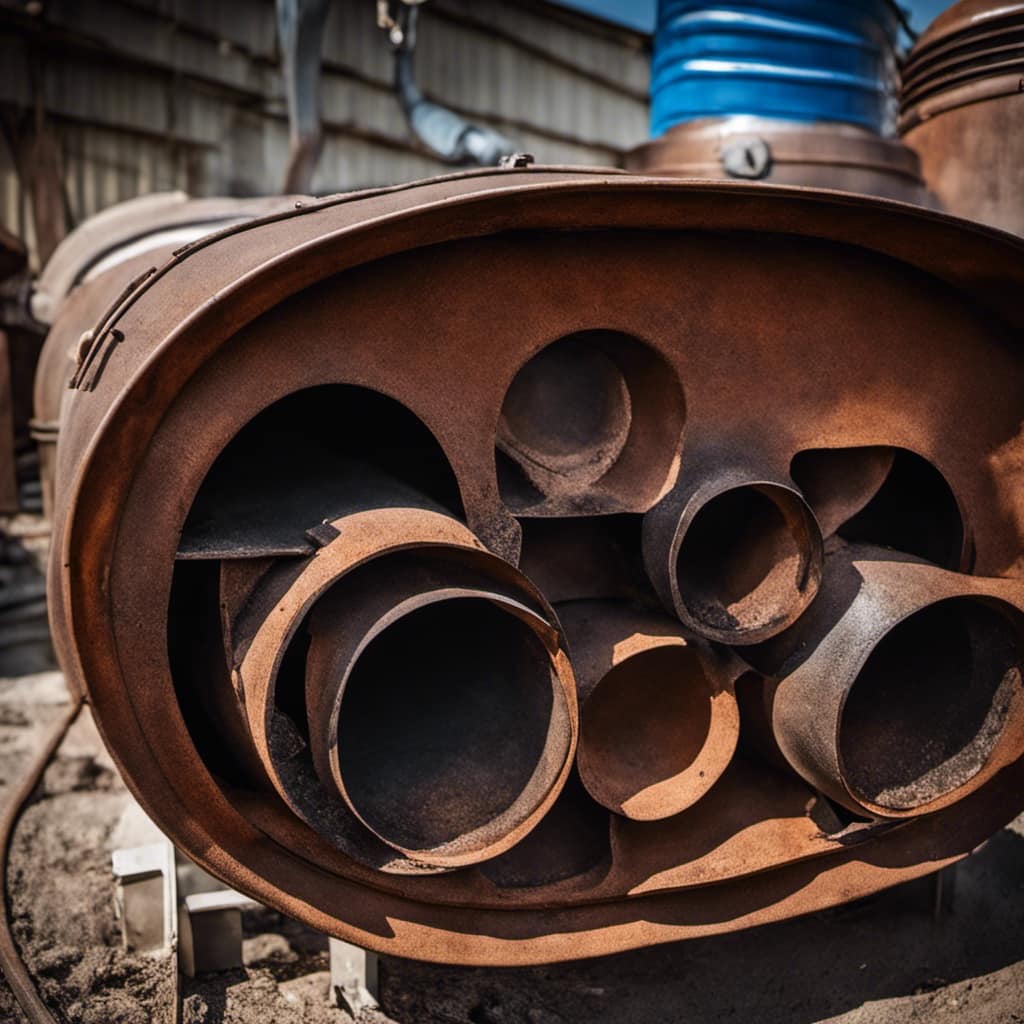
chimney pipe clamps
As an affiliate, we earn on qualifying purchases.
As an affiliate, we earn on qualifying purchases.
Securing the Joints With Screws or Clamps
Using screws or clamps to secure the joints ensures a sturdy connection for the wood stove pipe. However, there are alternatives to consider, such as using high temperature sealant. This not only provides a secure seal but also prevents any leakage of smoke or gases. High temperature sealant is specifically designed to withstand the intense heat generated by the wood stove. It is important to choose a sealant that is heat resistant and suitable for use with stove pipes. Additionally, some manufacturers offer alternative methods of securing joints, such as twist-lock systems or snap-lock systems. These systems allow for easy assembly and disassembly of the stove pipe, making it convenient for cleaning or maintenance. It is essential to carefully follow the manufacturer’s instructions when using these alternative methods to ensure a proper and safe installation.
| Pros | Cons |
|---|---|
| Secure seal | Additional cost |
| Prevents leakage | Limited availability |
| Heat resistant | Requires proper application |
| Easy assembly and disassembly | Potential for sealant to deteriorate over time |
Inspecting and Testing the Completed Connection
After securing the joints with high temperature sealant, I carefully inspected and tested the completed connection to ensure its durability and safety.
The first step in the inspection checklist was to visually examine the joint for any signs of damage or misalignment.
Next, I conducted a smoke test to check for any leaks or improper air flow. By lighting a small piece of paper and holding it near the joint, I observed the direction and strength of the smoke.

If the smoke was consistently flowing upward and out of the chimney, it indicated a successful connection. However, if the smoke was escaping from any other areas, I’d need to troubleshoot common connection issues such as loose fittings or gaps in the sealant.
Overall, a thorough inspection and testing process is crucial to ensure the proper functioning and safety of the wood stove pipe connection.
Frequently Asked Questions
Can I Use Regular Screws or Clamps to Secure the Joints of the Wood Stove Pipe?
Regular screws or clamps are not recommended for securing wood stove pipe joints. To ensure proper maintenance of connections, it is crucial to use specialized components designed for this purpose, such as high-temperature silicone sealant or twist-lock fittings.
How Often Do I Need to Inspect and Test the Completed Connection of the Wood Stove Pipe?
Regular maintenance is crucial to ensure the safety of your wood stove pipe connection. Signs of a faulty connection include smoke leakage or loose joints. Inspect and test the connection at least once a year.
What Are Some Common Mistakes to Avoid When Connecting the Stove Pipe Sections?
When connecting stove pipe sections, it’s important to avoid common mistakes. Using proper tools and techniques, you can ensure a secure connection. Pay attention to alignment, clean the ends, and snap the sections together firmly.
Is It Necessary to Use High-Temperature Sealant When Snapping the Wood Stove Pipe Together?
Yes, it is necessary to use high-temperature sealant when snapping wood stove pipe together. Alternatives may not offer the same benefits, such as preventing leaks and ensuring a secure connection in high heat conditions.
Can I Connect Different Sizes of Stove Pipe Sections Together?
Yes, you can connect different diameter stove pipe sections together using various connecting techniques. It is important to ensure a secure fit and proper sealing to maintain the efficiency and safety of your wood stove.
Conclusion
Well, congratulations! You now possess the knowledge of how to snap wood stove pipes together. With the right tools, materials, and a little bit of elbow grease, you can seamlessly connect the sections of your stove pipe.
Remember to secure the joints using screws or clamps and thoroughly inspect and test the completed connection.
Now go forth and conquer the world of wood stove installation like the seasoned DIY expert you are!