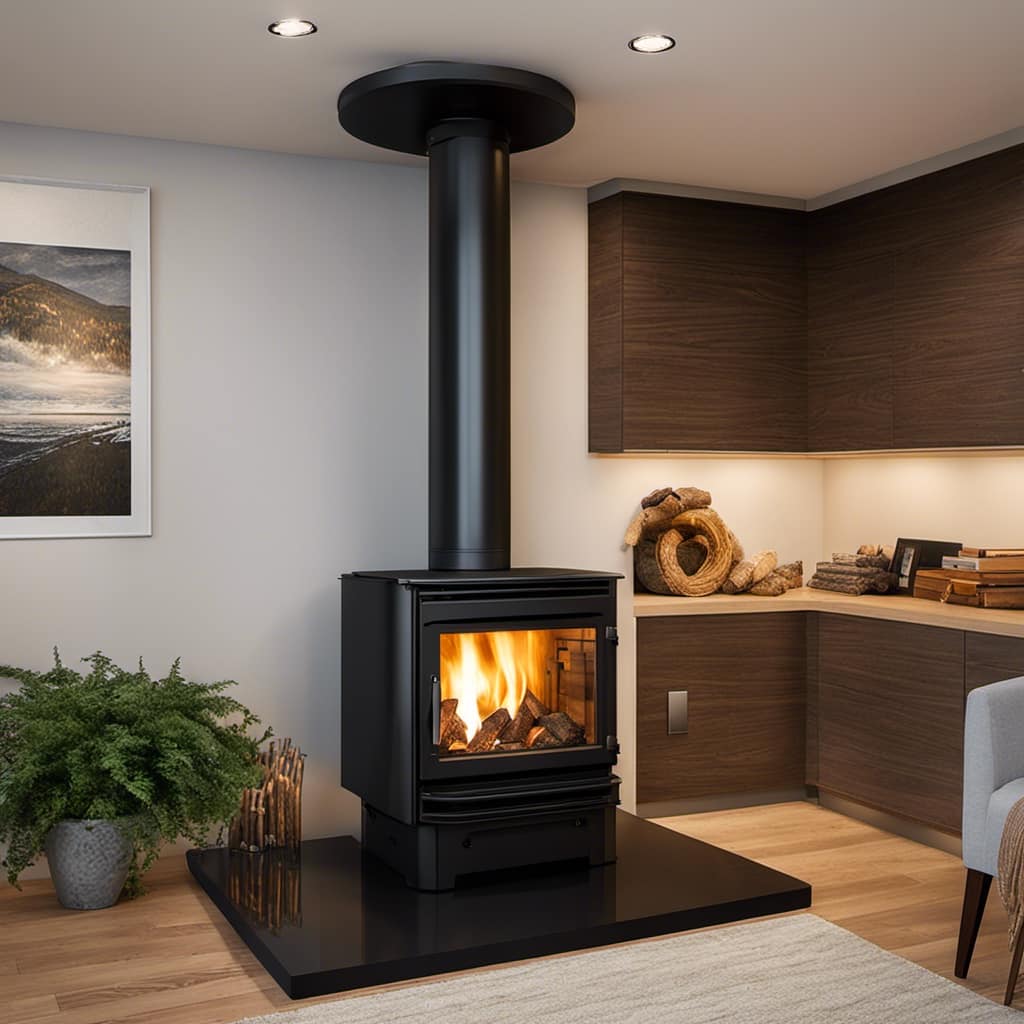
You may be wondering, why should I bother sealing my cast iron wood stove? The fact is, properly sealing your stove is crucial to ensure it functions efficiently and to avoid any unwanted air leaks or drafts.
In this article, I’ll guide you through the step-by-step process of sealing your cast iron wood stove. From assessing the sealing needs to applying the sealant, I’ll share my knowledge and experience to help you achieve a perfectly sealed stove.
Key Takeaways
- Check for visible gaps or cracks in the stove’s body or door
- Inspect the gaskets around the door and ash pan
- Examine the chimney pipe connection for leakage or loose connection
- Regularly inspect and maintain the sealed areas for signs of wear or damage

Rutland 500°F RTV High Heat Silicone Sealant Black, USA-Made High Temperature Gasket Maker Adhesive – UV Stable, Oil Resistant & Non-Corrosive
Rutland High Temperature Silicone is a great solution to your sealant and adhesive needs
As an affiliate, we earn on qualifying purchases.
As an affiliate, we earn on qualifying purchases.
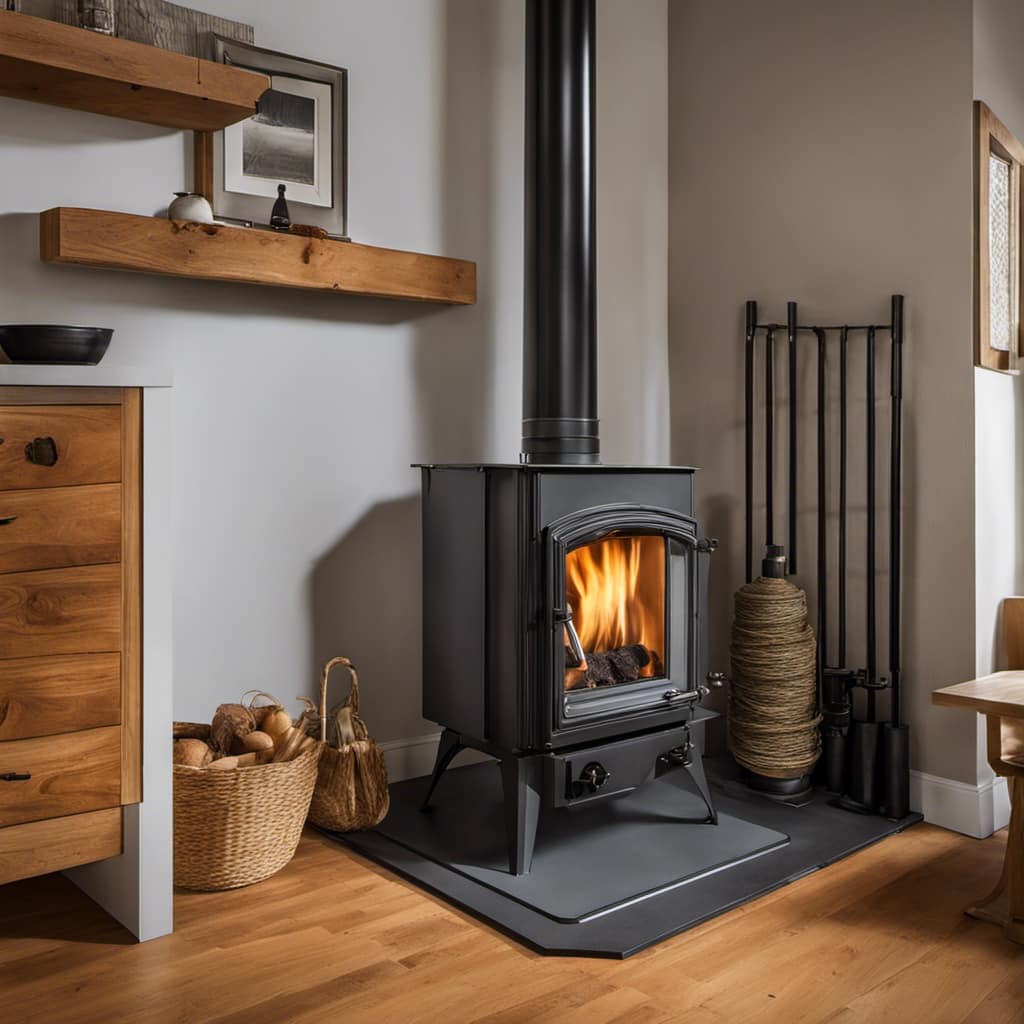
Assessing the Sealing Needs of Your Cast Iron Wood Stove
I need to assess the sealing needs of my cast iron wood stove to determine how many areas require attention.
When it comes to evaluating the effectiveness of the stove’s seal, there are a few troubleshooting issues that I can look out for.

First, I need to check for any visible gaps or cracks in the stove’s body or door. These can lead to air leaks and decrease the stove’s efficiency.
Next, I’ll inspect the gaskets around the door and ash pan. If they’re worn or damaged, they need to be replaced to ensure a tight seal.
Lastly, I’ll examine the chimney pipe connection. If there’s any leakage or loose connection, it can cause smoke to escape into the room.

Midwest Hearth Wood Stove Replacement Gasket Kit – Made in USA Graphite Impregnated Fiberglass Rope Gasket & 2000°F Adhesive Cement for Woodburning Stoves (5/8" x 84" Rope)
STOP LOSING HEAT THROUGH A FAILED DOOR SEAL — A worn or leaking wood stove gasket lets uncontrolled…
As an affiliate, we earn on qualifying purchases.
As an affiliate, we earn on qualifying purchases.
Gathering the Necessary Tools and Materials
To properly seal a cast iron wood stove, one must gather the necessary tools and materials such as high-temperature silicone sealant, a putty knife, and replacement gaskets. Here is a list of the essential items needed for the job:

-
High-temperature silicone sealant: It’s crucial to choose a sealant specifically designed for high temperatures to ensure durability and longevity.
-
Putty knife: This tool is essential for removing old sealant and applying new sealant evenly.
-
Replacement gaskets: Over time, gaskets can become worn or damaged, leading to air leaks. Having replacement gaskets on hand will allow for seamless sealing.
-
Safety precautions during sealing: It’s important to wear protective gloves and safety glasses to prevent any accidents or injuries. Additionally, ensure that the stove is completely cool before starting the sealing process.

Now that we’ve gathered the necessary tools and materials, let’s move on to preparing the surface of the stove for sealing.

Protalwell Wood Stove Gasket, 7/8" Wood Stove Door Gasket Kit, Gasket Rope Replacement for Stove or Fireplace Doors, Grey Color Fiberglass Gasket
High Temperature Resistance Gasket Rope – Made by Graphite Impregnated Fiberglass, will not burn and withstand to temperatures…
As an affiliate, we earn on qualifying purchases.
As an affiliate, we earn on qualifying purchases.
Preparing the Surface of the Stove for Sealing
Before applying the silicone sealant, it’s important to thoroughly clean the surface of the stove with a mild detergent and warm water. Proper surface preparation is crucial for achieving a long-lasting and effective seal.
To begin, I recommend removing any loose debris or ashes from the stove using a brush or vacuum cleaner. Next, mix a small amount of mild detergent with warm water and gently scrub the surface using a sponge or soft cloth. Pay special attention to any areas with built-up grime or grease.
Rinse the stove thoroughly with clean water to remove any soap residue. Finally, allow the stove to dry completely before applying the silicone sealant.

Following these cleaning techniques will ensure a clean and smooth surface, promoting better adhesion and sealing performance.

Akfix Heat Fighter Black Fireplace Sealant – 2700 °F (1×10.1 oz.) – Heat Resistant Fireplace Stove Caulk for Chimneys, Ovens, Grills, Wood Stoves | Non-Flammable, Quick-Drying & Paintable Cartridge
Withstands Extreme Heat Up to 2700°F: Built for direct flame contact. Ideal for sealing and insulating fireplaces, stoves,…
As an affiliate, we earn on qualifying purchases.
As an affiliate, we earn on qualifying purchases.
Applying the Sealant to the Cast Iron Wood Stove
I carefully apply the silicone sealant to the cast iron wood stove, ensuring complete coverage and a tight seal.
To successfully seal a cast iron wood stove, it’s important to avoid certain mistakes that could compromise the effectiveness of the sealant. Here are four key points to keep in mind:
-
Clean the surface: Before applying the sealant, make sure to thoroughly clean the surface of the stove. Remove any dirt, debris, or old sealant to ensure optimal adhesion.
-
Use the right sealant: Choose a high-quality silicone sealant specifically designed for high-temperature applications. This will ensure that the sealant remains durable and effective in the intense heat of the wood stove.
-
Apply in thin layers: Instead of applying a thick layer of sealant, it’s better to apply thin, even layers. This allows for better control and ensures that the sealant properly adheres to the surface.
-
Allow for proper curing time: After applying the sealant, it’s important to let it cure according to the manufacturer’s instructions. This will ensure that the sealant fully sets and provides a long-lasting seal.
By following these guidelines, you can effectively apply the sealant to your cast iron wood stove, avoiding common mistakes and ensuring its effectiveness.
Now, let’s move on to discussing the importance of maintaining and rechecking the sealed areas of your wood stove.
Maintaining and Rechecking the Sealed Areas of Your Wood Stove
After applying the sealant, I regularly inspect and maintain the sealed areas of my wood stove to ensure their integrity. Rechecking the effectiveness of the sealant is crucial for the long-term maintenance of the stove.
I start by visually inspecting the sealed areas for any signs of wear or damage. I carefully examine the seams, joints, and gaskets to ensure they’re still intact and providing a tight seal. Additionally, I run my hand along the sealed areas to feel for any air leaks.
If I detect any issues, I promptly address them by reapplying the sealant or replacing damaged components. Regularly rechecking the effectiveness of the sealant ensures that my wood stove operates efficiently, reducing energy waste and maintaining a comfortable environment in my home.

Frequently Asked Questions
Can I Use Any Type of Sealant on My Cast Iron Wood Stove?
Yes, you can use different types of sealants on a cast iron wood stove. However, it’s important to consider the pros and cons of each. Some sealants may offer better heat resistance, while others may be easier to apply.
How Often Should I Recheck the Sealed Areas of My Wood Stove?
I typically recheck the sealed areas of my wood stove every year to ensure there are no potential issues. Regular maintenance is crucial to maintain the efficiency and safety of the stove.
Is It Necessary to Remove the Old Sealant Before Applying a New One?
Removing old sealant before applying a new one is necessary to ensure proper ventilation in wood stoves. It allows for a clean surface to apply a more effective sealant, like silicone or stove cement, enhancing the stove’s performance and safety.
Can I Use Regular Household Tools to Gather the Necessary Tools and Materials for Sealing My Wood Stove?
Sure, you can use regular household tools to gather the necessary tools and materials for sealing a wood stove. However, it’s important to be aware of using alternative sealing methods and common mistakes to avoid when sealing a wood stove.
Can I Use the Same Sealant on the Inside and Outside of My Cast Iron Wood Stove?
Sure, you can use the same sealant on the inside and outside of your cast iron wood stove. However, it’s important to note that different types of sealants have their own pros and cons.
Conclusion
In conclusion, properly sealing your cast iron wood stove is essential for its optimal performance and longevity.
While some may argue that the sealing process is time-consuming, the benefits far outweigh the effort.
By investing the time and using the right materials, you can ensure that your wood stove operates efficiently, keeps your home warm, and minimizes the risk of leaks or damage.

Don’t hesitate to seal your cast iron wood stove and enjoy a cozy and safe heating experience for years to come.