
As a person deeply interested in both owning a home and preserving the environment, I’ve consistently found myself drawn to the possibilities offered by non-traditional means of heating as a way to markedly alter our consumption of energy.
In this article, I will guide you through the process of replacing your old wood burning stove with a more efficient and eco-friendly pellet stove.
From assessing your current setup to selecting the perfect pellet storage area, I will provide detailed instructions to help you make a seamless transition.
Get ready to embrace a warmer, greener future with a pellet stove that’s both practical and sustainable.
Key Takeaways
- Assess the efficiency and performance of your current wood burning stove
- Research and compare the efficiency, cost, and maintenance of pellet stove options
- Calculate your heating needs based on insulation, room size, and climate zone
- Prepare your home by clearing the area, measuring dimensions, installing venting system, and disconnecting the wood burning stove
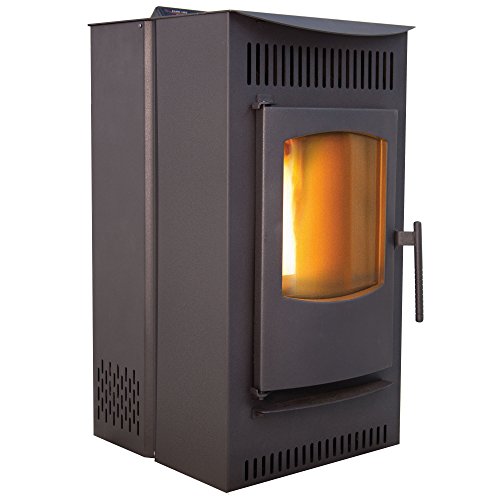
Castle 41278 Serenity Pellet Stove, 1,500 square ft. Heating Capability, Smart Controller Features Manual, Weekly, Thermostat and Eco Operating Modes, 40lb Hopper Capacity, Easy Clean Design, Black
Easy to Clean – There are no tubes, corrugations, or hidden chambers
As an affiliate, we earn on qualifying purchases.
As an affiliate, we earn on qualifying purchases.
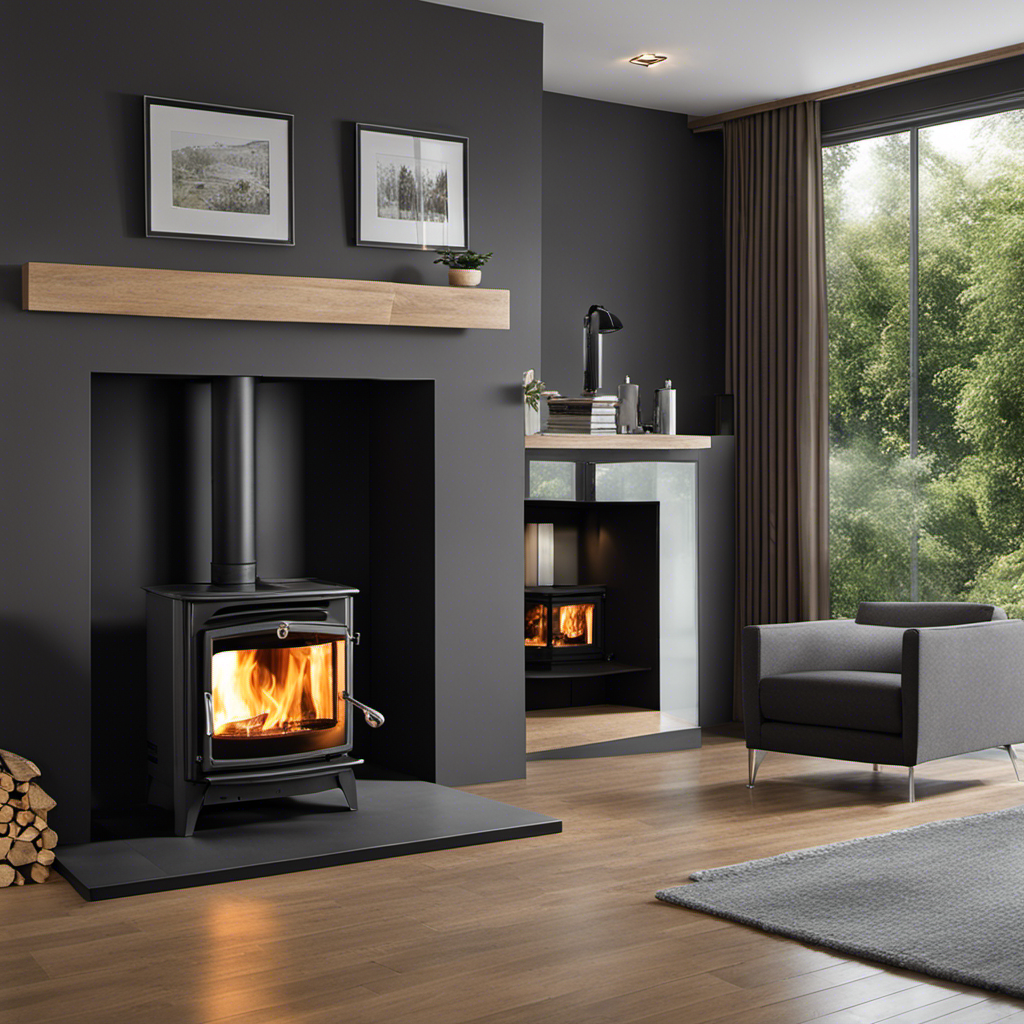
Assessing Your Wood Burning Stove
First, you’ll need to assess your wood burning stove to determine if it can be replaced with a pellet stove. Evaluating the efficiency of your current wood burning stove is crucial in making this decision. Look for signs of wear and tear, such as cracks or leaks, that might affect its performance. Additionally, consider how well it heats your home and compare the heating costs associated with using wood versus pellets.
Pellet stoves are known for their high efficiency and ability to provide consistent heat output. If your wood burning stove is outdated or inefficient, replacing it with a pellet stove could result in significant energy savings.
Now that you have evaluated your existing stove’s performance and heating costs, let’s move on to researching pellet stove options for your home.

Pellet Stove Igniter Compatible with All Models of Castle/Comfortbilt Pellet Stoves HP21,HP22,Replace Part#Castle 720307/ComfortBilt igniter1 IG-1,6"Long and 3/8 "Diameter
Pellet Stove Igniter Replacement Spec: 6" long slide in style ,3/8 "Diameter,AC 115V 450 W
As an affiliate, we earn on qualifying purchases.
As an affiliate, we earn on qualifying purchases.
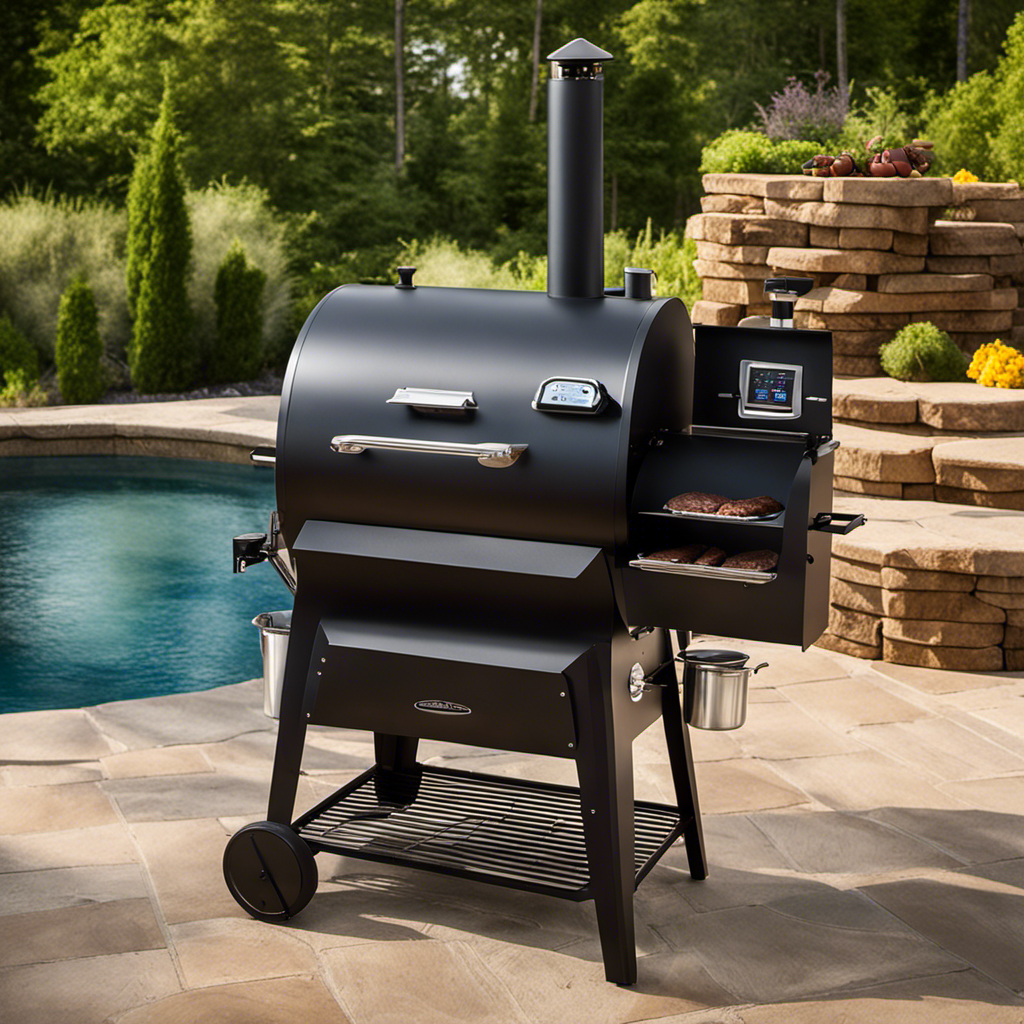
Researching Pellet Stove Options
When researching pellet stove options, it’s important to consider factors such as efficiency, cost, and maintenance. Pellet stoves require regular maintenance to ensure optimal performance and longevity. Cleaning the burn pot, ash pan, and glass regularly is essential for efficient operation. Additionally, inspecting and cleaning the vent pipe annually will help prevent any blockages or build-up of creosote.
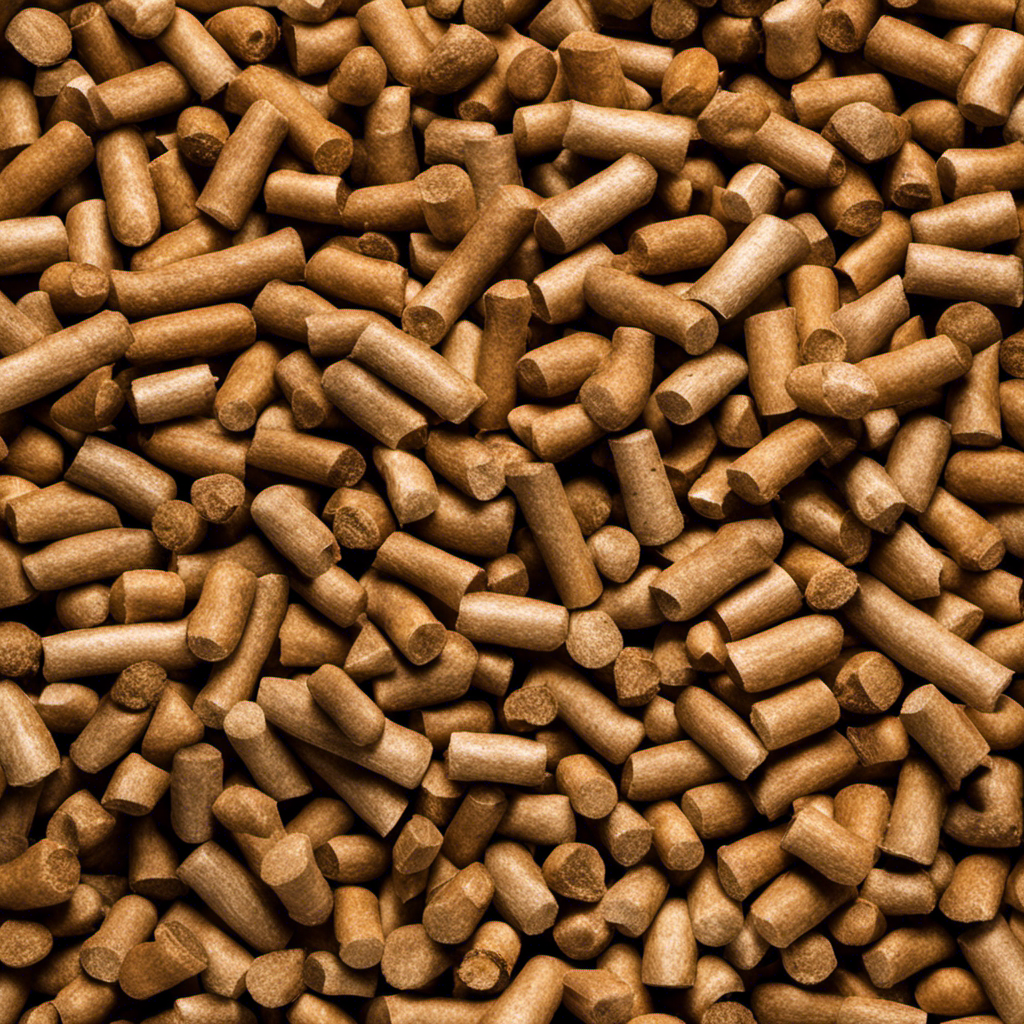
It’s also crucial to choose the right type of fuel for your pellet stove. There are various options available including hardwood pellets, softwood pellets, and blended pellets. Each type has its own characteristics in terms of heat output and ash production.
By understanding these different fuel options and properly maintaining your pellet stove, you can maximize its efficiency and lifespan.
Transition: Now that you have researched pellet stove options and understand how to maintain them effectively, it’s time to move on to calculating your heating needs and ensuring optimum efficiency in your home heating system.

Duravent 3 Inch PelletVent Stainless Steel Double Wall Vent Pipe Kit – Pellet Stove Exhaust for Indoor Heater, Horizontal Venting System with Cleanout Tee Cap
Complete Horizontal Vent Kit: Includes five 12-inch pipes, 90-degree elbow tee, cleanout tee with cap, appliance adapter, wall…
As an affiliate, we earn on qualifying purchases.
As an affiliate, we earn on qualifying purchases.
Calculating Heating Needs and Efficiency
To ensure optimum efficiency in your home heating system, it’s important to calculate your heating needs accurately. Here are three key factors to consider when calculating your heating costs and comparing energy efficiency:
-
Insulation: Evaluate the insulation in your home to determine how well it retains heat. Proper insulation can significantly reduce energy loss and lower heating costs.
-
Square footage: Calculate the square footage of each room you want to heat. This will help you determine the size and capacity of the pellet stove required for efficient heating.
-
Climate zone: Consider the climate zone you live in, as this affects the amount of heating needed. Warmer regions may require less heating compared to colder areas.
By accurately calculating your heating needs and comparing energy efficiency, you can make an informed decision when choosing a pellet stove for your home.
Now let’s explore how to prepare your home for the transition without any hassle.

ACATMOON Professional Steel Wire Brush for Pellet Stove Cleaning, Steel Brush with Scraper, Metal Long Handle,Suitable for Removing residues (1pcs)
DUAL-PURPOSE DESIGN: Features both a brass wire brush head and scraper edge for effective cleaning of pellet stoves…
As an affiliate, we earn on qualifying purchases.
As an affiliate, we earn on qualifying purchases.
Preparing Your Home for the Transition
Now that you’ve accurately calculated your heating needs and compared energy efficiency, let’s focus on preparing your home for the transition to a pellet stove. This process involves several important steps to ensure a smooth and successful installation.
First, it’s essential to clear the area around your current wood burning stove. Remove any furniture, rugs, or other items that may obstruct the installation process. Next, make sure there is adequate space for the new pellet stove. Measure the dimensions of the stove and compare them to the available space in your home.
To further prepare your home, consider installing a venting system for the pellet stove. This can involve cutting a hole in an exterior wall or utilizing an existing chimney with appropriate modifications. Additionally, check if any electrical work is necessary to support the new stove.
Finally, gather all necessary tools and materials required for installation before beginning the transition process.
In order to smoothly transition from a wood burning stove to a pellet stove without redundantly writing ‘step’, I will now discuss removing and disposing of the wood burning stove.
| Preparation Steps | Description |
|---|---|
| Clear area | Remove furniture and obstacles |
| Measure space | Ensure adequate room for pellet stove |
| Install venting system | Modify chimney or create new venting |
| Check electrical | Verify if electrical work is needed |
| Gather tools/materials | Prepare all necessary items for installation |
Now let’s move on to removing and disposing of the wood burning stove.
Removing and Disposing of the Wood Burning Stove
It’s important to properly remove and dispose of the old stove to make way for the new one. When it comes to the disposal process, there are a few key steps to follow.
First, ensure that the stove is completely cool before attempting any removal. Disconnect any gas or electrical connections and shut off the fuel source if applicable.
Next, carefully detach the stove from its chimney or flue pipe. Once removed, you can then safely transport it outside.
It’s crucial to dispose of your old wood burning stove responsibly to minimize its environmental impact. Check with your local waste management facility for proper disposal options, as some areas may offer recycling programs specifically for appliances like stoves.
Now that we have successfully removed and disposed of the old stove, let’s move on to installing the pellet stove venting system.
The subsequent section will cover installing the pellet stove venting system in detail, ensuring a safe and efficient transition from wood burning to pellets without compromising air quality within your home.
Installing the Pellet Stove Venting System
When it comes to installing a pellet stove venting system, there are several key points to consider.
First and foremost, understanding the venting requirements for pellets is crucial. This includes knowing the proper size and type of vent pipe needed to ensure efficient and safe operation.
Additionally, proper installation techniques must be followed to prevent any potential leaks or damage.
Venting Requirements for Pellets
To properly vent a pellet stove, you’ll need to follow specific requirements. Here are three important things to consider when it comes to venting regulations for pellet stoves:
-
Venting material: The venting system for a pellet stove must be made of approved materials, such as stainless steel or aluminum. These materials are resistant to high temperatures and corrosion, ensuring safe and efficient operation.
-
Venting distance: Pellet stove vents must be installed at a certain distance from combustible materials, like walls or ceilings. This distance can vary depending on local building codes, but typically ranges from 1 inch to 18 inches.
-
Vertical rise: Proper installation of the venting system requires a vertical rise of at least 3 feet above the highest point where the pipe passes through the roof. This ensures proper draft and prevents backdrafts.
Following these venting requirements is crucial not only for safety reasons but also for maintaining optimal performance of your pellet stove.
Now let’s move on to discussing proper installation techniques without skipping a beat.
Proper Installation Techniques
One important aspect of installing a pellet stove is ensuring proper ventilation. When it comes to installation, there are several tips to keep in mind to ensure a successful and efficient setup.
Firstly, it’s crucial to follow the manufacturer’s instructions precisely. This includes selecting the right size and type of venting pipe, as well as positioning it correctly. Common mistakes during installation include improper sealing of joints or using unsuitable materials for the venting system. These errors can lead to air leaks, reduced efficiency, and potential safety hazards.
It is also essential to check local building codes and regulations before proceeding with the installation process.
Transitioning into the subsequent section about safety considerations for venting, it is vital to understand that proper venting not only ensures efficient operation but also prevents harmful gases from entering your living space.
Safety Considerations for Venting
It’s important to consider safety when it comes to venting. Proper ventilation helps prevent harmful gases from entering your living space, making venting safety crucial for the efficient operation of a pellet stove and to avoid any potential health hazards.
When installing a pellet stove, it is essential to follow venting regulations set by local building codes. These regulations specify the type of venting materials that should be used, the distance between the stove and combustible materials, and the placement of vents in relation to windows or doors.
Additionally, regular maintenance and inspections are necessary to ensure that the vents are clear of debris and functioning properly. By prioritizing venting safety, you can enjoy the benefits of a pellet stove while keeping your home safe from harmful emissions.
To transition into selecting and preparing the pellet storage area:
In addition to ensuring proper ventilation, another important aspect of replacing a wood-burning stove with a pellet stove is selecting and preparing a suitable location for storing pellets.
Selecting and Preparing the Pellet Storage Area
When it comes to selecting and preparing the pellet storage area, there are two key points to consider: proper storage location and organizing pellet storage.
Firstly, choosing the right spot for your pellets is crucial to ensure their quality and longevity.
Secondly, organizing your pellet storage will not only make it easier to access them when needed but also help prevent any potential hazards or damage.
In this discussion, I will delve into these key points in detail, providing you with expert advice on how to create an efficient and well-maintained pellet storage area.
Proper Storage Location
To properly store your pellet stove, you should find a location that is well-ventilated and away from any flammable materials. Selecting the right storage area for your pellet stove is crucial to ensure its safety and longevity. Look for a space that has proper ventilation to prevent the accumulation of harmful gases and fumes. It’s also important to keep the stove away from any flammable items such as curtains, furniture, or paper products. This will reduce the risk of fire hazards.
Once you have found the ideal location for your pellet stove, it’s time to organize your pellets. A convenient way to do this is by using airtight containers or bins dedicated solely for storing pellets. These containers will protect the pellets from moisture and pests while keeping them organized and easily accessible when needed.
As we move on to organizing pellet storage, it’s essential to consider factors like container size, labeling system, and accessibility.
Organizing Pellet Storage
Once you’ve found the ideal location for your pellet stove, don’t forget to consider factors like container size and accessibility when organizing pellet storage.
Proper storage techniques are essential to ensure that your pellets stay dry and in good condition for efficient burning. Here are some tips for organizing your storage space:
- Use sturdy plastic containers with tight-fitting lids to protect the pellets from moisture and pests.
- Consider using stackable containers or shelving units to maximize space utilization.
- Keep the storage area clean and free from any potential hazards, such as flammable materials.
By following these proper storage techniques and organizing your storage space effectively, you can ensure that your pellets are readily accessible whenever you need them.
Now let’s move on to connecting and testing the pellet stove to complete the installation process seamlessly.
Connecting and Testing the Pellet Stove
Before starting, make sure you have connected and tested the pellet stove properly. Testing the efficiency of your newly installed pellet stove is crucial to ensure it operates at its best.
Start by checking if the flames are steady and blue, indicating proper combustion. If the flames are yellow or flickering, it could be a sign of improper air-to-fuel ratio or dirty burn pots. Troubleshooting problems early on will save you from potential inconvenience later.
Make sure all vents and exhaust pipes are clean and free from obstructions that may hinder proper airflow. Additionally, check for any abnormal noises or malfunctions during operation.
By conducting these tests, you can identify any issues and address them promptly before they become major problems.
To continue maintaining and cleaning your pellet stove…
Maintaining and Cleaning Your Pellet Stove
Regularly cleaning the ash and soot buildup from your pellet stove is essential for maintaining its efficiency and preventing potential issues.
To maintain your pellet stove properly, start by turning off the unit and allowing it to cool down completely. Once cooled, empty the ash pan and dispose of the ashes safely.
Use a soft brush or vacuum cleaner to remove any excess ash or debris from the burn pot, heat exchanger, and venting system. It’s also important to clean the glass window regularly using a recommended glass cleaner.
Troubleshooting common issues such as poor flame quality or ignition problems can often be resolved by cleaning these components thoroughly.
Enjoying the Benefits of a Pellet Stove
To fully appreciate the benefits of a pellet stove, you can effortlessly cozy up your home and enjoy its efficient heating capabilities. Here are some reasons why I find pellet stoves so advantageous:
-
Cost savings: Pellet stoves are known for their cost-effectiveness. They burn wood pellets, which are typically cheaper than other fuel sources like oil or gas. This allows you to save on heating expenses in the long run.
-
Environmental benefits: Using a pellet stove is an environmentally-friendly choice. Wood pellets produce fewer emissions compared to traditional firewood, contributing to cleaner air quality. Additionally, many wood pellets are made from sustainable sources, reducing your carbon footprint even further.
-
Convenience: Pellet stoves offer convenience with their automated features. They have built-in thermostats and programmable timers that allow you to easily control the temperature in your home. Some models even have remote controls for added convenience.
Can I Resurface My Wood Pellet Stove with a Different Material?
Yes, it is possible to resurface wood pellet stove with a different material. Options include ceramic tiles, stone, or metal. Ensure that the new material is heat-resistant and suitable for the stove’s design. Professional installation is recommended for safety and to maintain the stove’s efficiency.
Frequently Asked Questions
What Are the Benefits of Replacing a Wood Burning Stove With a Pellet Stove?
Replacing a wood burning stove with a pellet stove has numerous benefits. Pellet stoves are more efficient, produce less smoke and ash, require less maintenance, and offer better control over heat output. However, they can be more expensive initially.
How Much Do Pellet Stoves Cost Compared to Wood Burning Stoves?
Replacing a wood burning stove with a pellet stove can be a wise choice. Pellet stoves are more efficient, reducing heating costs. They also have a lower environmental impact compared to wood burning stoves.
Are There Any Government Incentives or Rebates Available for Replacing a Wood Burning Stove With a Pellet Stove?
There are government incentives and rebate availability for replacing a wood burning stove with a pellet stove. These programs can help offset the cost of the upgrade and make it more affordable.
Can I Use the Same Chimney for a Pellet Stove That Was Used for a Wood Burning Stove?
Yes, you can use the same chimney for a pellet stove that was used for a wood burning stove. However, it’s important to ensure proper chimney compatibility and follow the installation process to guarantee safe and efficient operation.
How Often Do I Need to Clean the Ash From a Pellet Stove?
I clean the ash from my pellet stove about once a week. It’s important to remove the buildup regularly to maintain optimal performance. I find that using a vacuum or an ash removal tool works best for efficient and thorough cleaning.
Conclusion
After going through the process of replacing my wood burning stove with a pellet stove, I can confidently say that it was a game-changer.
The efficiency and convenience of the pellet stove exceeded all my expectations. From assessing my old stove to researching the best options, calculating heating needs, and preparing my home for the transition, every step was worth it.
Removing and disposing of the old stove was a breeze, and connecting and testing the new pellet stove went smoothly.
Now, I enjoy the benefits of a clean-burning and low-maintenance heating solution. It’s truly a life-saver!