Struggling to keep your home warm with a uncooperative wood stove? I have the perfect solution for you.
In this article, I’ll show you step-by-step how to replace the rope gasket on your wood stove. With a few simple tools and materials, you’ll be able to restore the seal and ensure optimal functionality.
Say goodbye to chilly nights and hello to cozy warmth with this easy DIY fix. Let’s get started!
Key Takeaways
- Visually inspect the gasket for signs of wear, fraying, gaps, or deterioration
- Choose the appropriate rope gasket material based on stove type and temperature
- Remove the old gasket carefully and clean the gasket groove before installation
- Regularly inspect, clean, and maintain the new gasket for optimal performance and safety
Assessing the Condition of the Rope Gasket
I’m inspecting the rope gasket to determine its condition. Evaluating wear is crucial in maintaining the efficiency and safety of a wood stove. Regular maintenance is essential to ensure optimal performance and prevent potential issues.
To assess the rope gasket, I start by visually inspecting it for any signs of fraying, gaps, or deterioration. I run my fingers along the gasket to feel for any inconsistencies or weak spots. If the gasket is worn out, it can lead to heat loss, improper combustion, and potential air leakage. Therefore, it’s important to replace the rope gasket promptly if any signs of wear are detected.
Now that I’ve evaluated the condition of the gasket, it’s time to gather the necessary tools and materials for the replacement process.
Gathering the Necessary Tools and Materials
Before starting the replacement process, I need to gather up all of the tools and materials necessary for the job.
When it comes to choosing the right rope gasket material, it’s important to consider the type of stove and the temperatures it can reach. For high-temperature applications, a fiberglass rope gasket is recommended, as it can withstand the heat without degrading. Silicone rope gaskets are also available and are suitable for lower temperature stoves.
To accurately measure the length of the rope gasket, there are a few tips to keep in mind. Firstly, remove the old gasket and stretch it out to get an accurate measurement. Alternatively, you can measure the circumference of the stove door and divide it by the thickness of the gasket to calculate the required length.
Removing the Old Rope Gasket
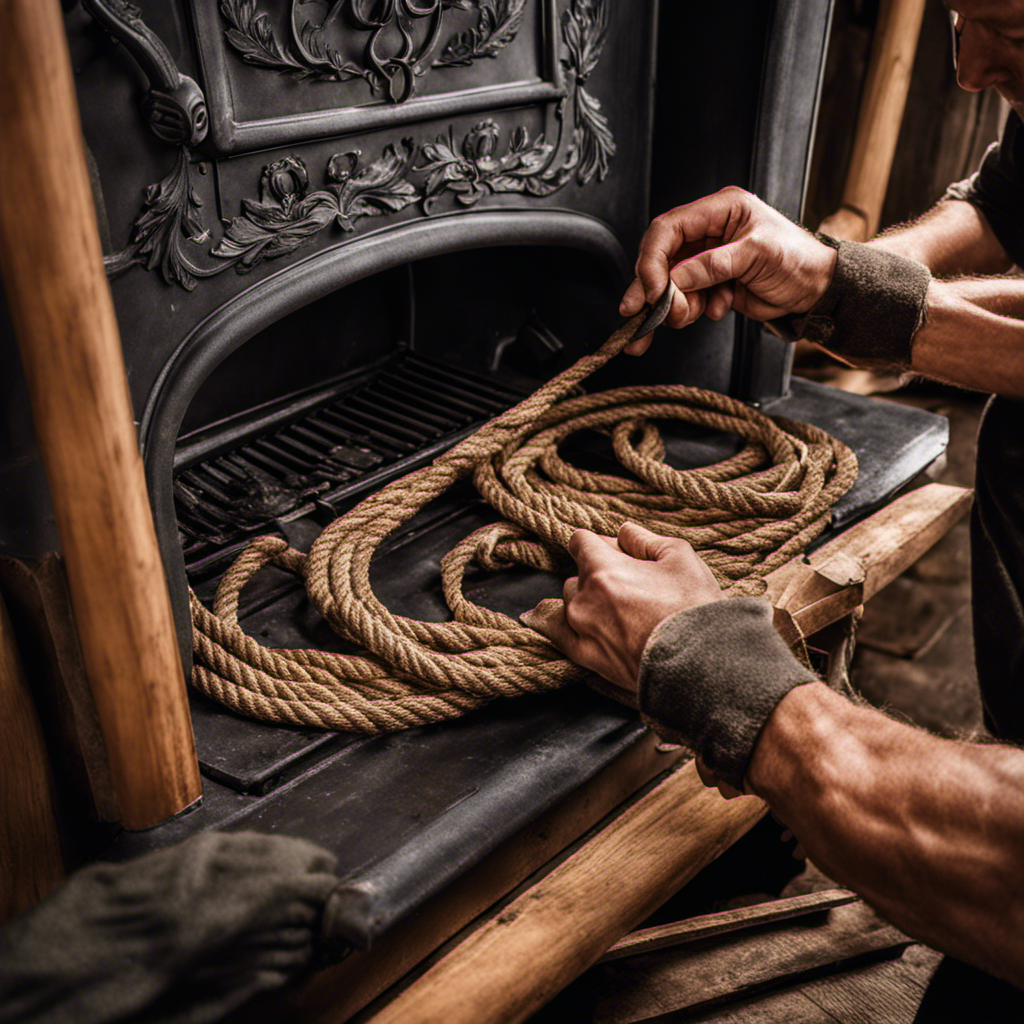
To remove the old rope gasket, I’ll carefully use a pair of pliers to pull it out from the stove door. Here are the steps for preparing the wood stove for gasket replacement and cleaning the stove before installing the new gasket:
- Begin by turning off the stove and allowing it to cool down completely.
- Open the stove door and inspect the old gasket for any signs of damage or wear.
- Use the pliers to grip the gasket firmly and start pulling it out, working your way around the door.
- Once the old gasket is removed, use a brush or vacuum to clean any debris or ash from the gasket groove.
With the old gasket removed and the stove cleaned, we can now move on to installing the new rope gasket.
Installing the New Rope Gasket
I’ll carefully fit the new rope gasket into the clean gasket groove, ensuring a snug and secure fit.
Before installation, it’s important to troubleshoot common issues that may arise during rope gasket installation. One common problem is the gasket not adhering properly. To avoid this, make sure the surface is clean and free from any debris or adhesive residue. Additionally, applying a high-temperature adhesive designed for rope gaskets will help maintain a strong bond.
Another issue is the gasket fraying or unraveling over time. To prevent this, avoid excessive pulling or stretching of the gasket during installation. Instead, cut it to the exact length required for a precise fit.
By following these tips, you can maintain the integrity of the new rope gasket and ensure it functions properly.
Now, let’s move on to testing the seal and ensuring proper functionality.
Testing the Seal and Ensuring Proper Functionality
I’m going to check the seal on the rope gasket to ensure its efficiency and effectiveness. Here are a few troubleshooting tips and maintenance techniques for maintaining the seal on a wood stove rope gasket:
-
Inspect the gasket for wear and tear: Look for any signs of fraying, flattening, or gaps in the rope gasket. These can indicate that the gasket needs to be replaced.
-
Clean the gasket regularly: Use a soft brush or cloth to remove any debris or ash buildup on the gasket. This will help prevent it from losing its effectiveness over time.
-
Apply high-temperature adhesive: If you notice any loose sections of the gasket, apply a small amount of high-temperature adhesive to secure them back in place.
-
Check the alignment: Make sure the rope gasket is properly aligned with the door or window it’s sealing. Adjust as necessary to ensure a tight fit.
Frequently Asked Questions
How Often Should the Rope Gasket on a Wood Stove Be Replaced?
I replace the rope gasket on my wood stove every 1-2 years. It’s essential to maintain a proper seal for efficient burning and to prevent leaks. Follow the proper installation steps to ensure a tight fit.
Can I Use Any Type of Rope Gasket for My Wood Stove?
Yes, you can use different types of rope gasket for your wood stove. However, it is important to consider the pros and cons of each alternative gasket option before making a decision.
Is It Necessary to Remove All the Old Adhesive Before Installing the New Rope Gasket?
It is necessary to remove all the old adhesive before installing the new rope gasket. Proper adhesive is crucial for a secure and effective seal. Neglecting to remove old adhesive can compromise the gasket’s performance.
Can I Use a Different Type of Adhesive if the Original One Is Not Available?
If the original adhesive isn’t available, using a different type may be tempting. However, it’s crucial to consider the pros and cons. Some alternatives may not withstand high temperatures or provide a secure seal.
Can I Use the Wood Stove Immediately After Installing the New Rope Gasket, or Is There a Curing Time Required?
I can use the wood stove immediately after installing the new rope gasket. There is no curing time required. Proper wood stove maintenance includes using a rope gasket to ensure a tight seal and improve efficiency.
Conclusion
In conclusion, replacing the rope gasket on a wood stove is a straightforward process that can greatly improve the efficiency and safety of your stove.
Did you know that a properly sealed rope gasket can reduce air leakage by up to 90%?
By following the steps outlined in this article, you can ensure a tight seal and optimal functionality for your wood stove.
Logan’s affair with adventure began in childhood. He hailed from a small town where vast forests bordered one side and endless shores stretched on the other. His days were spent exploring uncharted woods, climbing tall trees, or listening to the tales of old sailors. This early immersion in a world brimming with stories and mysteries became the foundation of his passion for writing.


