
Did you know that by applying a new coat of paint to a wood stove, you can extend its lifespan by as much as 10 years?
If your wood stove is looking worn and dull, it might be time to give it a fresh coat of paint.
In this article, I’ll guide you through the step-by-step process of repainting your wood stove.
From choosing the right paint to proper care and maintenance, you’ll have all the information you need to revitalize your wood stove and enjoy its warmth for years to come.

Key Takeaways
- Choosing the right high temperature paint for your wood stove is crucial for increasing its lifespan and preventing issues like peeling and toxic fumes.
- Proper preparation, including cleaning and sanding, is necessary before repainting a wood stove to ensure a long-lasting finish.
- Applying a heat-resistant primer and high-temperature paint specifically designed for wood stoves is essential for adhesion, durability, and a professional-looking result.
- Regular care and maintenance, such as removing ashes, cleaning the glass, and conducting annual inspections, will help keep your repainted wood stove in good condition.

Rust-Oleum 7778830 High Heat Enamel Spray Paint, Bar-B-Que Black, 12-Ounce
Ideal for updating the exterior of barbeque grills, wood-burning stoves, radiators, engines or other metal items
As an affiliate, we earn on qualifying purchases.
As an affiliate, we earn on qualifying purchases.
Choosing the Right Paint for Your Wood Stove
I’ve been researching different types of paint for my wood stove. Selecting the appropriate color for your wood stove is an important decision as it can greatly impact the overall look and feel of your space.
When it comes to choosing between high temperature and regular paint for your wood stove, it’s crucial to consider the heat resistance capabilities. Regular paint isn’t suitable for wood stoves as it may peel, bubble, or even release toxic fumes when exposed to high temperatures. On the other hand, high temperature paint is specifically designed to withstand extreme heat conditions. It’s formulated to resist peeling and fading, ensuring a long-lasting finish for your wood stove.
Now that we’ve covered the paint options, let’s move on to preparing the wood stove for repainting.

Akfix Heat Fighter Black Fireplace Sealant – 2700 °F (1×10.1 oz.) – Heat Resistant Fireplace Stove Caulk for Chimneys, Ovens, Grills, Wood Stoves | Non-Flammable, Quick-Drying & Paintable Cartridge
Withstands Extreme Heat Up to 2700°F: Built for direct flame contact. Ideal for sealing and insulating fireplaces, stoves,…
As an affiliate, we earn on qualifying purchases.
As an affiliate, we earn on qualifying purchases.
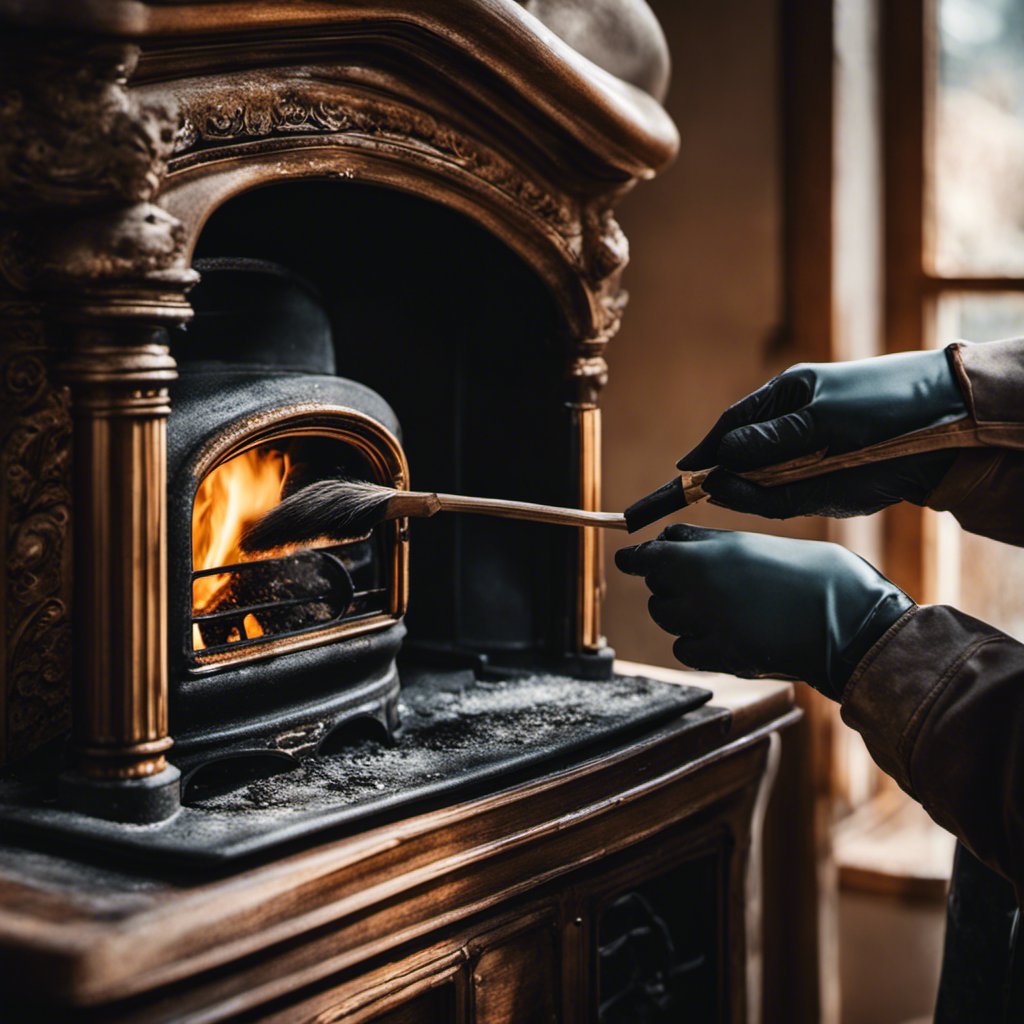
Preparing the Wood Stove for Repainting
To get started, I’ll need to thoroughly clean the surface of the stove before applying a new coat of paint. Here are the safety precautions and cleaning techniques I’ll follow:
- Begin by wearing protective gloves and goggles to ensure personal safety.
- Remove any loose debris or ashes from the stove using a brush and dustpan.
- Mix a mild detergent with warm water and use a sponge or cloth to wipe down the entire surface, removing dirt and grease.
- For stubborn stains, use a non-abrasive cleaner and a scrub brush, gently scrubbing until the stain is removed.
- Rinse the stove with clean water and allow it to dry completely before moving on to the next step.
With the surface of the stove clean and prepped, I can now proceed to the step-by-step guide to sanding and priming the wood stove.

15pcs Crevice Cleaning Brush, Hard Bristle Scrub Brushes Tools, Multifunctional Grout Brush for Home, Bathroom, Ktichen, Window and Corners
【Product Highlights】This 15-piece crevice cleaning kit includes hard bristle grout cleaning brush, putty knife scraper, straw brushes, bend…
As an affiliate, we earn on qualifying purchases.
As an affiliate, we earn on qualifying purchases.
Step-by-Step Guide to Sanding and Priming the Wood Stove
Now, I’ll explain the step-by-step process for sanding and priming the surface of the stove.
To begin, gather the necessary materials: sandpaper (120 grit), a sanding block, and a primer specifically designed for high-heat surfaces.
Start by lightly sanding the entire surface of the stove using the sandpaper and sanding block. This will help to remove any loose paint or debris and create a smooth surface for the primer to adhere to. Be sure to sand in the direction of the grain for optimal results.
Once the surface is sanded, wipe it down with a clean cloth to remove any dust or residue.
Next, apply the primer using a paintbrush or roller, making sure to cover the entire surface evenly. Allow the primer to dry completely before moving on to the next step.
With the sanding and priming complete, you’re now ready to move on to applying the paint to your wood stove.

Sanding Sponge, 60/80/120/220 Grit 4-Pack with Protective Gloves, Coarse Fine Medium Grit Sanding Block, Reusable Dry Wet Sanding Blocks for Wood, Drywall,Metal, Fine Sandpaper Sand Block by Afruxy
【𝗙𝗜𝗡𝗜𝗦𝗛 𝗣𝗥𝗢𝗝𝗘𝗖𝗧𝗦 𝗤𝗨𝗜𝗖𝗞𝗟𝗬 𝗔𝗡𝗗 𝗖𝗟𝗘𝗔𝗡𝗟𝗬】- Save time with our dust-free fine sanding sponge—great fine sandpaper for wood sanding…
As an affiliate, we earn on qualifying purchases.
As an affiliate, we earn on qualifying purchases.
Applying the Paint to Your Wood Stove
After the primer has dried, I can apply the paint evenly to the surface of the stove. Here are some important things to keep in mind when painting a wood stove:

-
Preparation: Clean the stove thoroughly and remove any rust or loose paint. Sand the surface to create a smooth base for the paint.
-
Priming: Apply a heat-resistant primer to ensure better adhesion and durability of the paint.
-
Paint selection: Choose high-temperature paint specifically designed for wood stoves. This type of paint can withstand the heat generated by the stove.
-
Application: Use a brush or roller to apply the paint evenly, following the grain of the wood. Apply multiple thin coats for better coverage and durability.

-
Drying time: Allow the paint to dry completely between coats and before using the stove. This will ensure a long-lasting finish.
Avoid these common mistakes when painting a wood stove: rushing the process, applying too thick coats, neglecting proper surface preparation, using regular paint instead of heat-resistant paint, and not allowing sufficient drying time.
Proper Care and Maintenance for a Repainted Wood Stove
Taking care of my newly painted wood stove involves regular cleaning and inspection to ensure its longevity and optimal performance. Proper maintenance is crucial for preventing rust and keeping the stove looking its best. Here are some cleaning techniques I use to keep my wood stove in top shape:
| Cleaning Technique | How to Perform |
|---|---|
| Ash Removal | Use a shovel or ash vacuum to remove ashes. |
| Glass Cleaning | Use a glass cleaner and a soft cloth to clean the glass. |
| Surface Cleaning | Use a damp cloth to wipe down the exterior surfaces. |
| Vent Cleaning | Use a vent brush to remove any debris or blockages. |
| Annual Inspection | Inspect the stove for any signs of damage or wear. |
Frequently Asked Questions
How Long Does the Paint on a Repainted Wood Stove Typically Last?
The longevity of repainted wood stove paint can vary depending on factors such as the quality of paint used and how well the stove is maintained. It is recommended to use high-temperature paint specifically designed for wood stoves to ensure durability.

Can I Repaint a Wood Stove That Has Already Been Repainted Once Before?
Yes, you can repaint a wood stove that has been repainted before. The repainting process involves preparing the surface, applying the right type of paint, and ensuring proper ventilation.
Is It Necessary to Remove the Stovepipe Before Repainting a Wood Stove?
No, it is not necessary to remove the stovepipe before repainting a wood stove. However, it is important to cover and protect the stovepipe during the repainting process to prevent any damage or discoloration.
Can I Use Regular Household Paint on a Wood Stove?
I wouldn’t recommend using regular household paint on a wood stove. It may not withstand the high temperatures and could release harmful fumes. There are alternatives specifically designed for this purpose.
Are There Any Special Precautions I Should Take When Repainting a Wood Stove Located in a Small, Enclosed Space?
When repainting a wood stove located in a small, enclosed space, it is important to take certain precautions. Proper ventilation, wearing a mask and gloves, and protecting surrounding areas are essential for a safe and successful paint job.

Conclusion
So there you’ve it, folks! Repainting your wood stove is a breeze with these simple steps.
Who knew that giving your stove a fresh coat of paint couldn’t only make it look brand new, but also add a touch of style to your home?
Now you can sit back, enjoy the warmth of your beautifully repainted wood stove, and marvel at your newfound DIY skills.
Happy painting!